
Love to work with resin? These DIY resin keychains are a perfect craft for teens and adults to make! On top of it all, it’s a practical project you can use and gift to your loved ones.
Resin crafts are just the absolute best. There’s just so much room to experiment, to customize play around with color, style, and more.
If you’re an absolute beginner, then you can always start small by making, say, a coaster, or…resin keychains, perhaps?
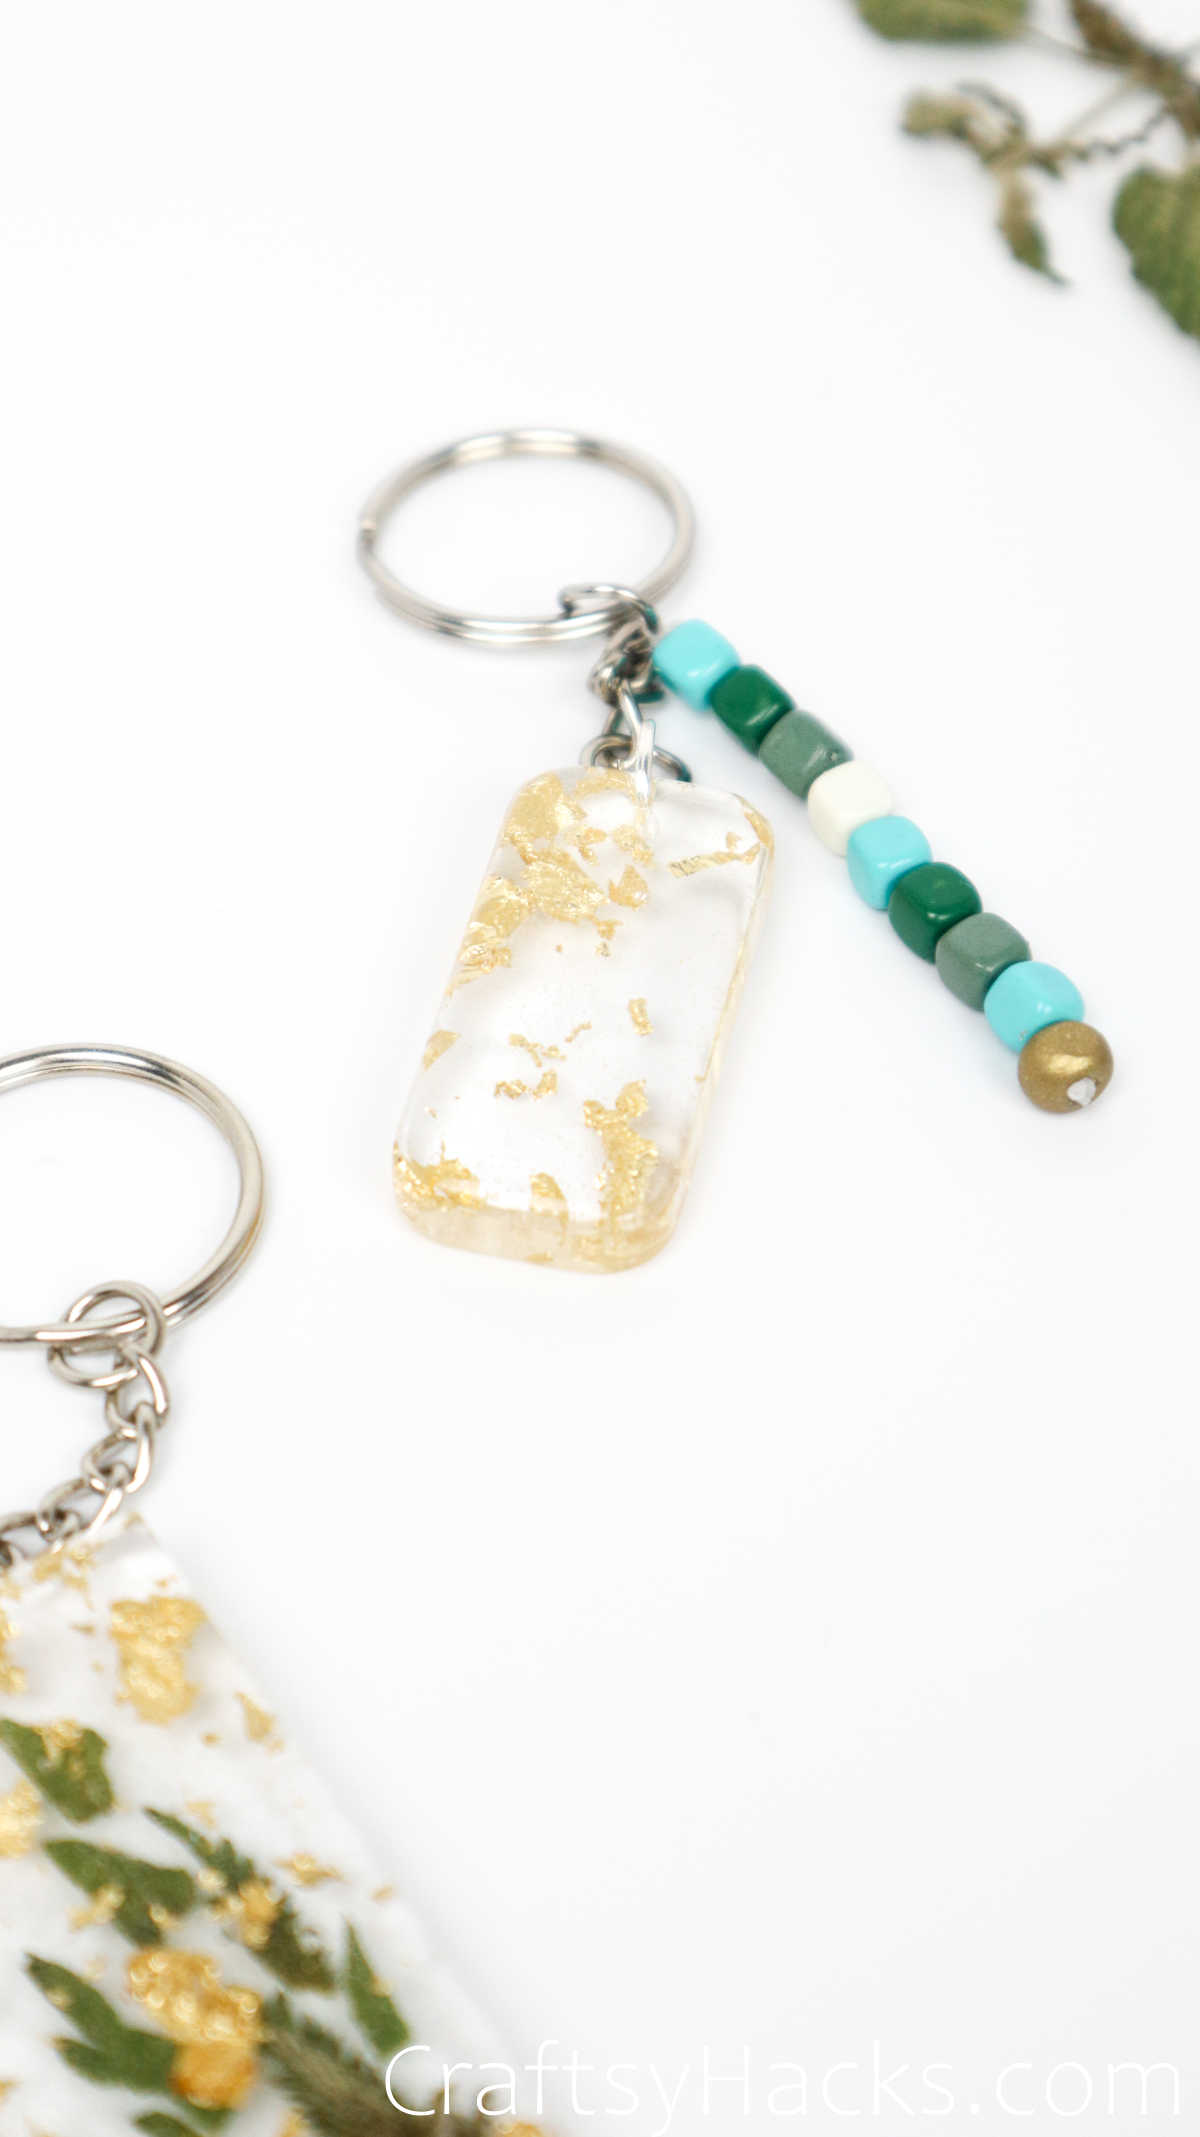

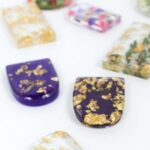
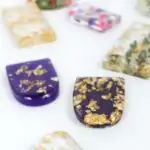
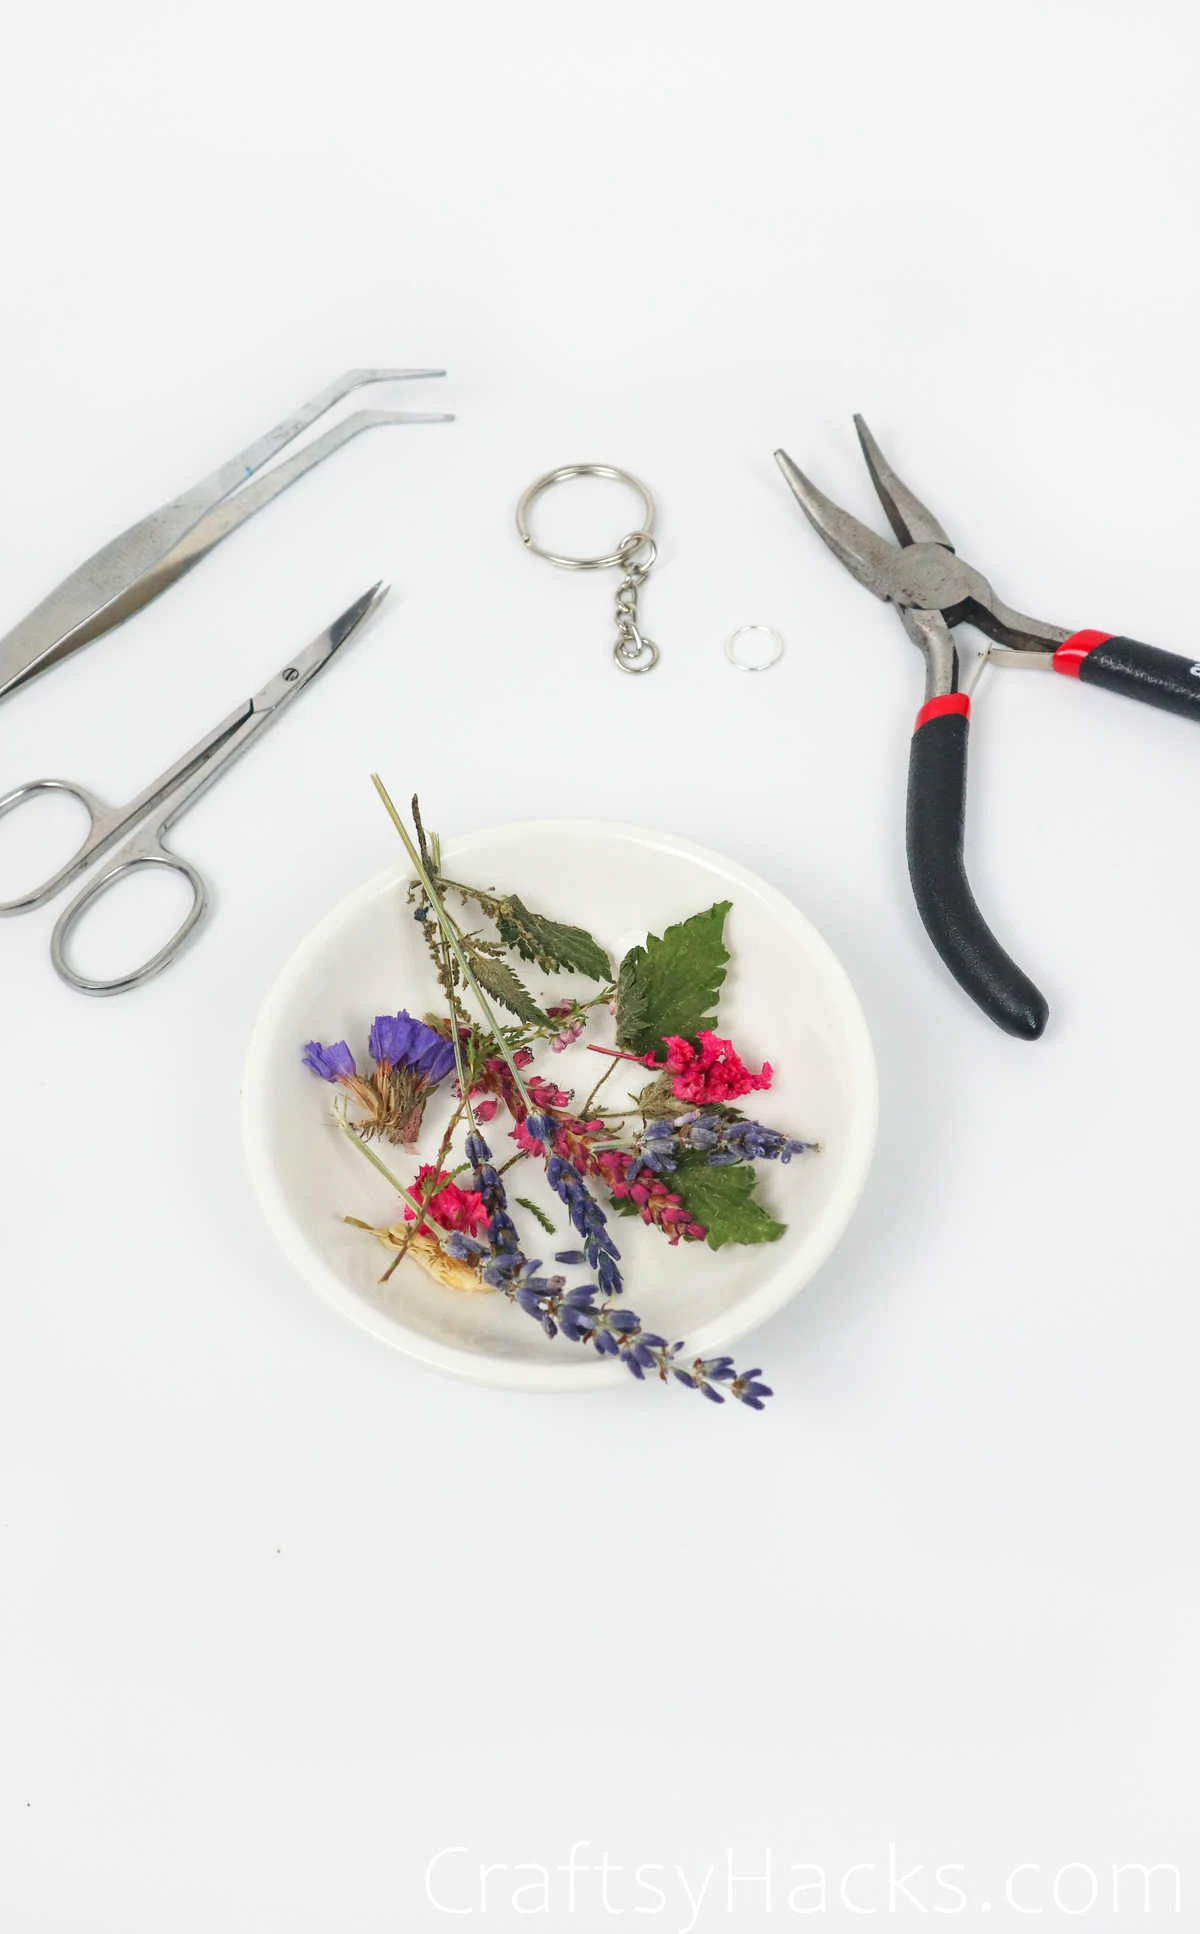
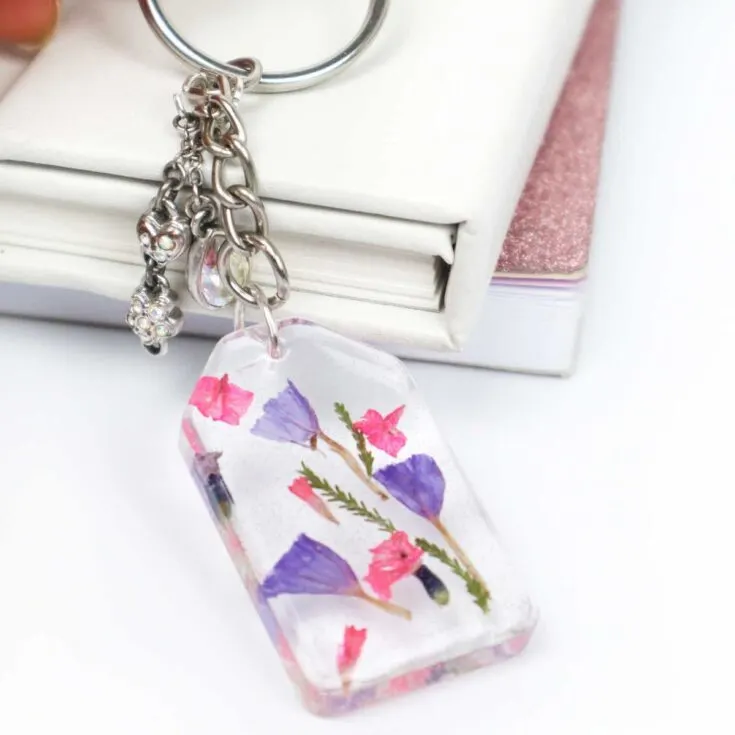
There’s something just elegant yet cute about resin keychains, especially ones like these with pressed flowers set inside them. If you’re all set to begin, then just take a look at the supplies you’ll need to gather first.


Supplies You’ll Need
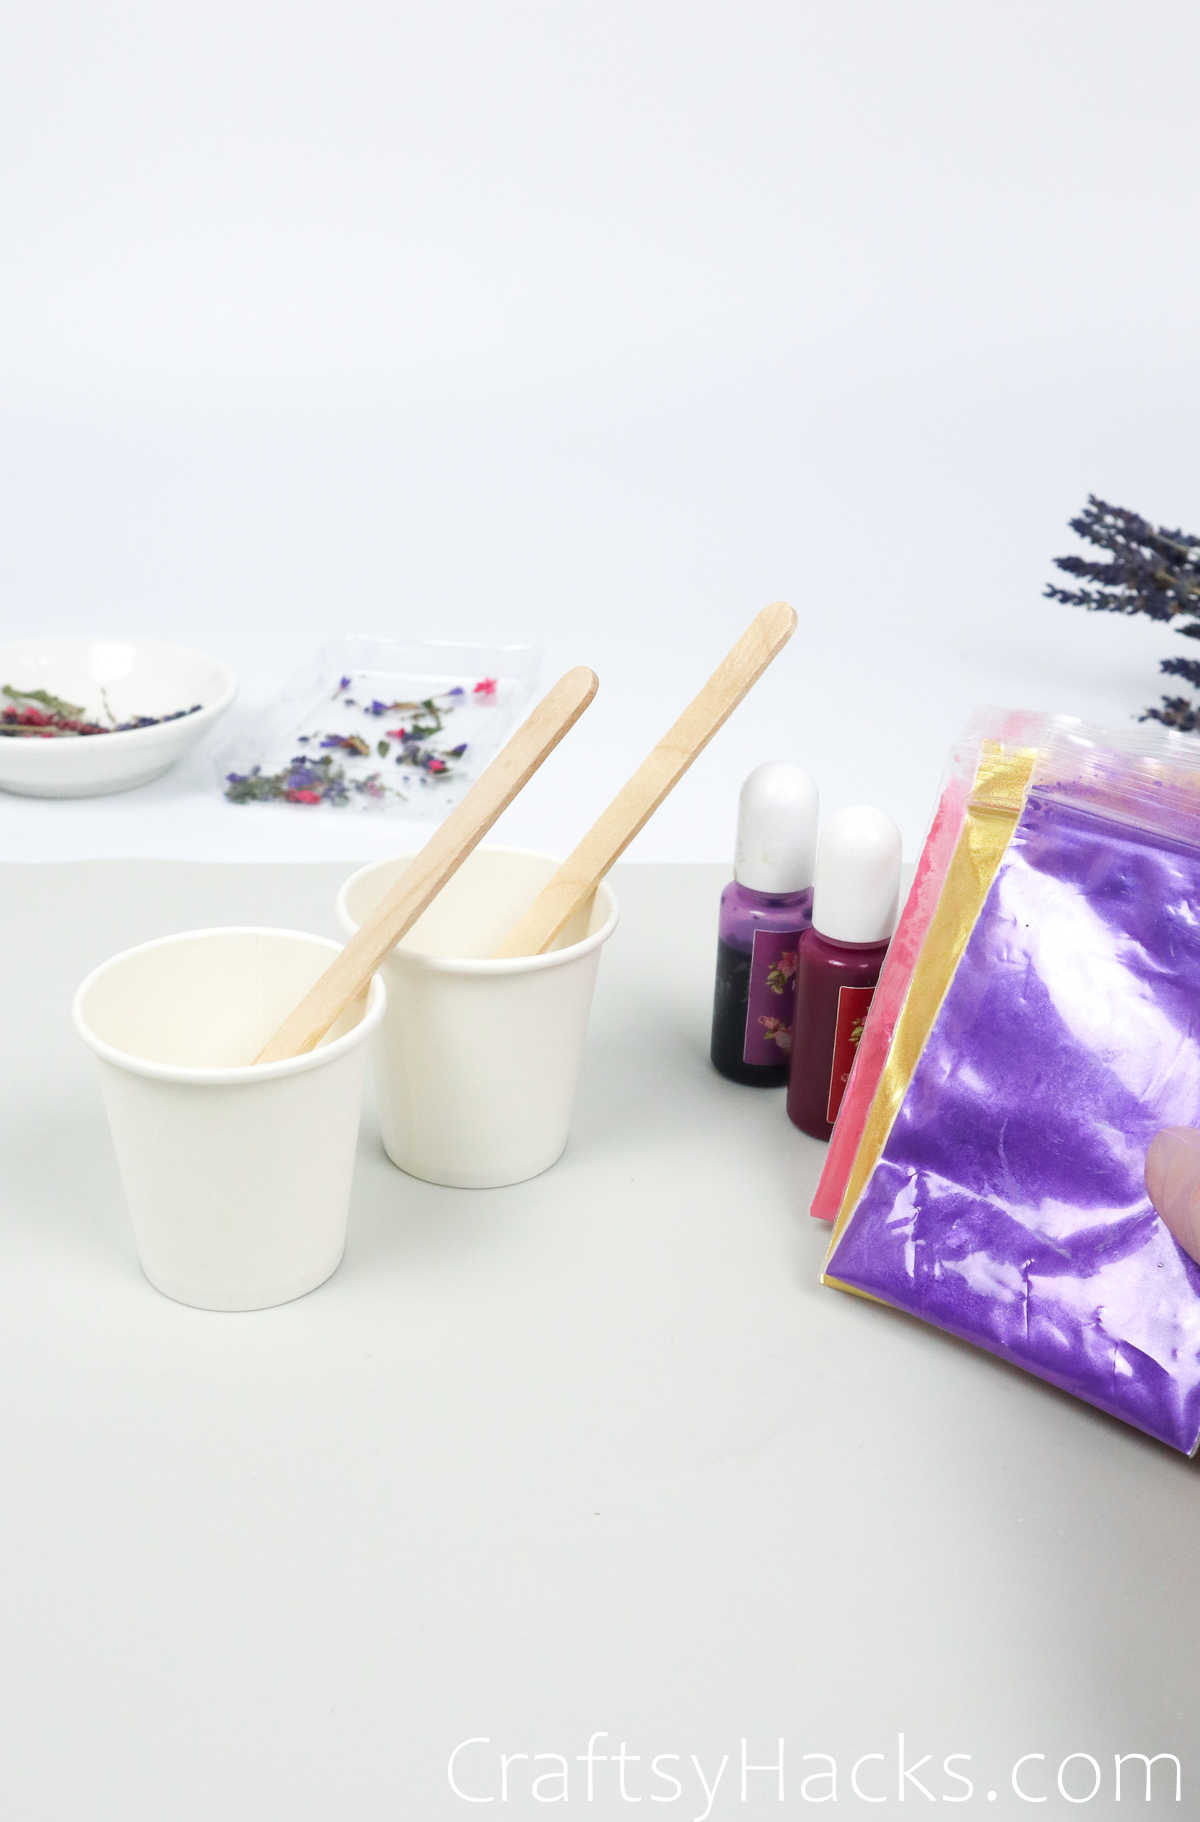
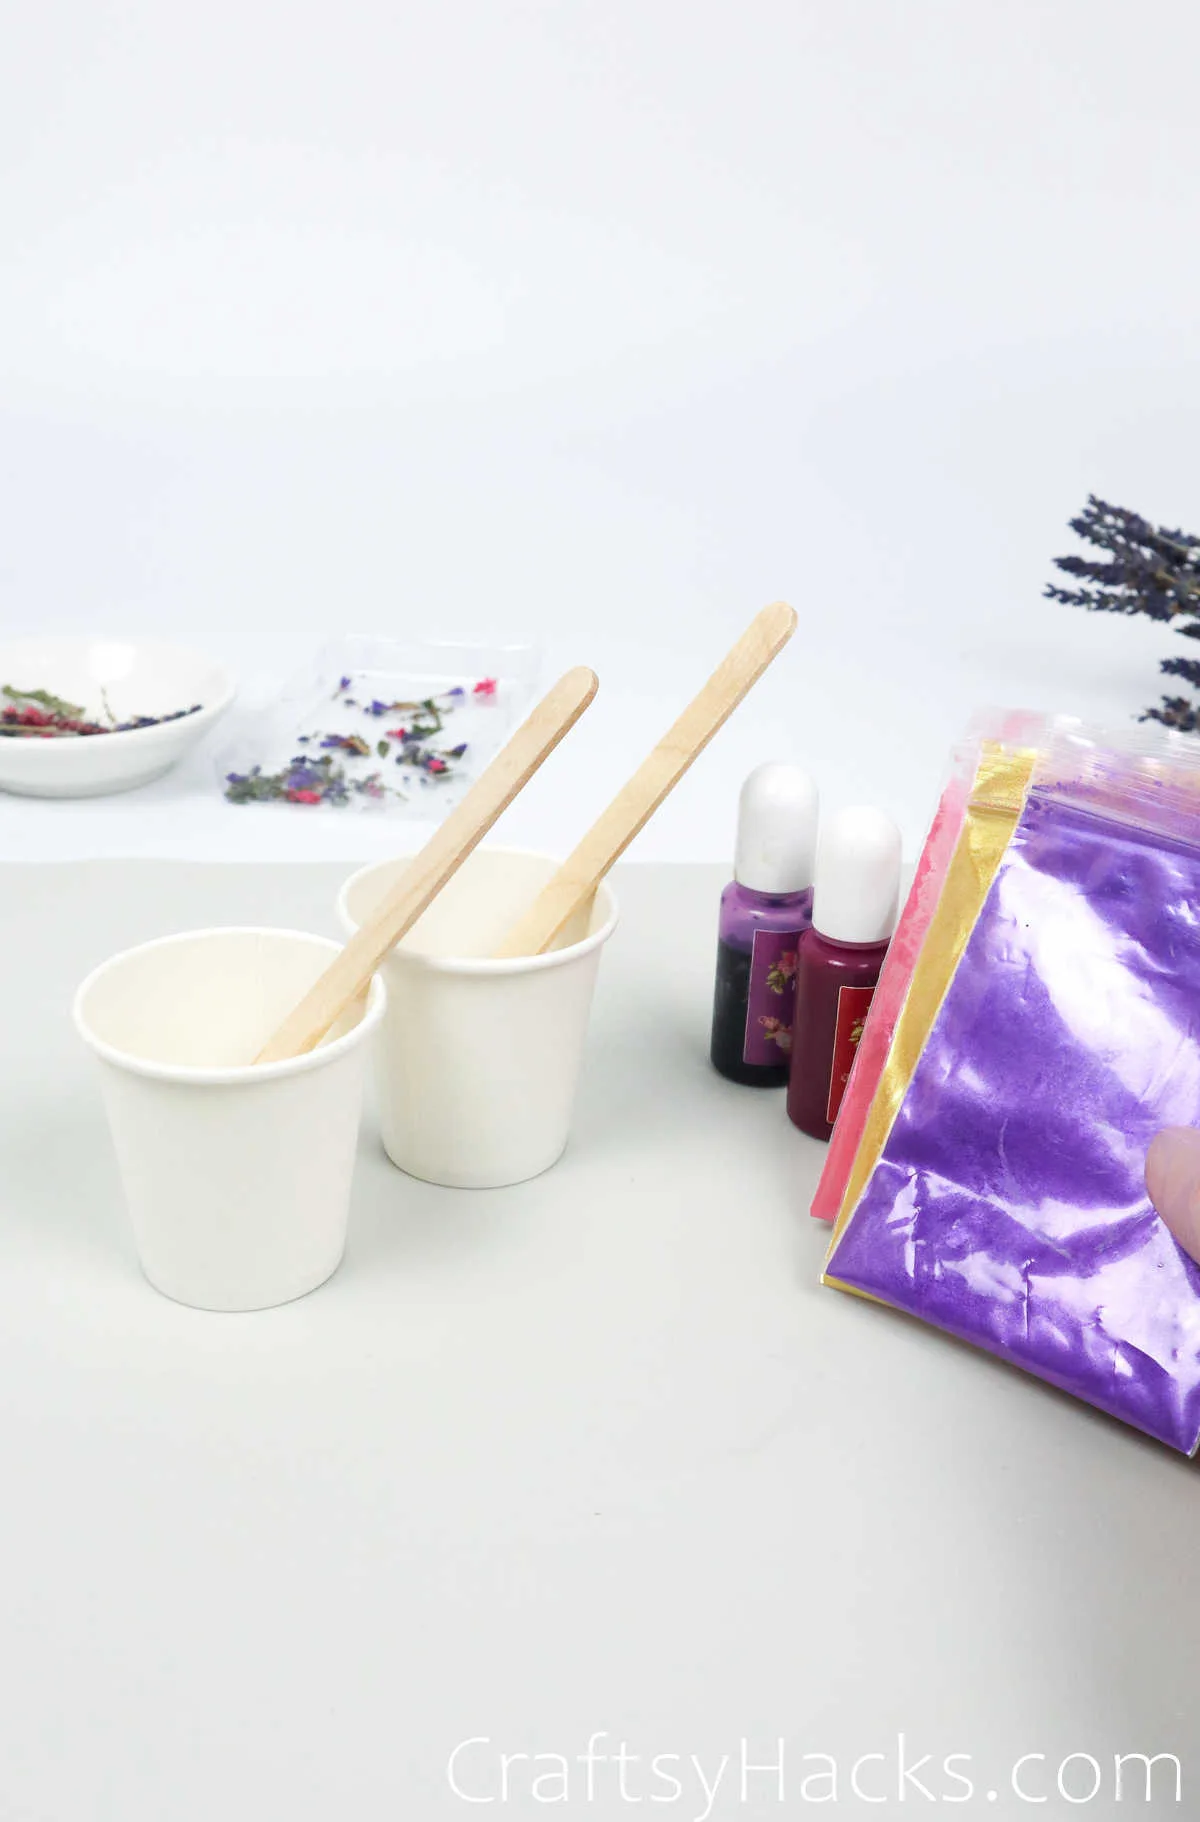
Here’s a list of everything you will need to get started on making your DIY resin keychains:
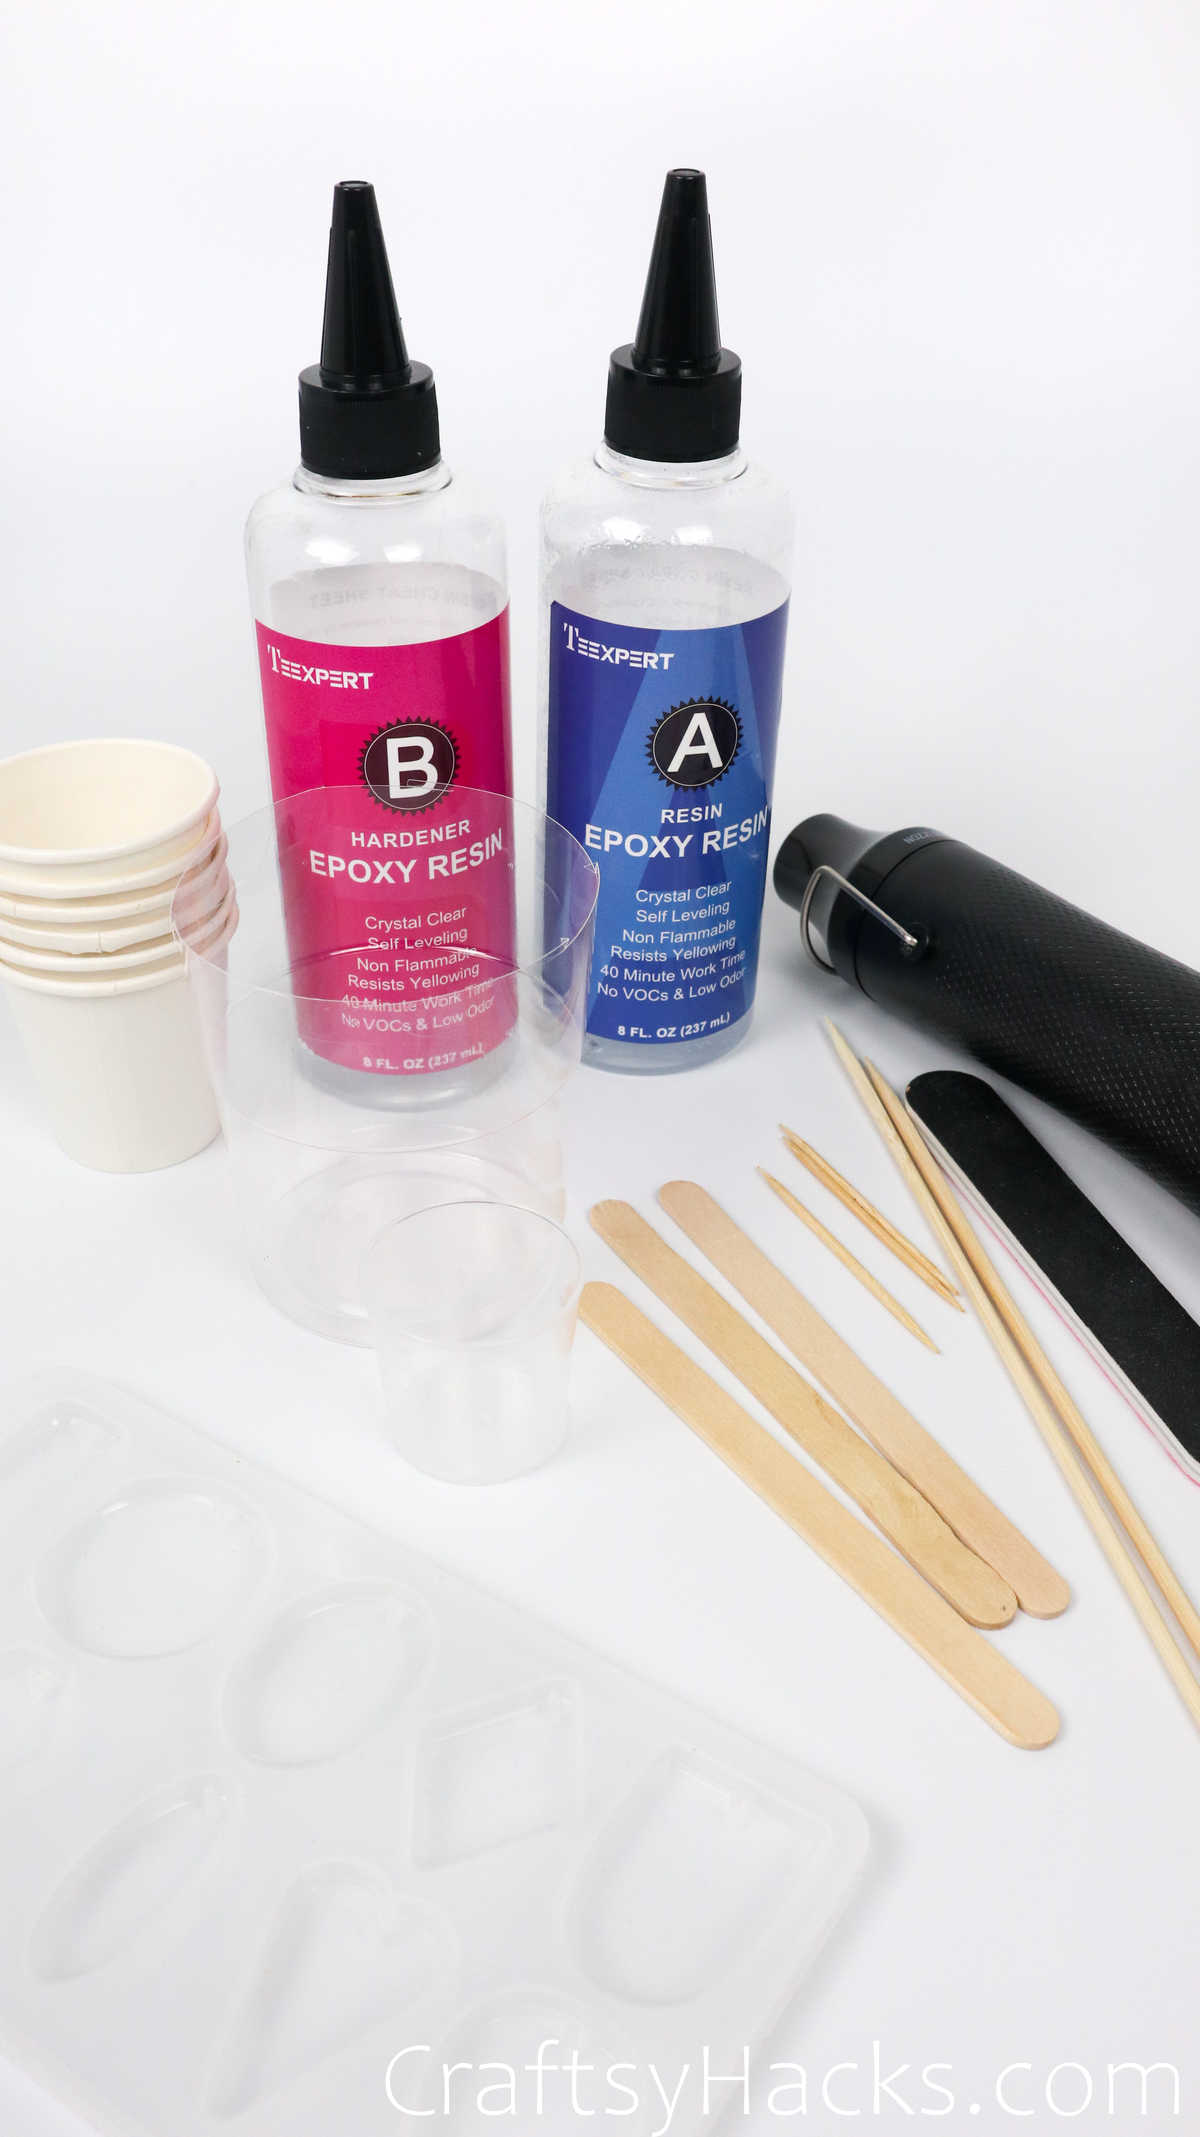
- Epoxy resin and hardener
- Small plastic cups
- Big plastic cup
- Toothpick
- Wood skewer
- Silicone molds
- Spatulas
- Heat gun
- Blank keychains

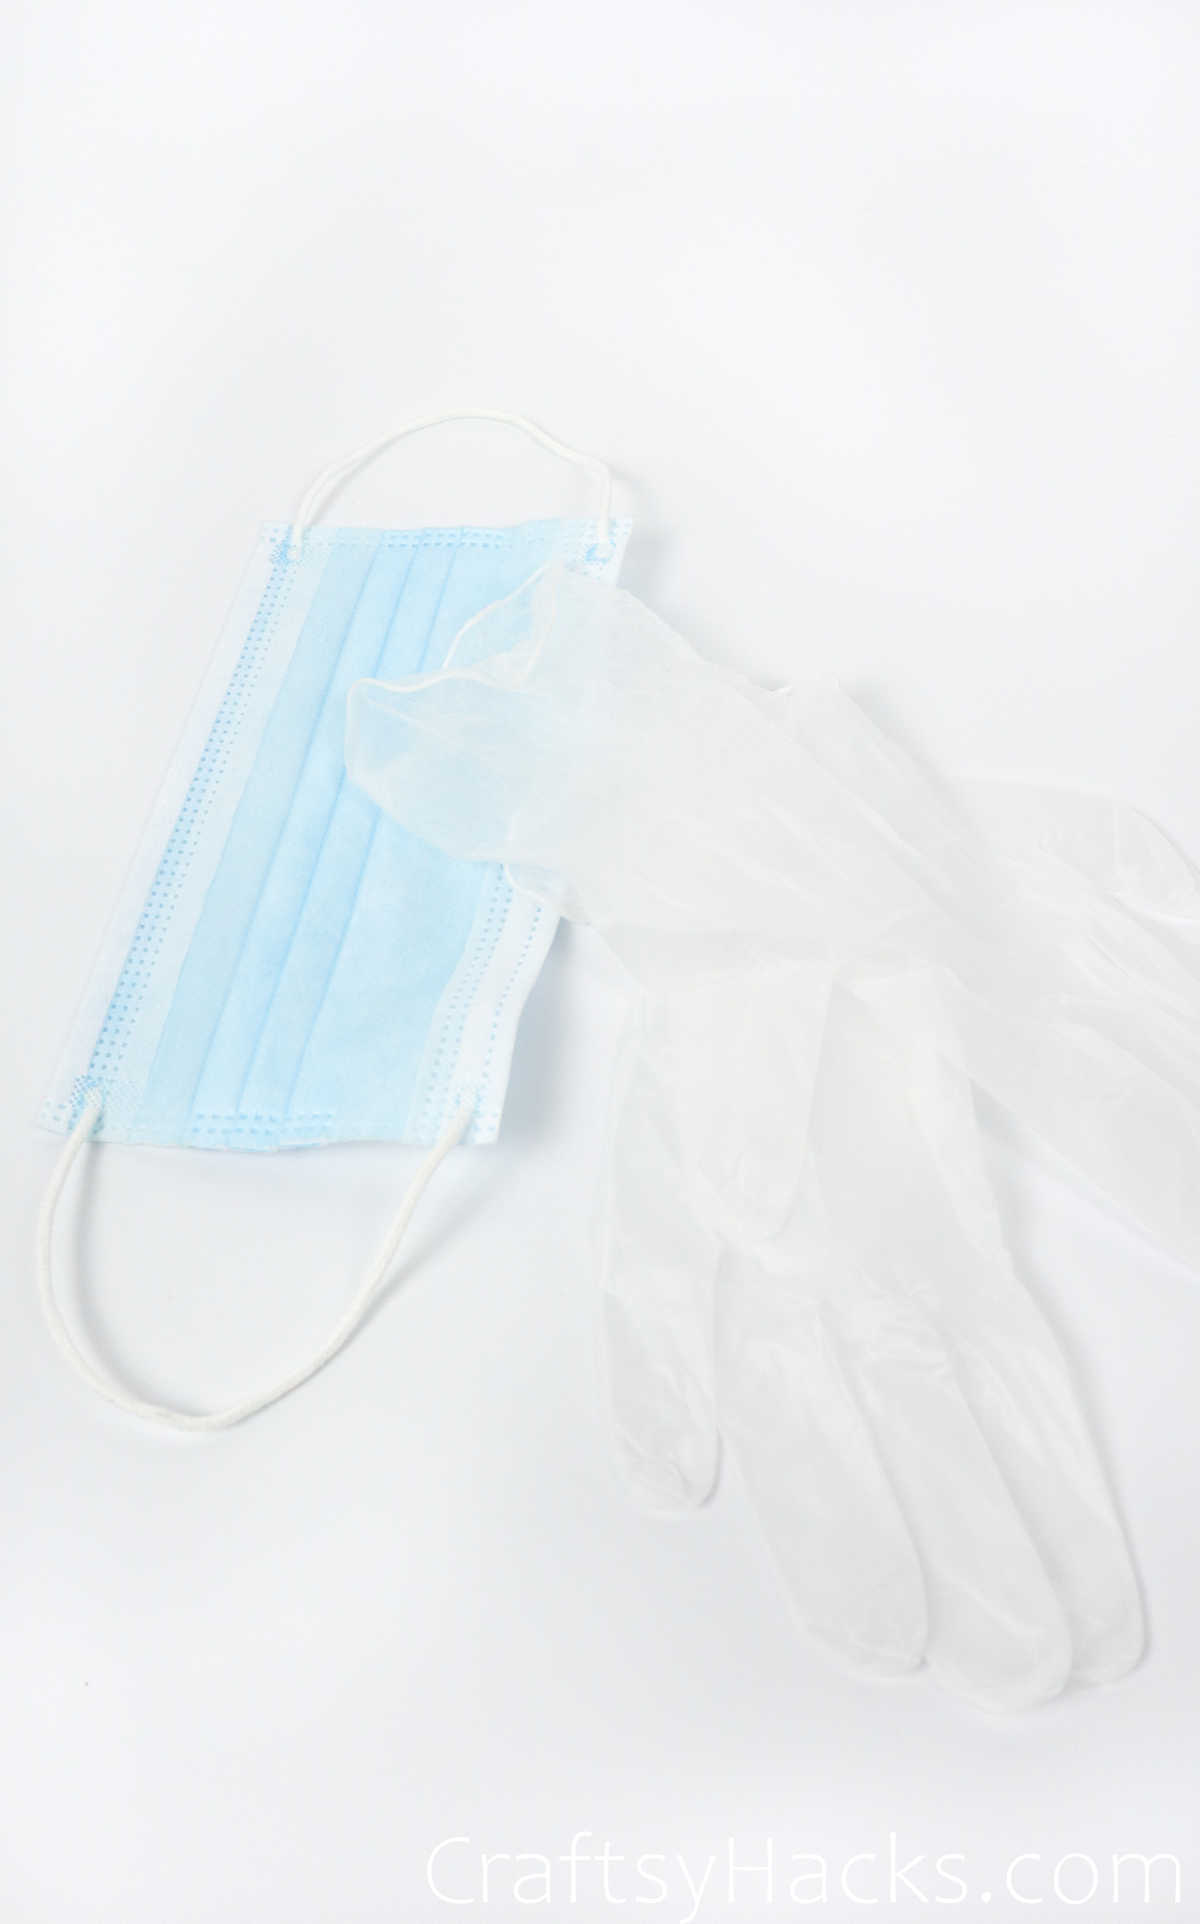
- Face mask
- Gloves

For Decorating Keychains You’ll Need
- Gold flakes
- Glitter powder
- Mica powder
- Resin pigment

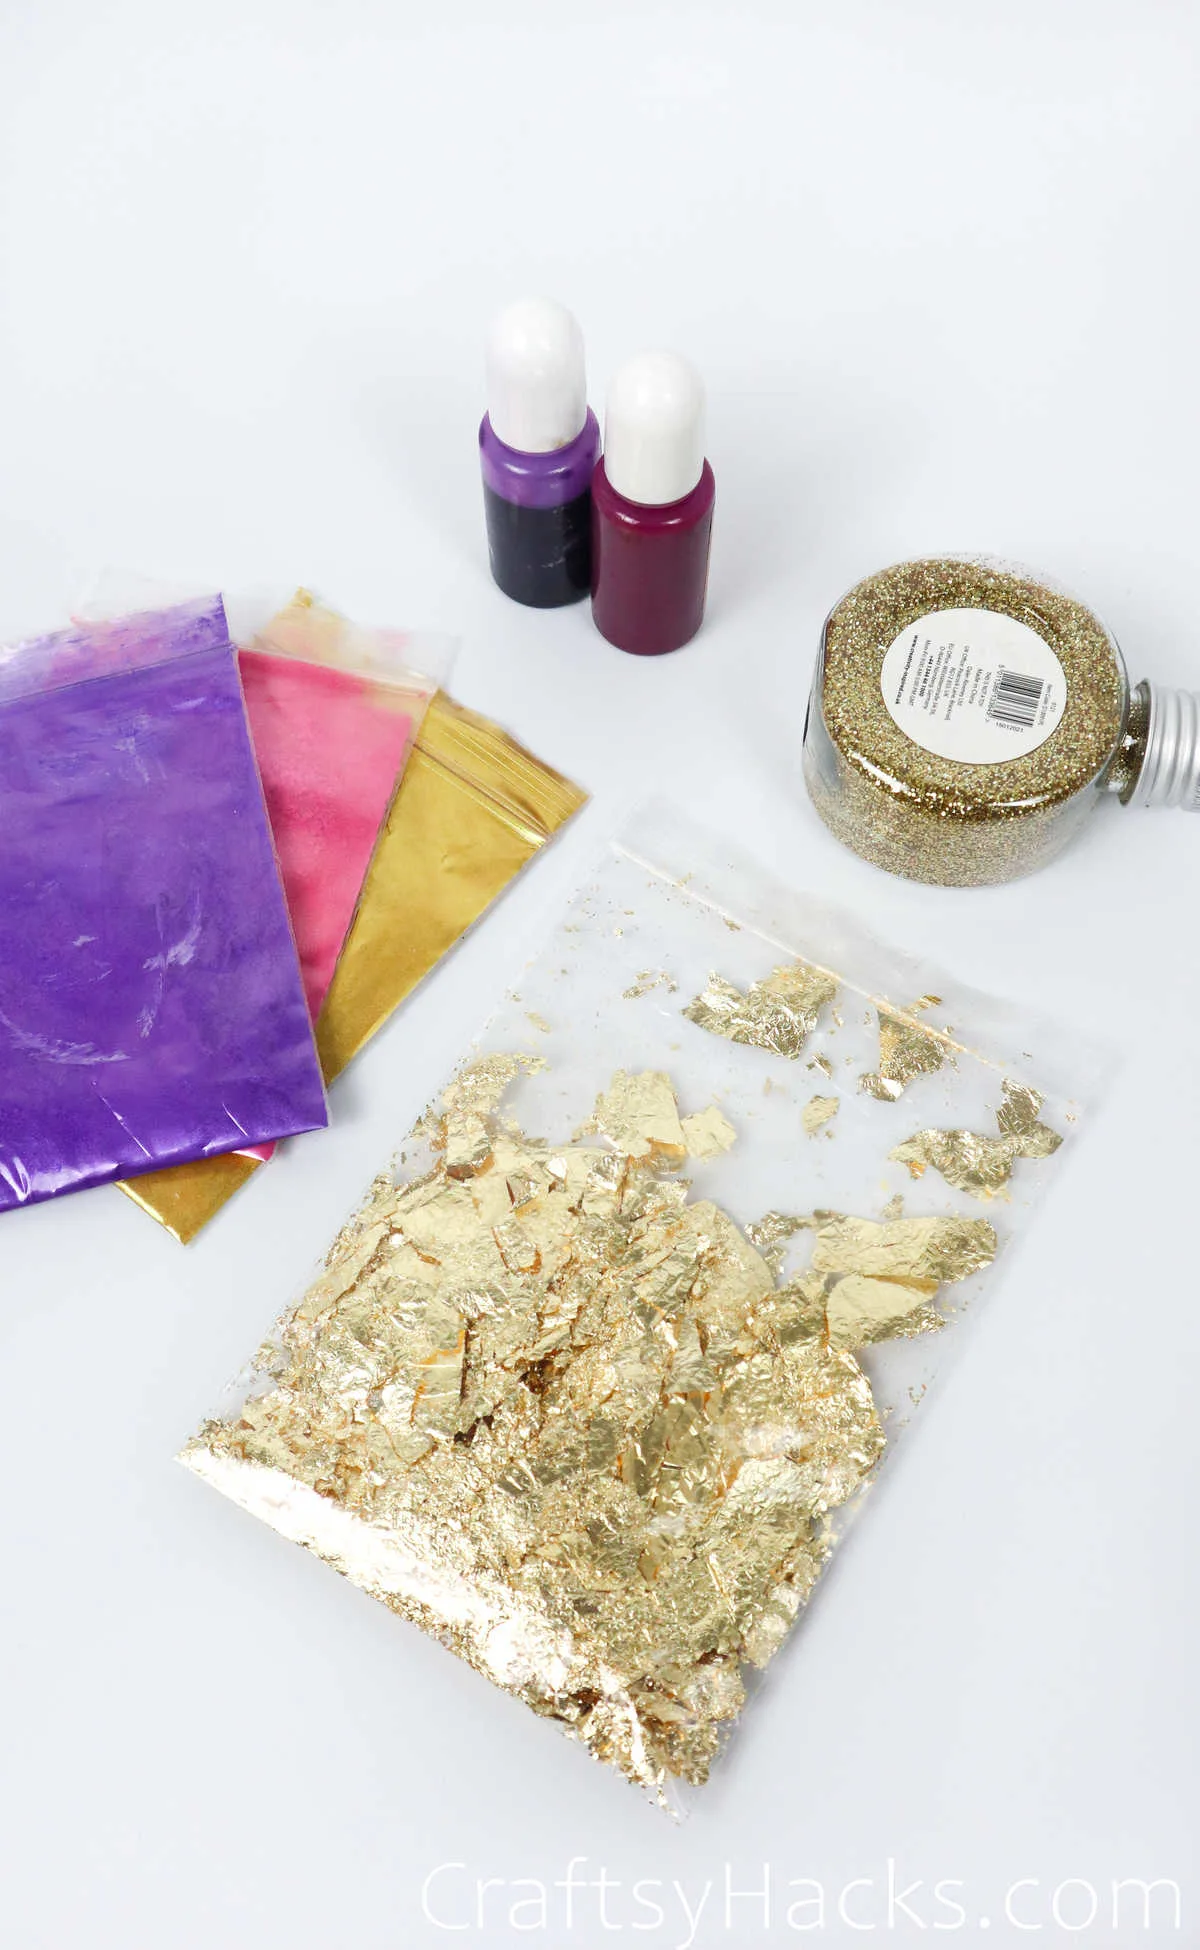
- Dried flowers
- Scissors
- Pliers
- Tweezers

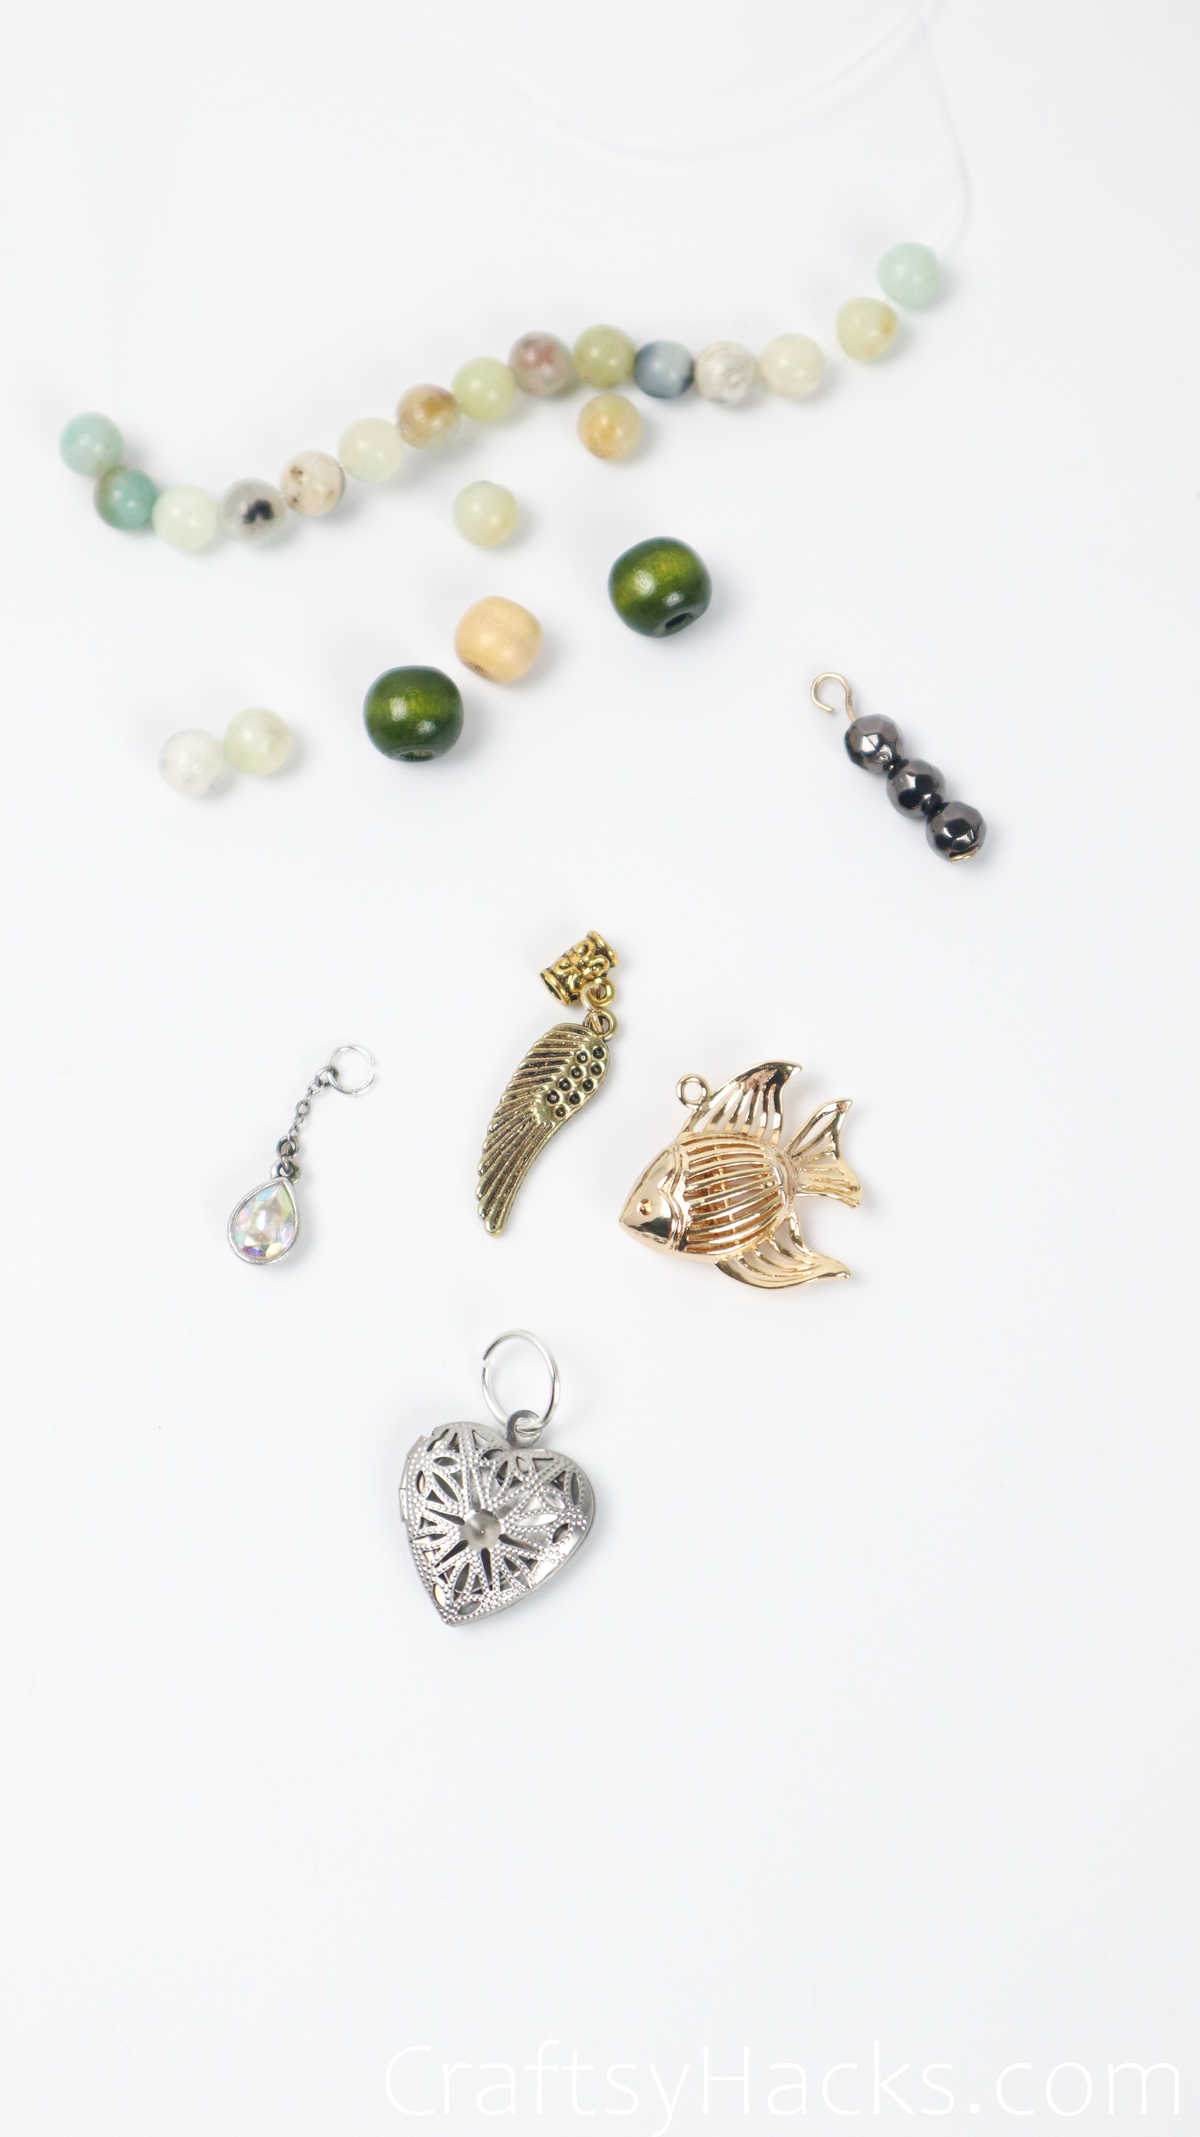
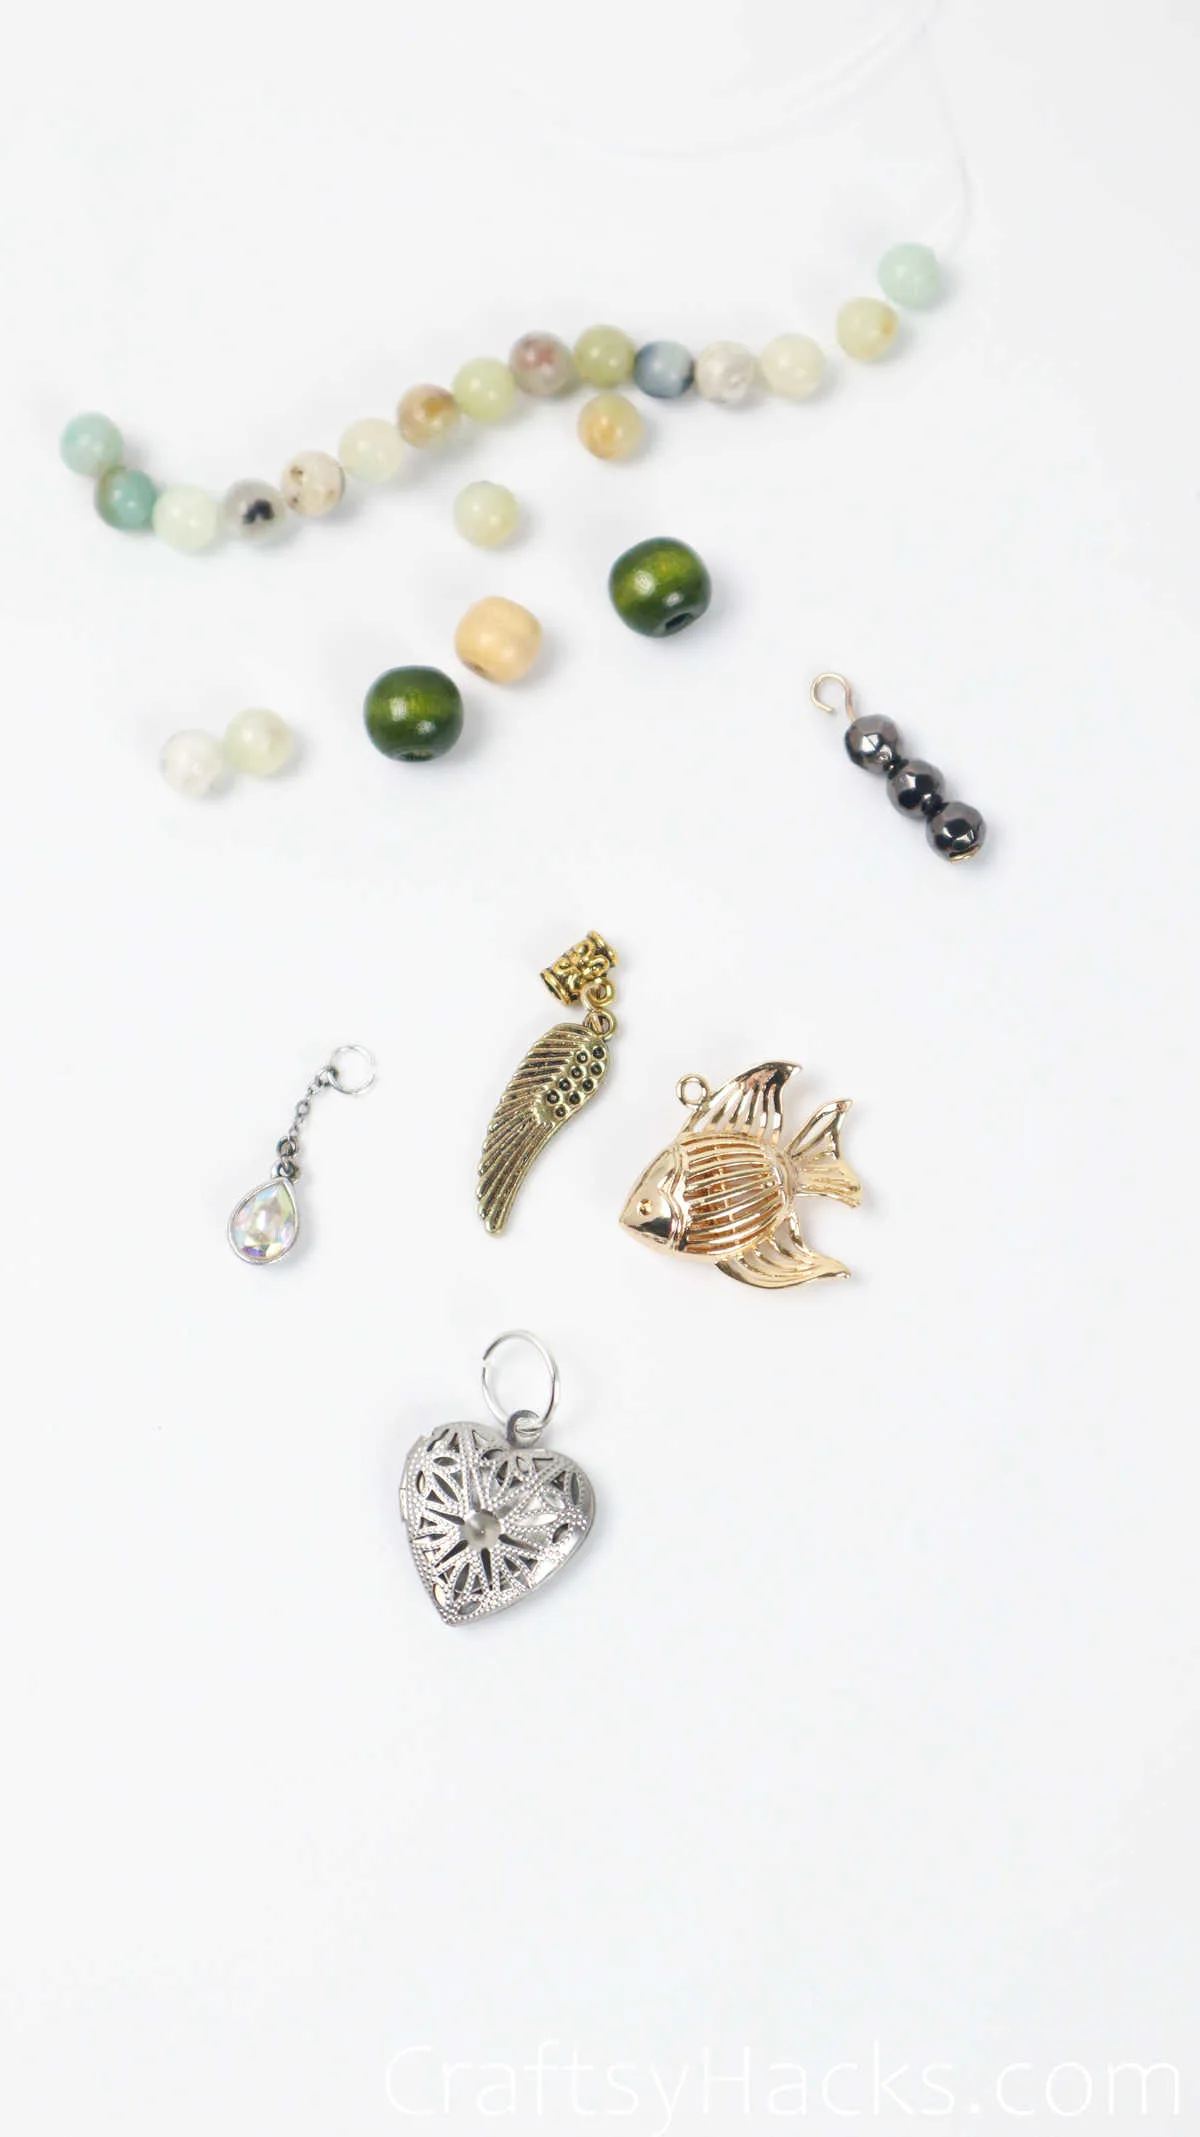
Optional
- 1 e-strung beads
- 1 e-charms
How to Make Resin Keychains
Decorating this keychain is the best part of this project, as you can see from all the materials you can work with to jazz it up. So, without further ado, take a look at the first step!
Video Tutorial
Step 1
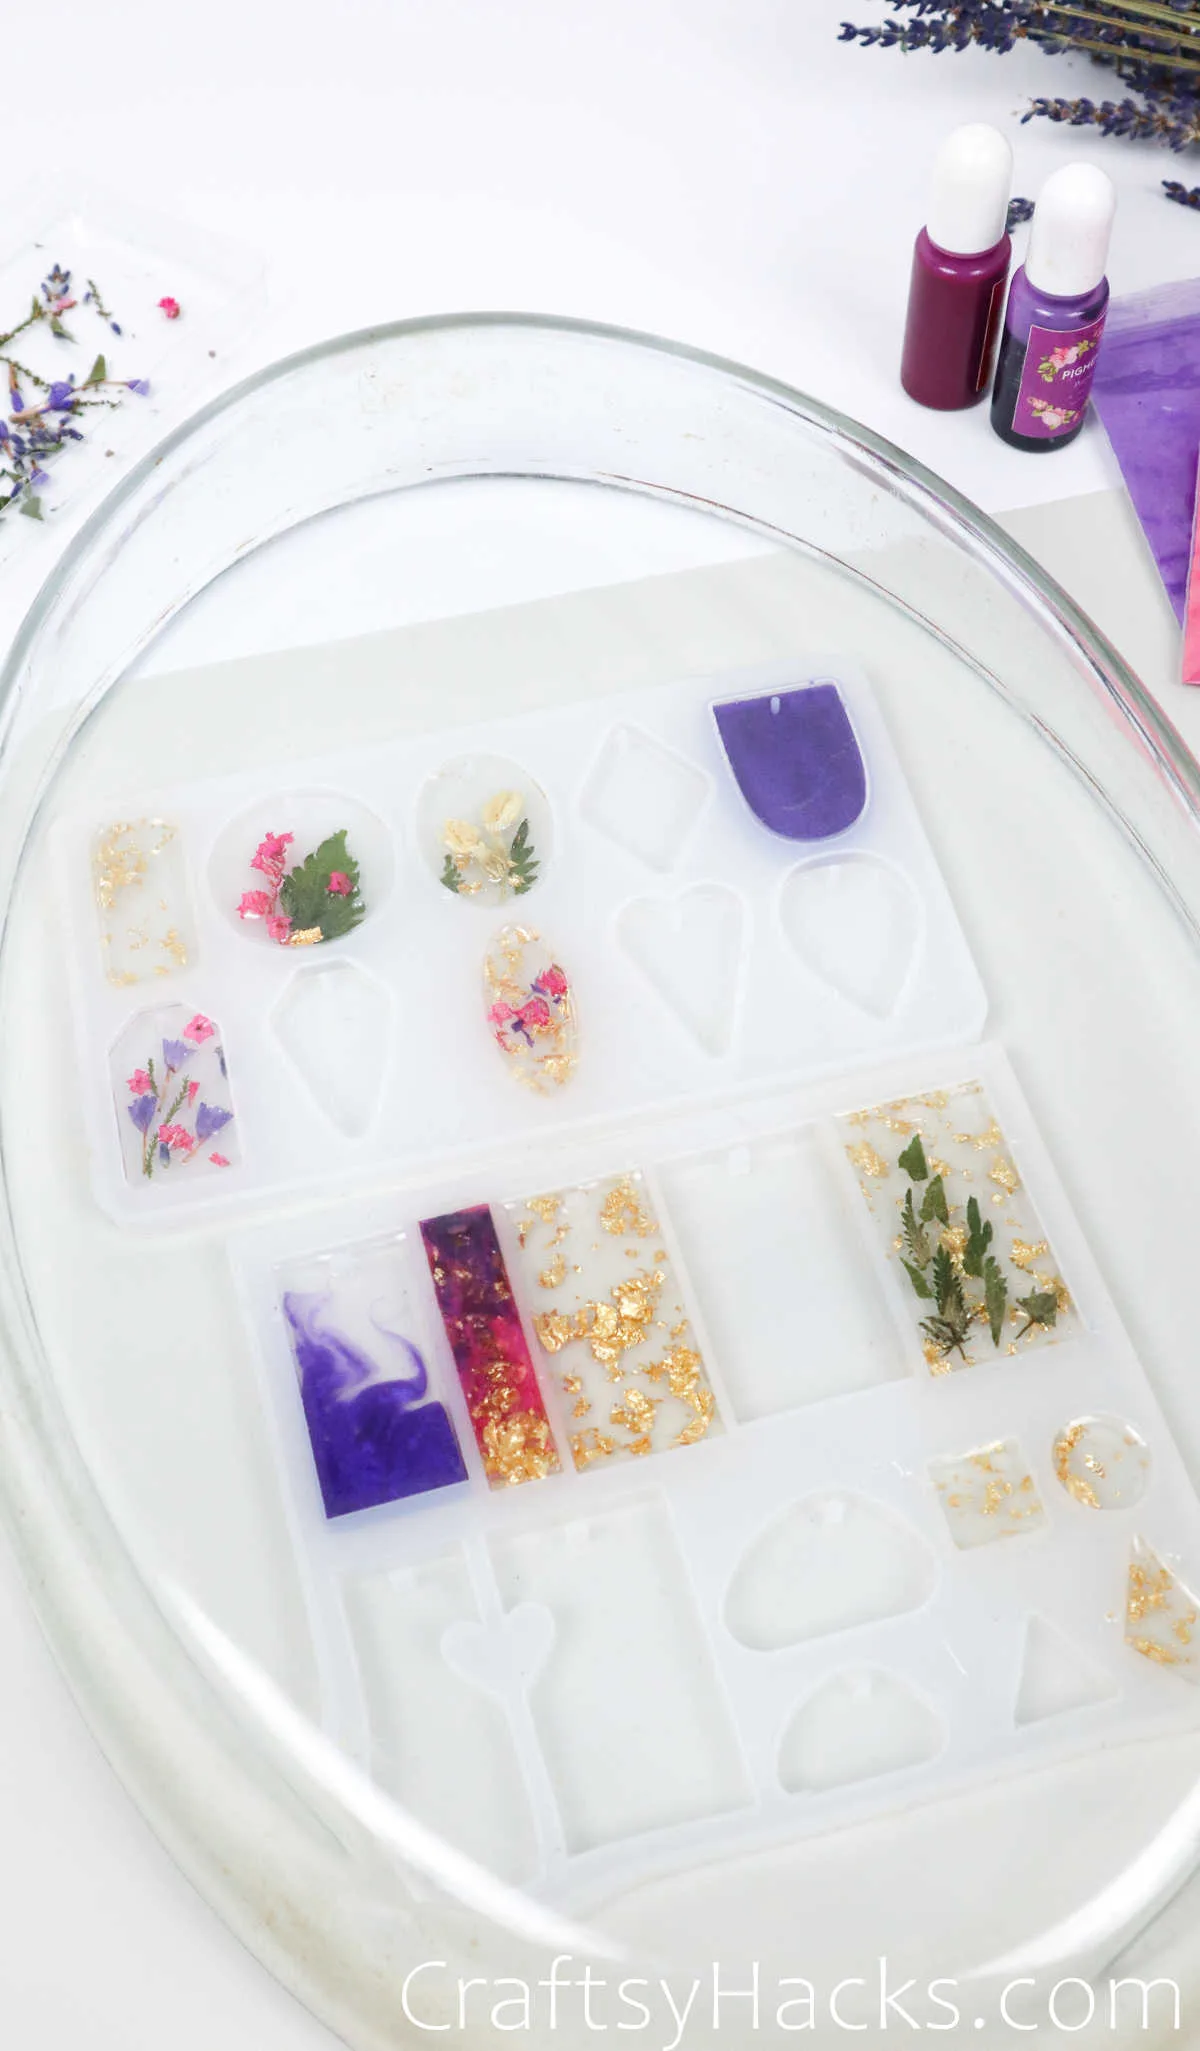
To give you an idea of how your finished keychain will look, you can start prepping your dried flowers. You can lay them out to get an idea of placement and play around with the different types of flowers and decorative additions you’ll be using.
This will also help you save time because once you mix the resin, you won’t have too much time to play with the placement.

After that’s done, you can get down to working with your resin. Go ahead and don your protective gear first, just to be on the safe side when working with chemicals.

Step 2
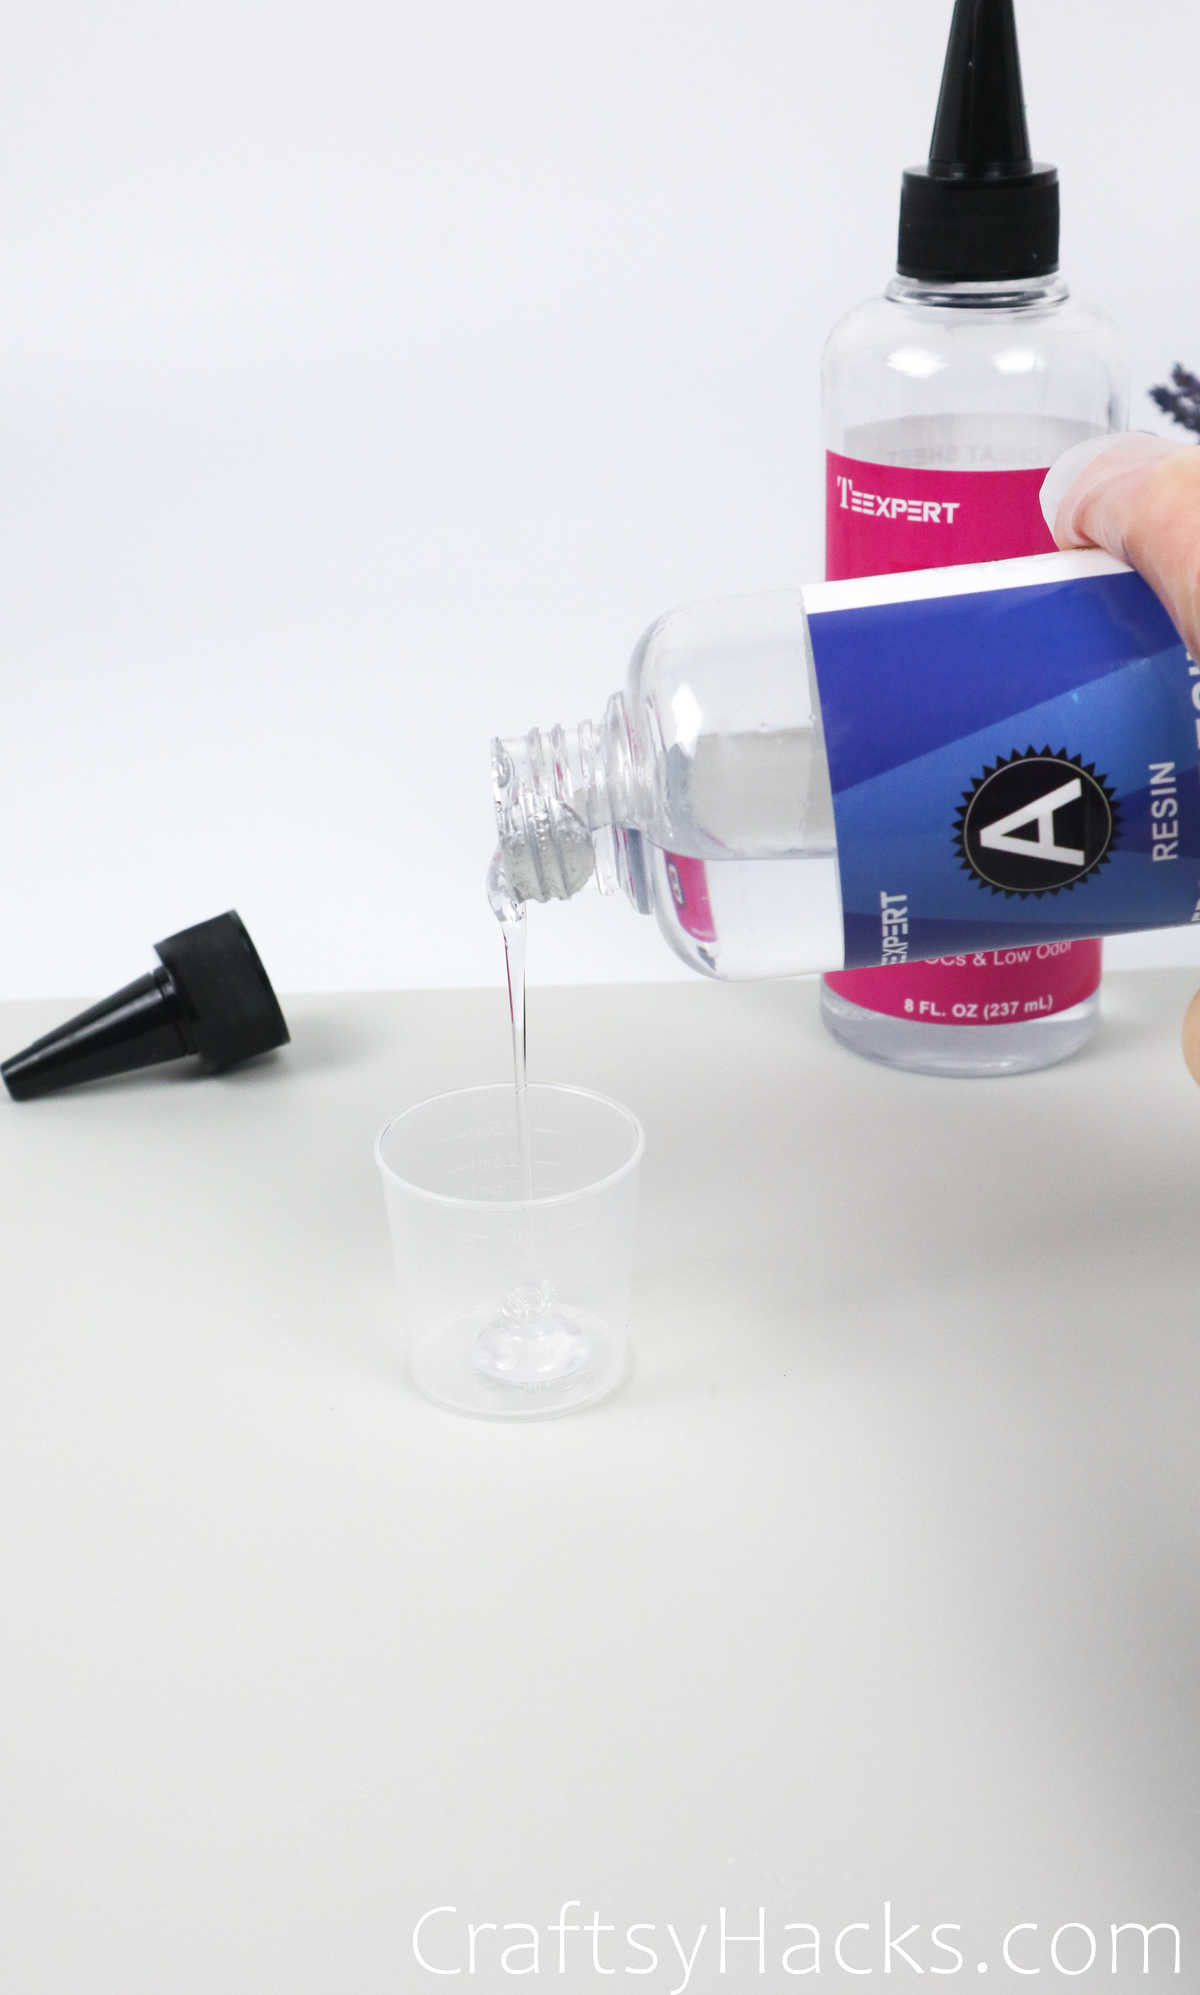
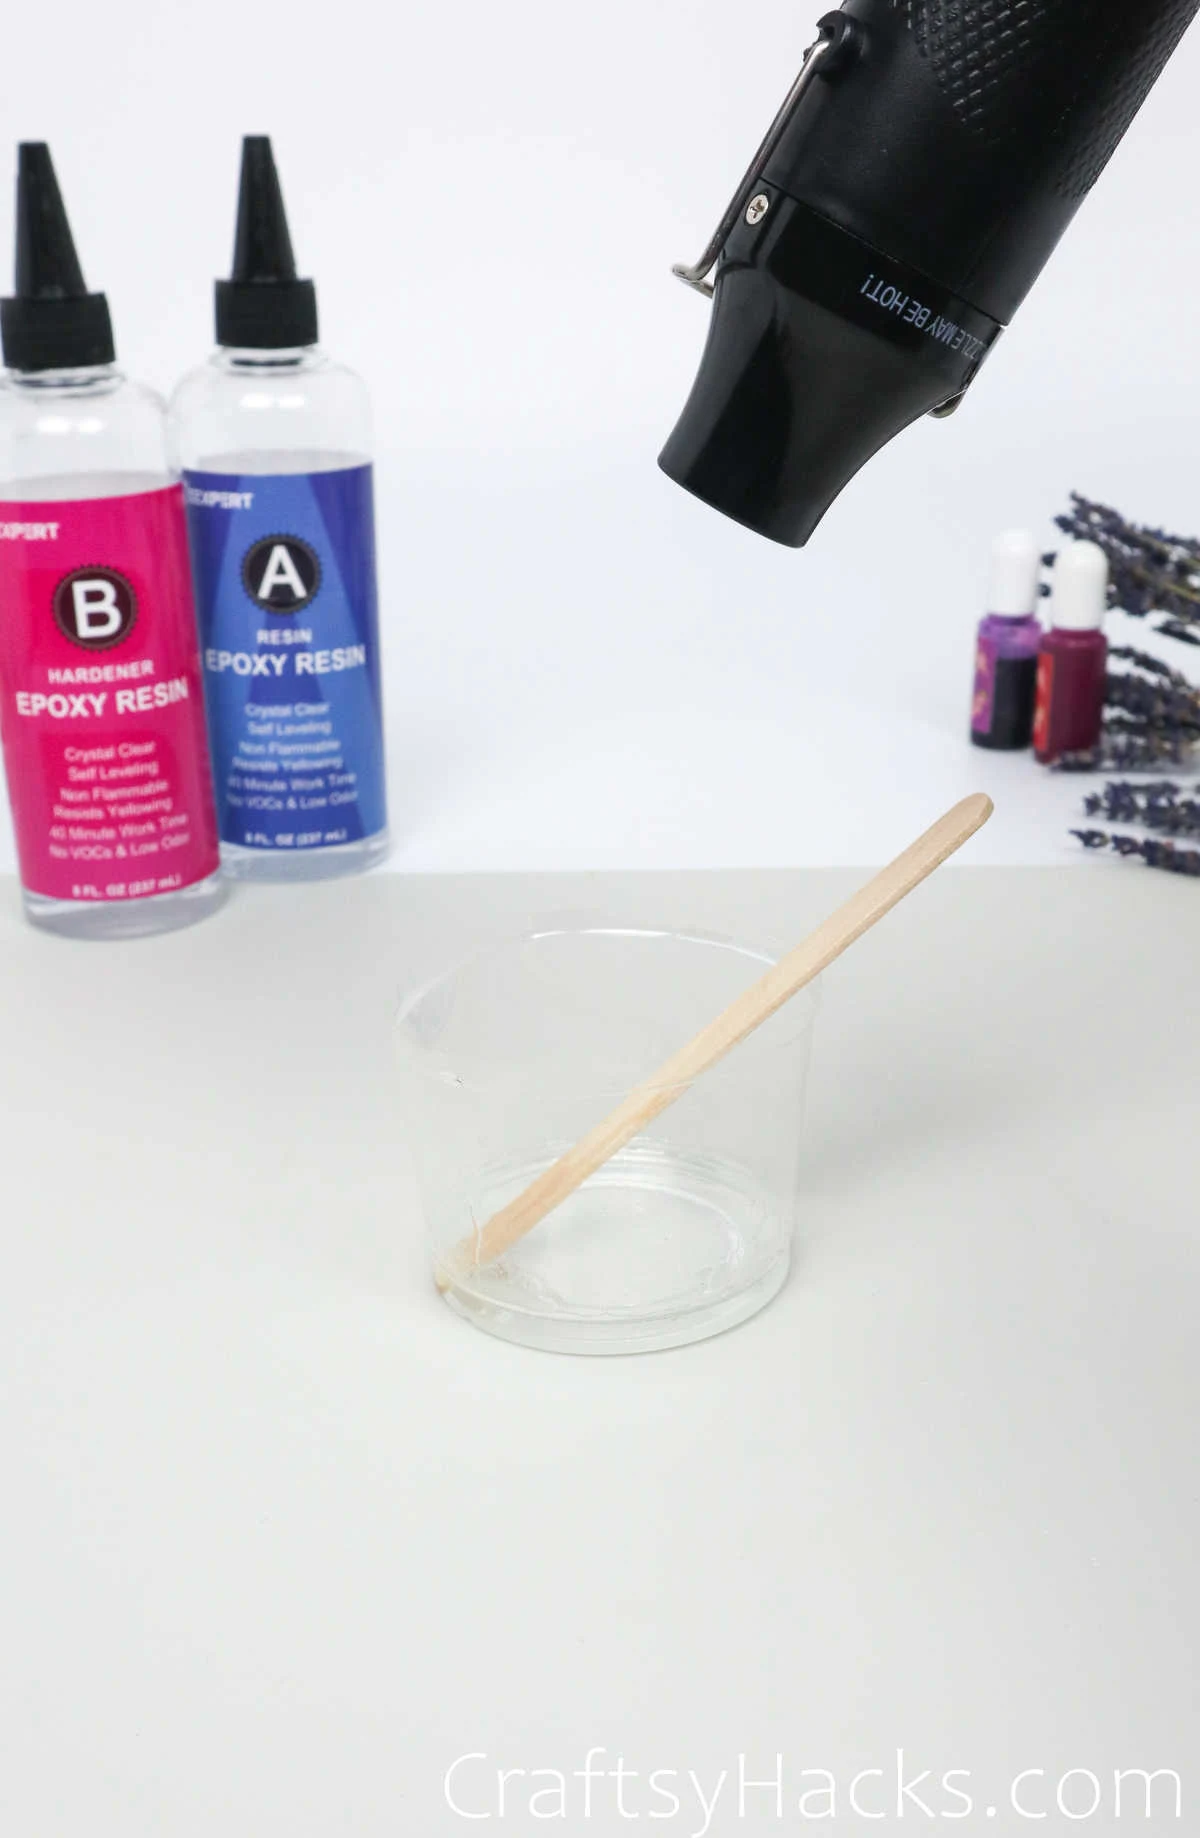
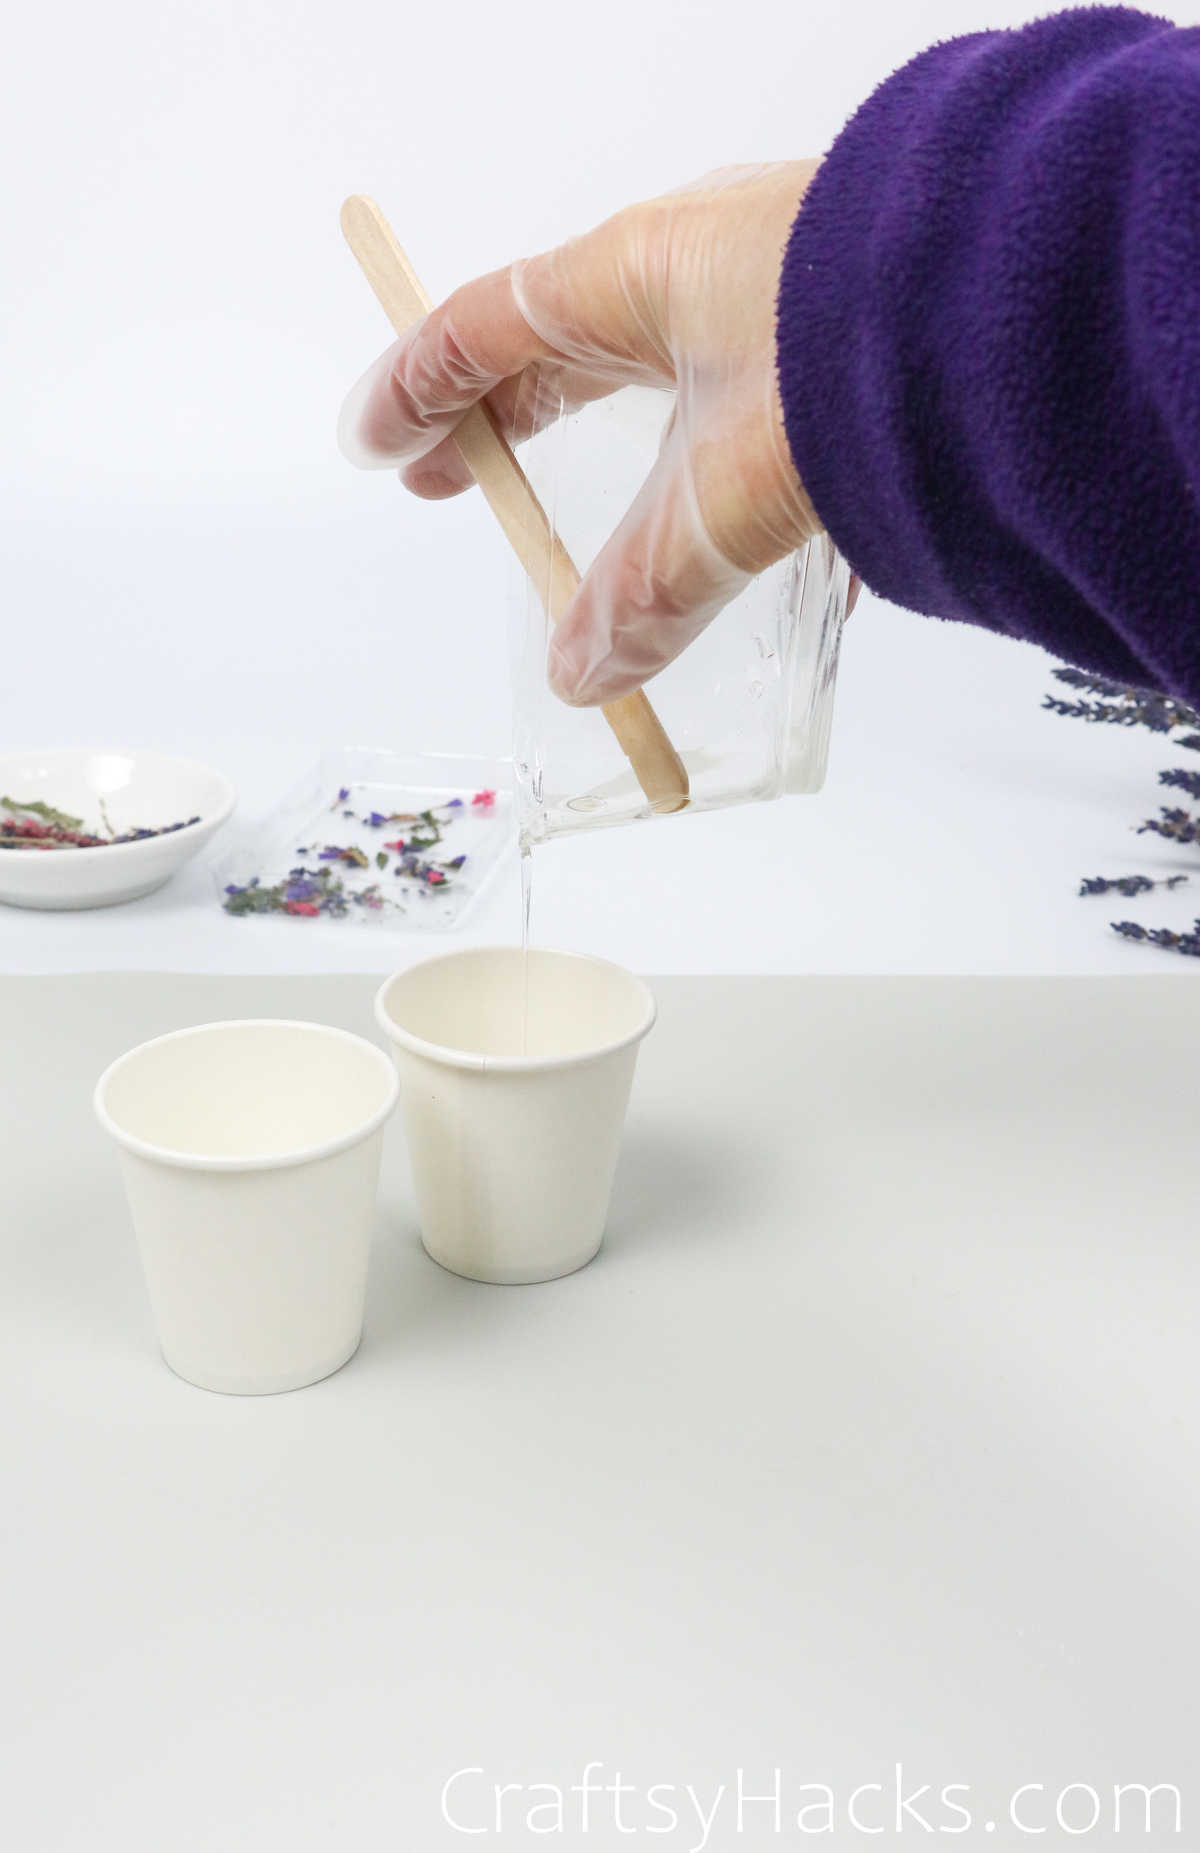
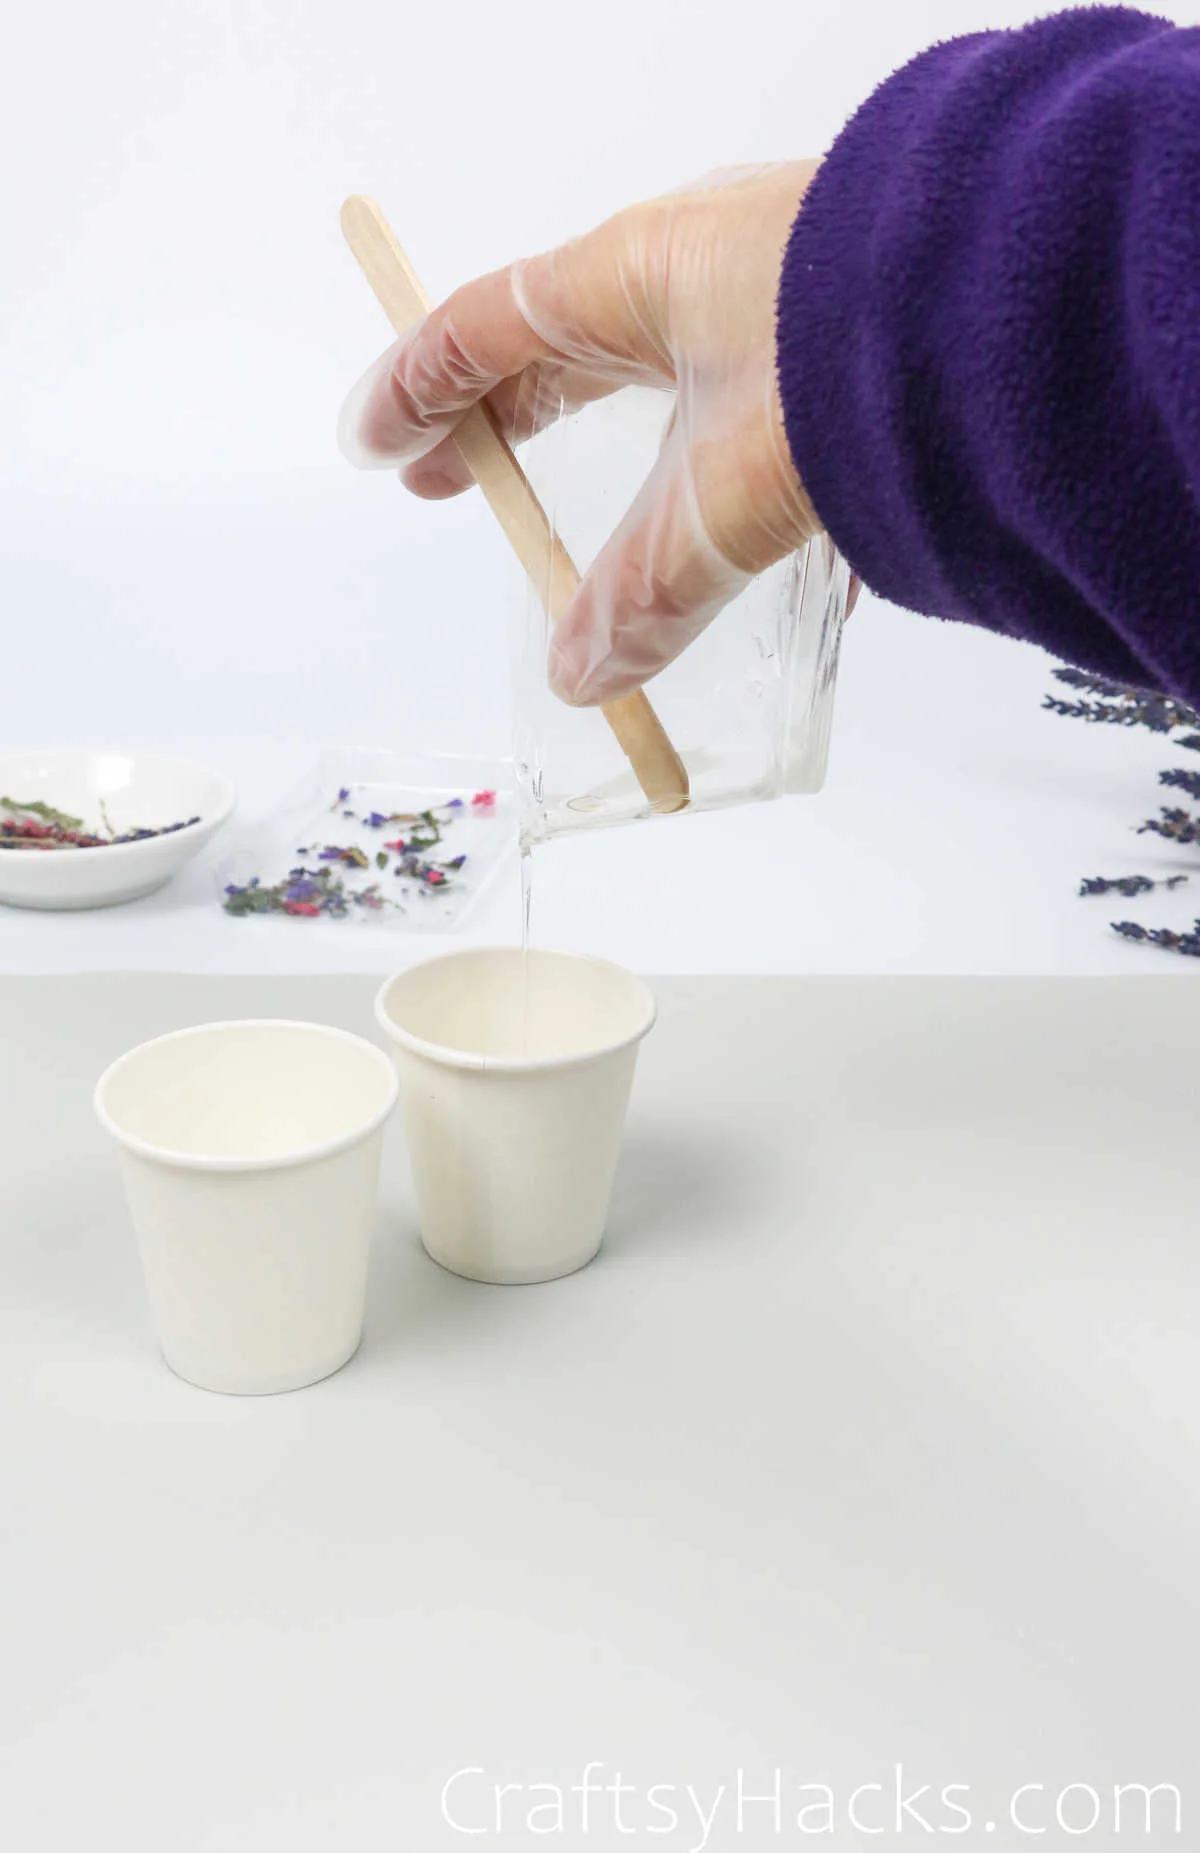
Pour equal parts resin and the hardening agent into a plastic cup–the ratio is usually 1:1, but read the instructions on the bottle just to be sure.
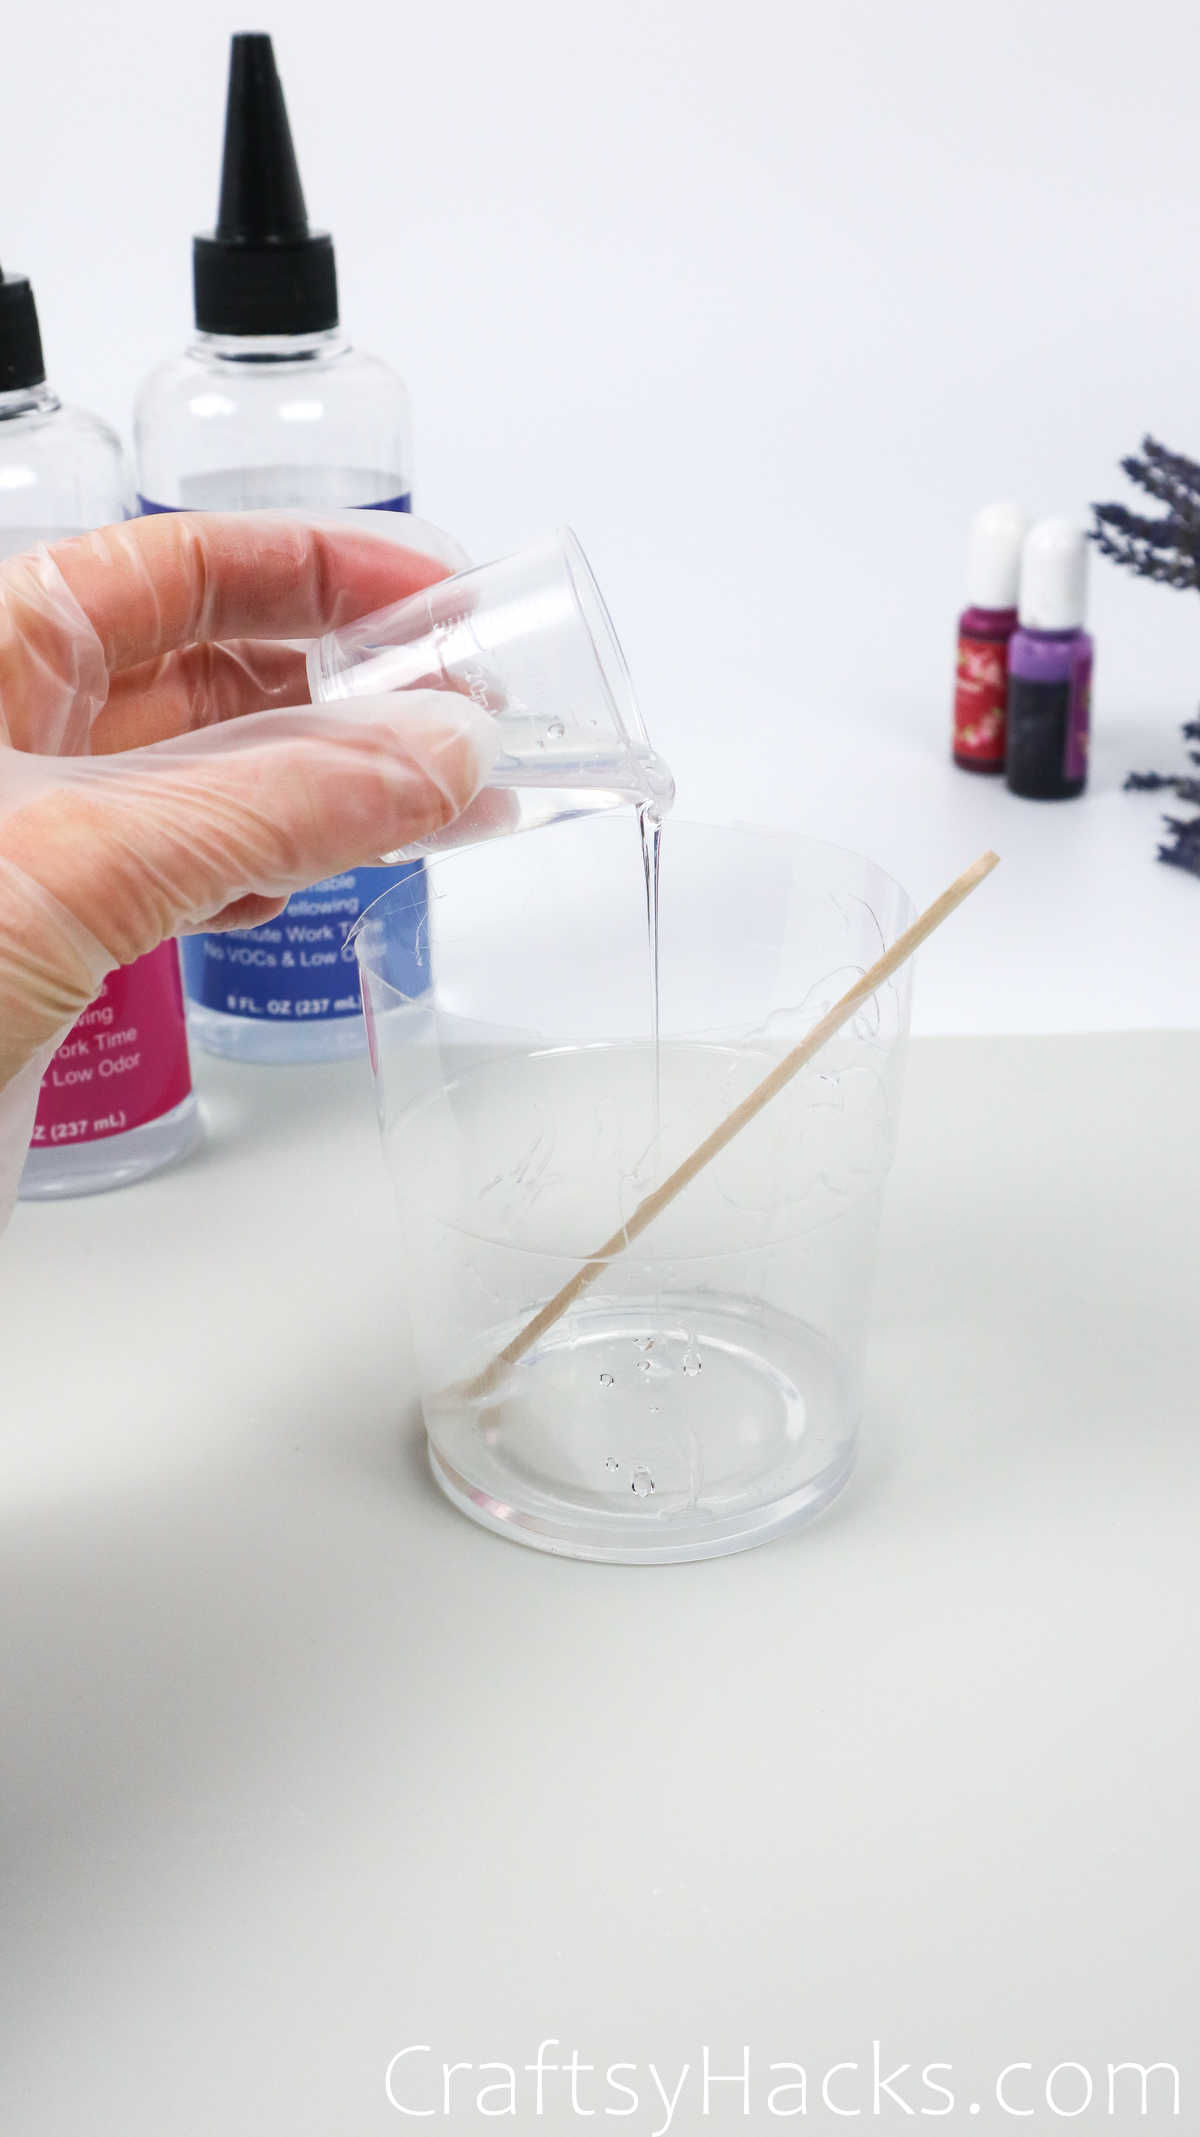
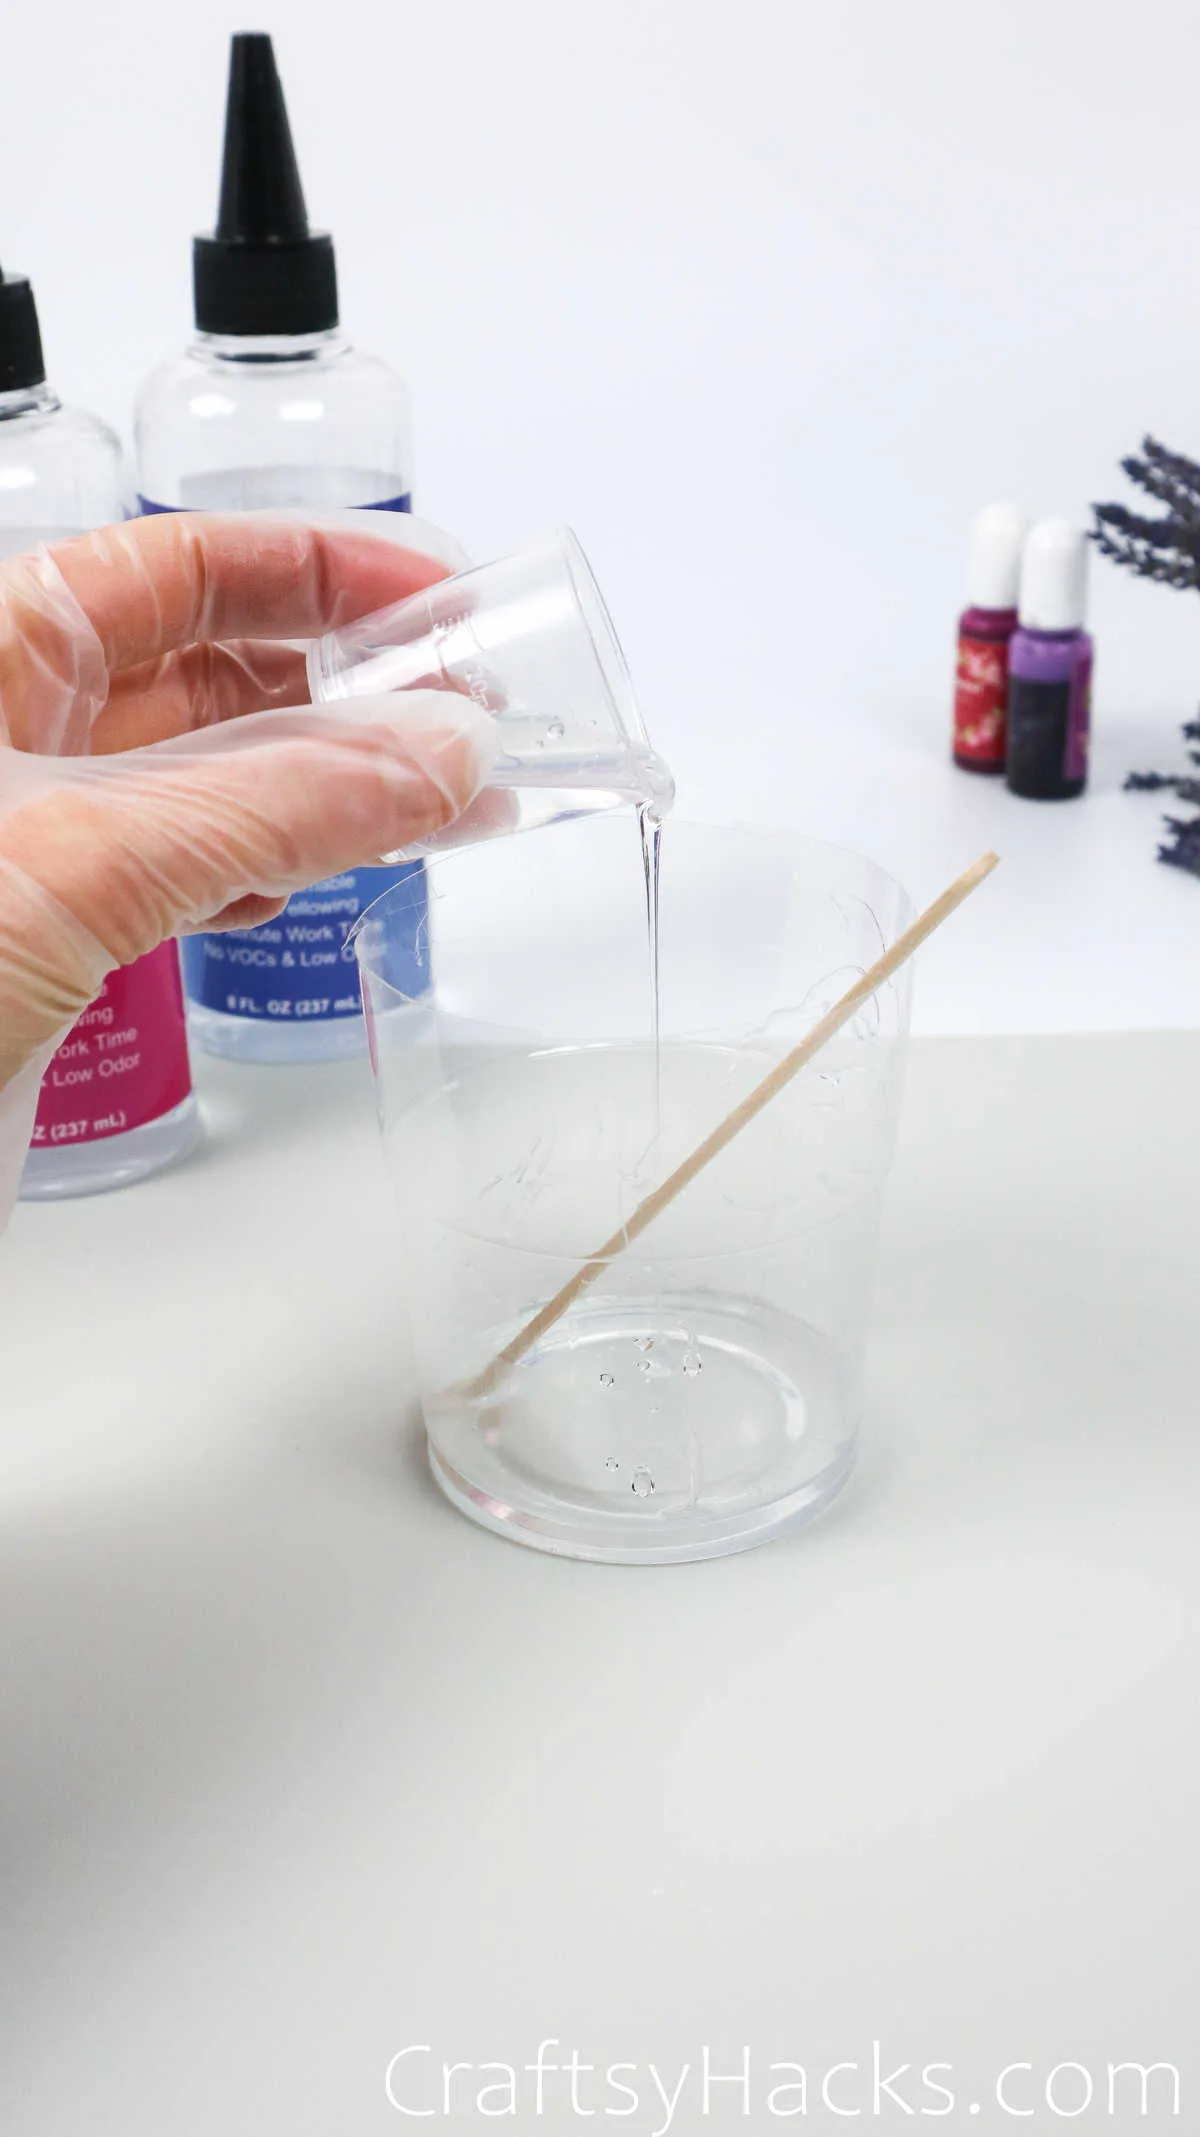
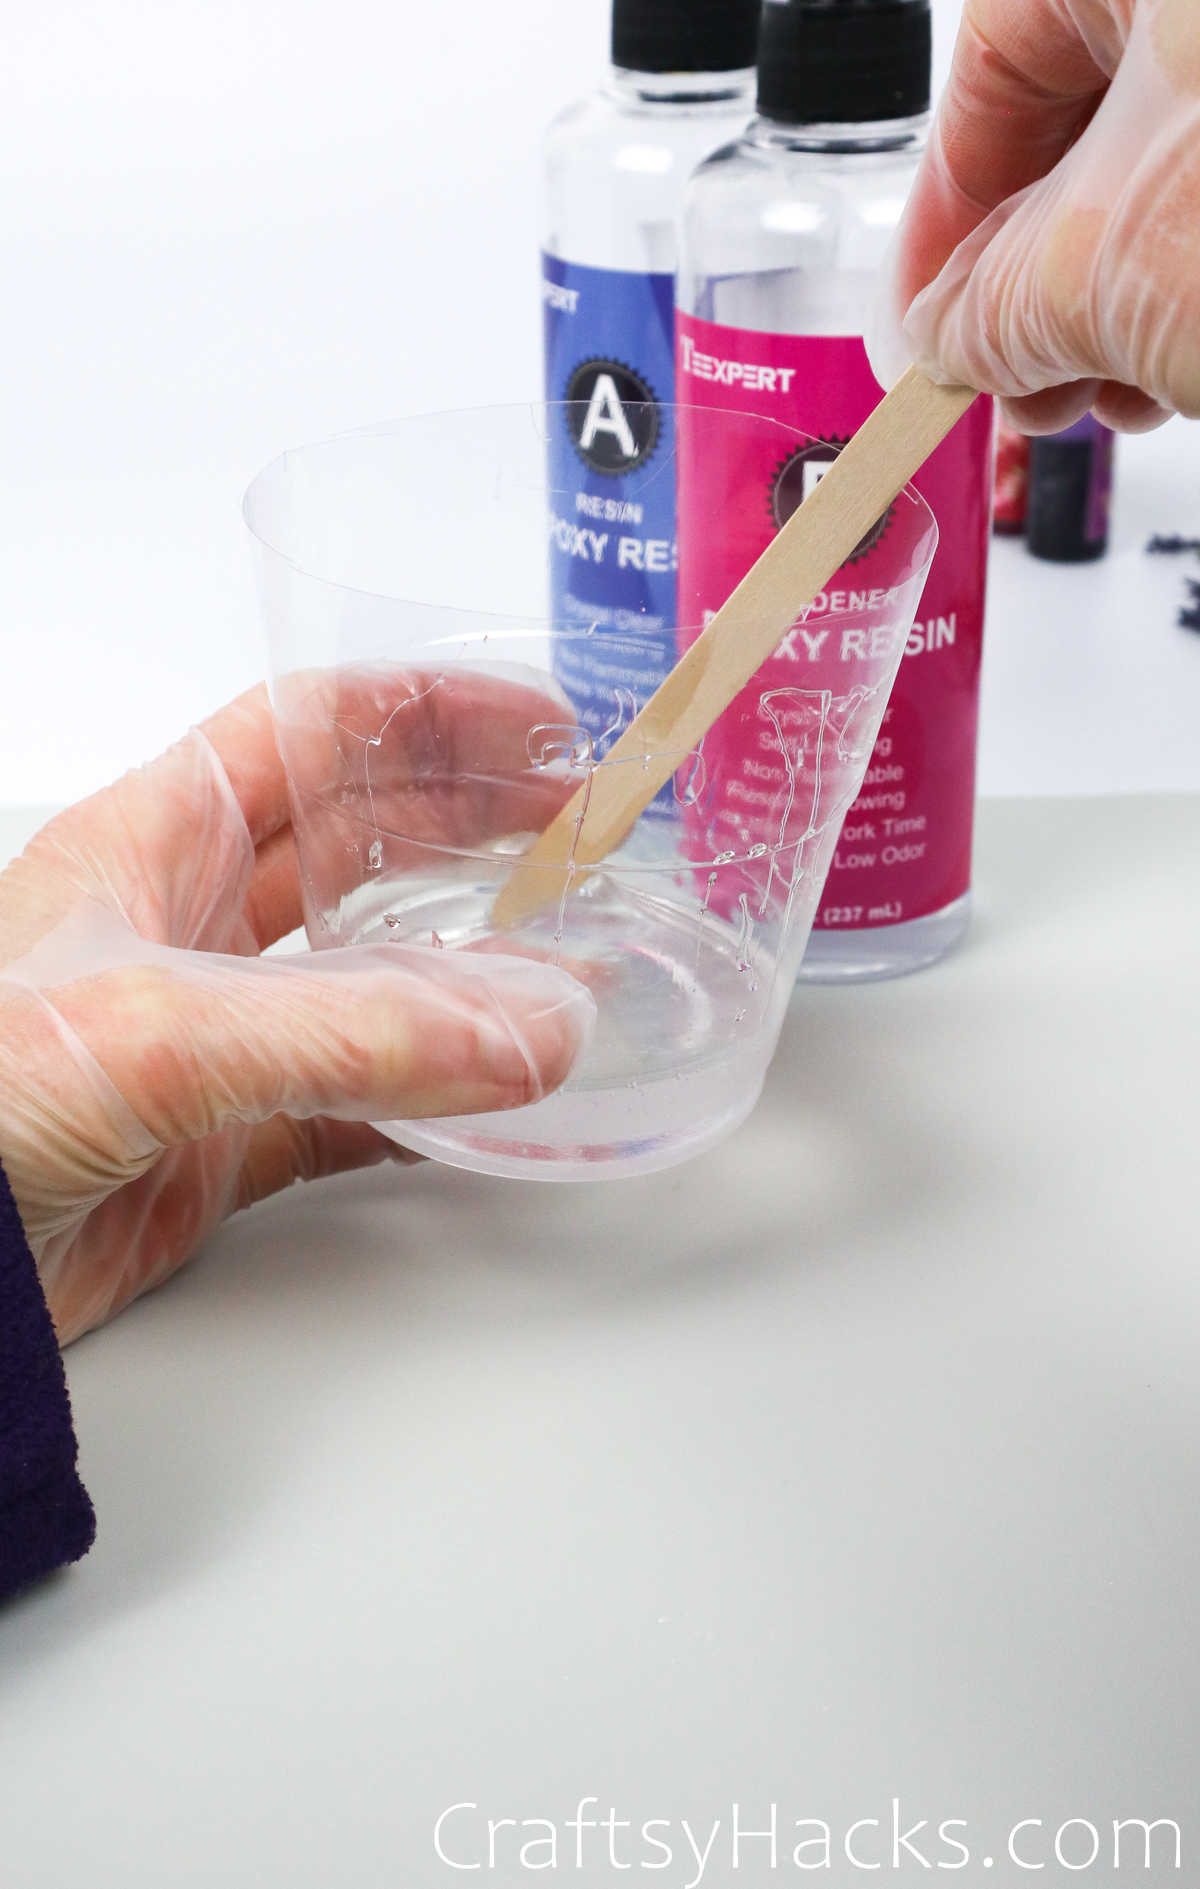
You can use a craft stick to stir the two substances together. you’ll find a ton of air bubbles emerging as you mix the two together, and that’s completely normal.
Just remember to mix the two thoroughly so that when it sets, it sets evenly. The whole step should take you 2-3 minutes.

Step 3
Remember all those air bubbles? Well, it’s time to pop them! You can use a heat gun or torch, or, alternatively let them sit in a hot bath for 3-4 minutes.

Step 4
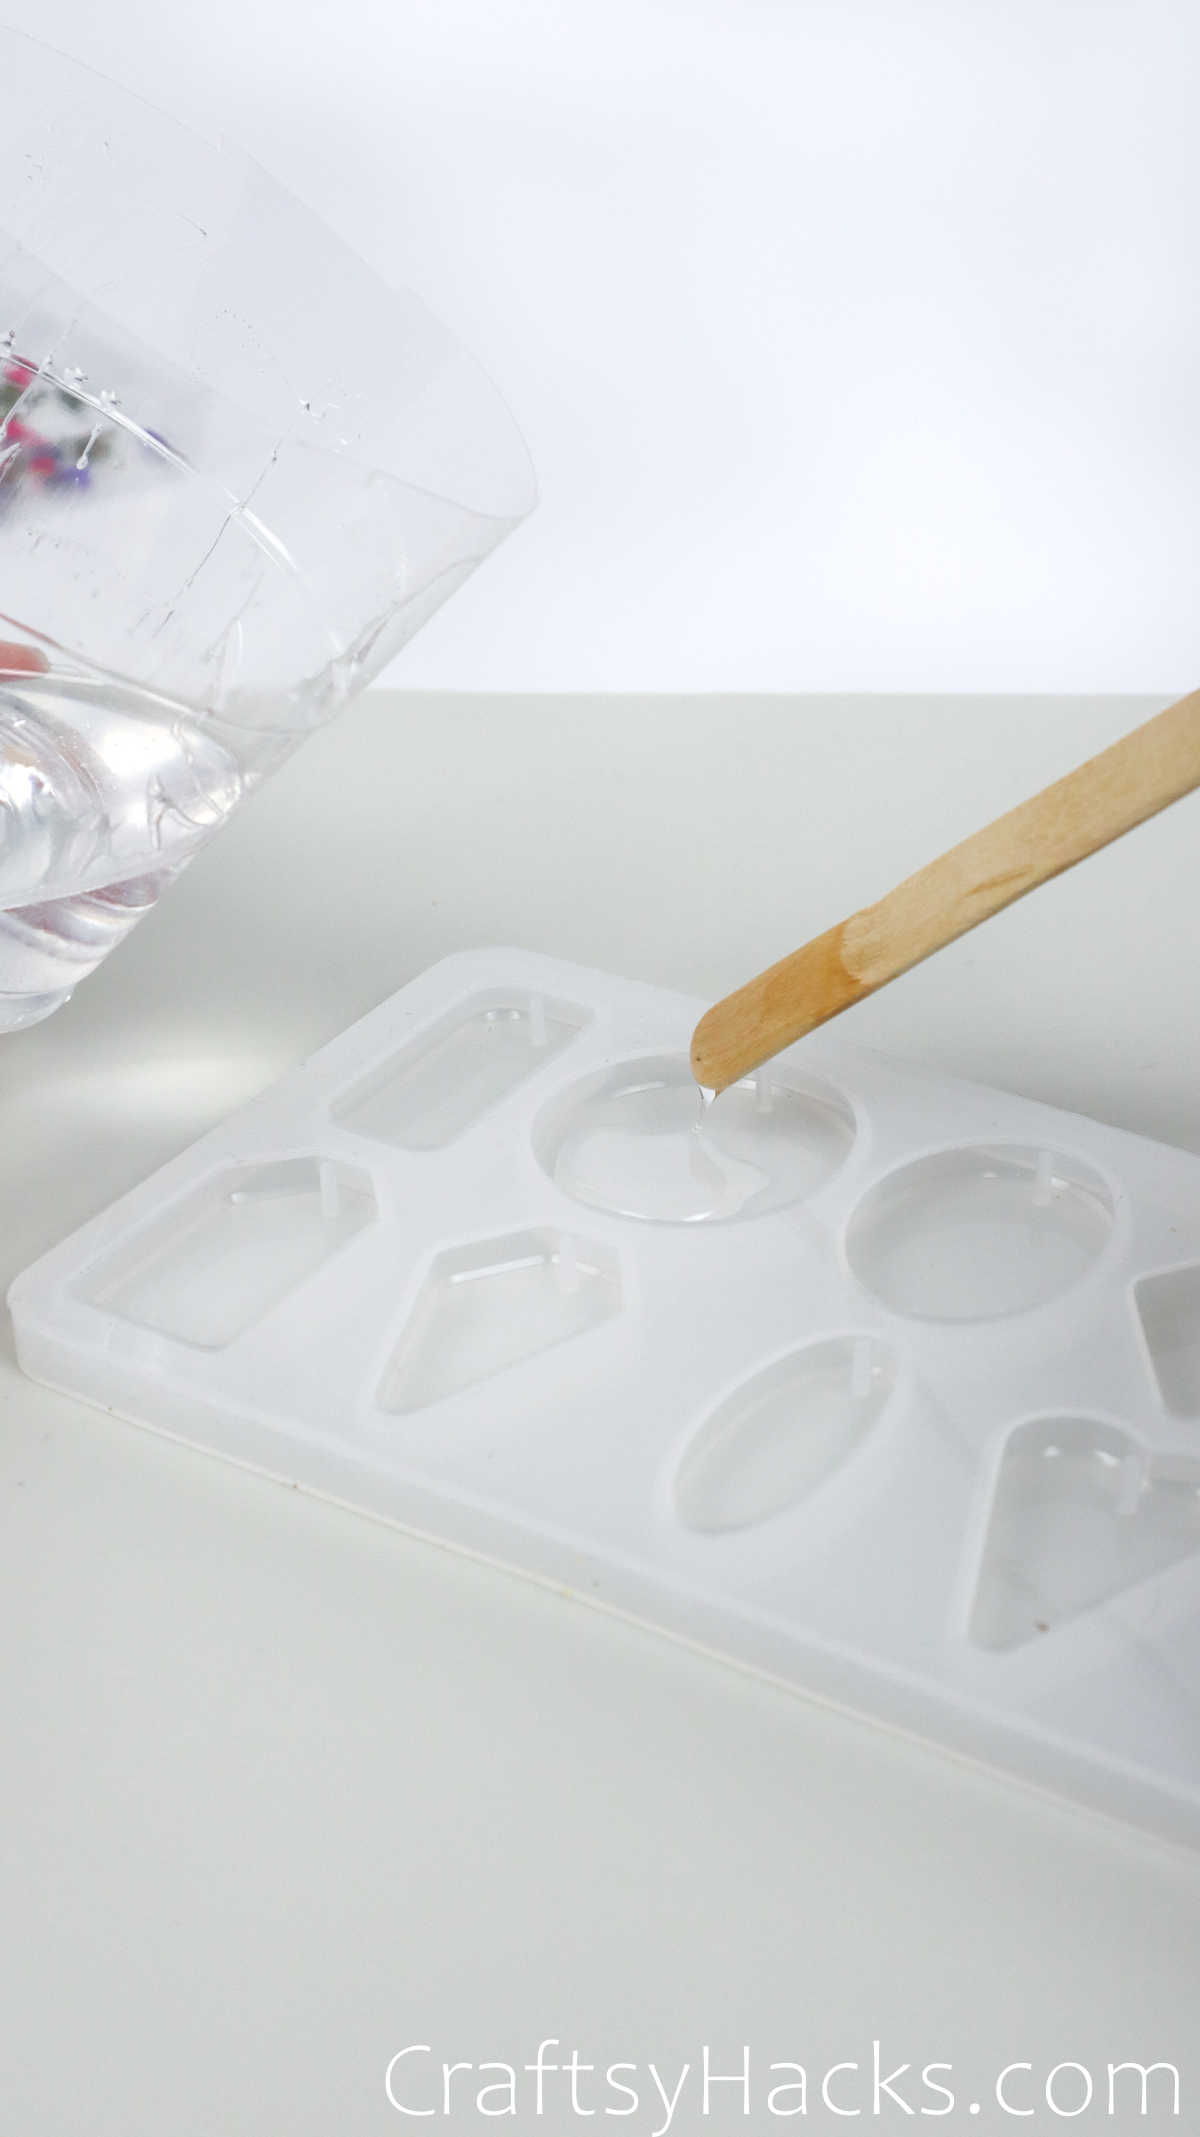
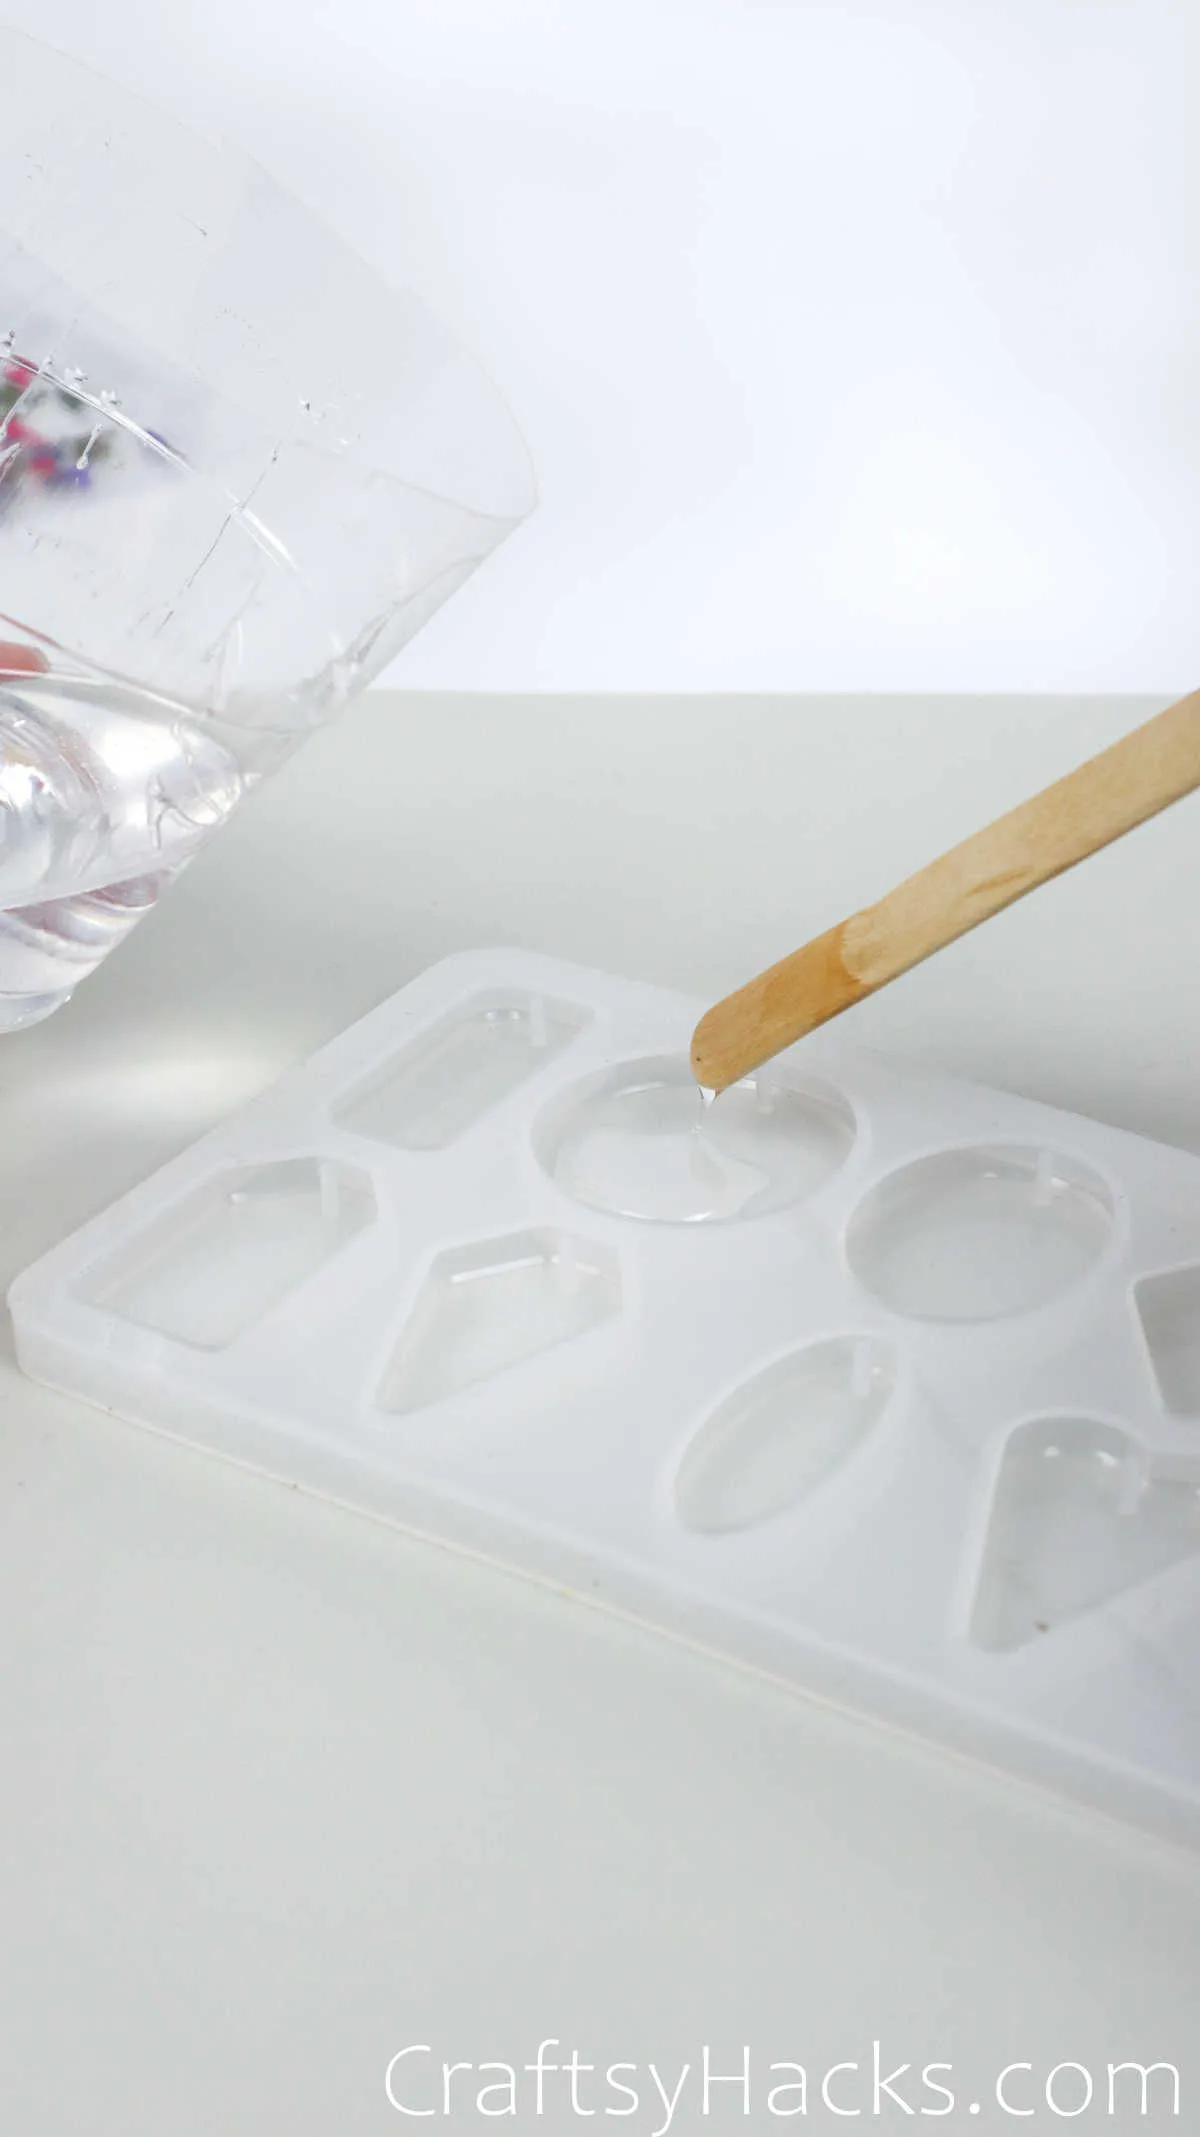
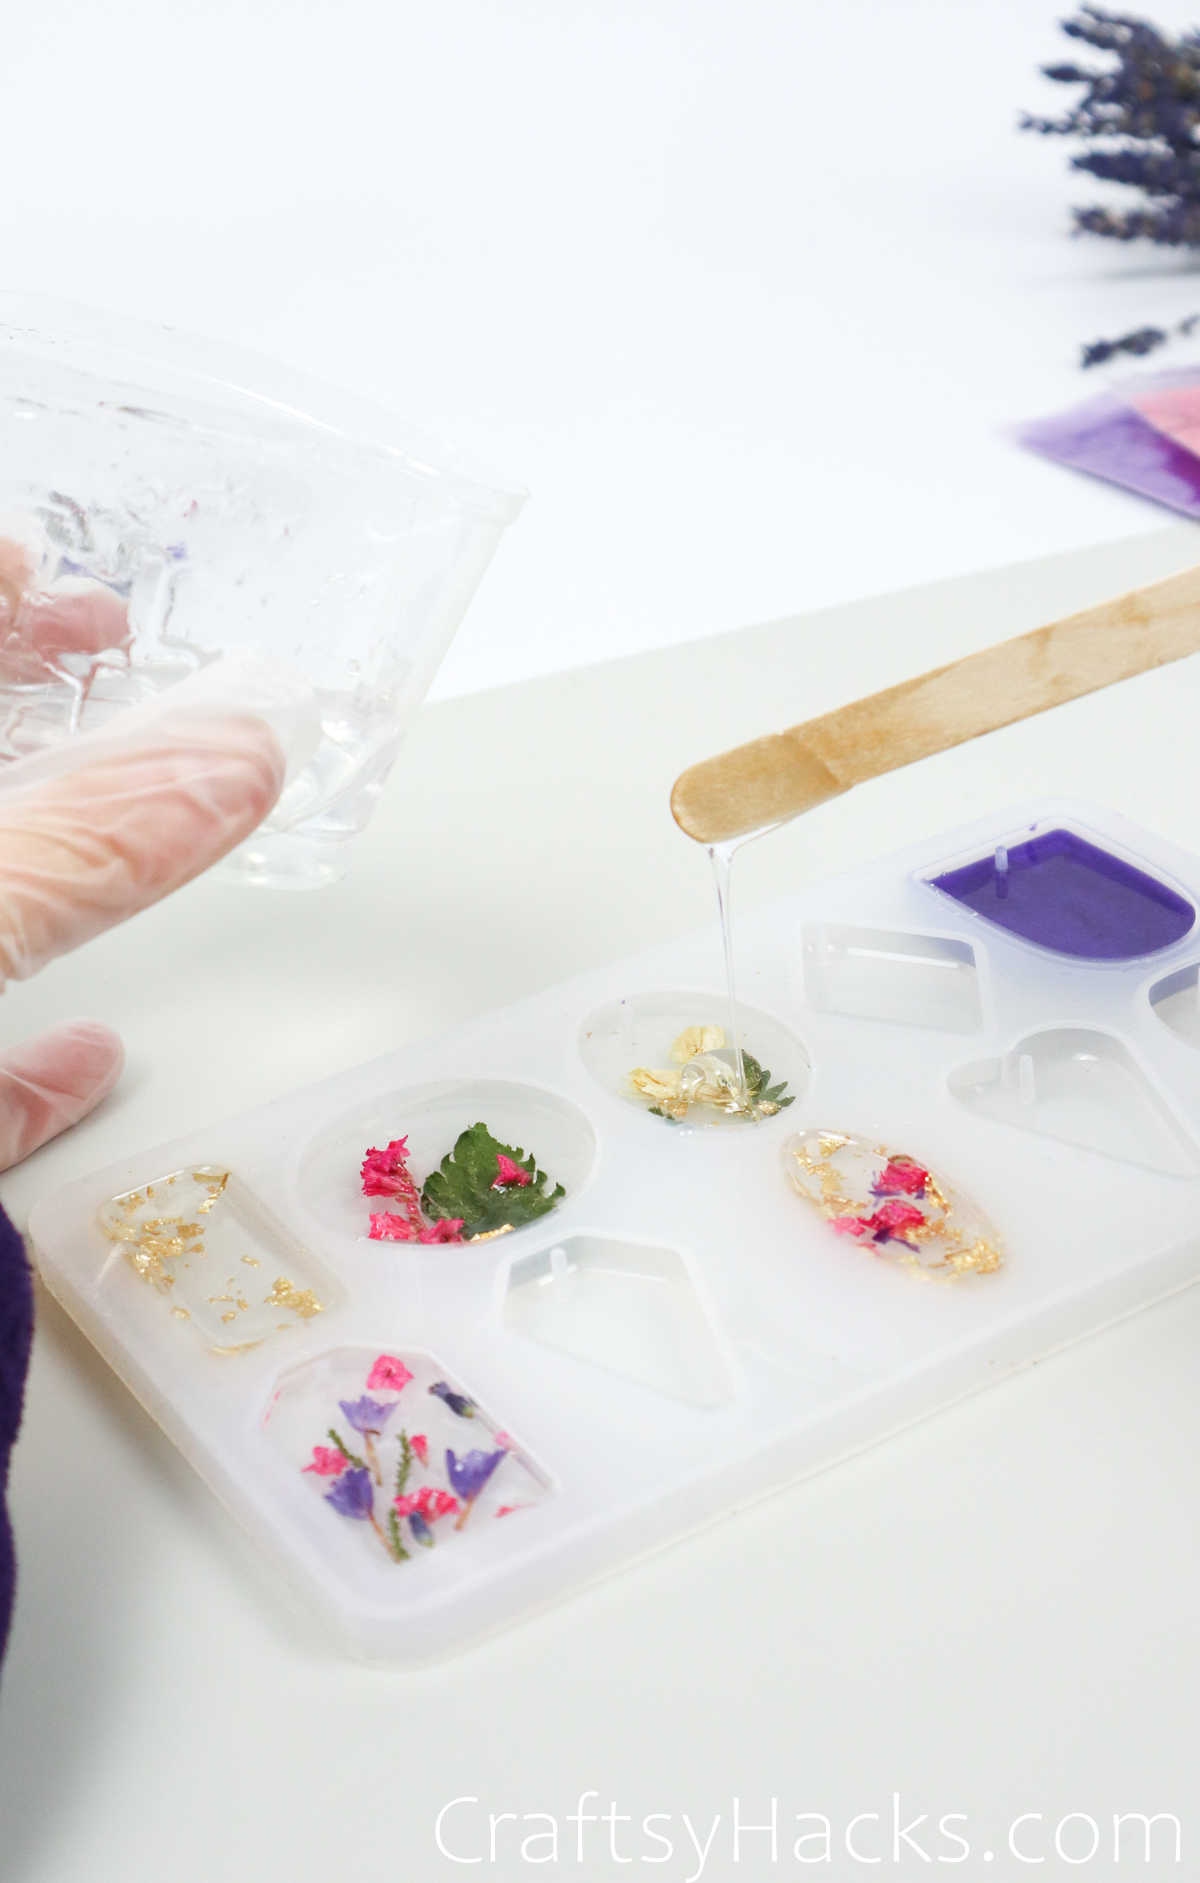
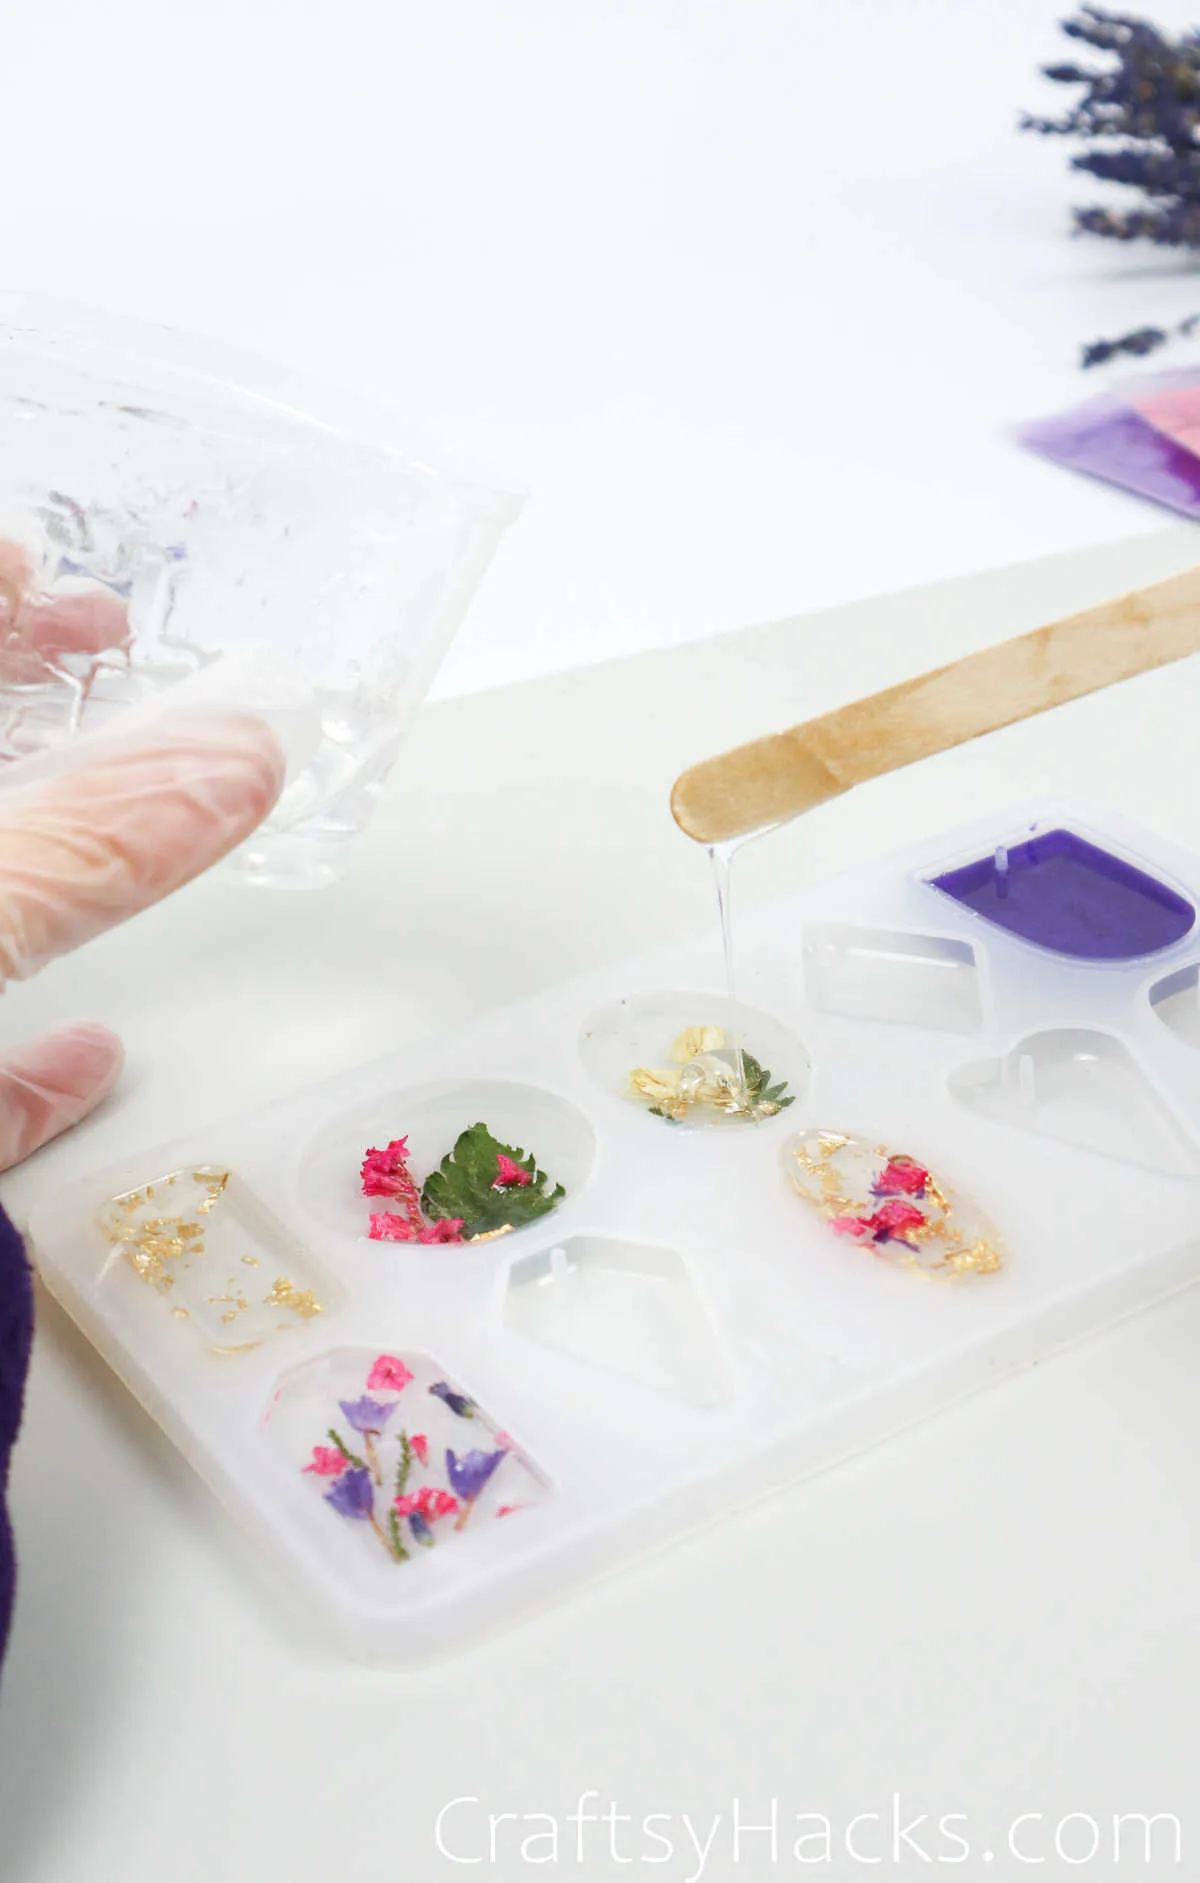
It’s time to pour the first of the three layers you’ll be setting to make this keychain. Get moving once you get started because the resin will harden and become tacky.
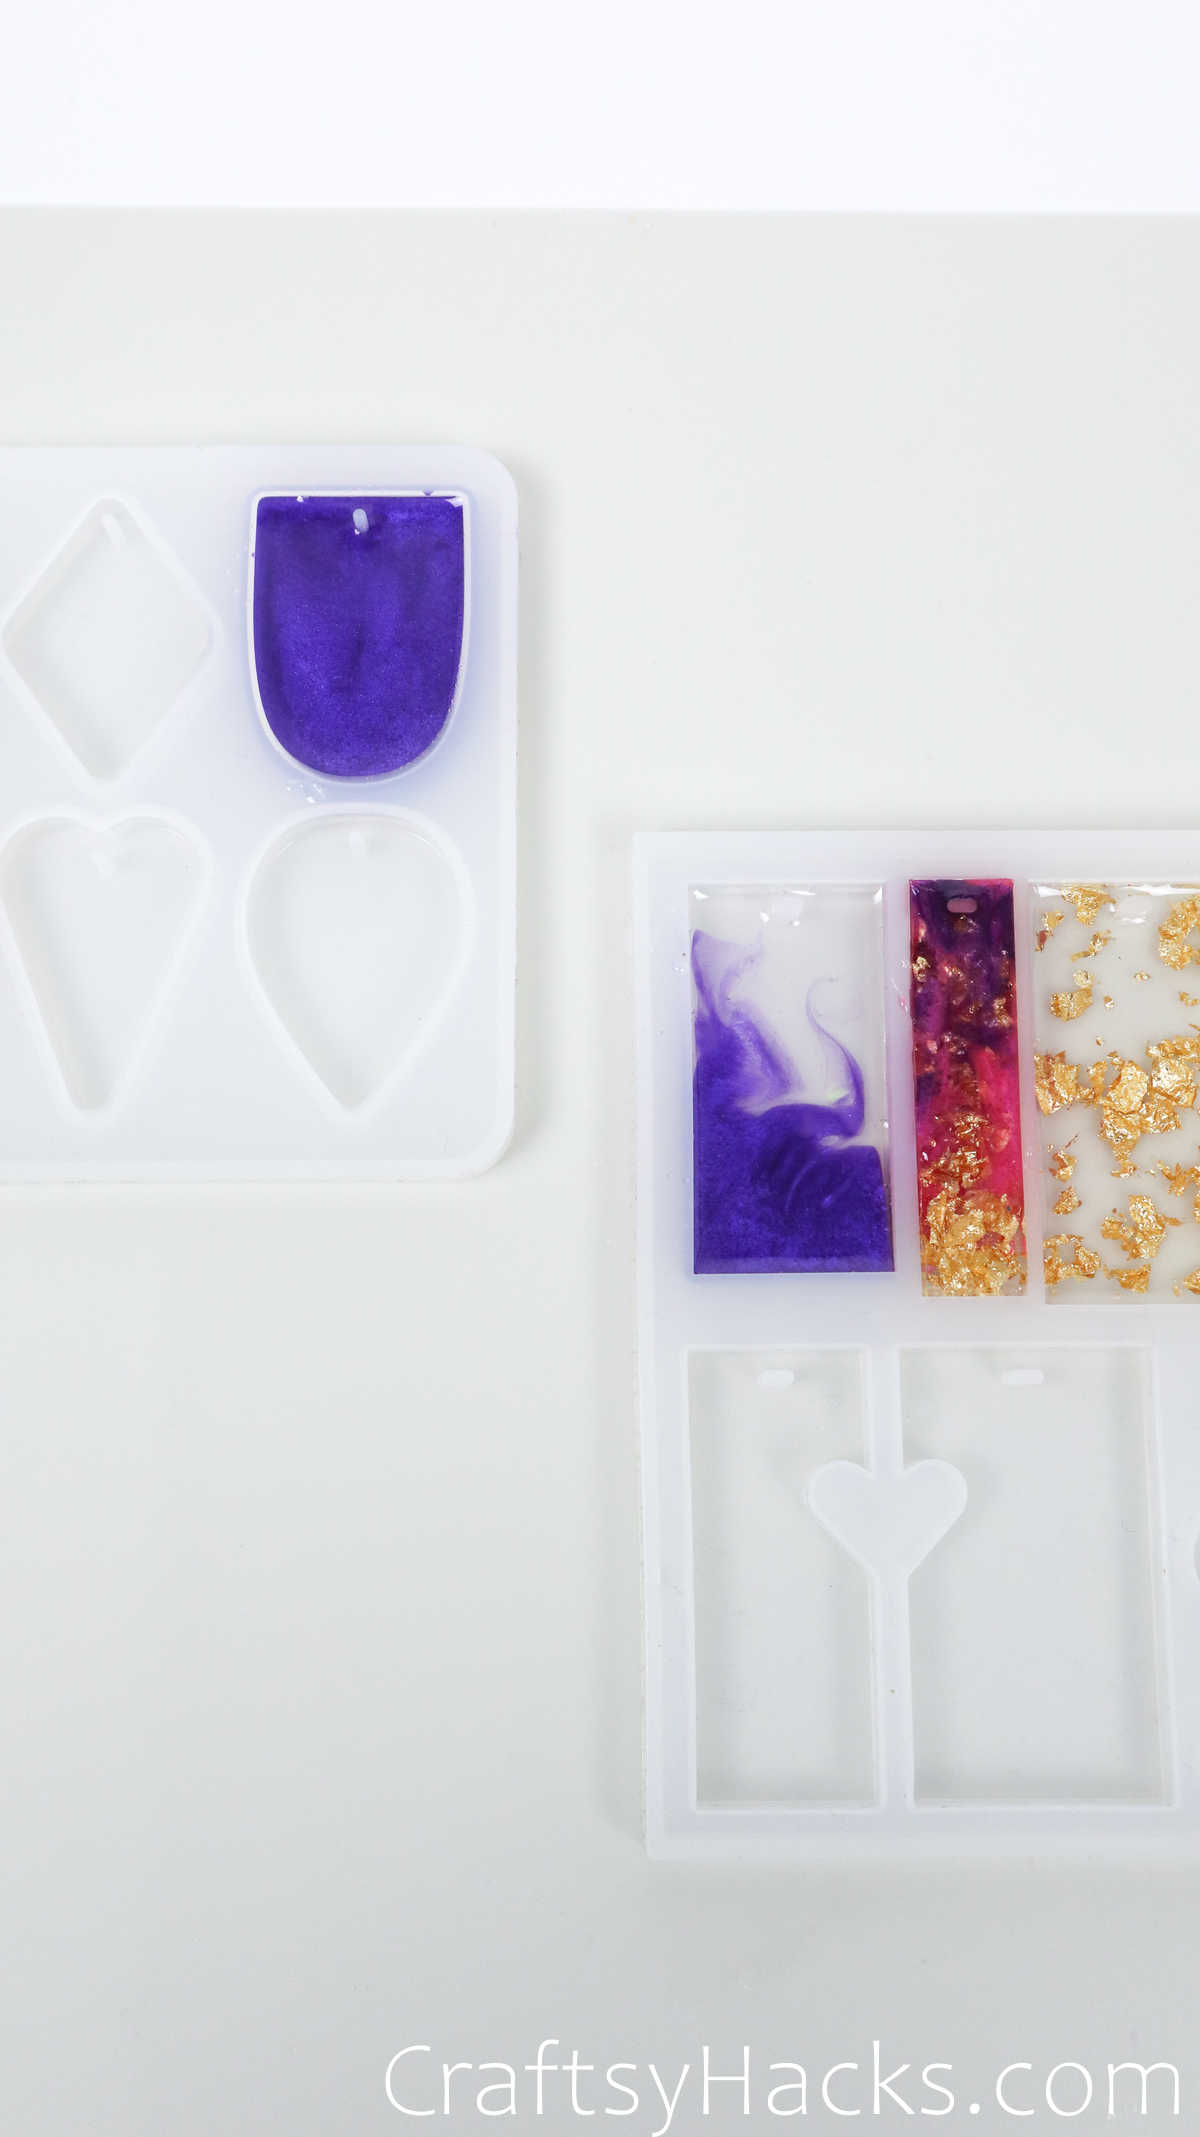
Pour a layer of the resin into the molds, as seen below. If bubbles appear again, use the heat gun to level the surface.
Step 5
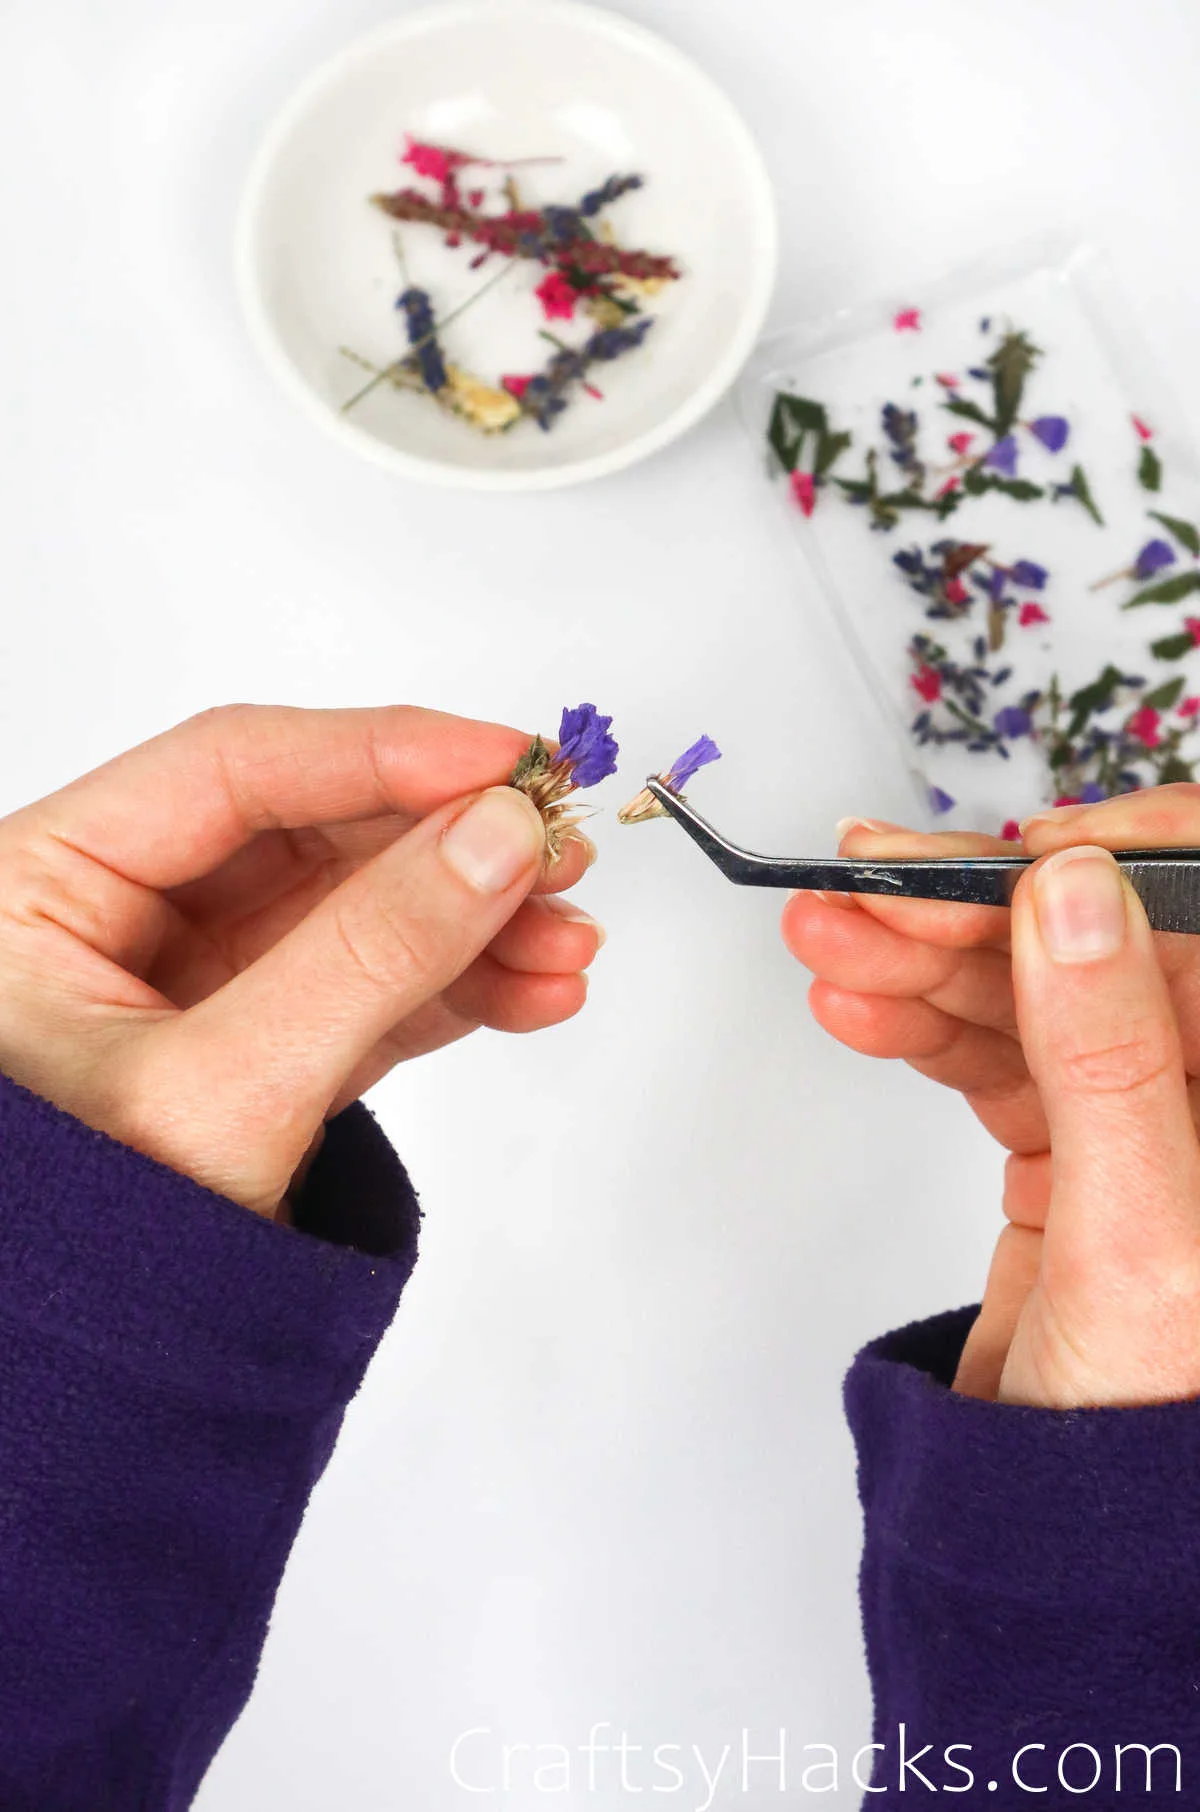
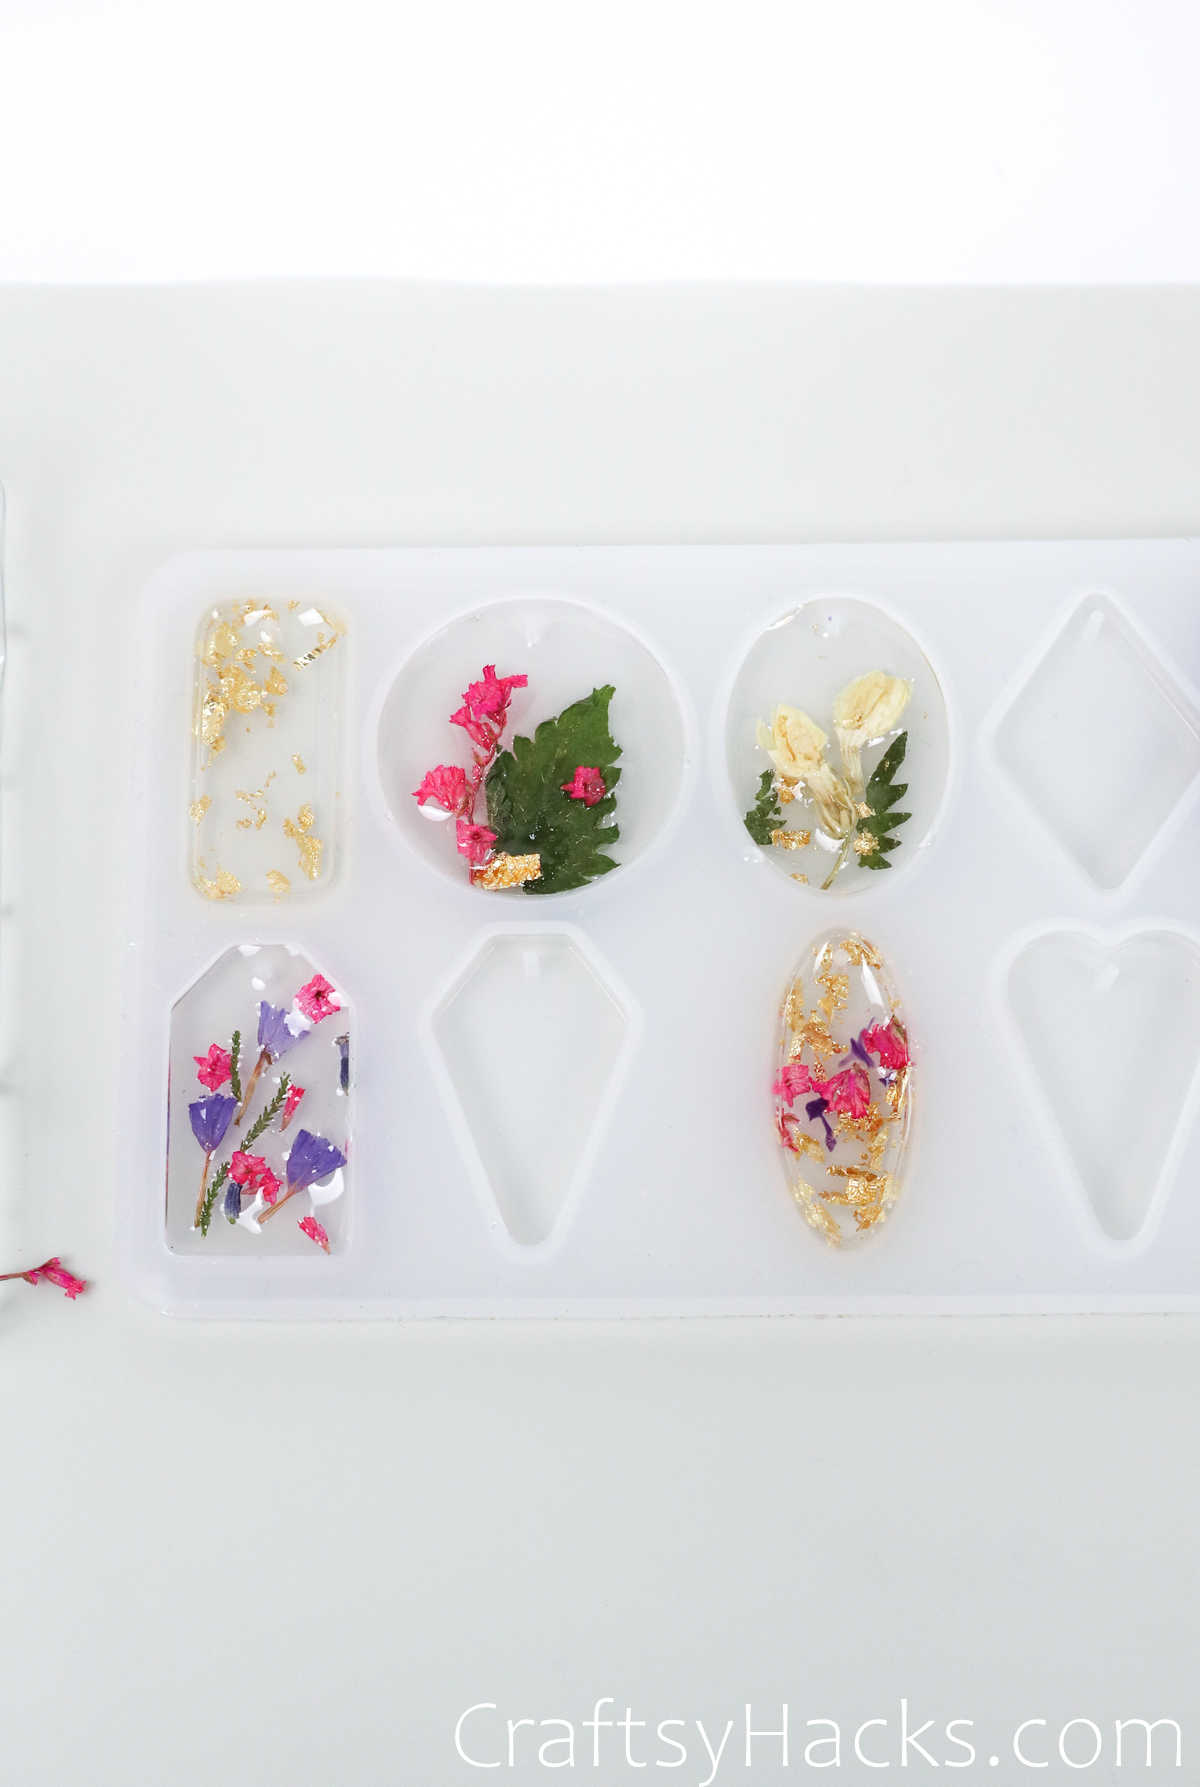
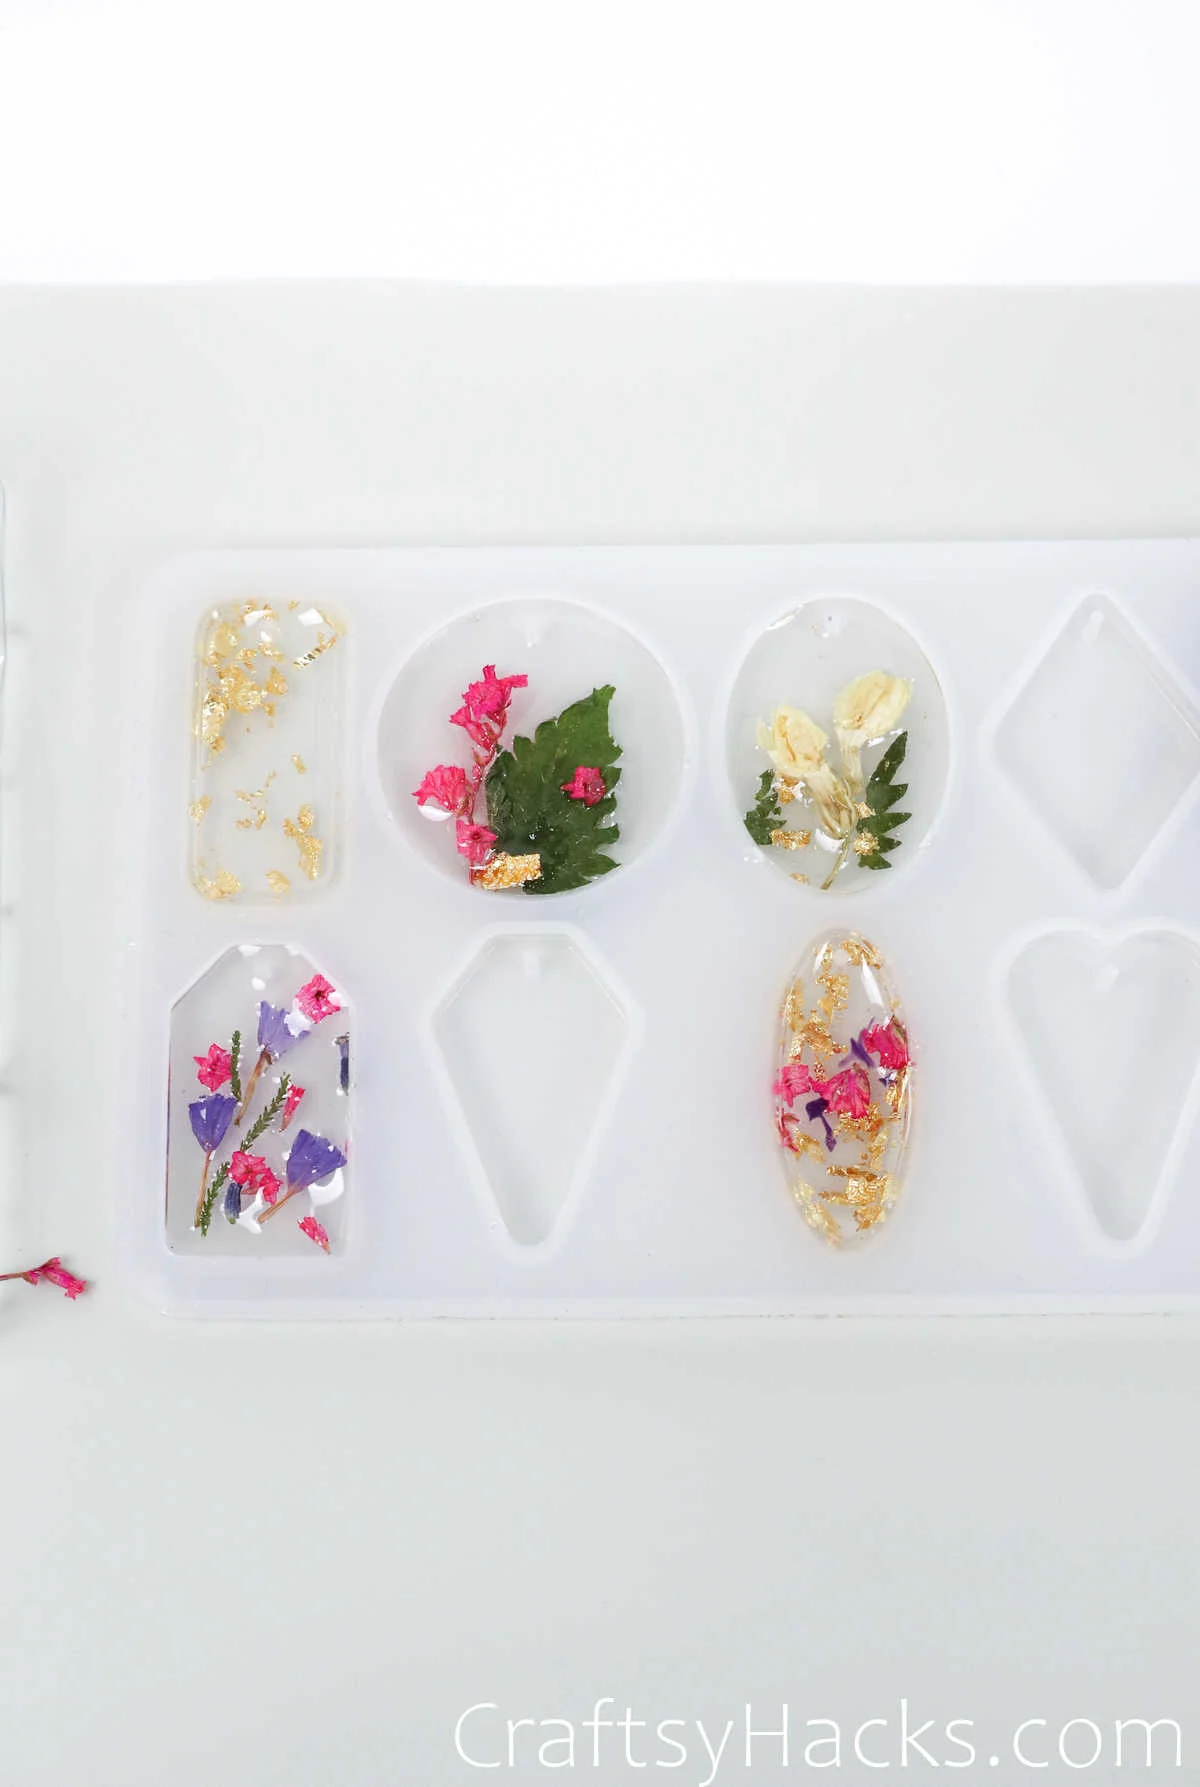
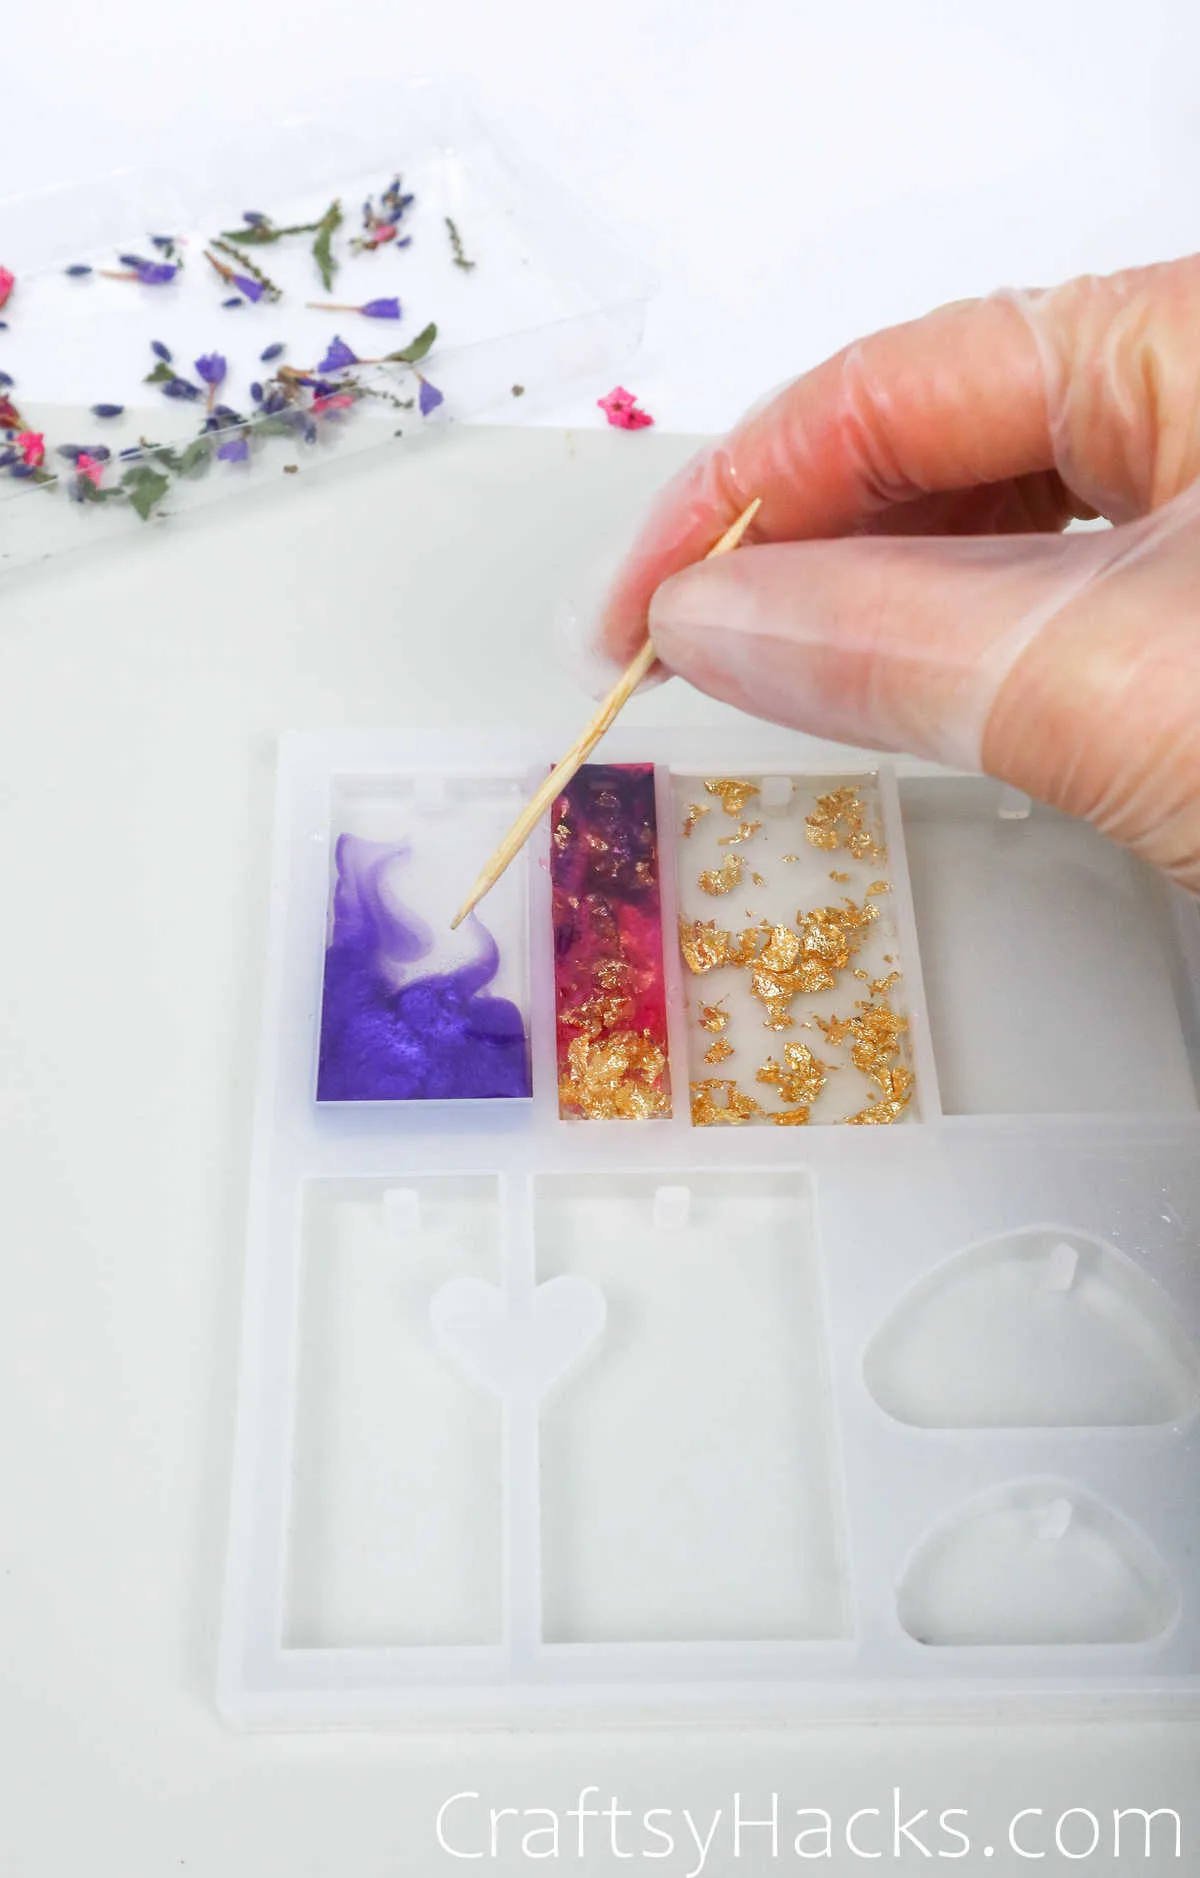
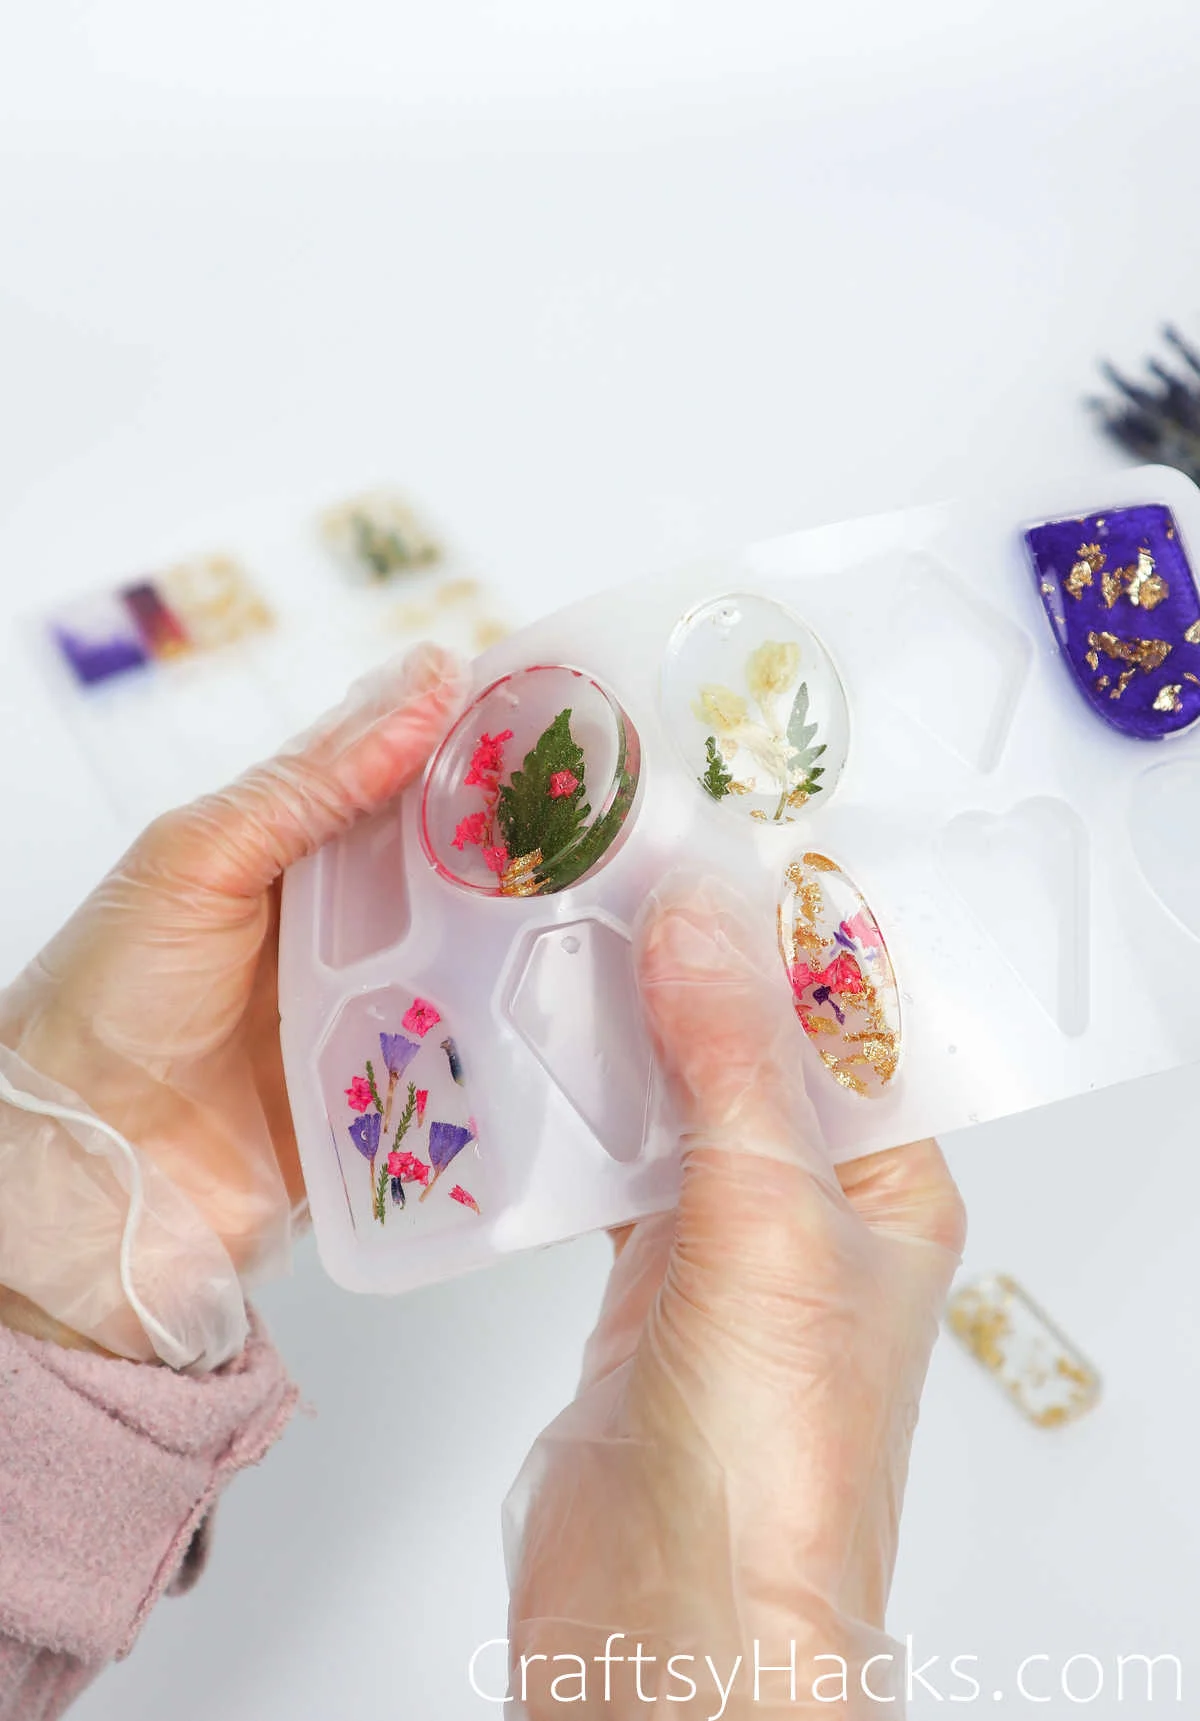
For the net layer, you’ll need to grab a pair of tweezers and carefully place the flowers over the resin surface. Since these flowers won’t sink in, you will need to cover them up with a third layer of resin.
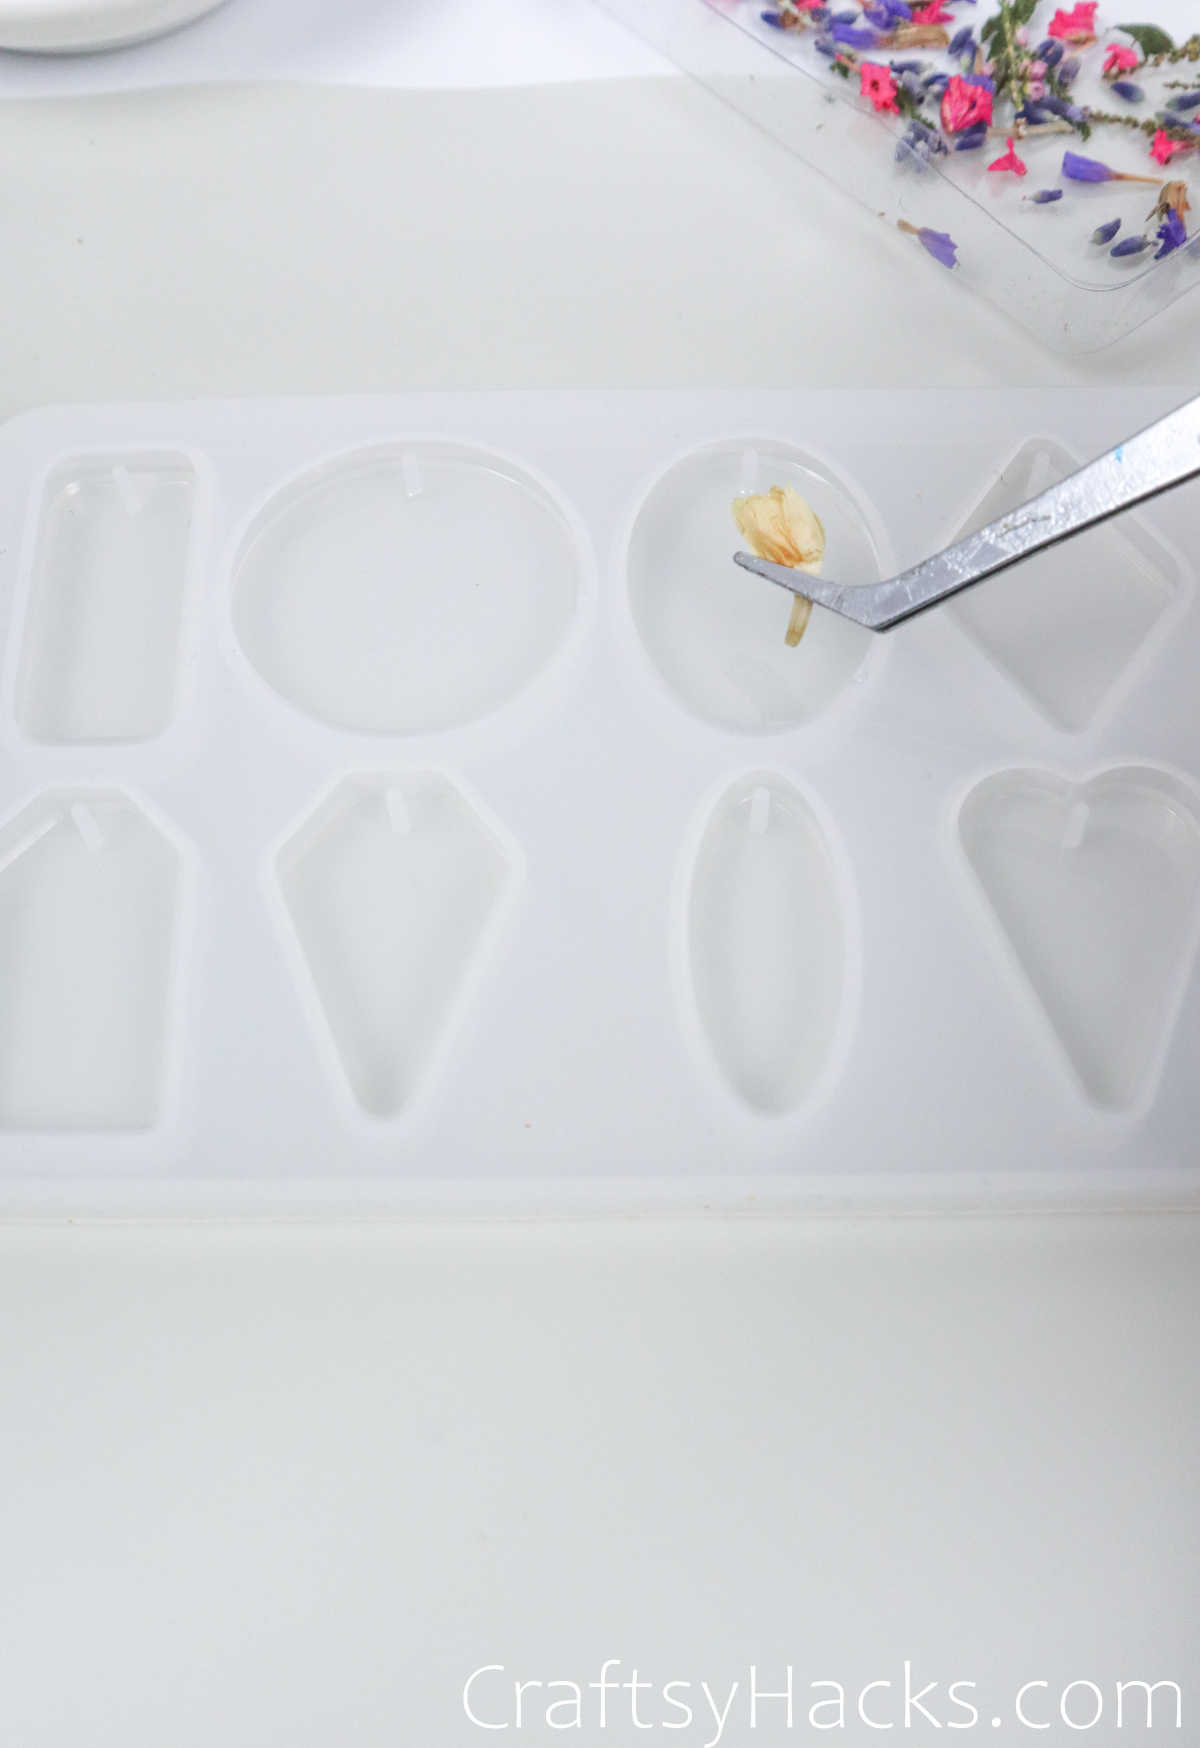
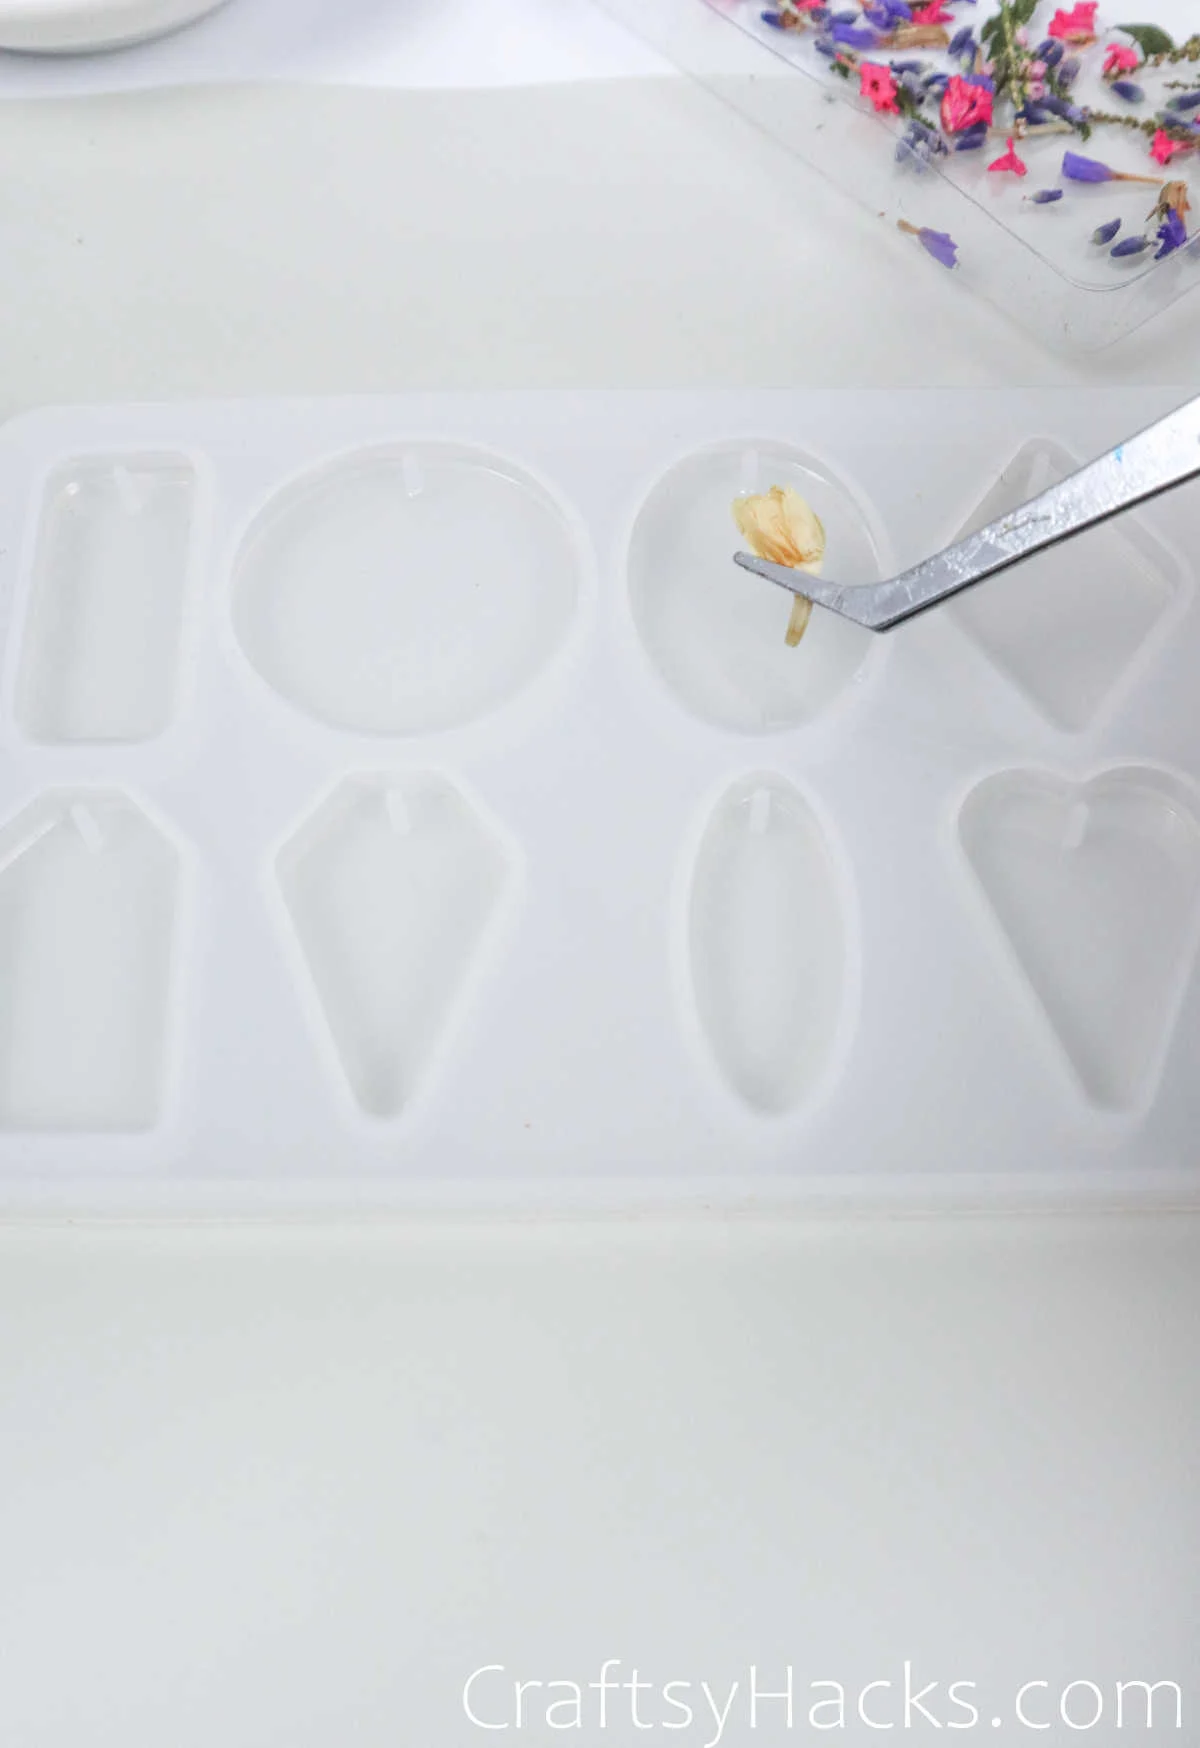
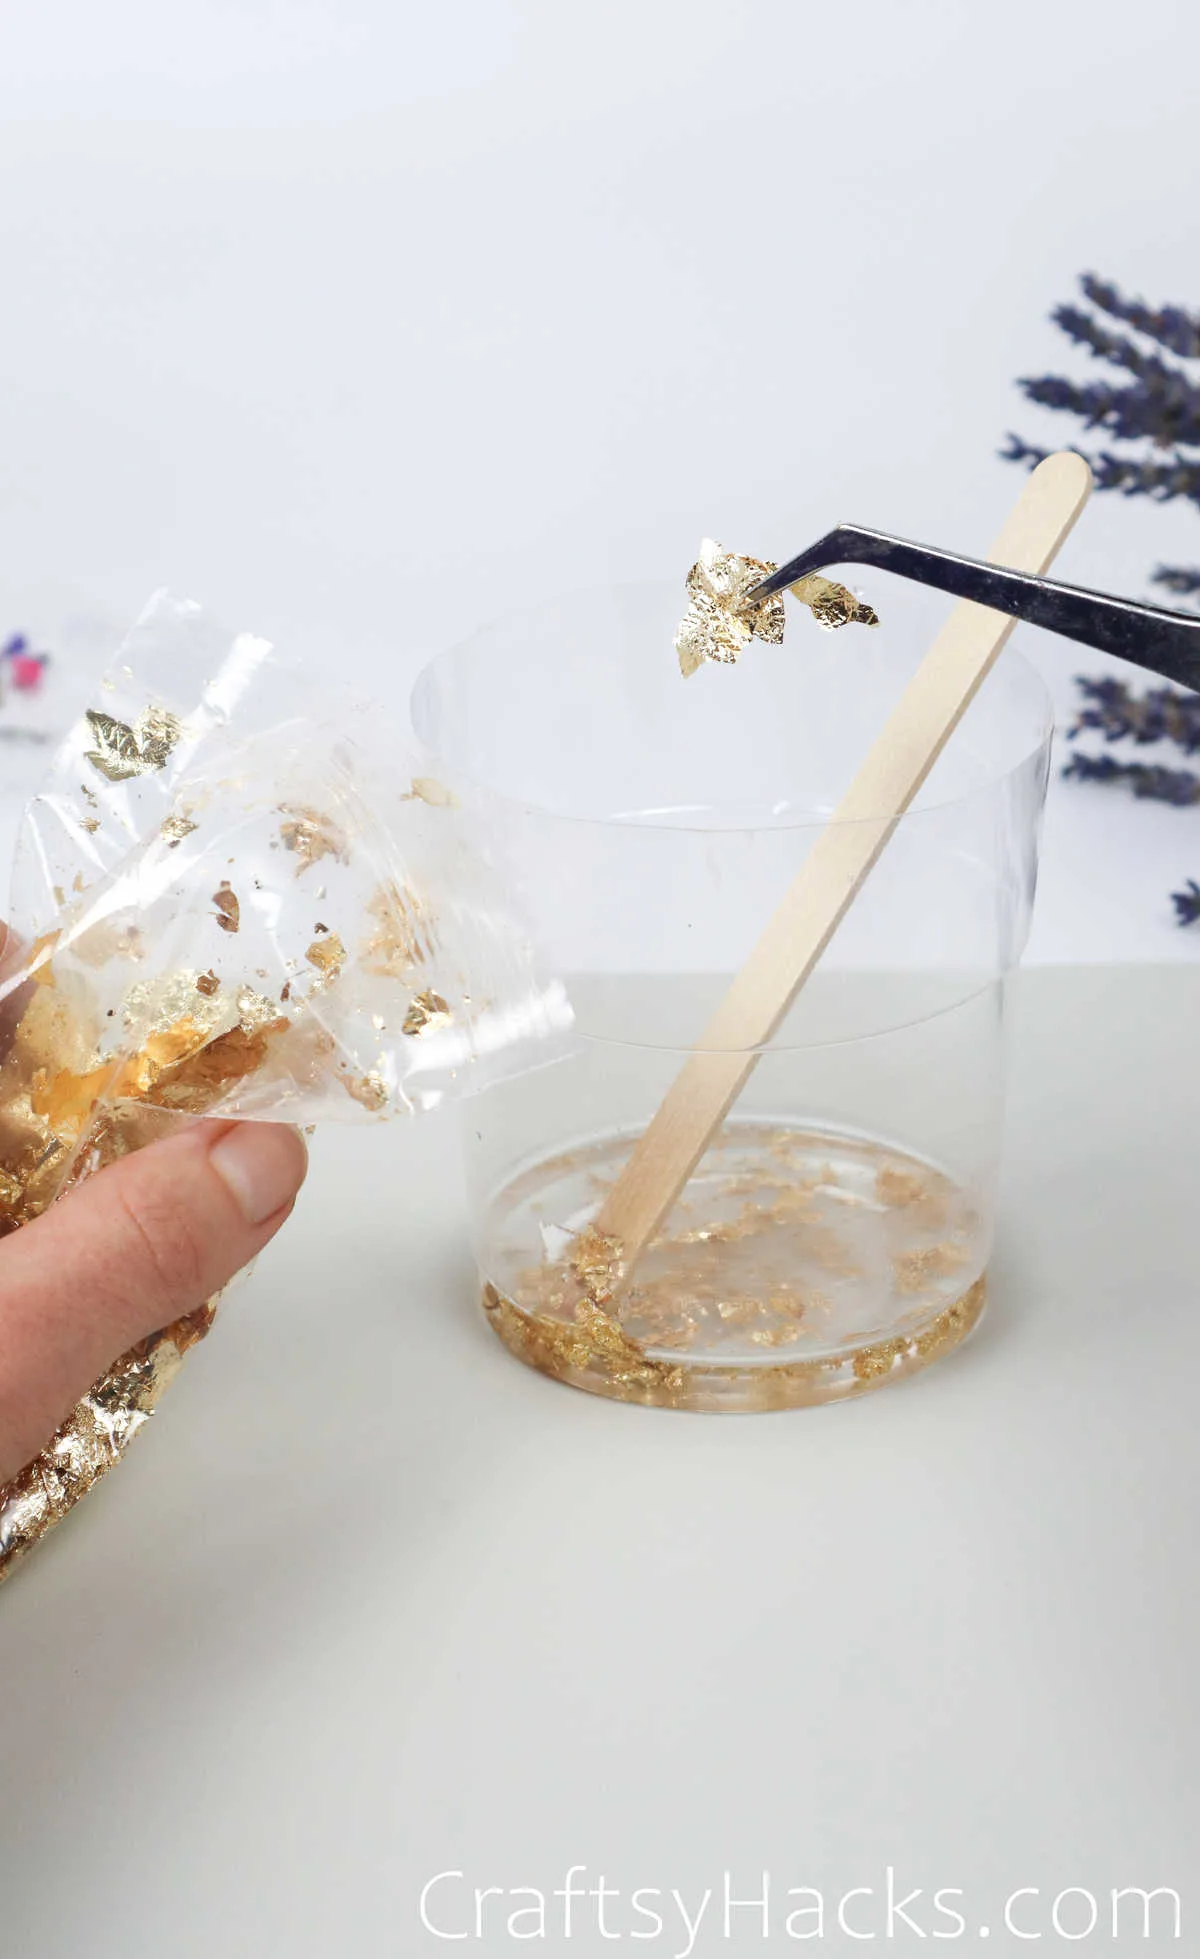
Use a stick or the tweezers to help you place the flowers over the resin. You can also place little flecks of gold foil, leaves, and more at this stage.


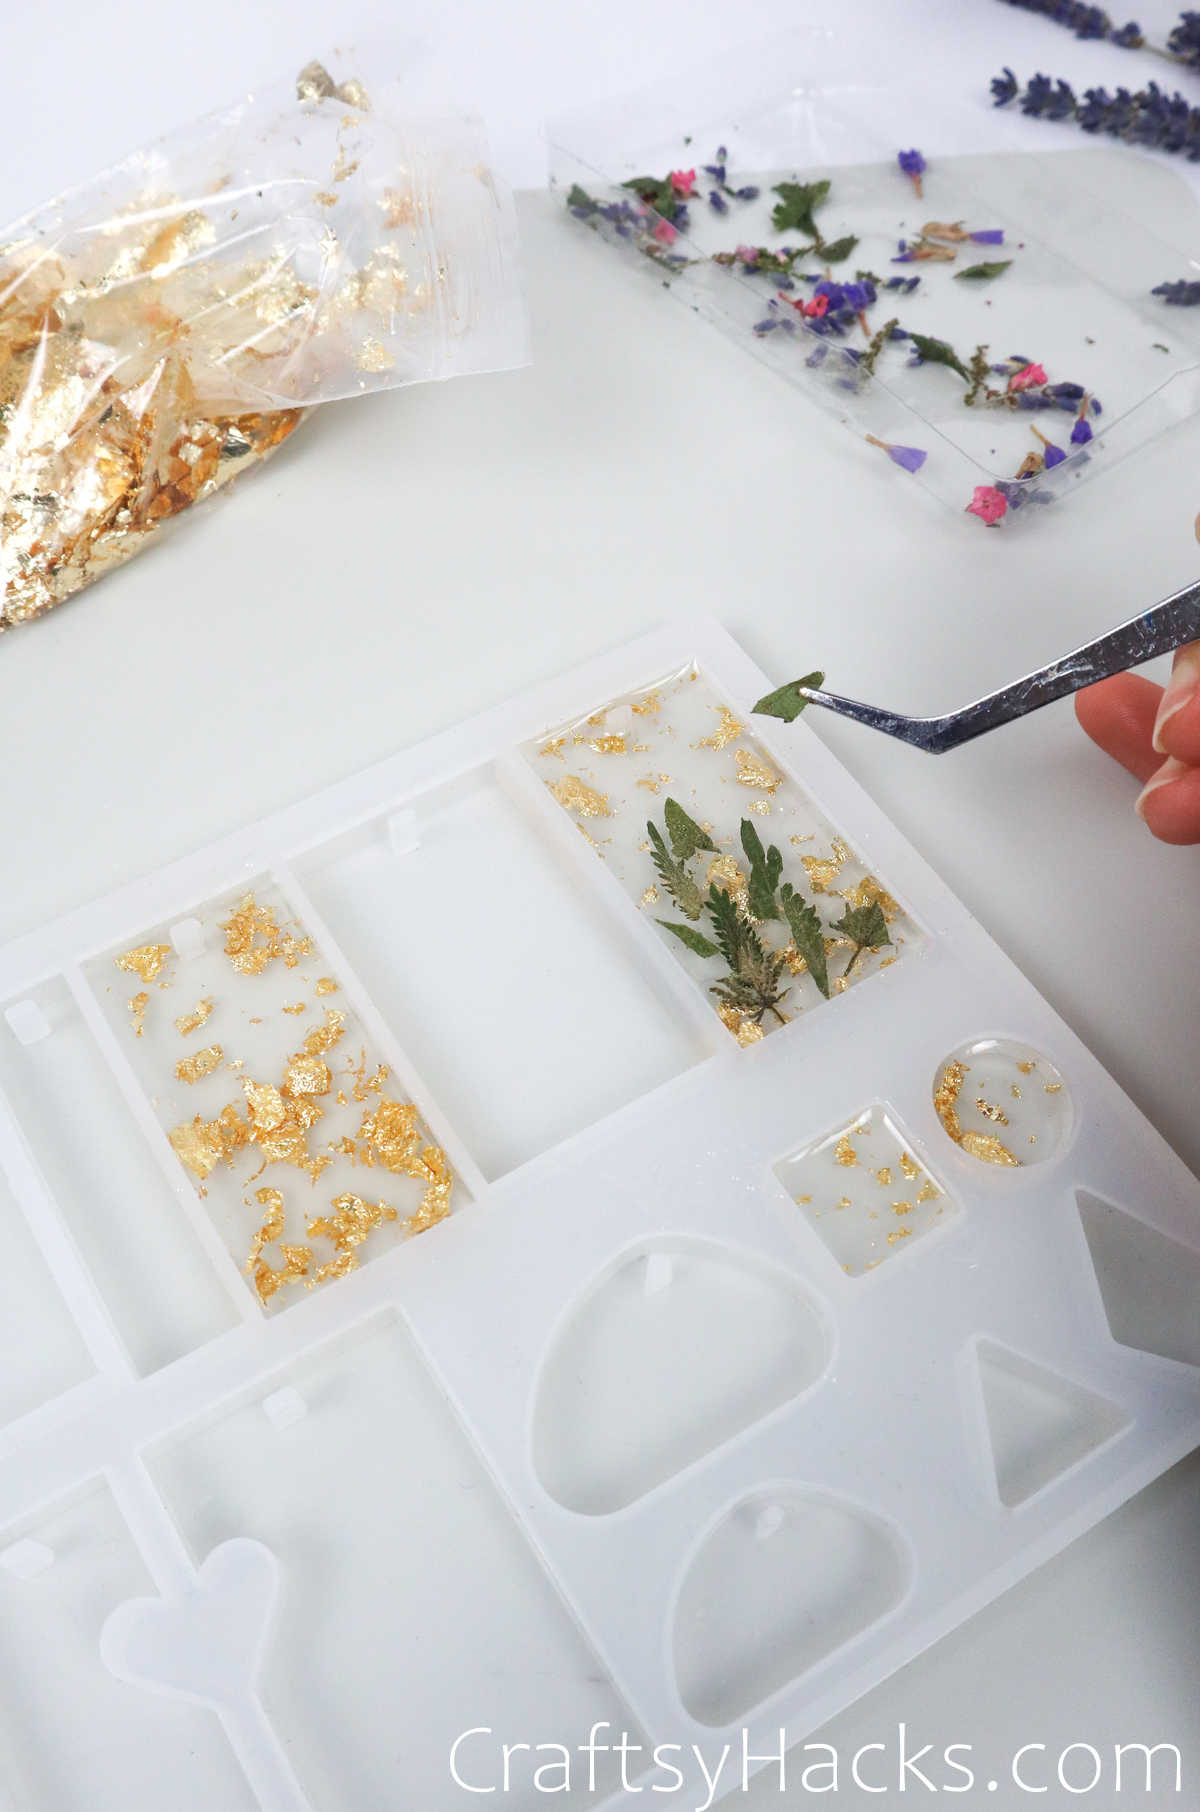
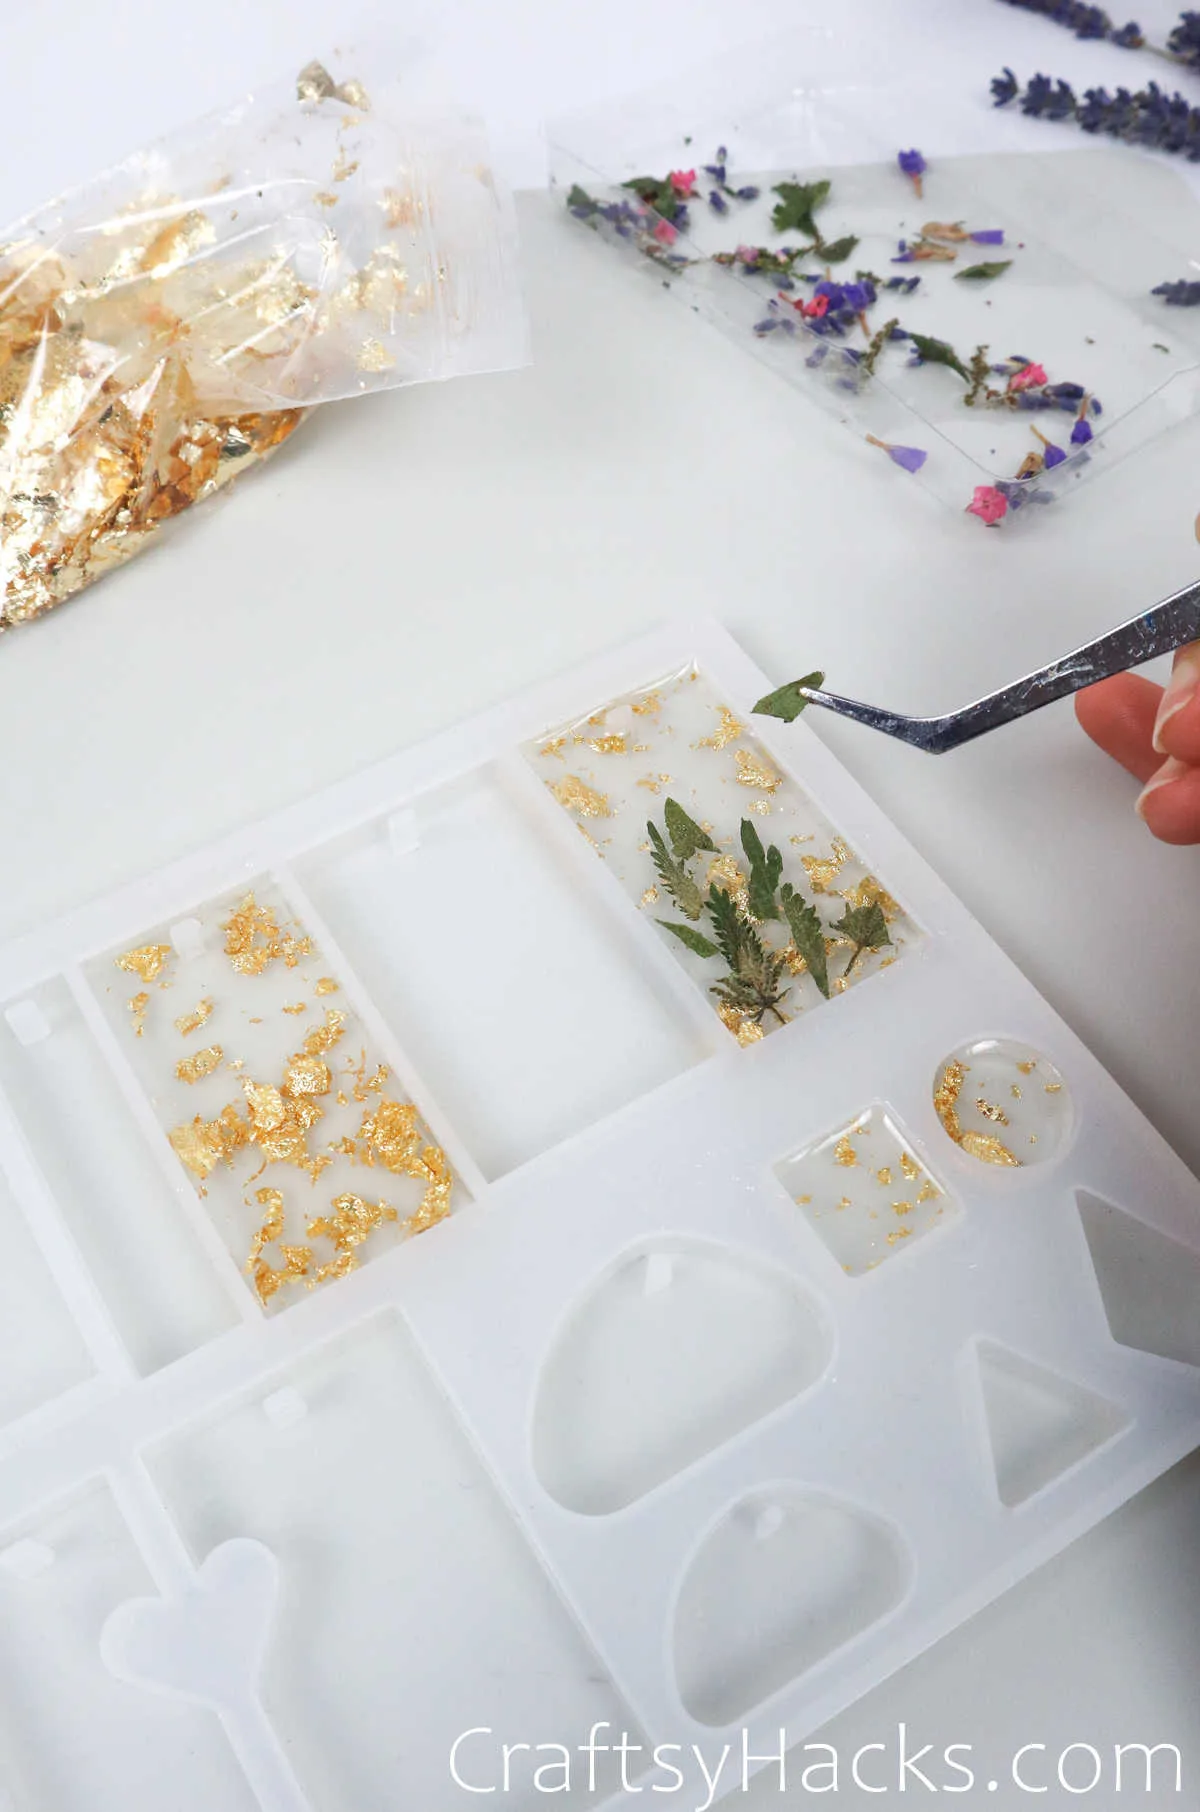
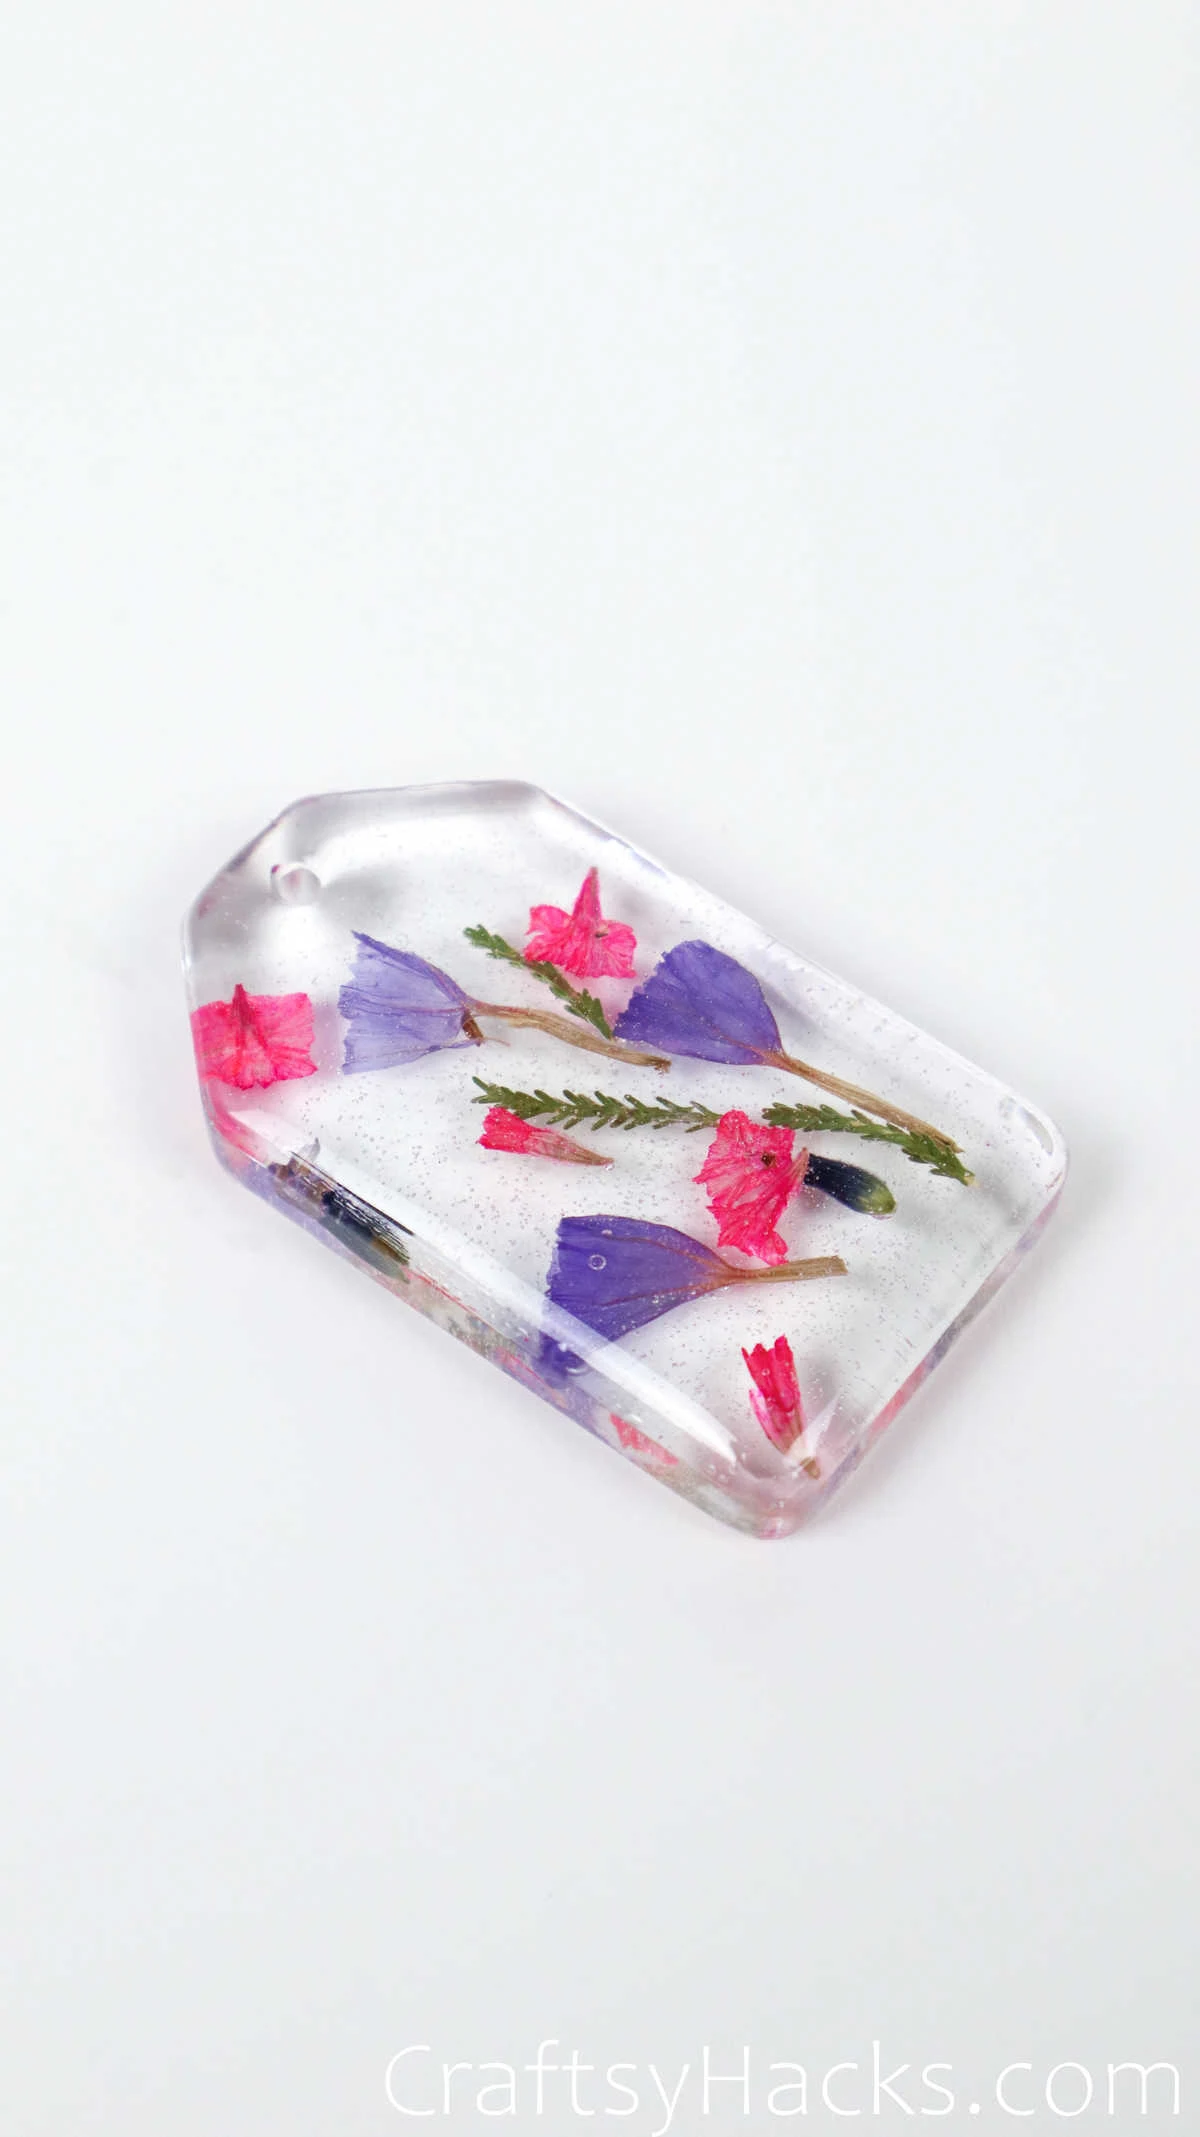
This is how your resin keychain will look at the end of layer 2! Pretty, isn’t it?
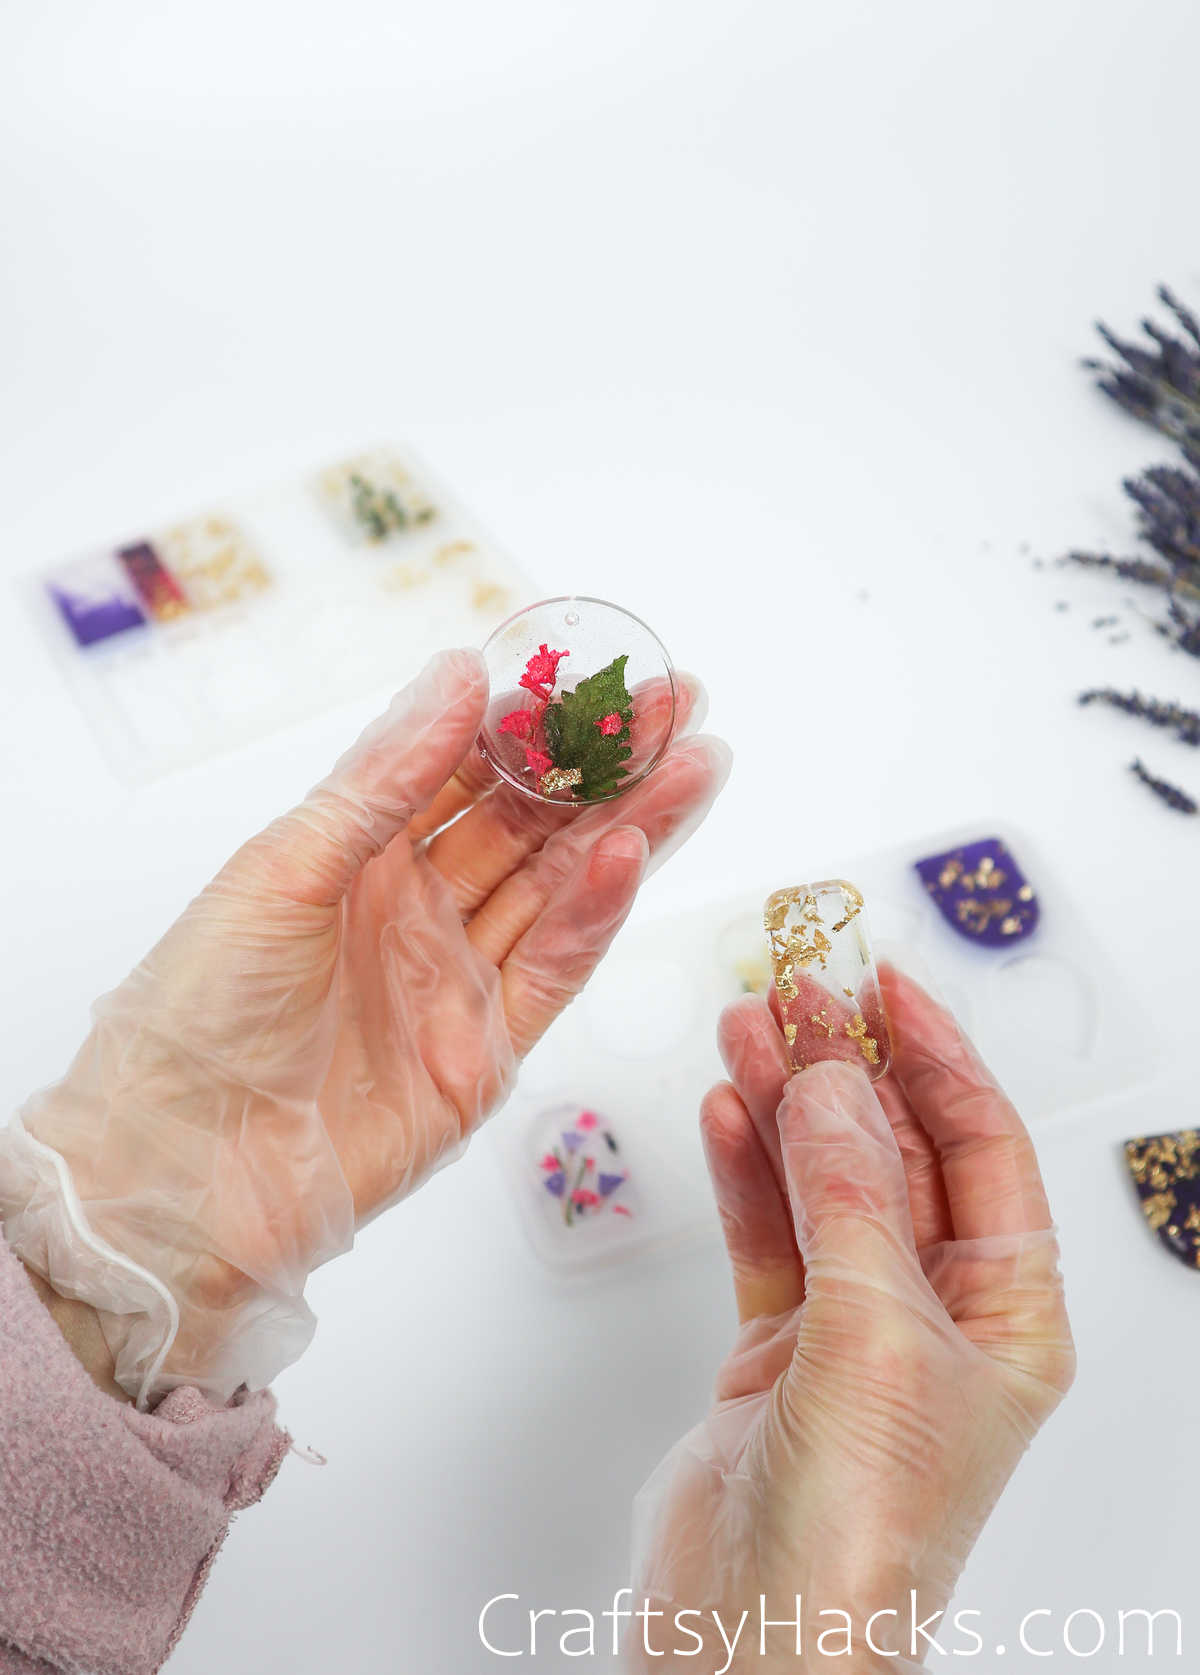
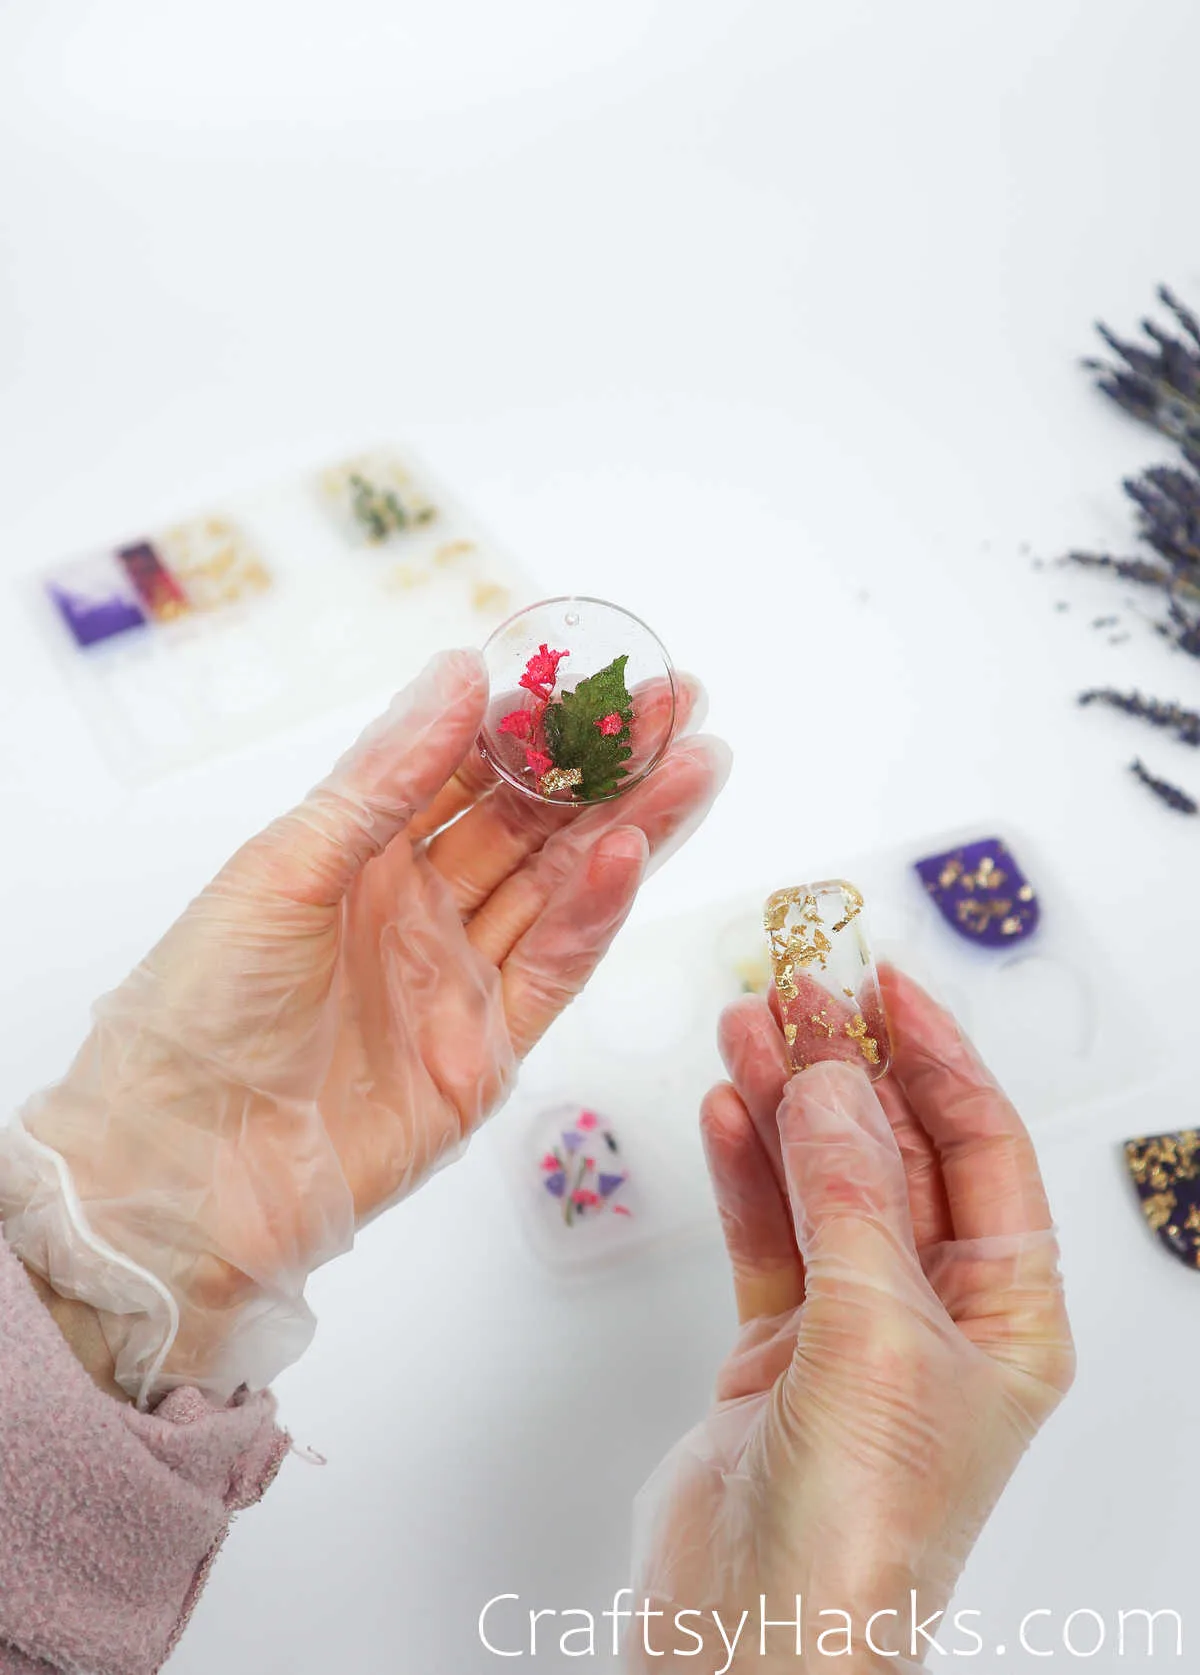
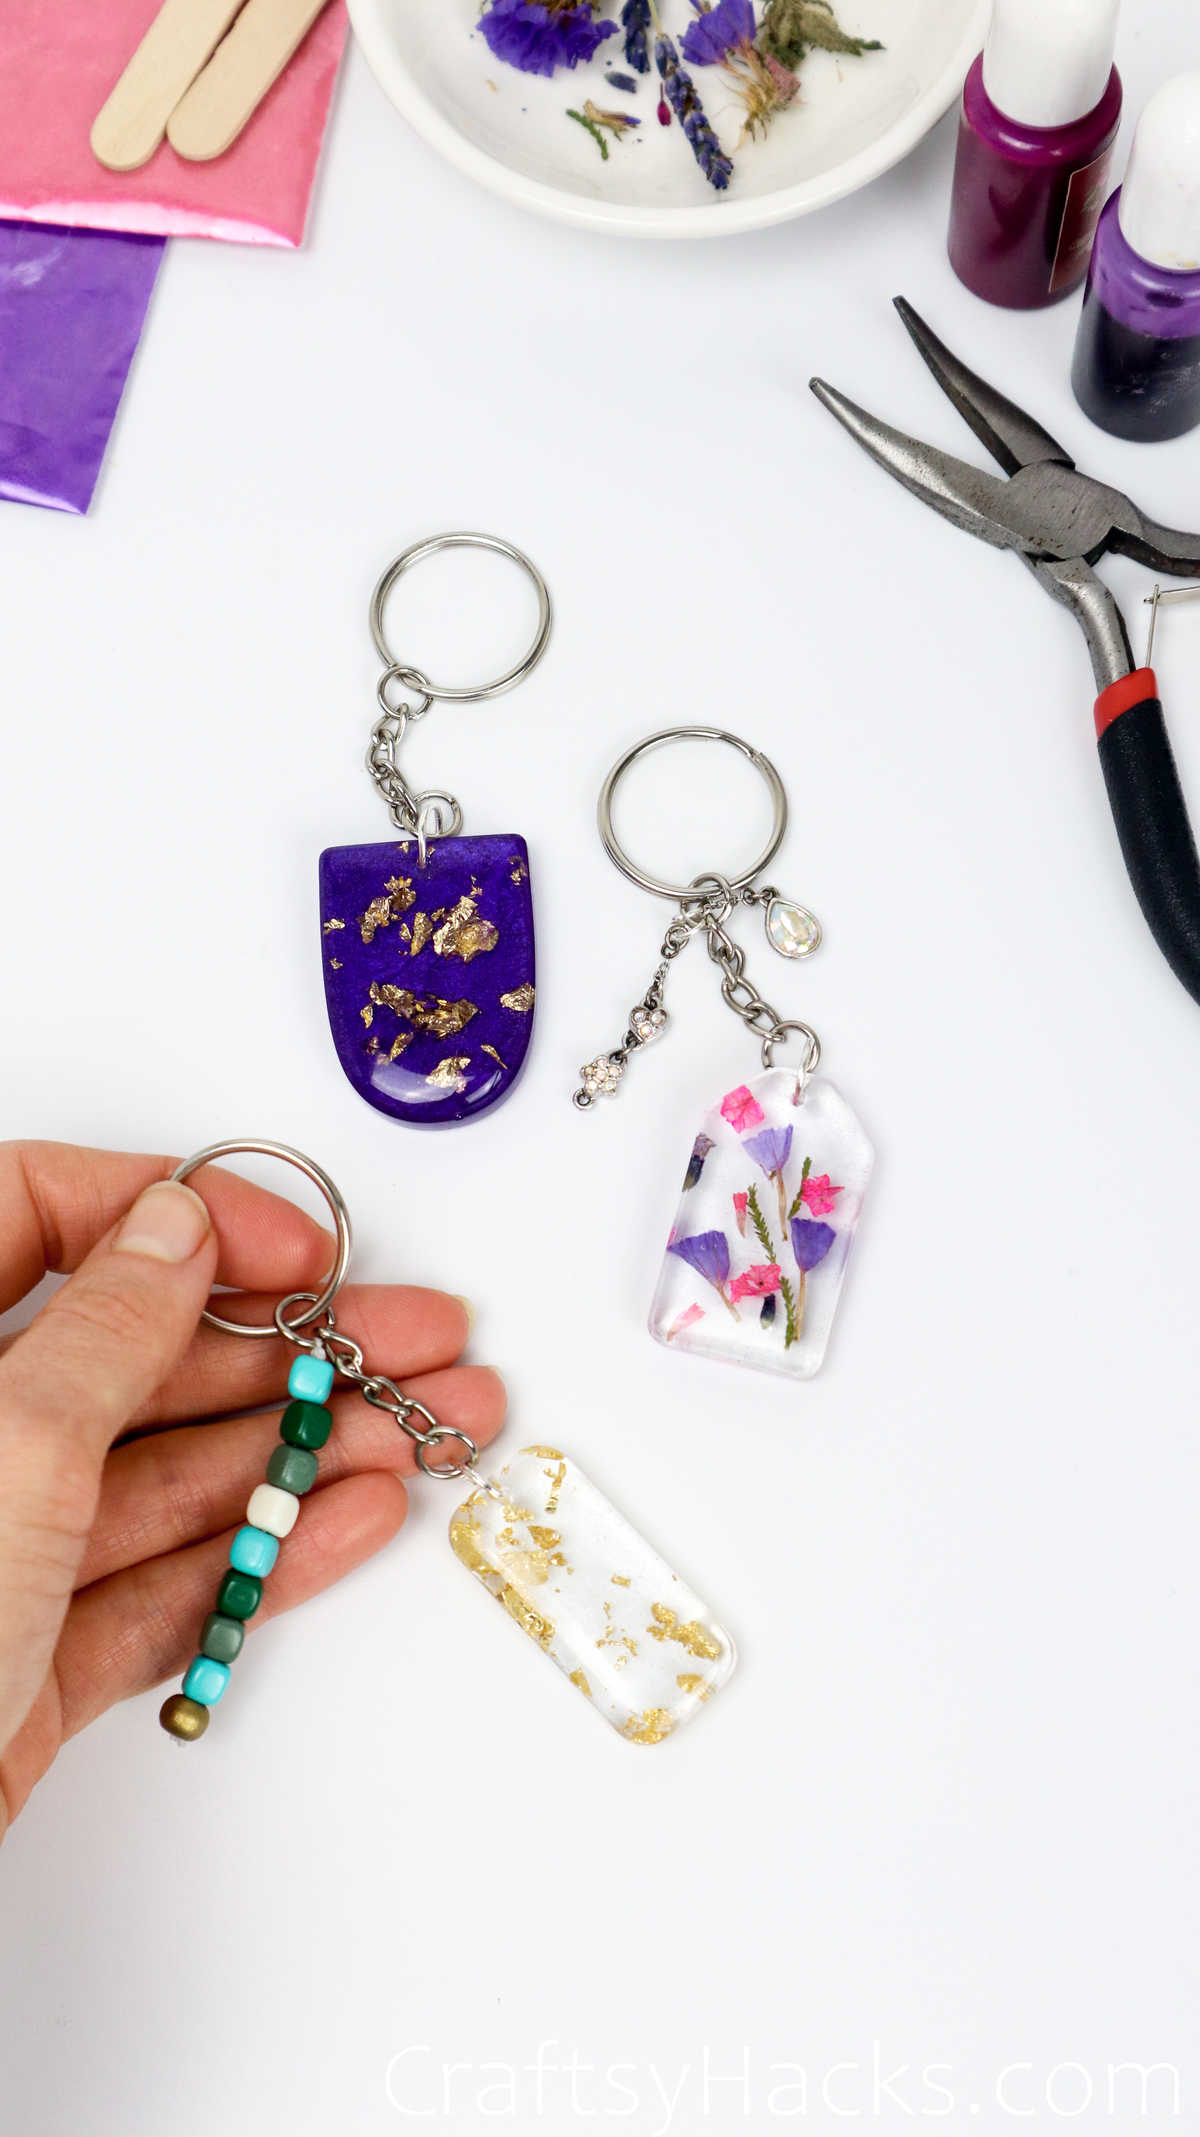
This step can be experimental. If you have some leftover resin, you can mix some colored mica powder, glitter, gold foil, and other decorative additions to the resin, and use a craft stick or skewer to stir them in.
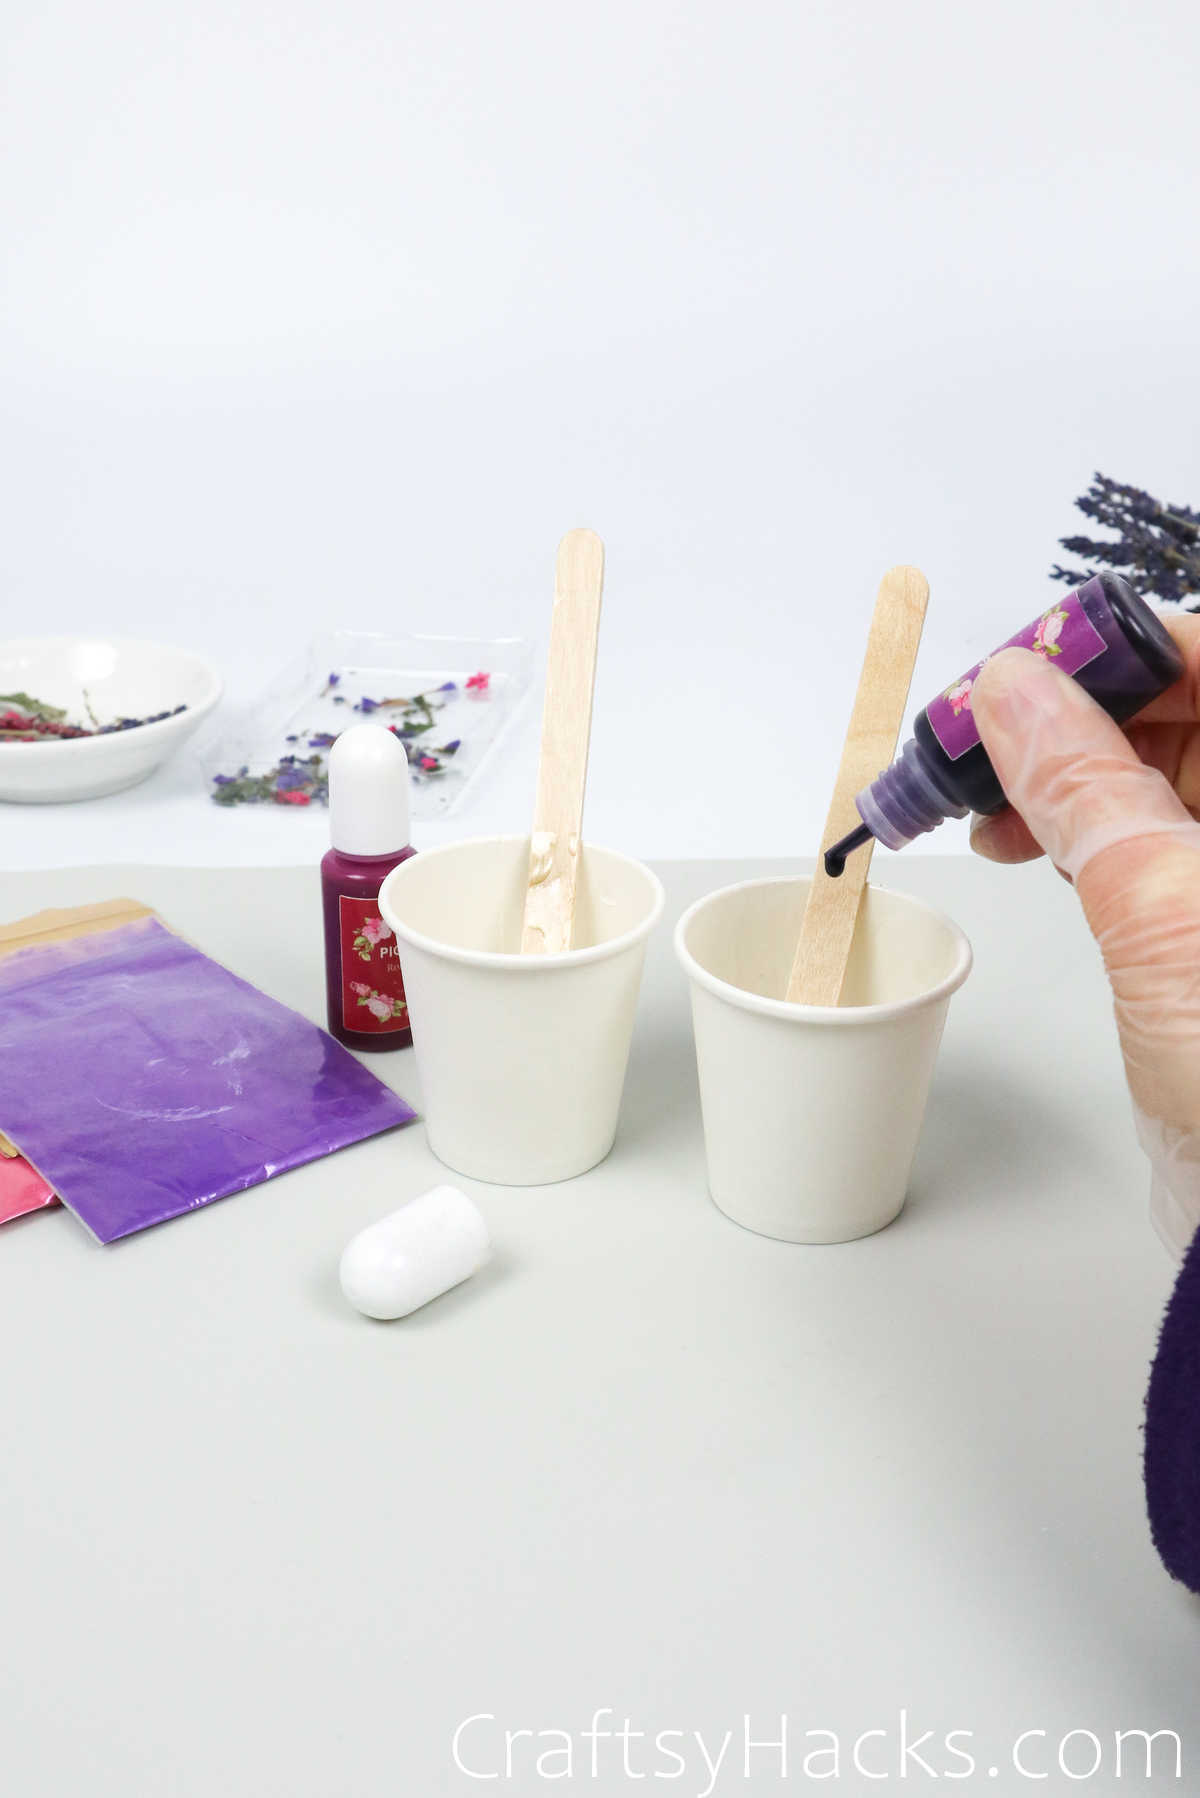

If you use colored dye, then you can use a stick to swirl patterns and mix the color in a creative and unique design.


Step 6
Before you proceed, you need to let this layer set–or cure–for around 6-8 hours. Just place a container over it to protect it from dust or dirt and let it sit–preferably overnight.

Step 7
When your resin hardens, you’re all set to pour in the third layer. You know the drill so go ahead and start stirring the next batch of resin.
Pour this layer over the flowers and cover them evenly. You can use a stick to stir the bubbles away or use a heat gun again.
Step 8
Let the keychains cure in their molds and under a protective cover for 24-48 hours. When you’re happy, just pop them out of the silicone molds.

If you feel like there are any bumps or rough edges, then just use a nail filer or a bit of sand paper and gently scrub and file away those irregularities off the surface.

Step 8
Technically, you’re done, but there’s one little extra step you can work on to really finish your keychain: a little domed surface over your keychain.
For this, you will need to mix another batch of resin, only this time, allow it to harden just a bit till it gets a little tacky. Then just pour a little over the surface, just enough that it doesn’t overflow or run over the edges.
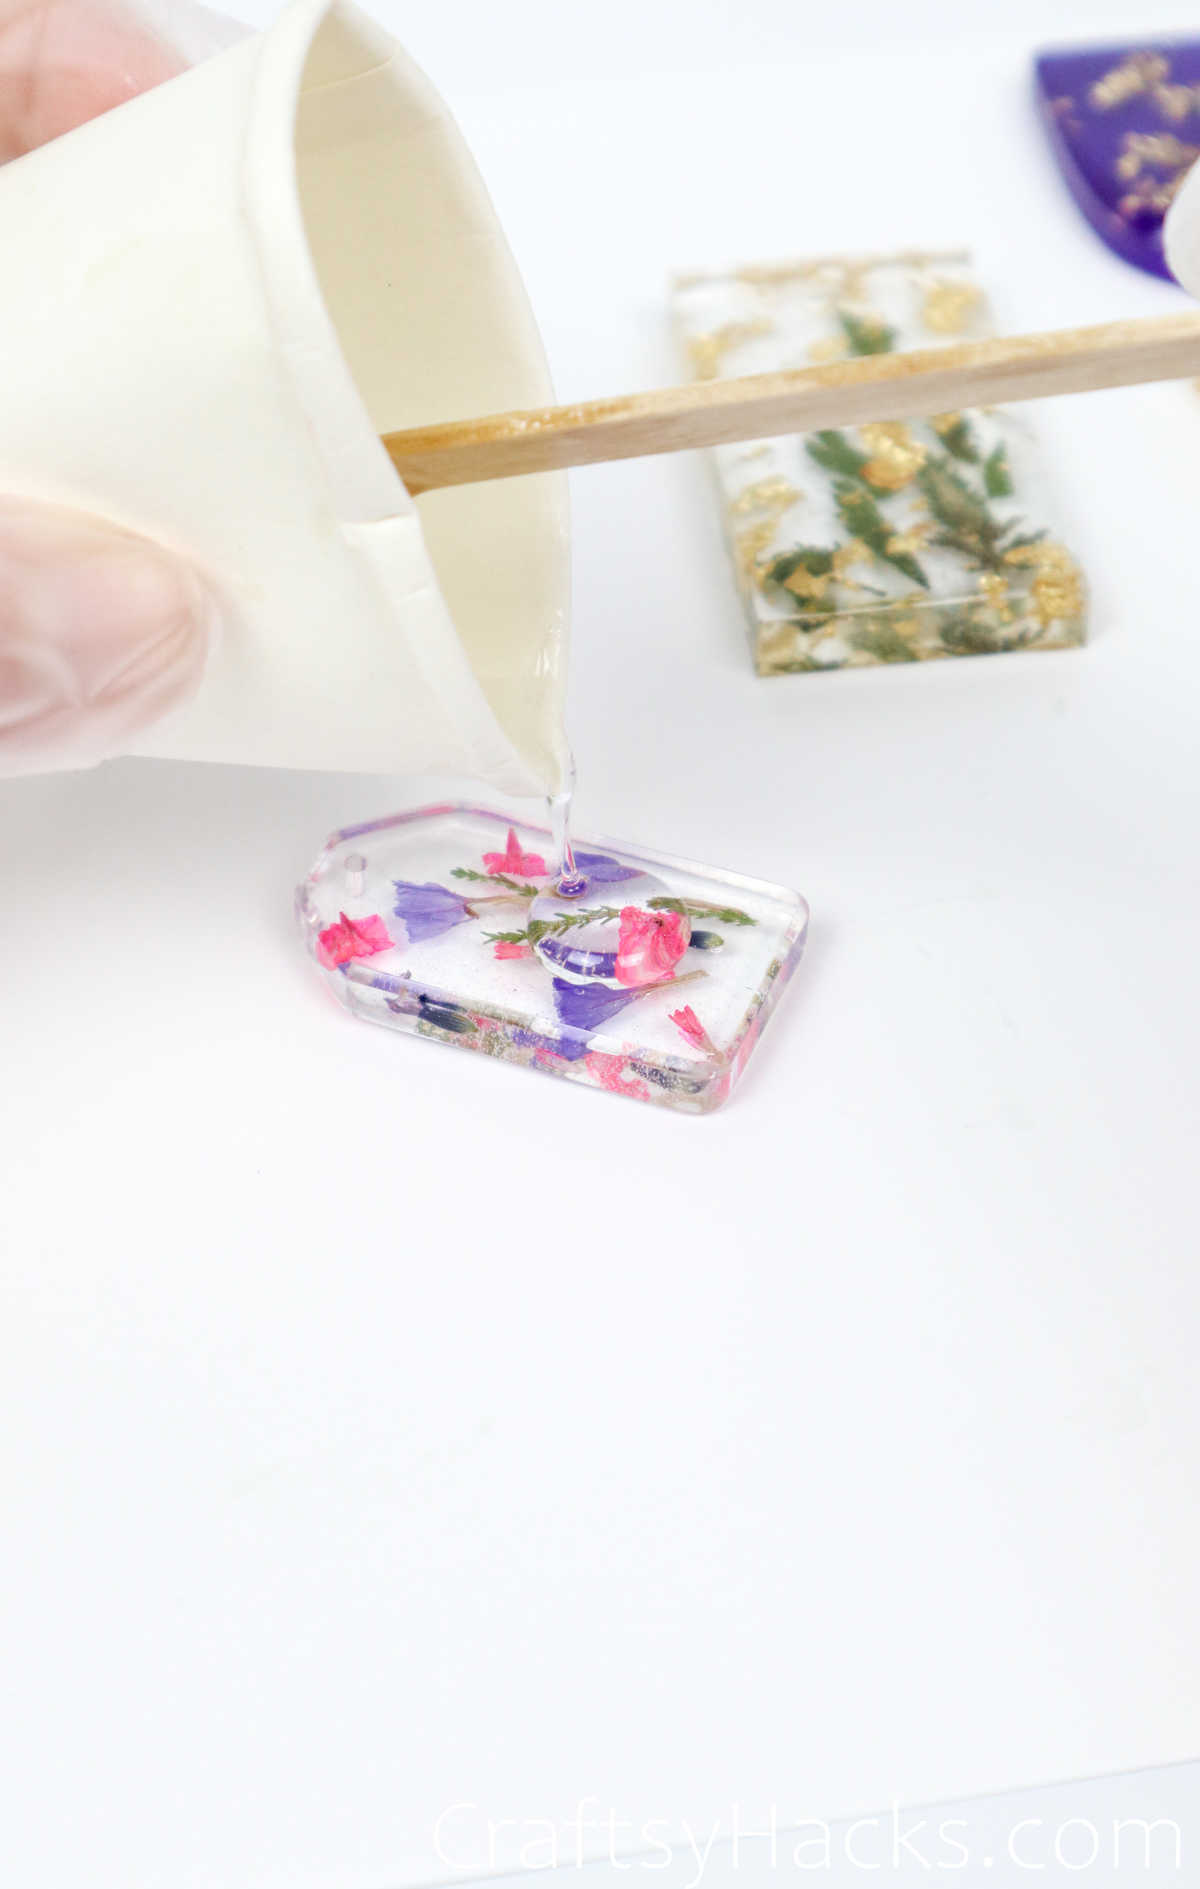
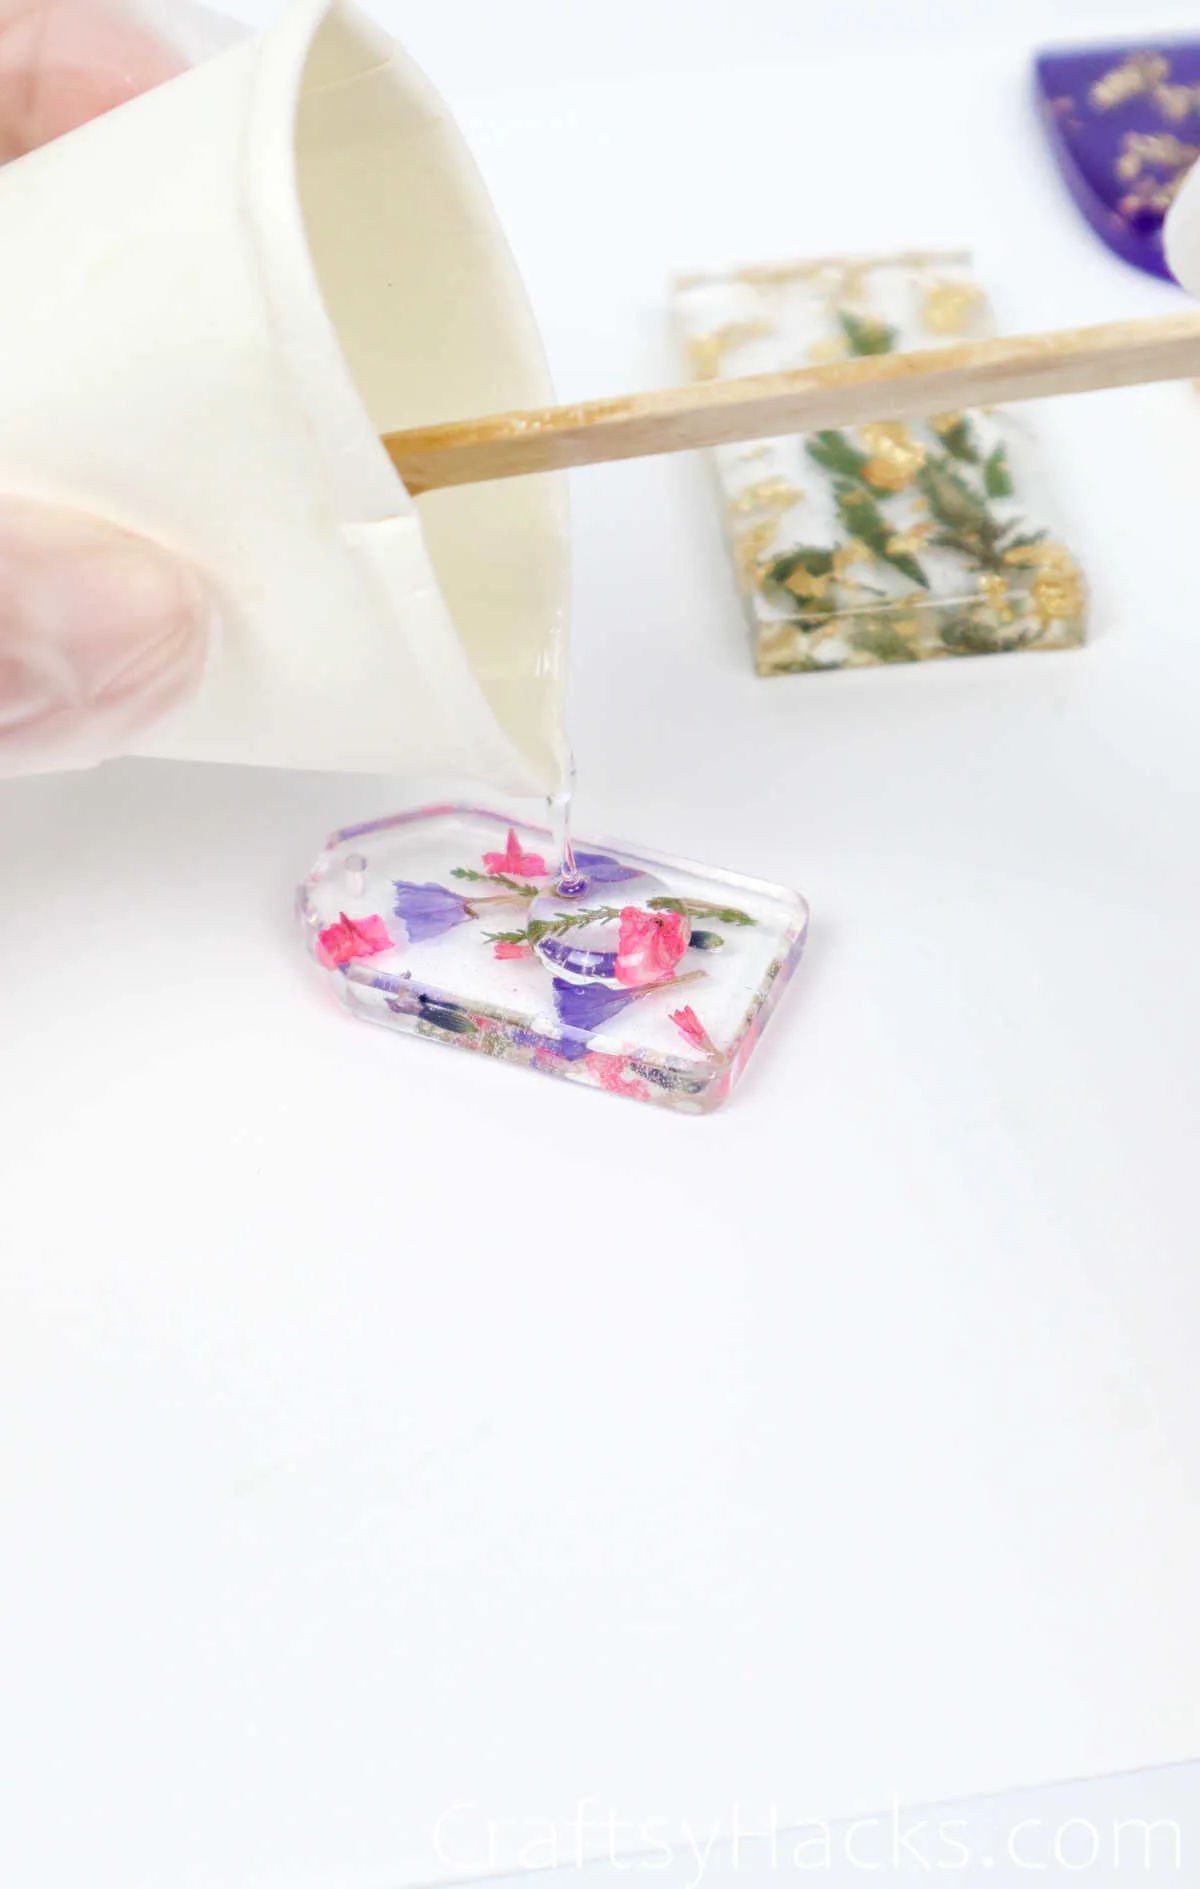
Use a toothpick to spread the resin around the surface. You can also dome the surface while the keychain is still inside the mold–just remember not to cover the hold where the jump ring goes into.
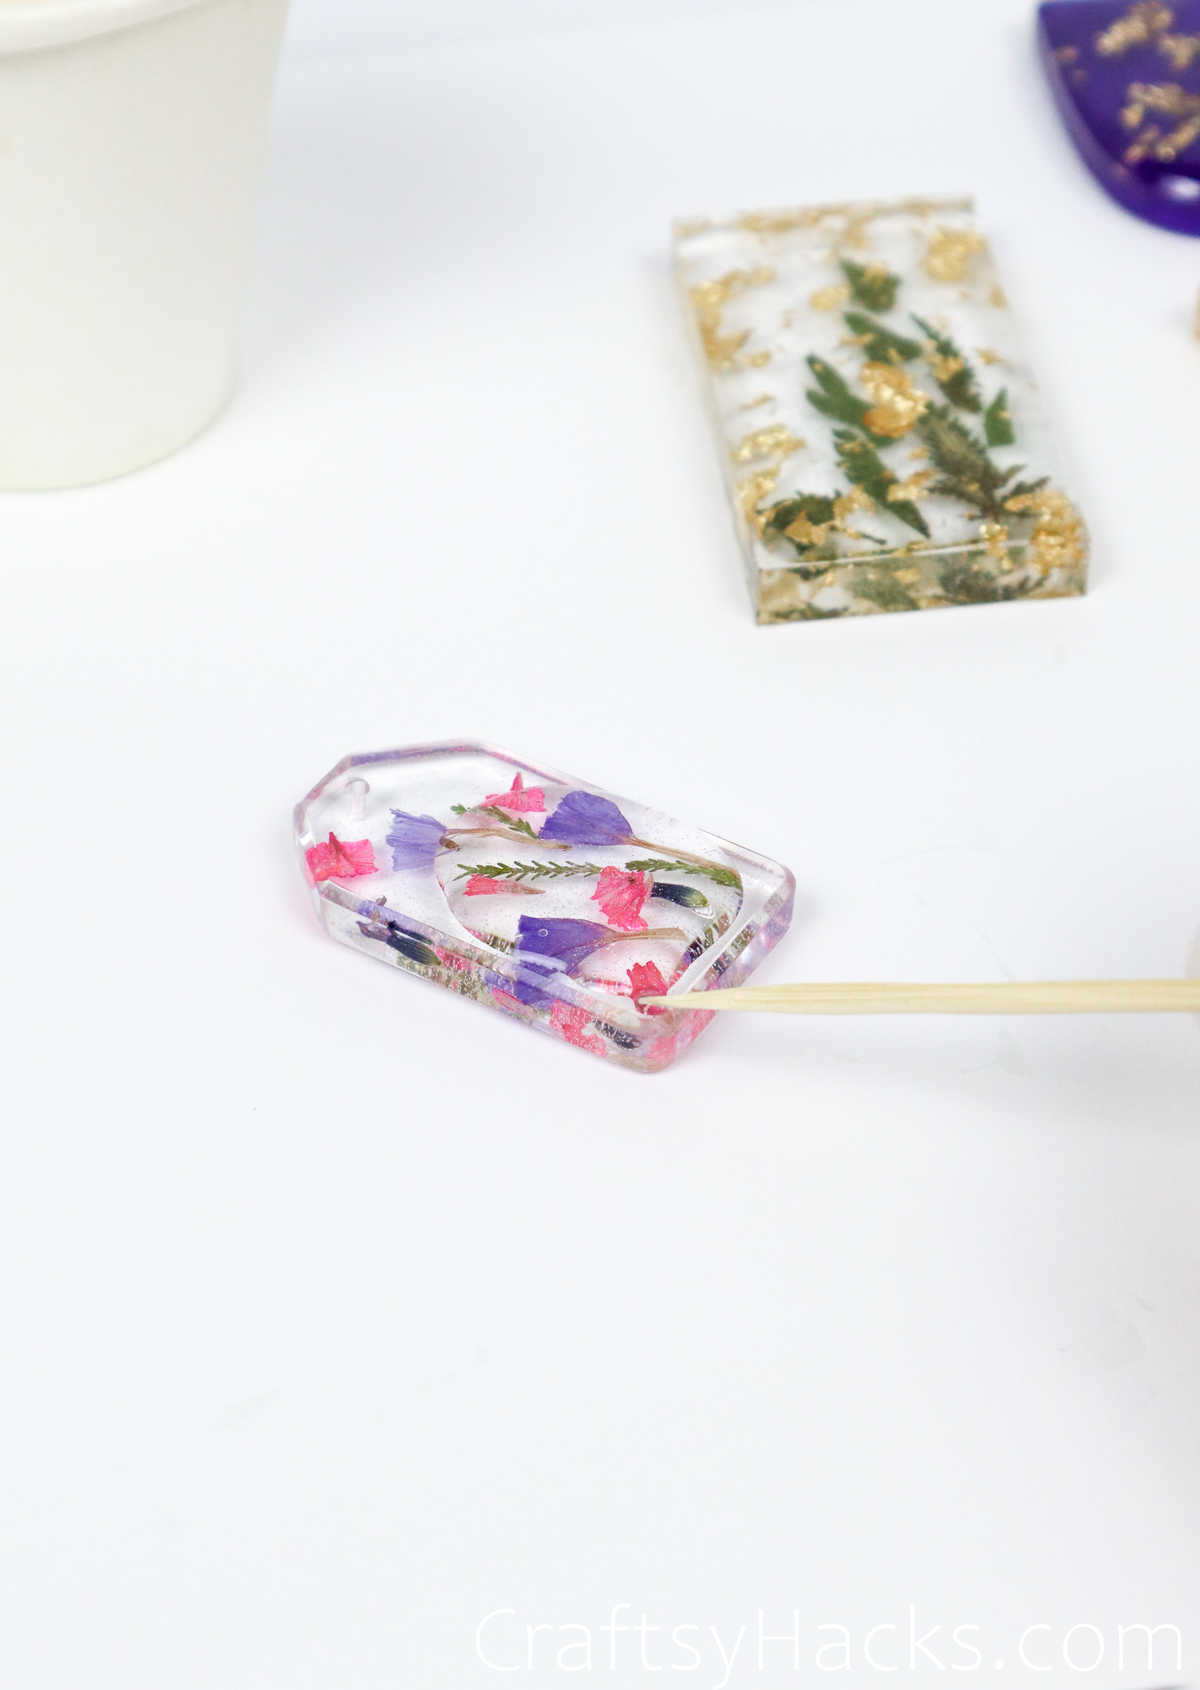

This will need to sit for atleast 12-14 hours, so go ahead and let it cure.
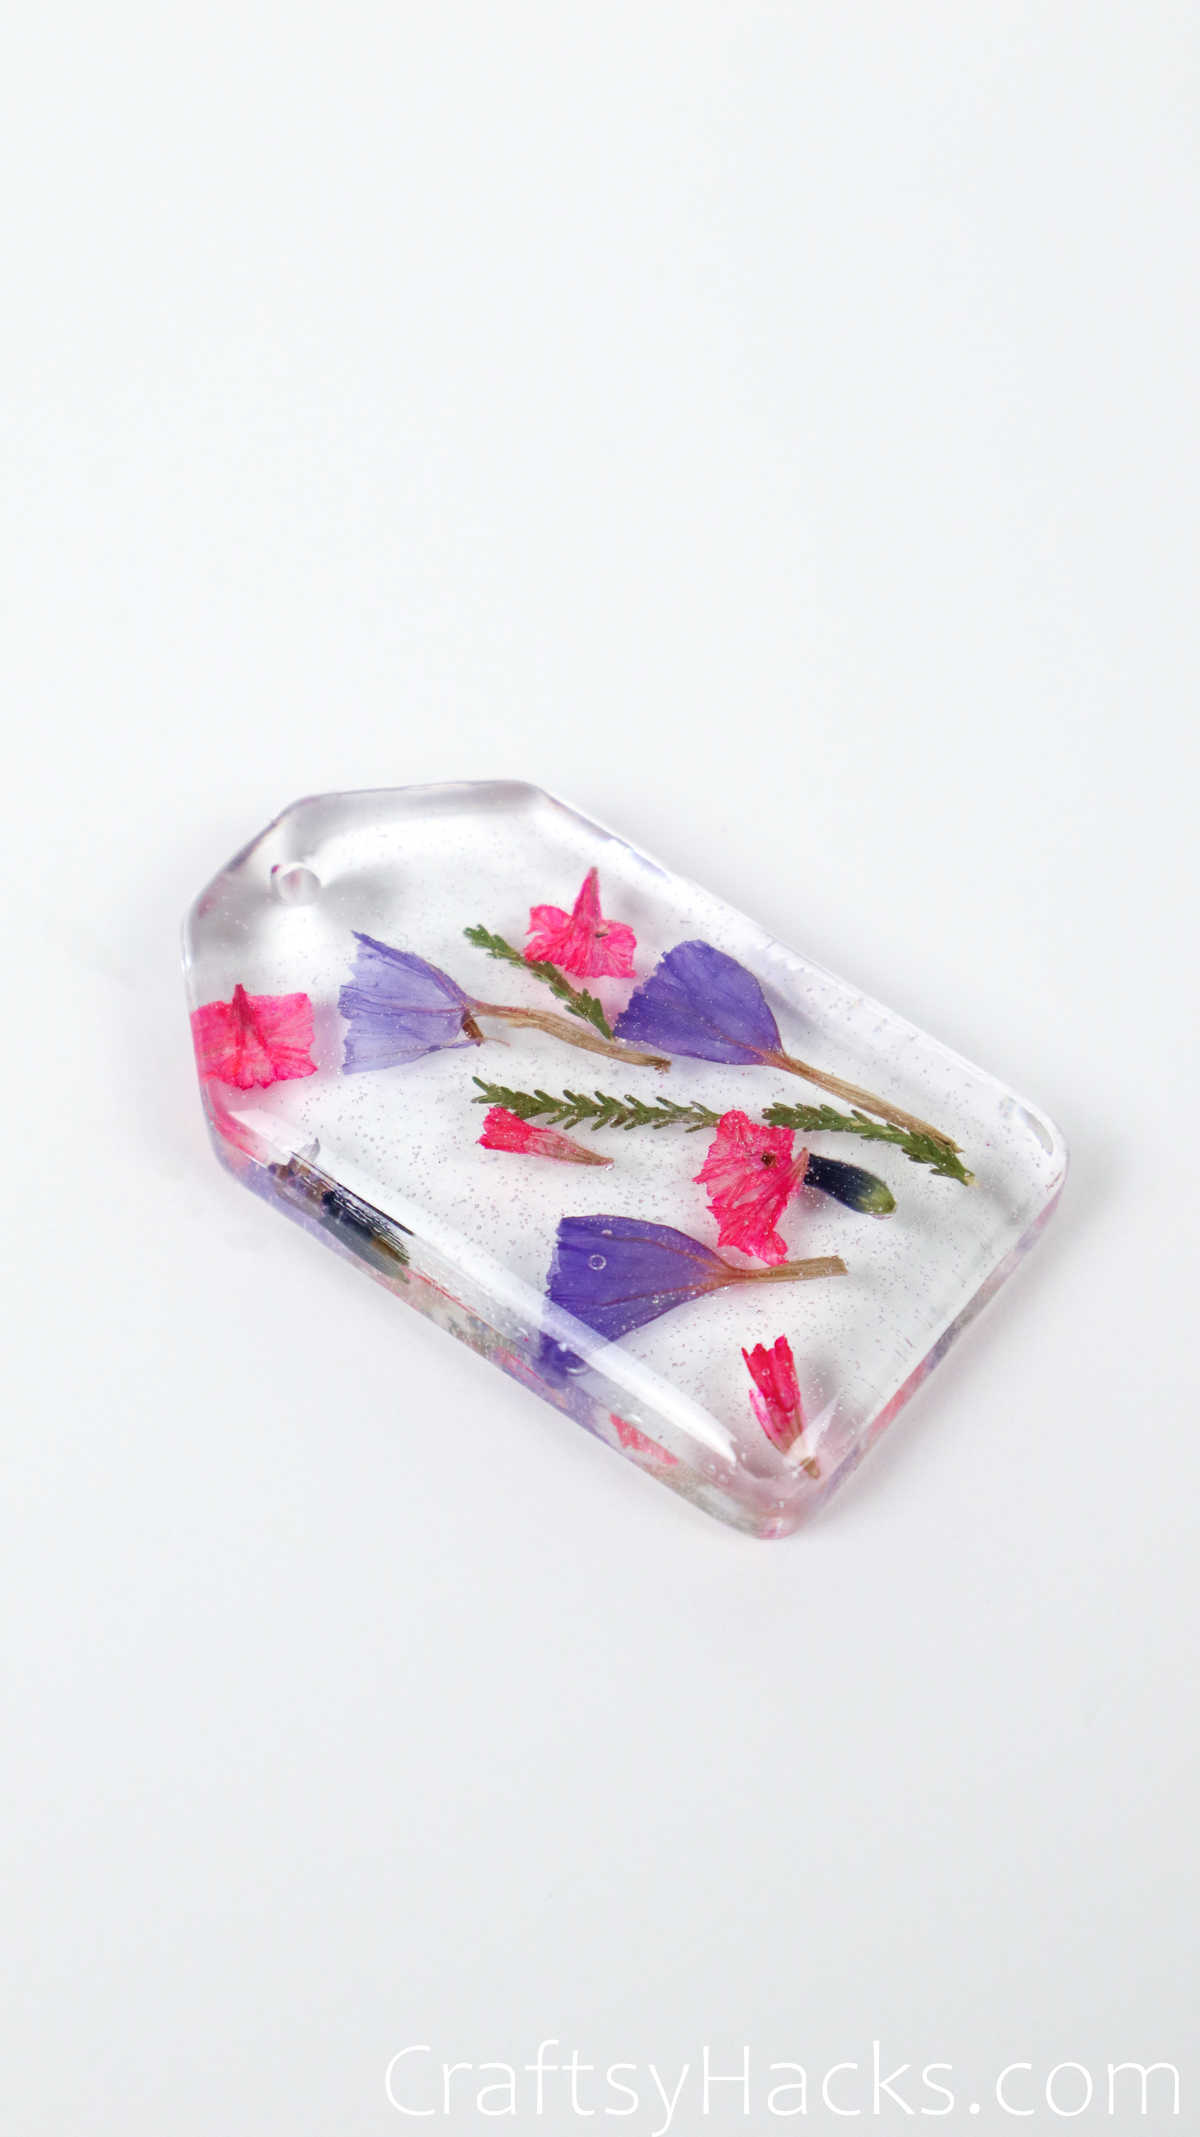
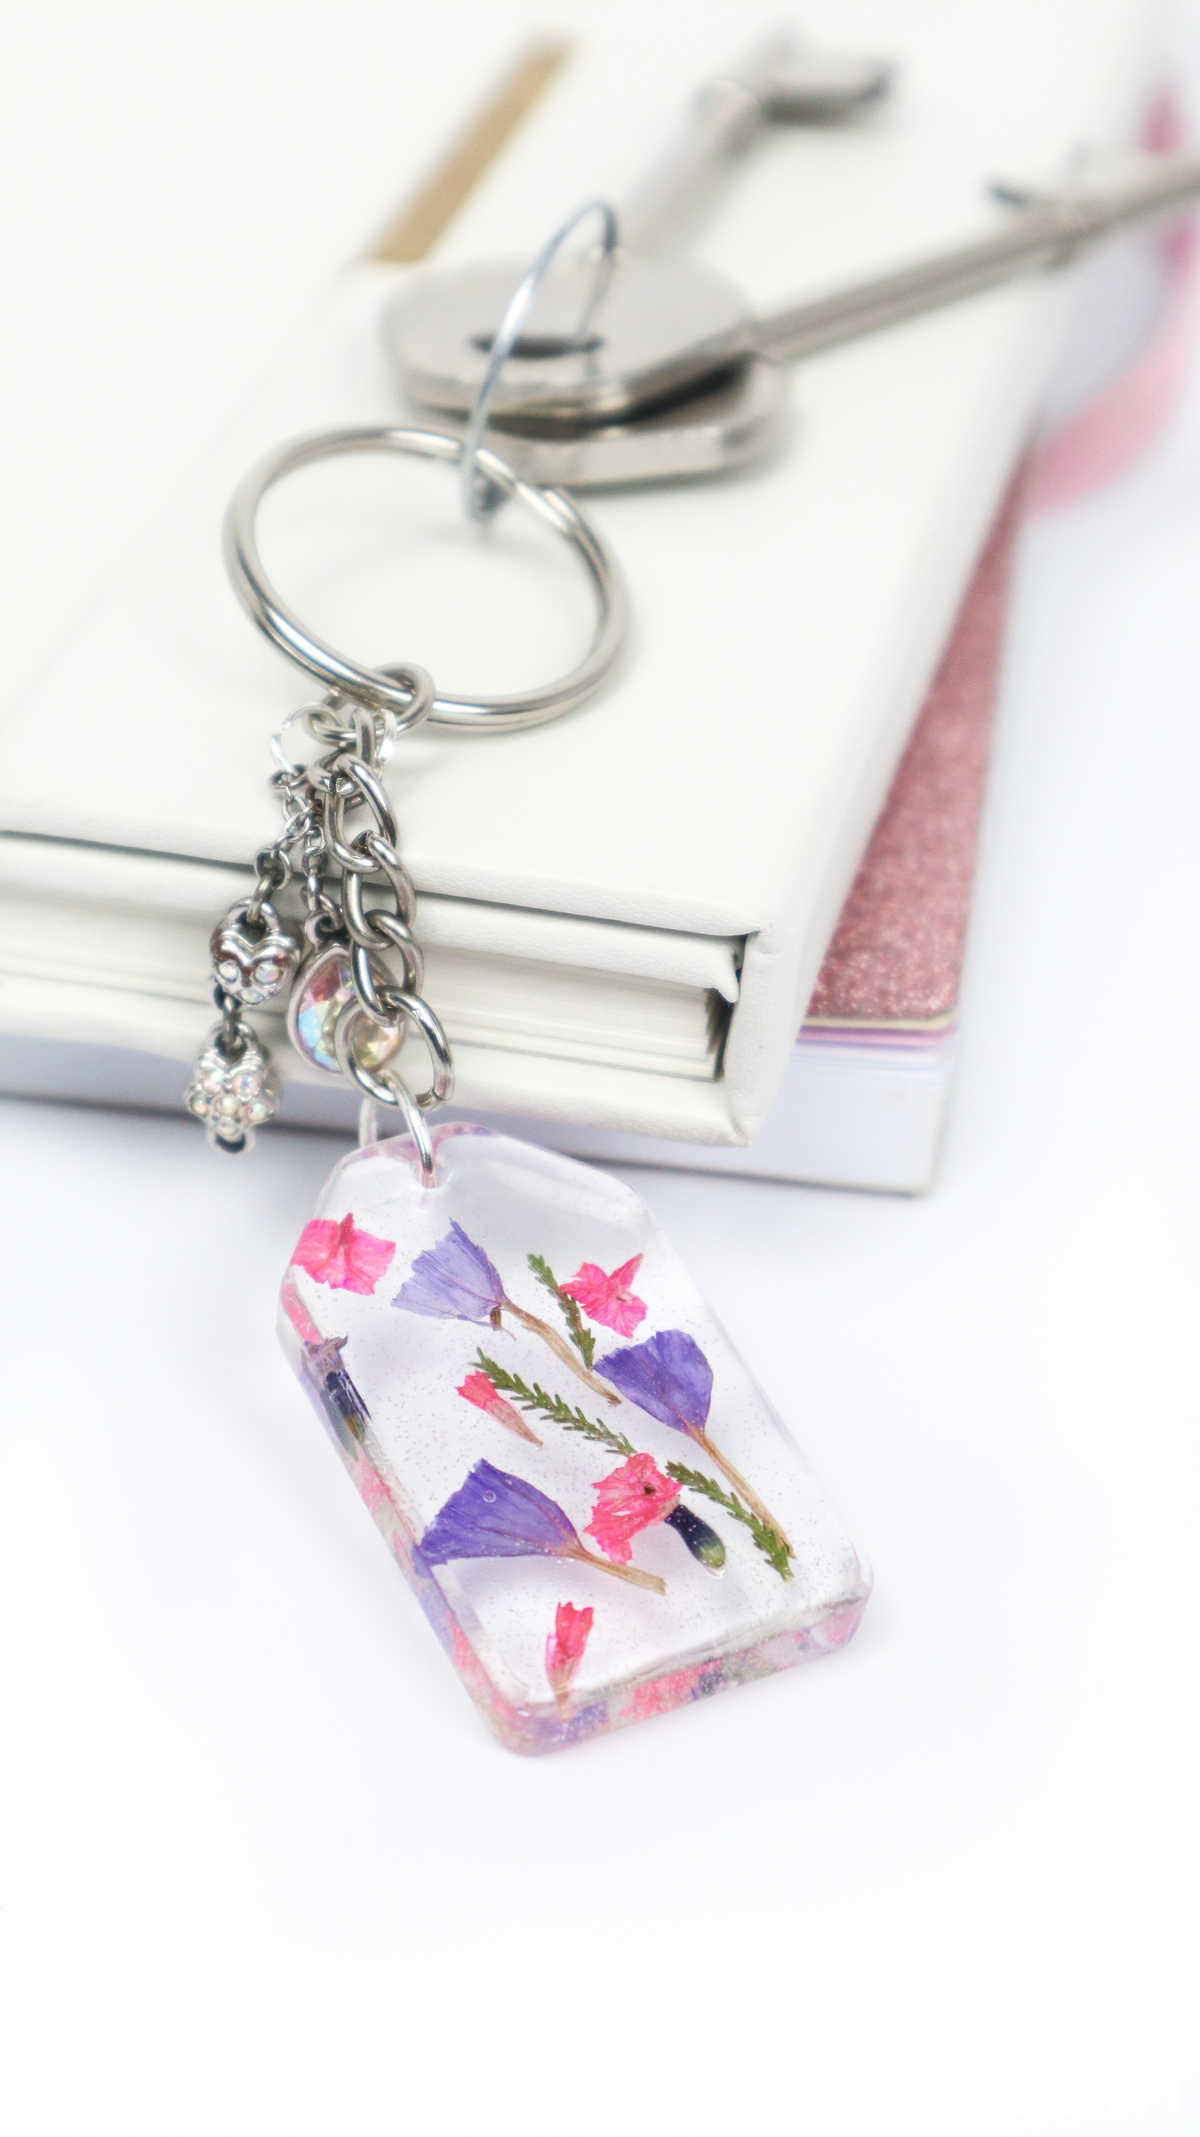
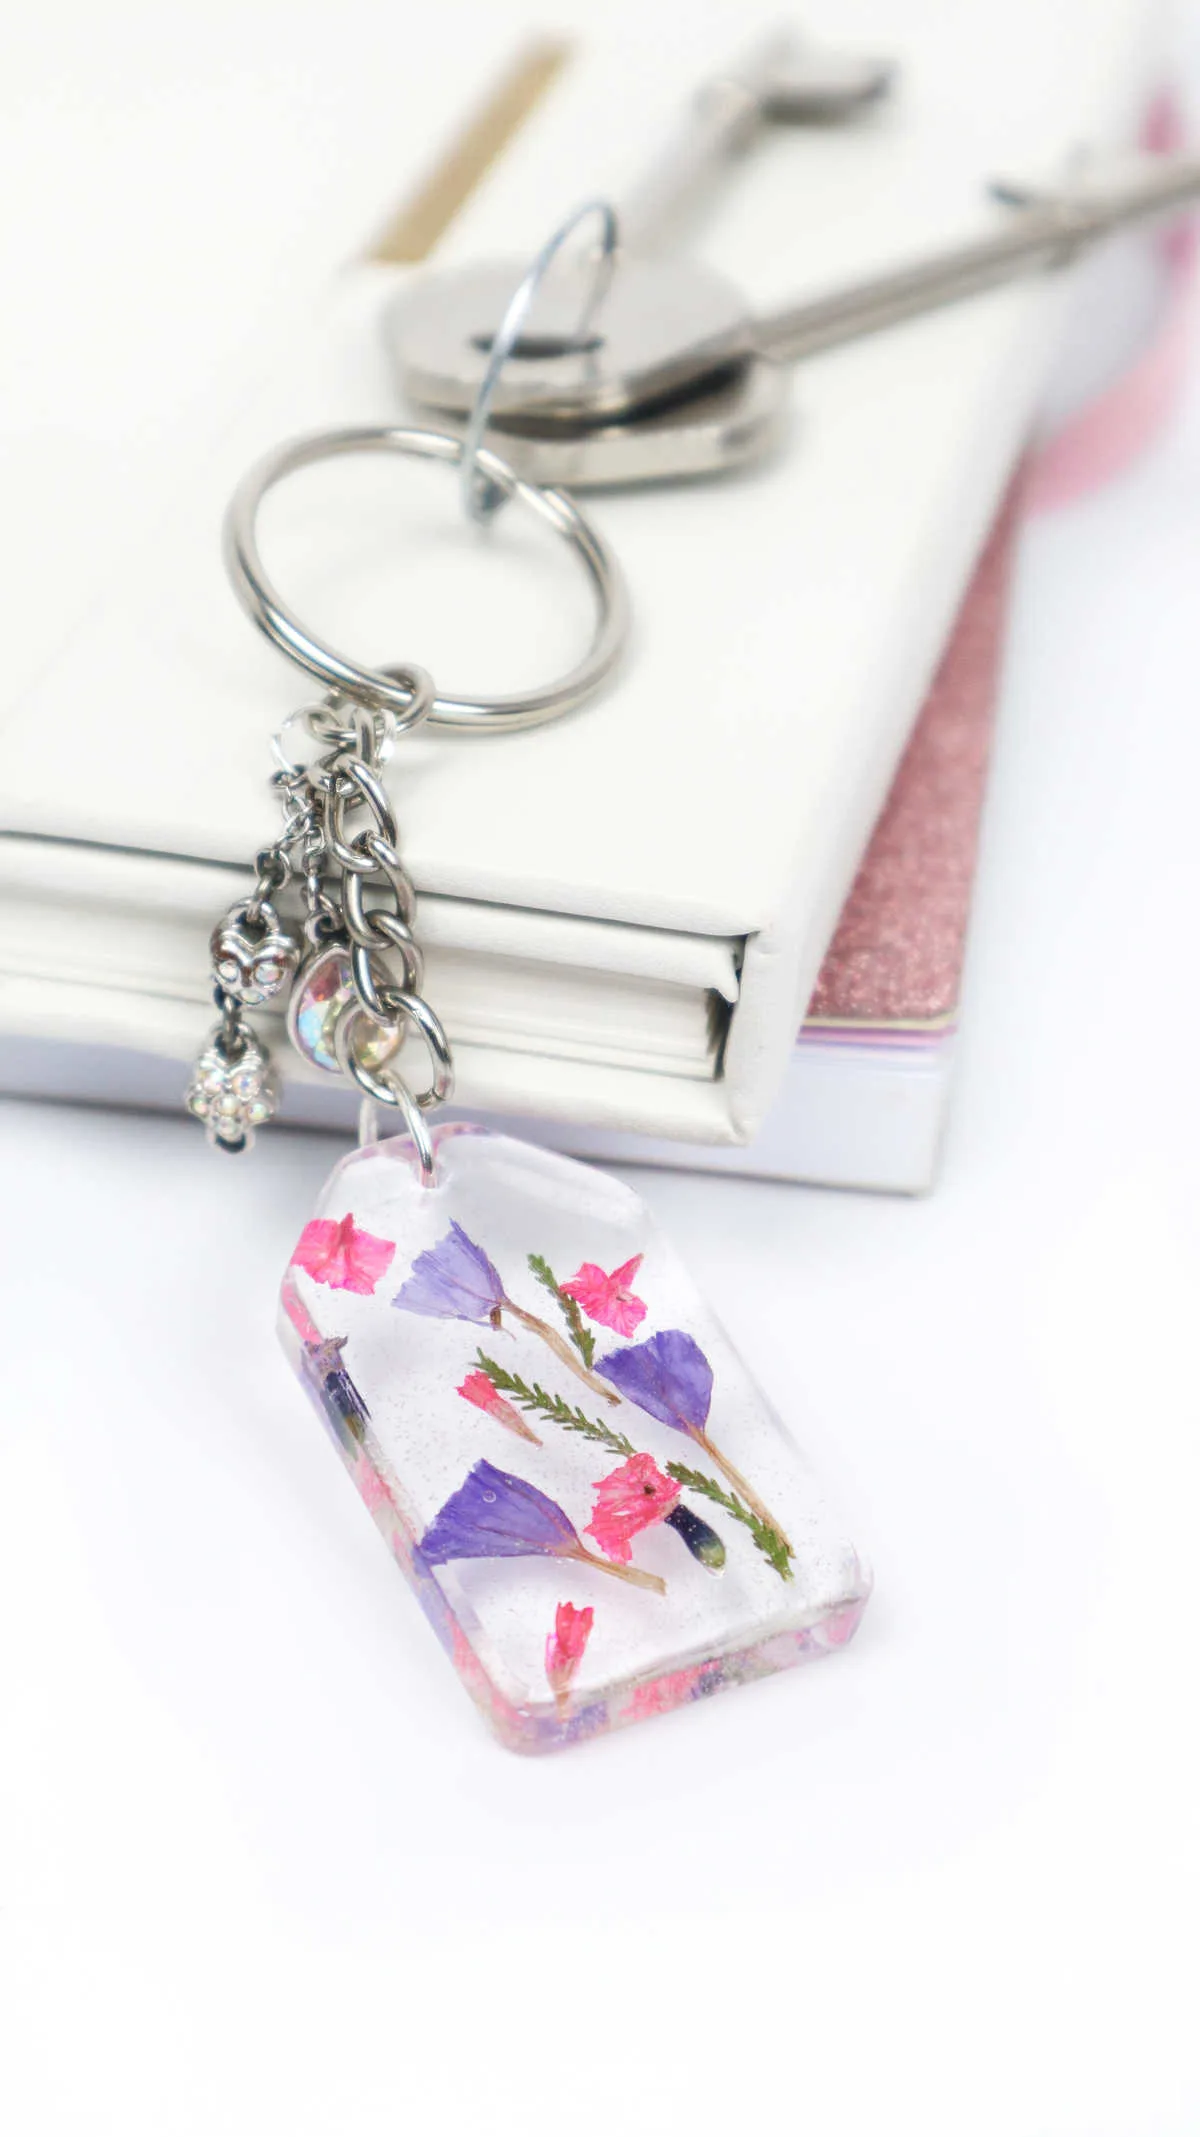
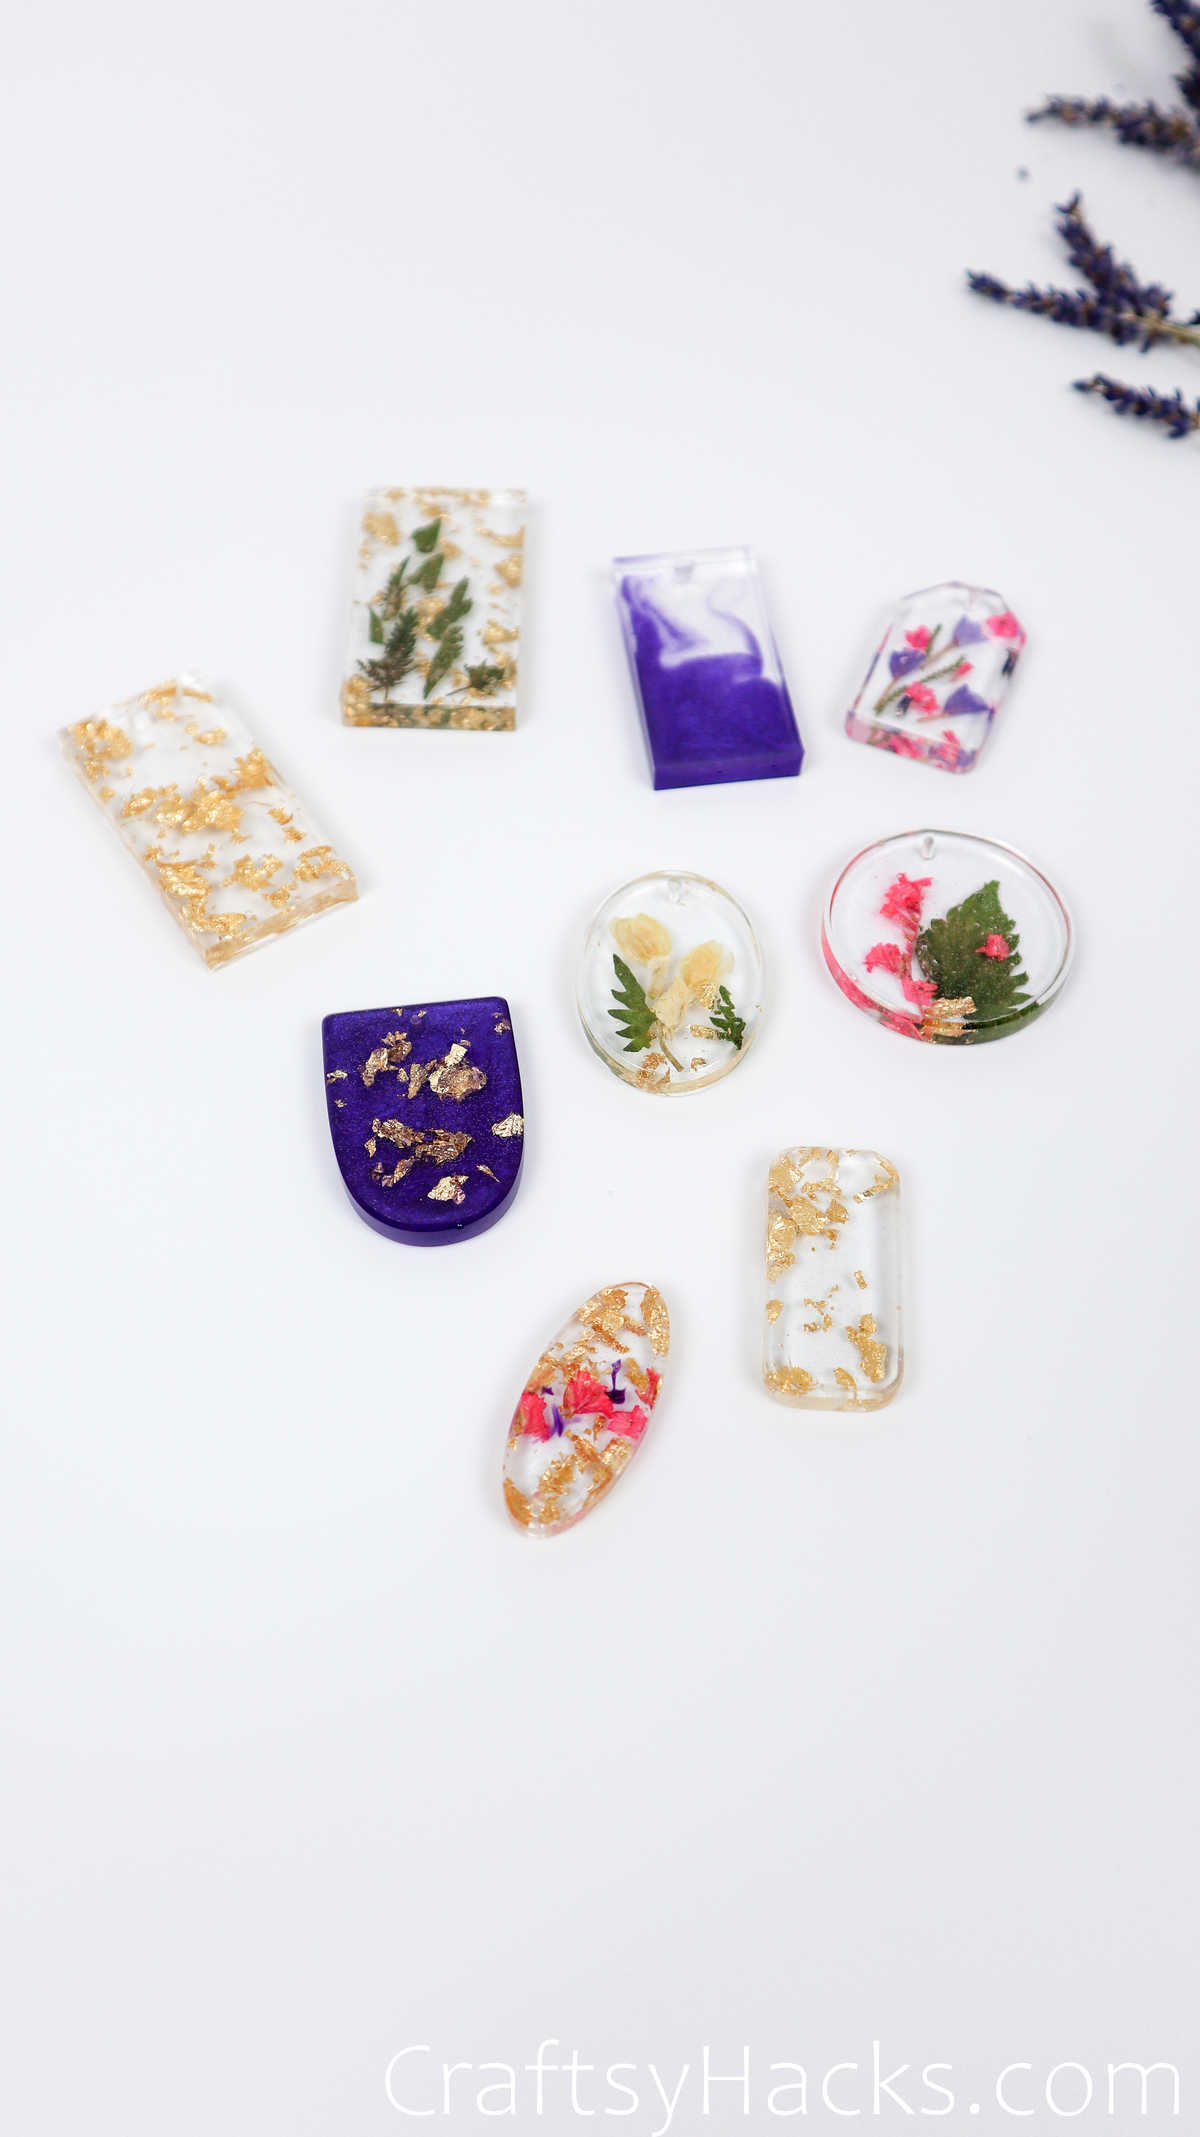
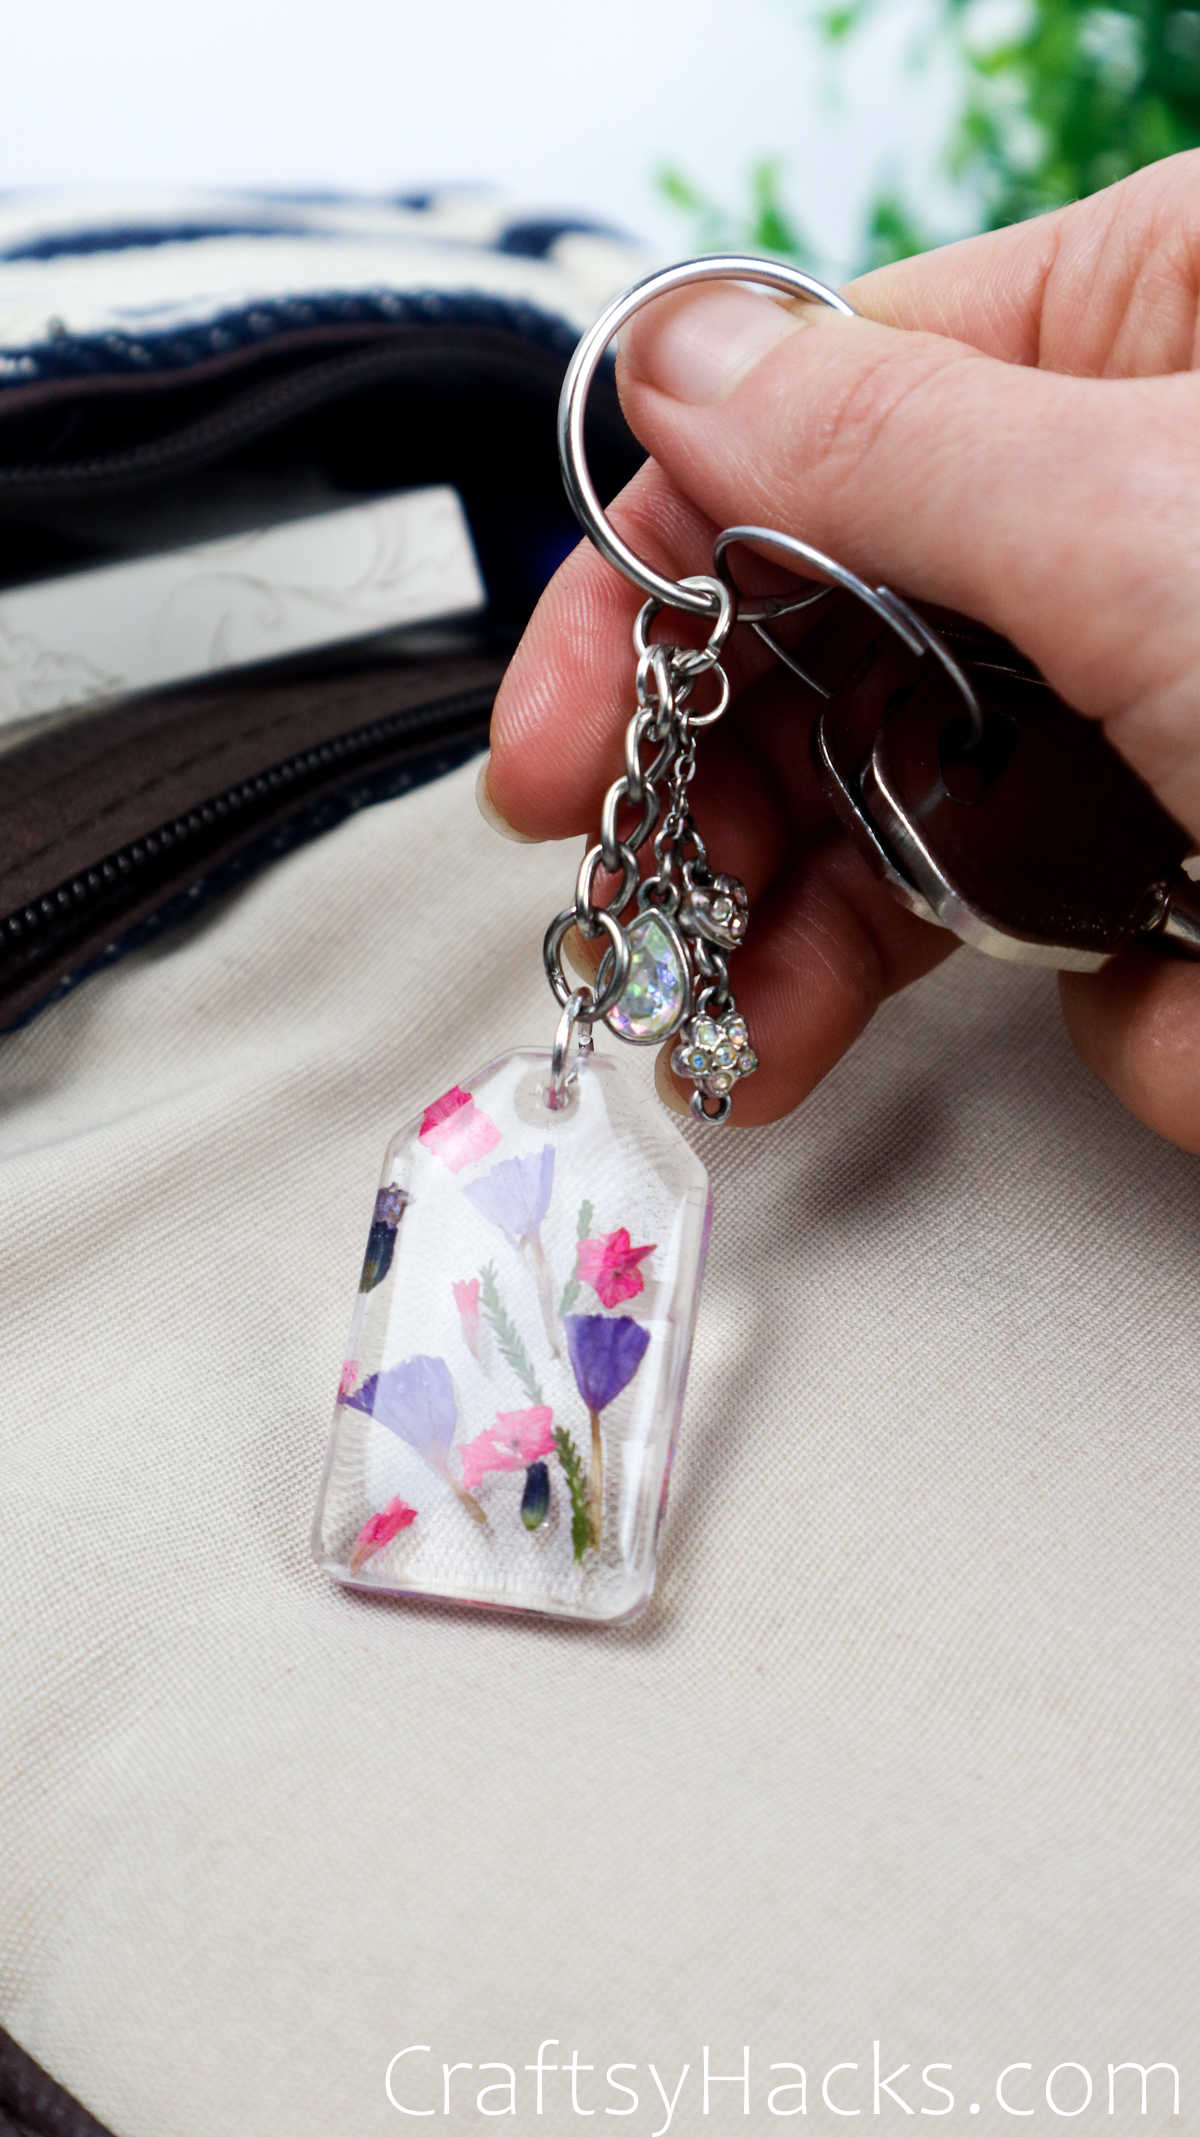
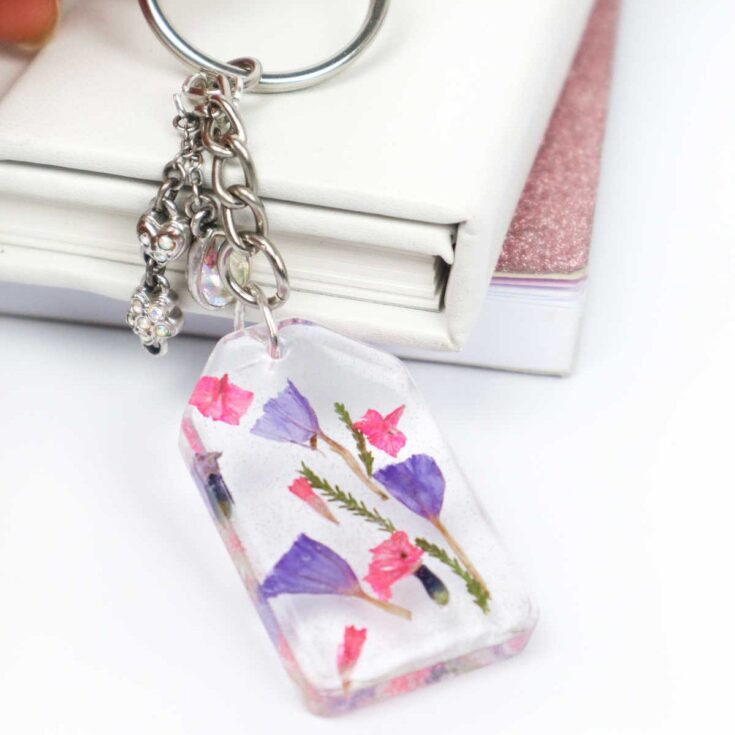
When it’s done, just push the key chain and jump ring through the hold, and voila, your DIY resin keychain is ready!

Other Crafts You Might Like
- 47 Crafts to Make and Sell
- 31 Easy Dollar Store Crafts
- 47 Upcycling Ideas You’ll Love
- 47 DIY Projects
- DIY Macrame Keychain
- 40 Cute Crafts for Teens

How to Make Resin Keychains
Want to make your own DIY accessories? These DIY resin keychains make for perfect gifts!
Materials
- Epoxy resin and hardener
- Small plastic cups
- Big plastic cup
- Toothpick
- Wood skewer
- Silicone molds
- Spatulas
- Heat gun
- Blank keychains
- Face mask
- Gloves
Tools
- Gold flakes
- Glitter powder
- Mica powder
- Resin pigment
- Dried flowers
- Scissors
- Pliers
- Tweezers
Instructions
- Gather all your supplies to get started on these DIY resin keychains. Also don your protective gear before you work with the chemicals.
- The first step is to arrange your dried flowers in the layout you want and to plan your design. Once you mix the resin, you will hardly have any time to think or experiment.
- Mix equal parts resin and hardener in a plastic cup and use a stirrer or stick to thoroughly and evenly mix the two together. You can use a heat gun or torch to get rid of the bubbles, or just sit the mixture in a warm bath for 3-4 minutes to pop the bubbles.
- Pour a bit of resin into the molds and if bubbles pop up, use a heat gun to flatten them out.
- Use a pair of tweezers to place the flowers and any other decorative elements you’re planning to use–gold foil, mica powder, glitter, leaves, and more. You can also use colored dye or mica powder to color the resin completely, or just add a drop or two and swirl some patterns into it.
- Allow this to set–cure–for 6-8 hours.
- Next, prepare another batch of resin–add foil, color, etc. if needed–and then cover the surface evenly. Allow this to cure for 24-48 hours.
- You can create a domed finish if you like. Just prepare a small batch of resin and allow it to harden a little so it turns tacky and then pour just a bit of it over the surface. Use a toothpick to even out the edges and don’t cover up the hole.
- You can use a nail filer or a bit of sandpaper to smoothen any irregularities or bumps
- Let this cure for another 12-14 hours–under a protective cover–before inserting the keychain jump ring into the hole.
- Your DIY resin keychains are ready!