

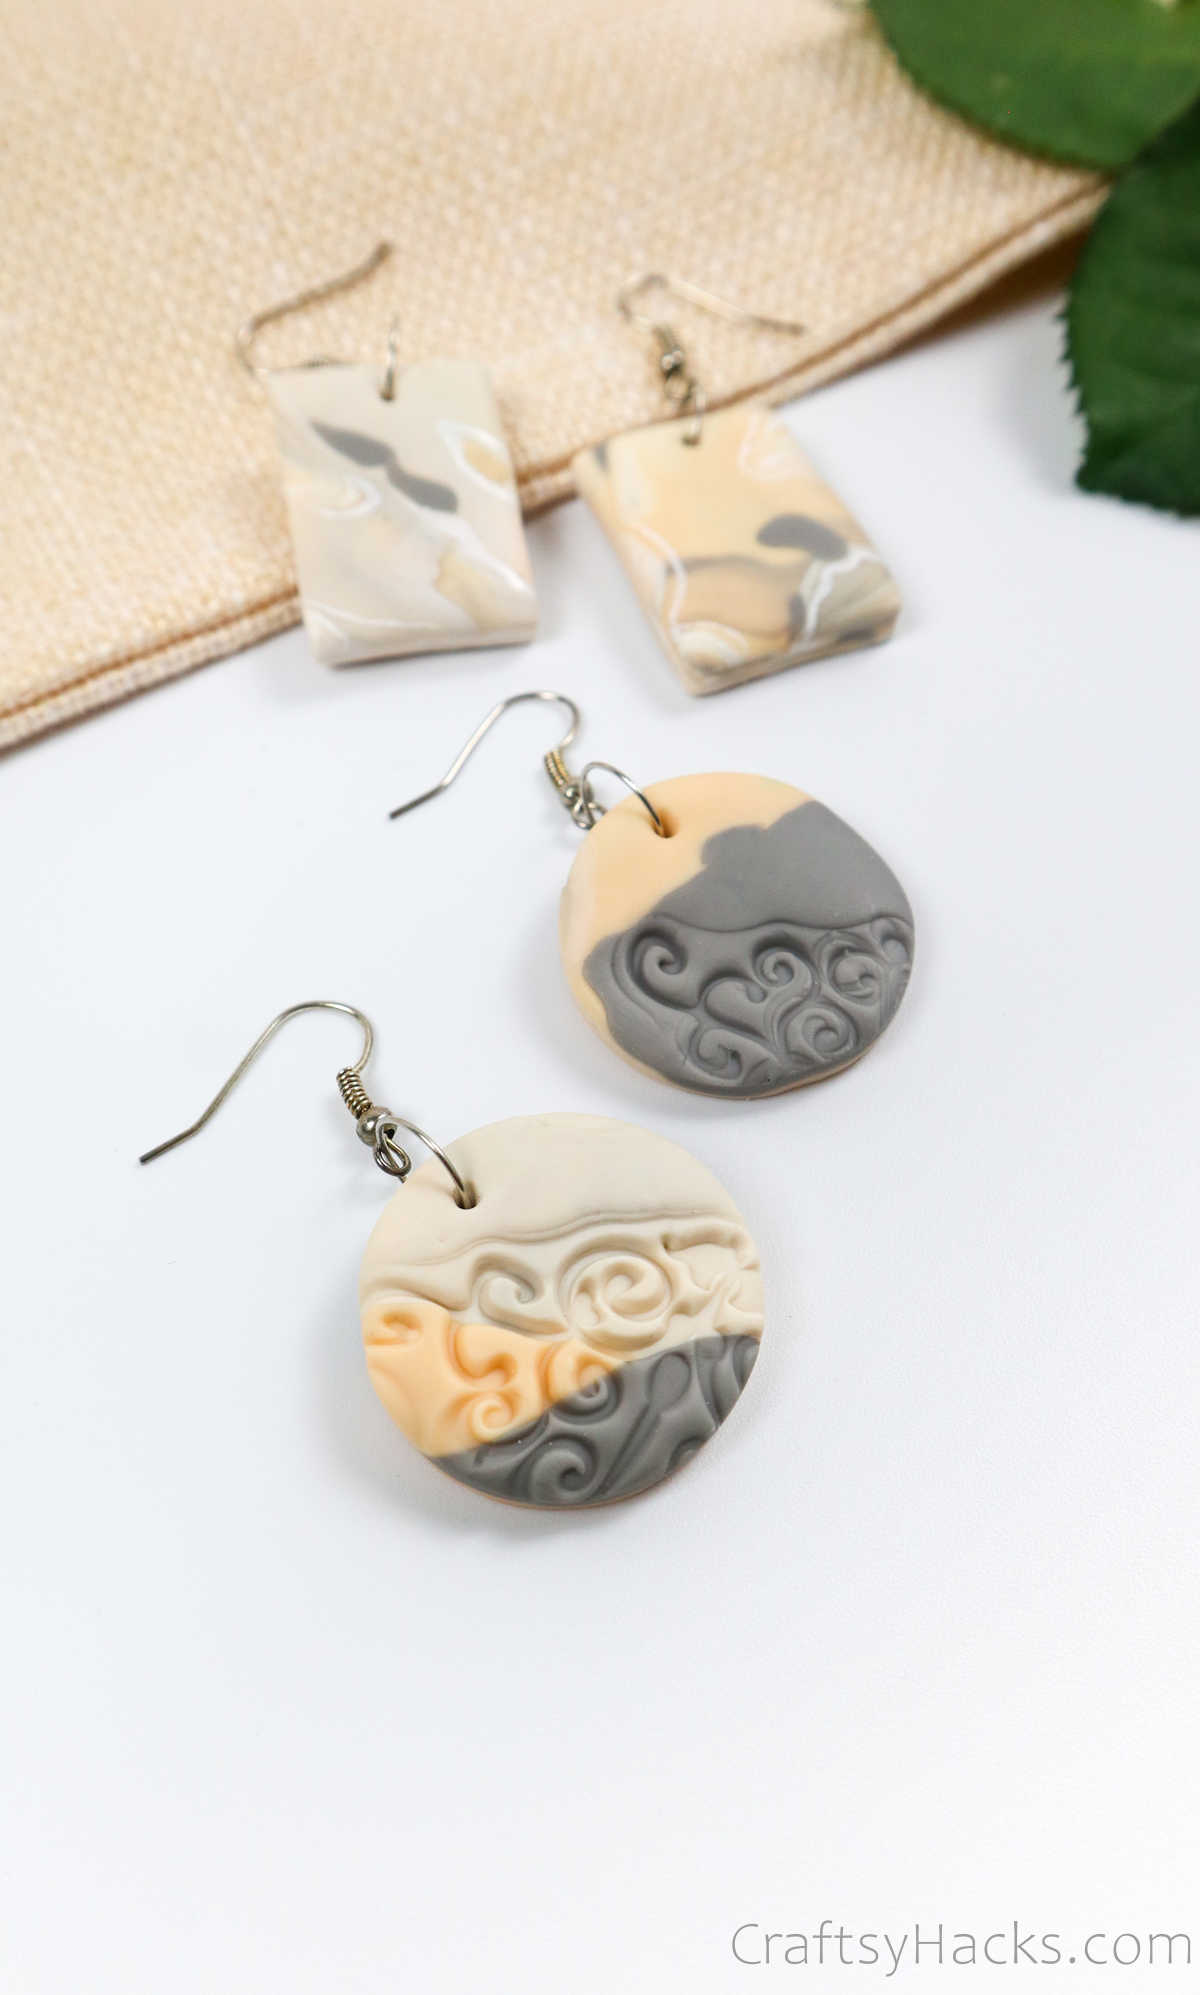
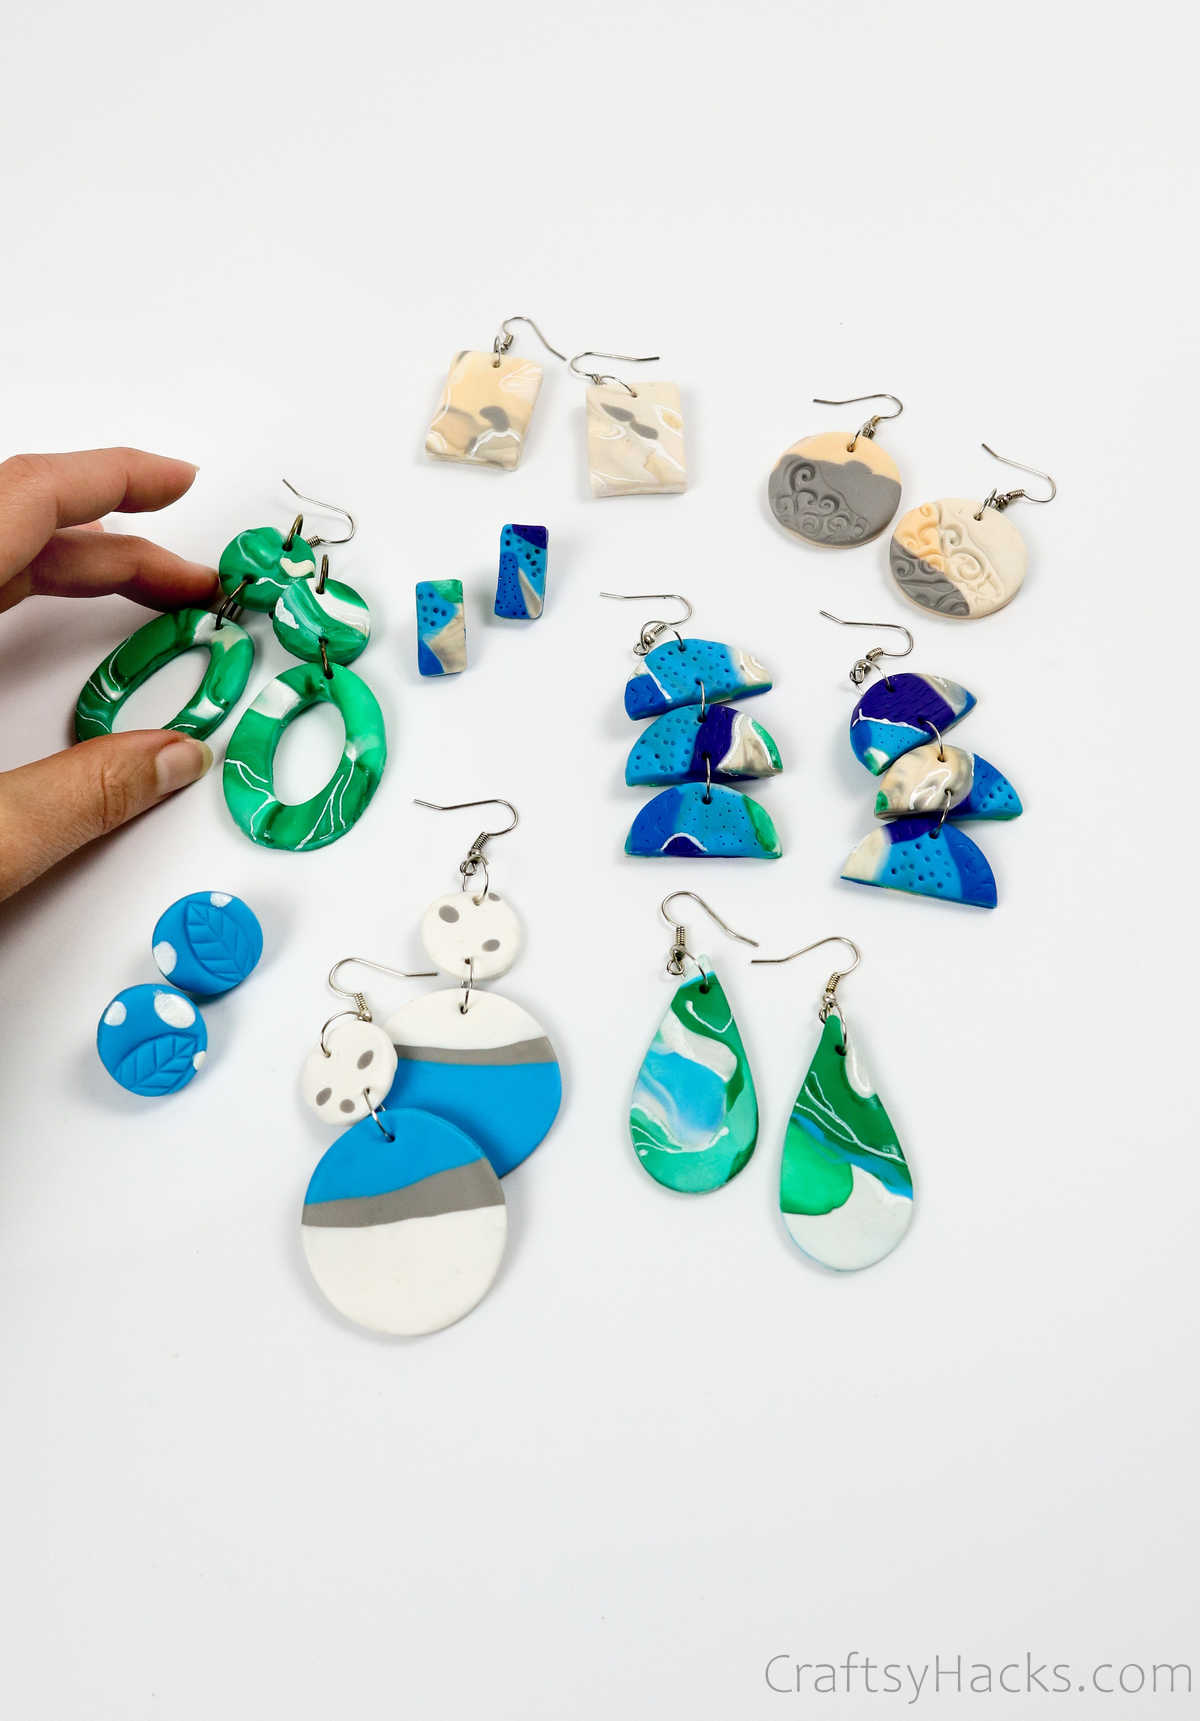
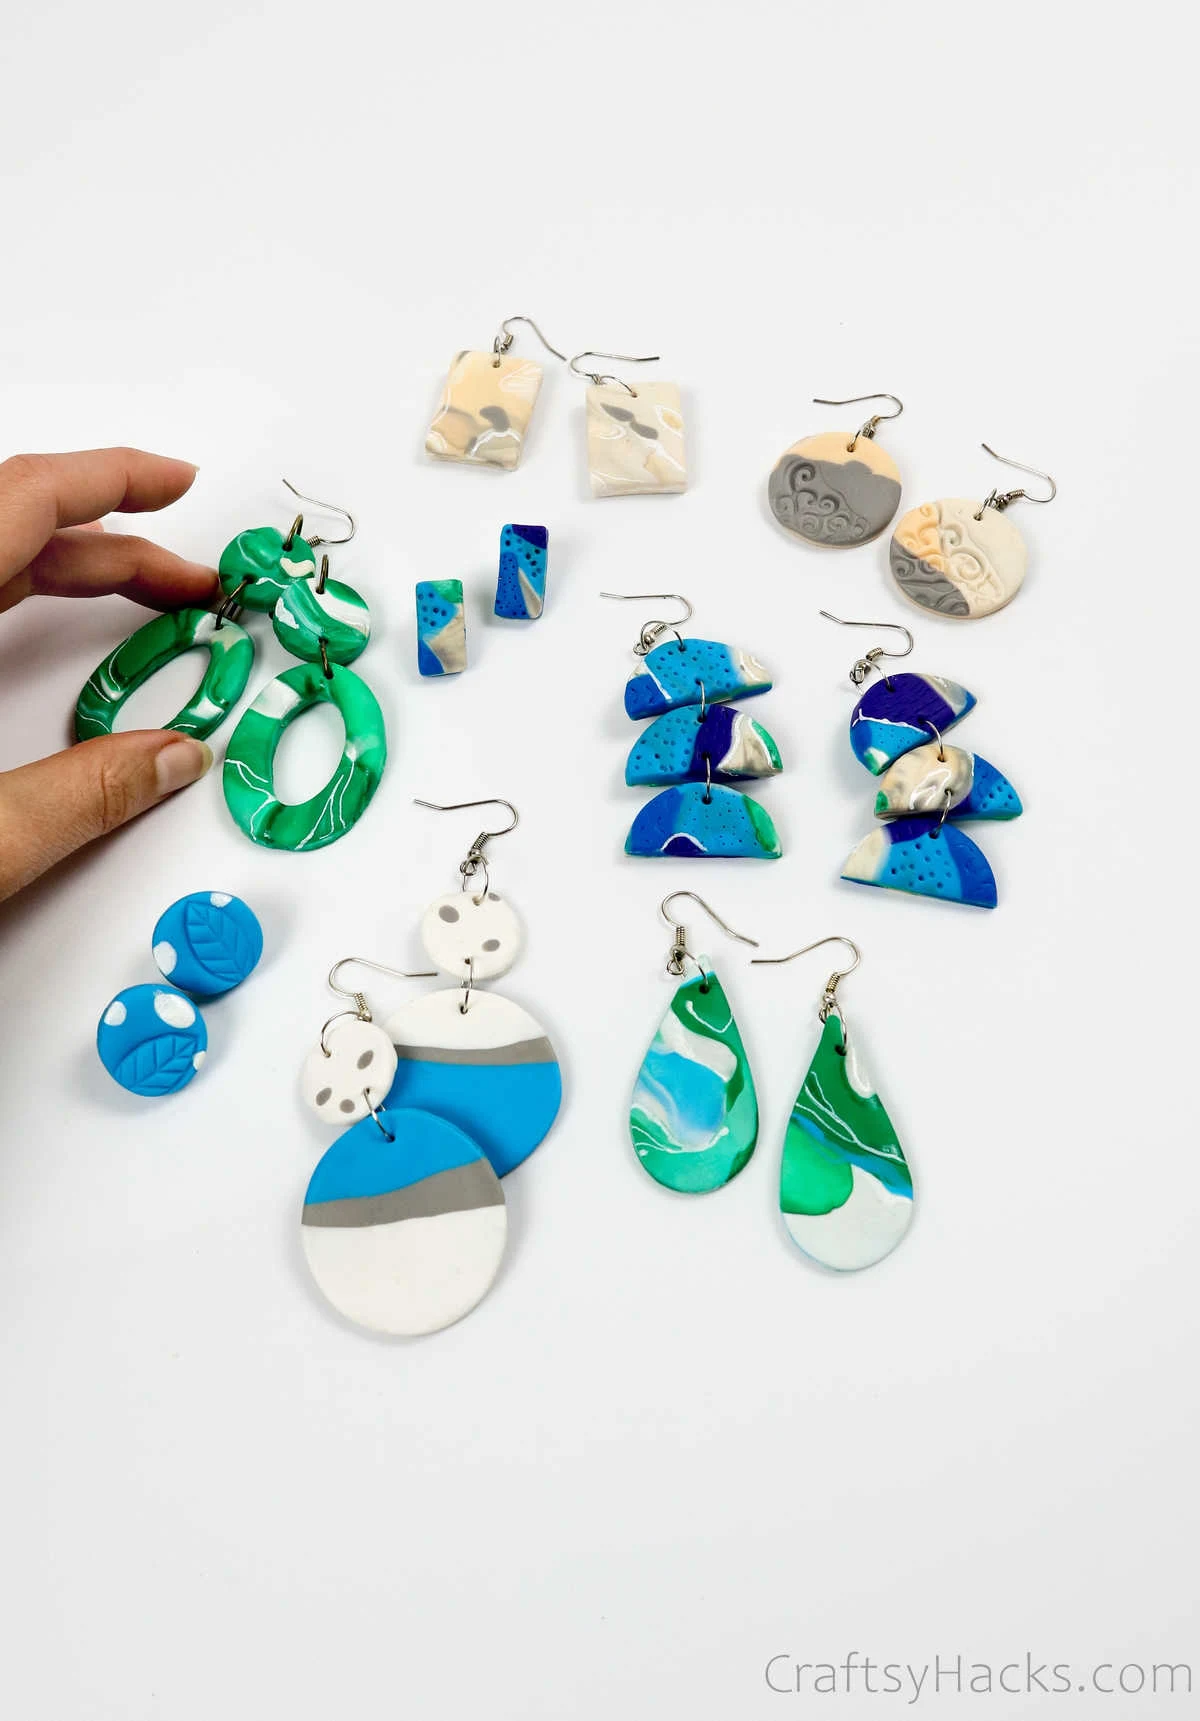
Learn how to make your very own unique polymer clay earrings. I’m sharing 6 different earring designs that will give you inspiration for your next jewelry project.
You don’t ever need a reason or occasion to add to your stash of earrings. However, when you constantly give in to the urge and splurge on buying earrings all the time, the costs can and will pile up.
Not buying more earrings is definitely not the solution, but you also can’t keep buying more and more. You need to do something more sustainable and pocket-friendly…like making your own DIY earrings!

Take a look at these gorgeous earrings made out of polymer clay. They’re super pretty, and they are also surprisingly easy to make once you know how. So, let’s get right down to it.

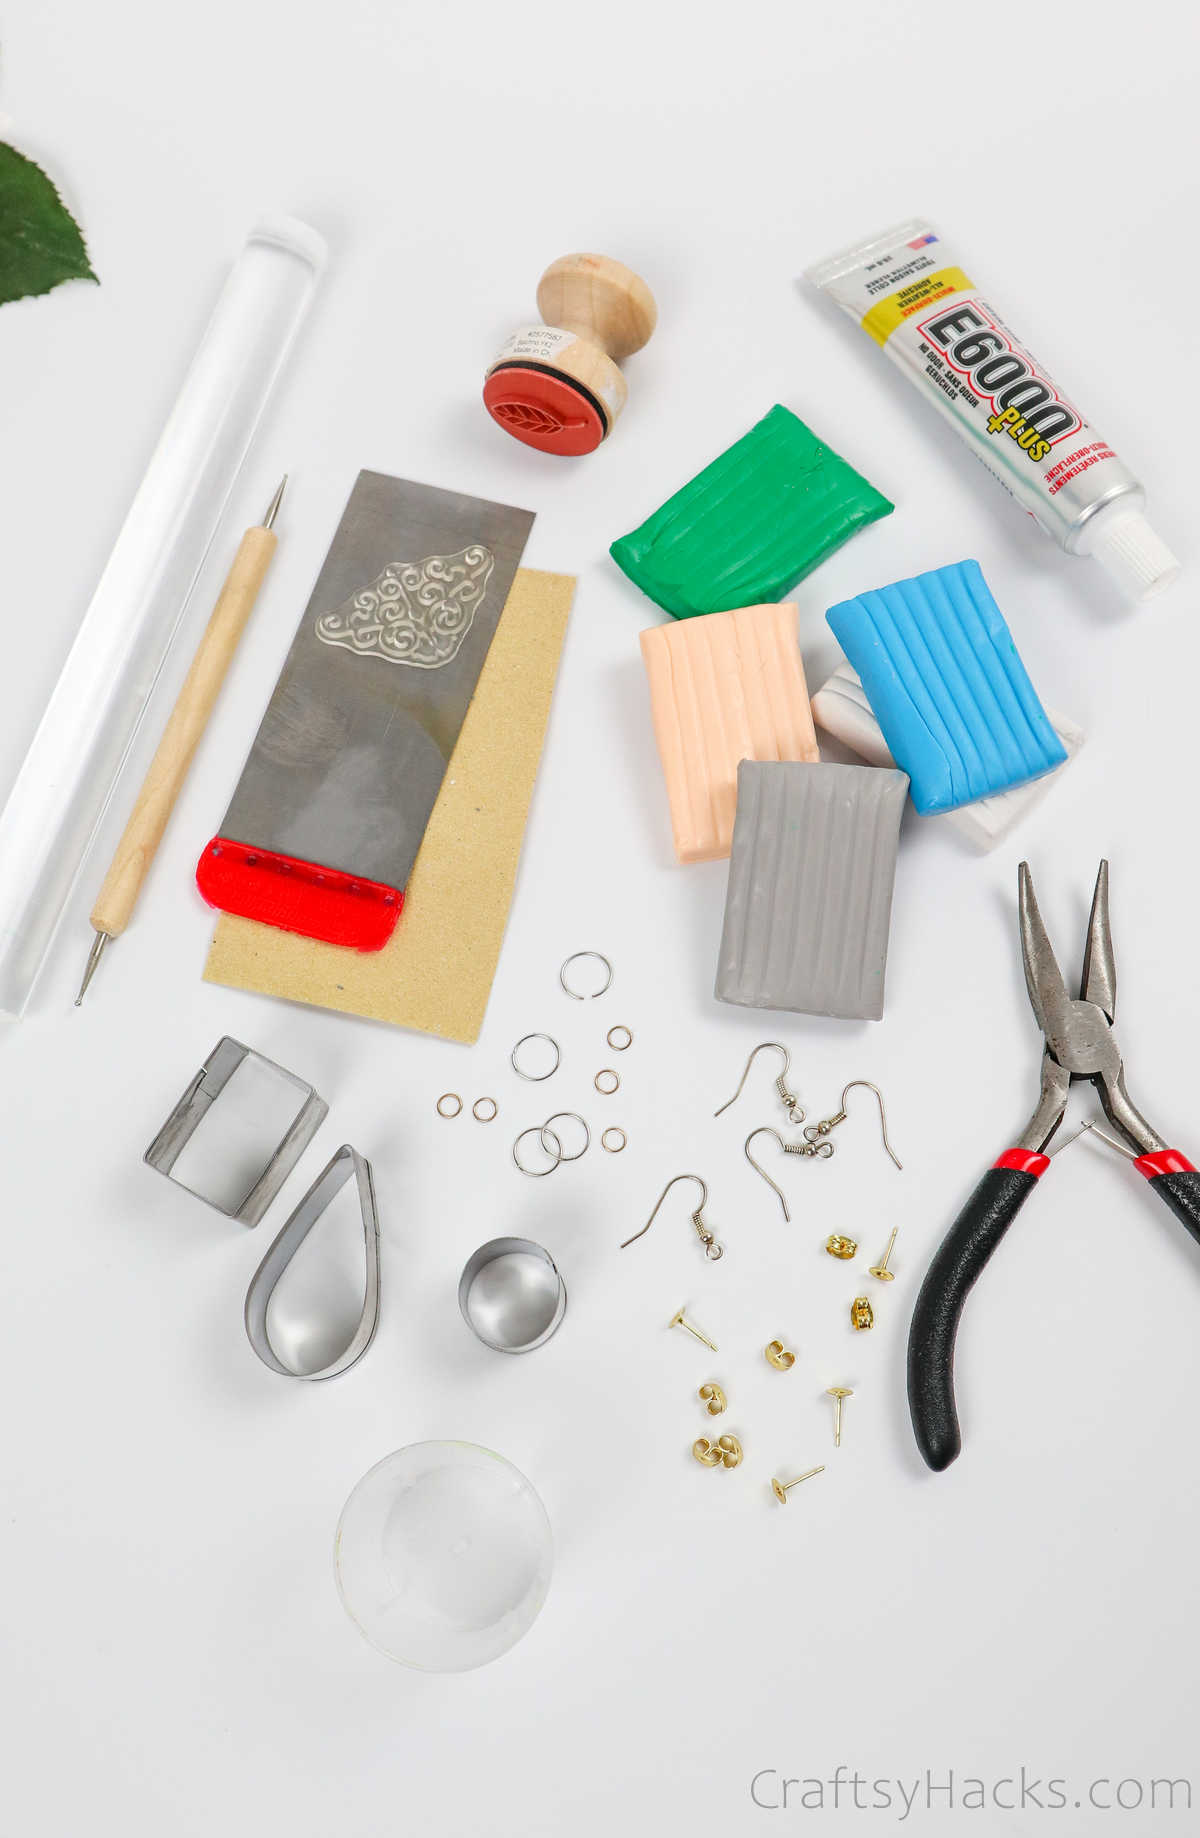
Supplies and Tools You’ll Need
Here’s an exhaustive list of all the different supplies you’ll need for this DIY project:
- Polymer clay
- Cookie cutters
- Fine sandpaper
- Filling knife (or any cutting blade)
- Dotting pen
- Rolling pin
- Rubber stamps
- Jump rings
- Earring hooks
- Earrings posts + backs
- Pliers
- Glue E6000

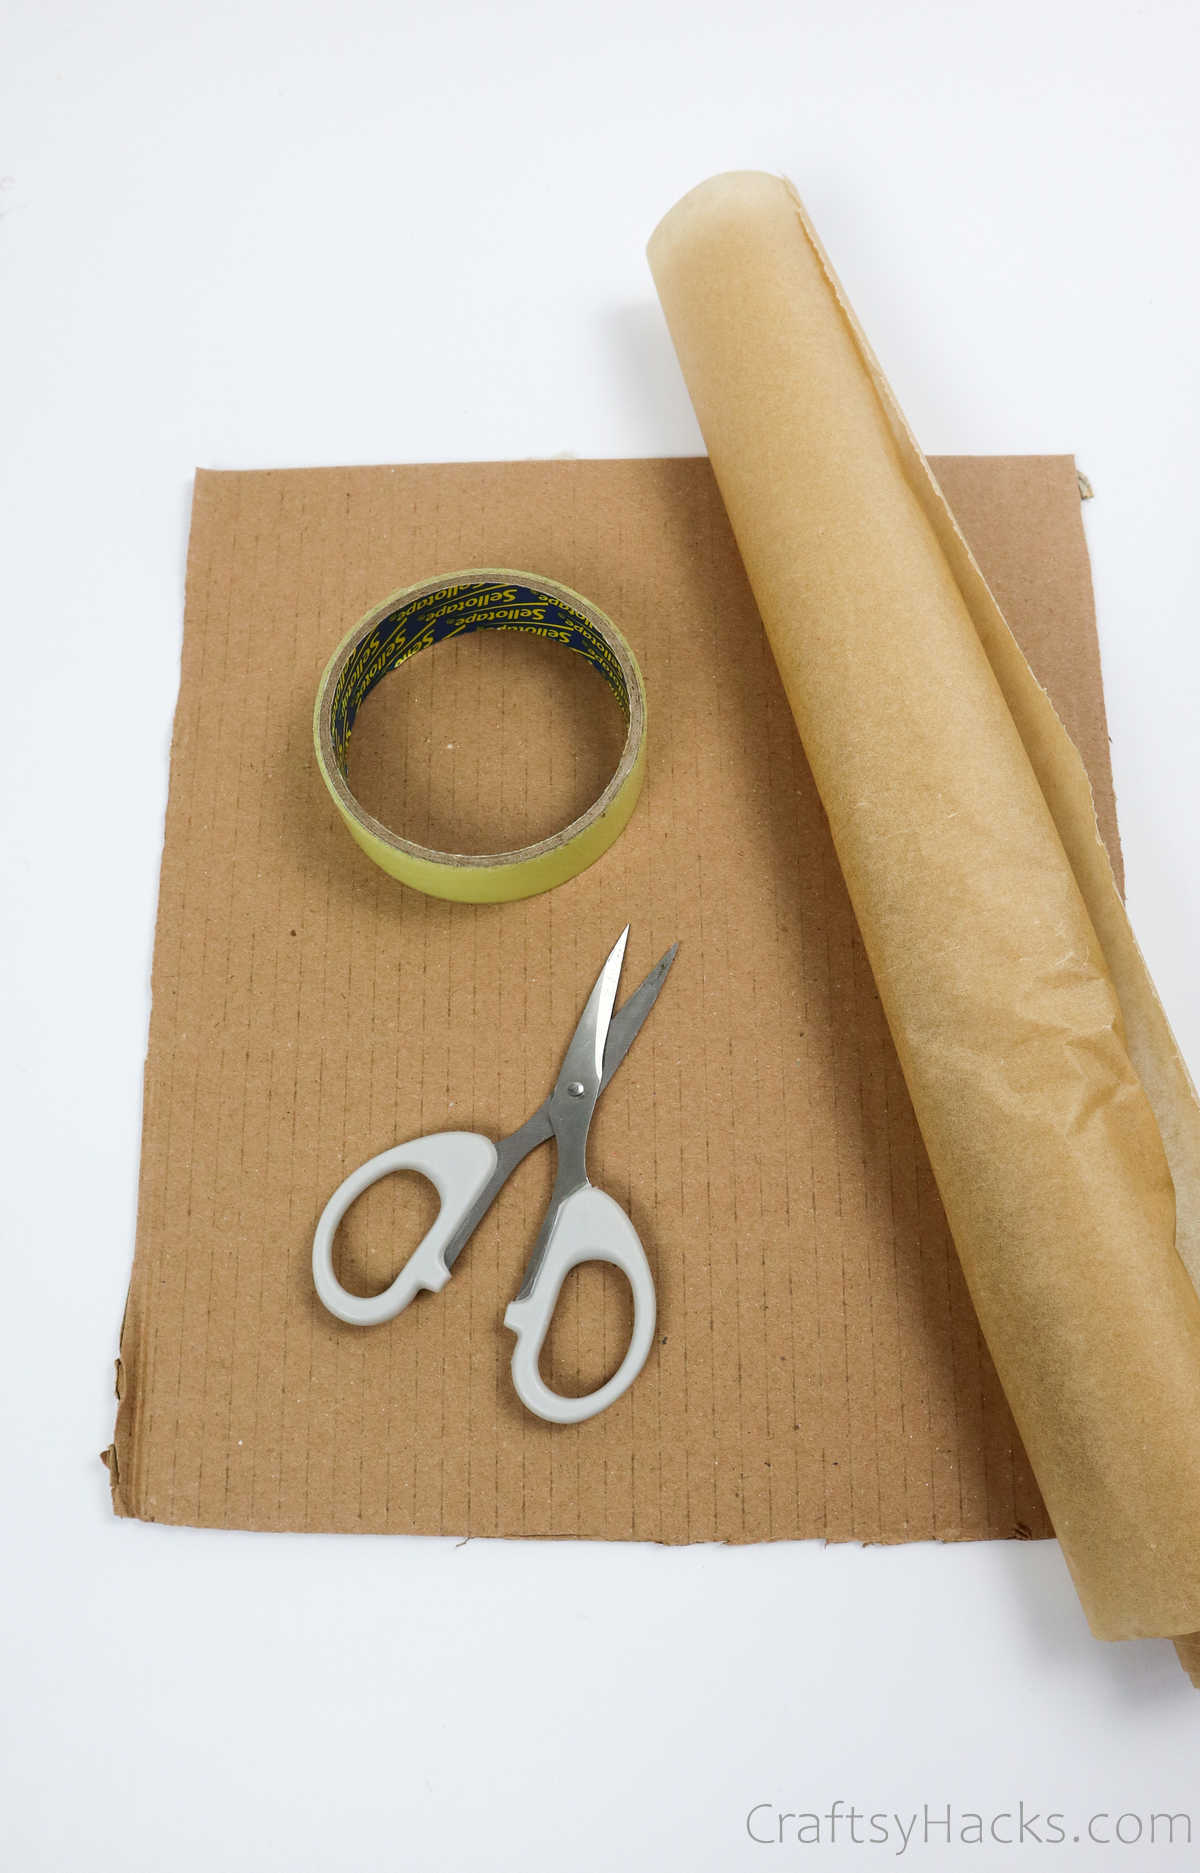
- Cardboard piece
- Parchment paper
- Sellotape
- Scissors
How to Make Polymer Clay Earrings
Once you’ve gathered everything you need, you’re all set to start working. But before you do, you’ll need to prepare your work surface.
Step 1
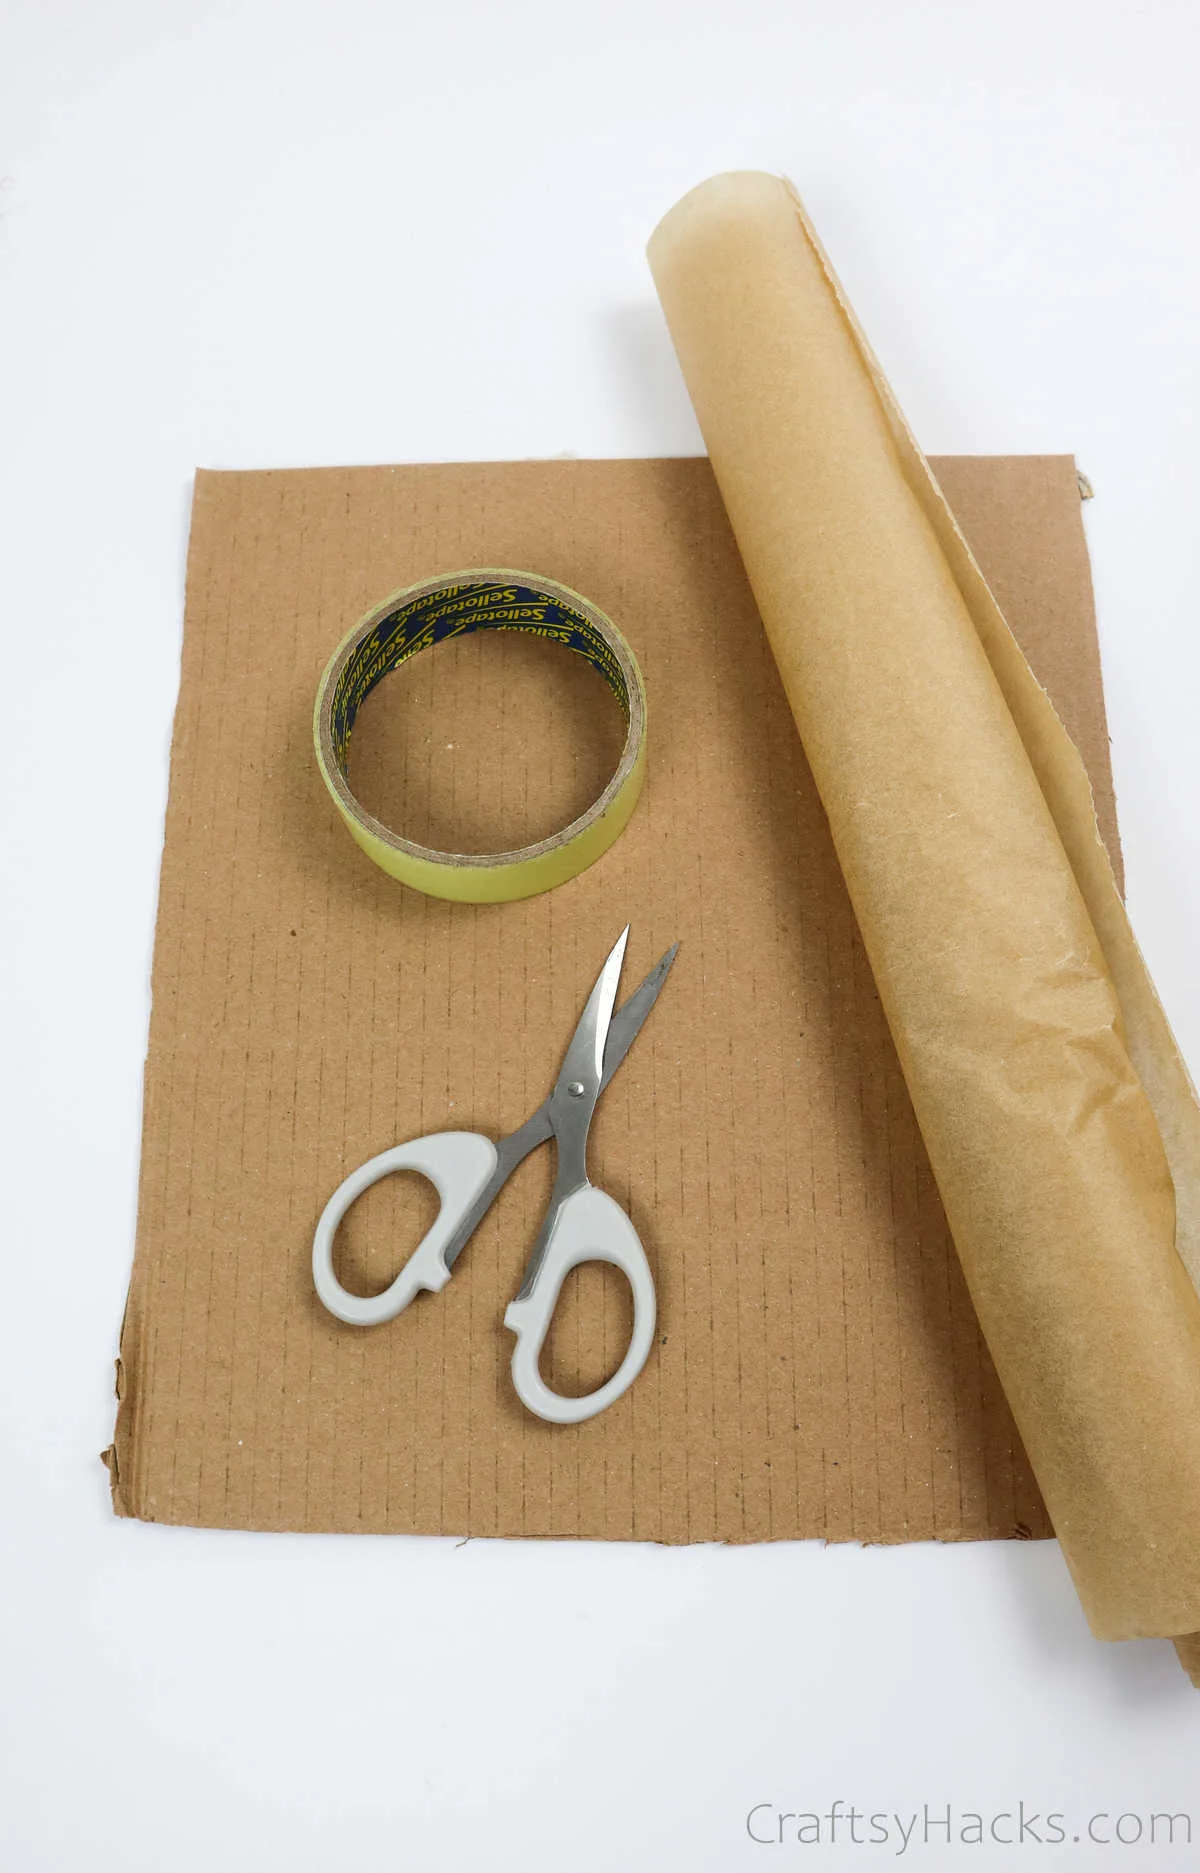
You’ll be using a sharp blade to cut through the polymer clay, so you’ll need to protect your work surface accordingly. This is where your cardboard comes in.
Cut some parchment paper to fit the cardboard sheet and tape it in place.

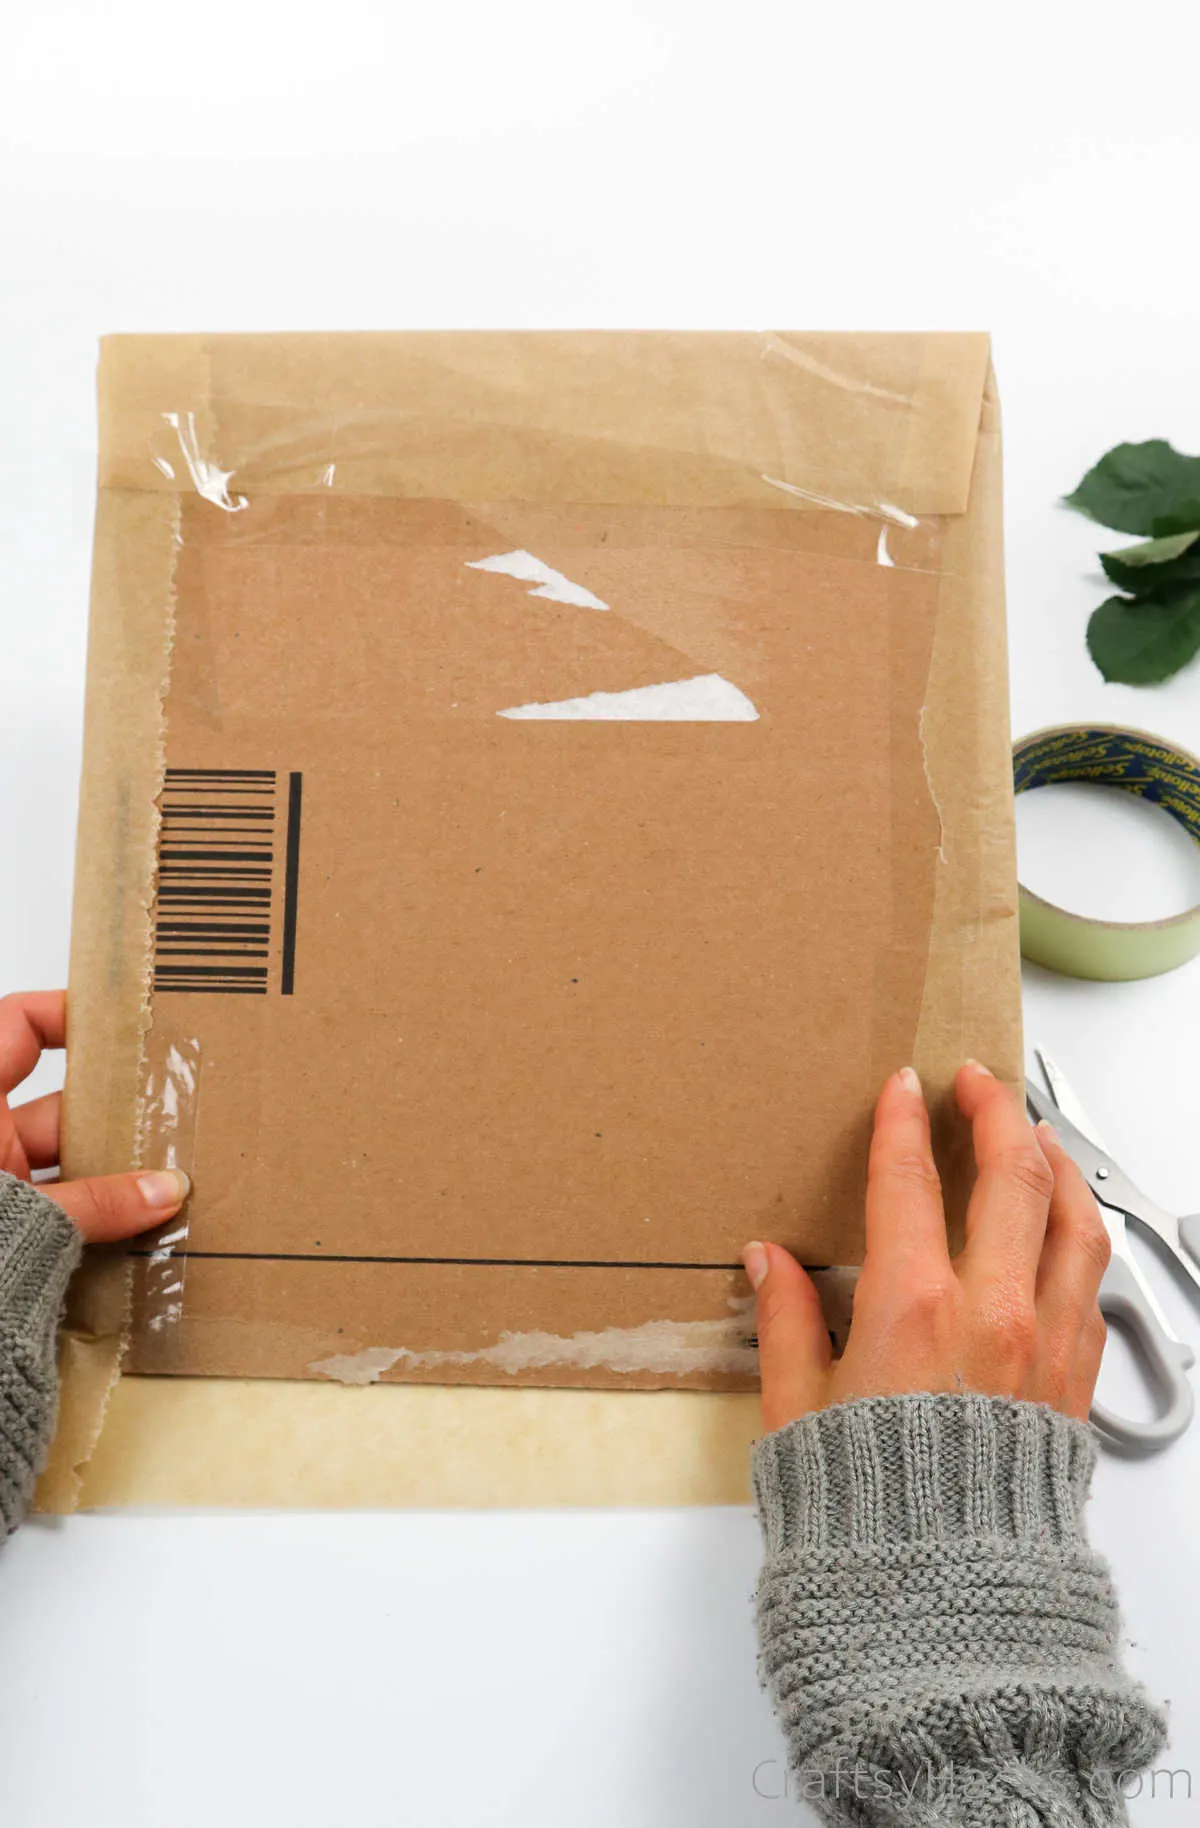
Step 2
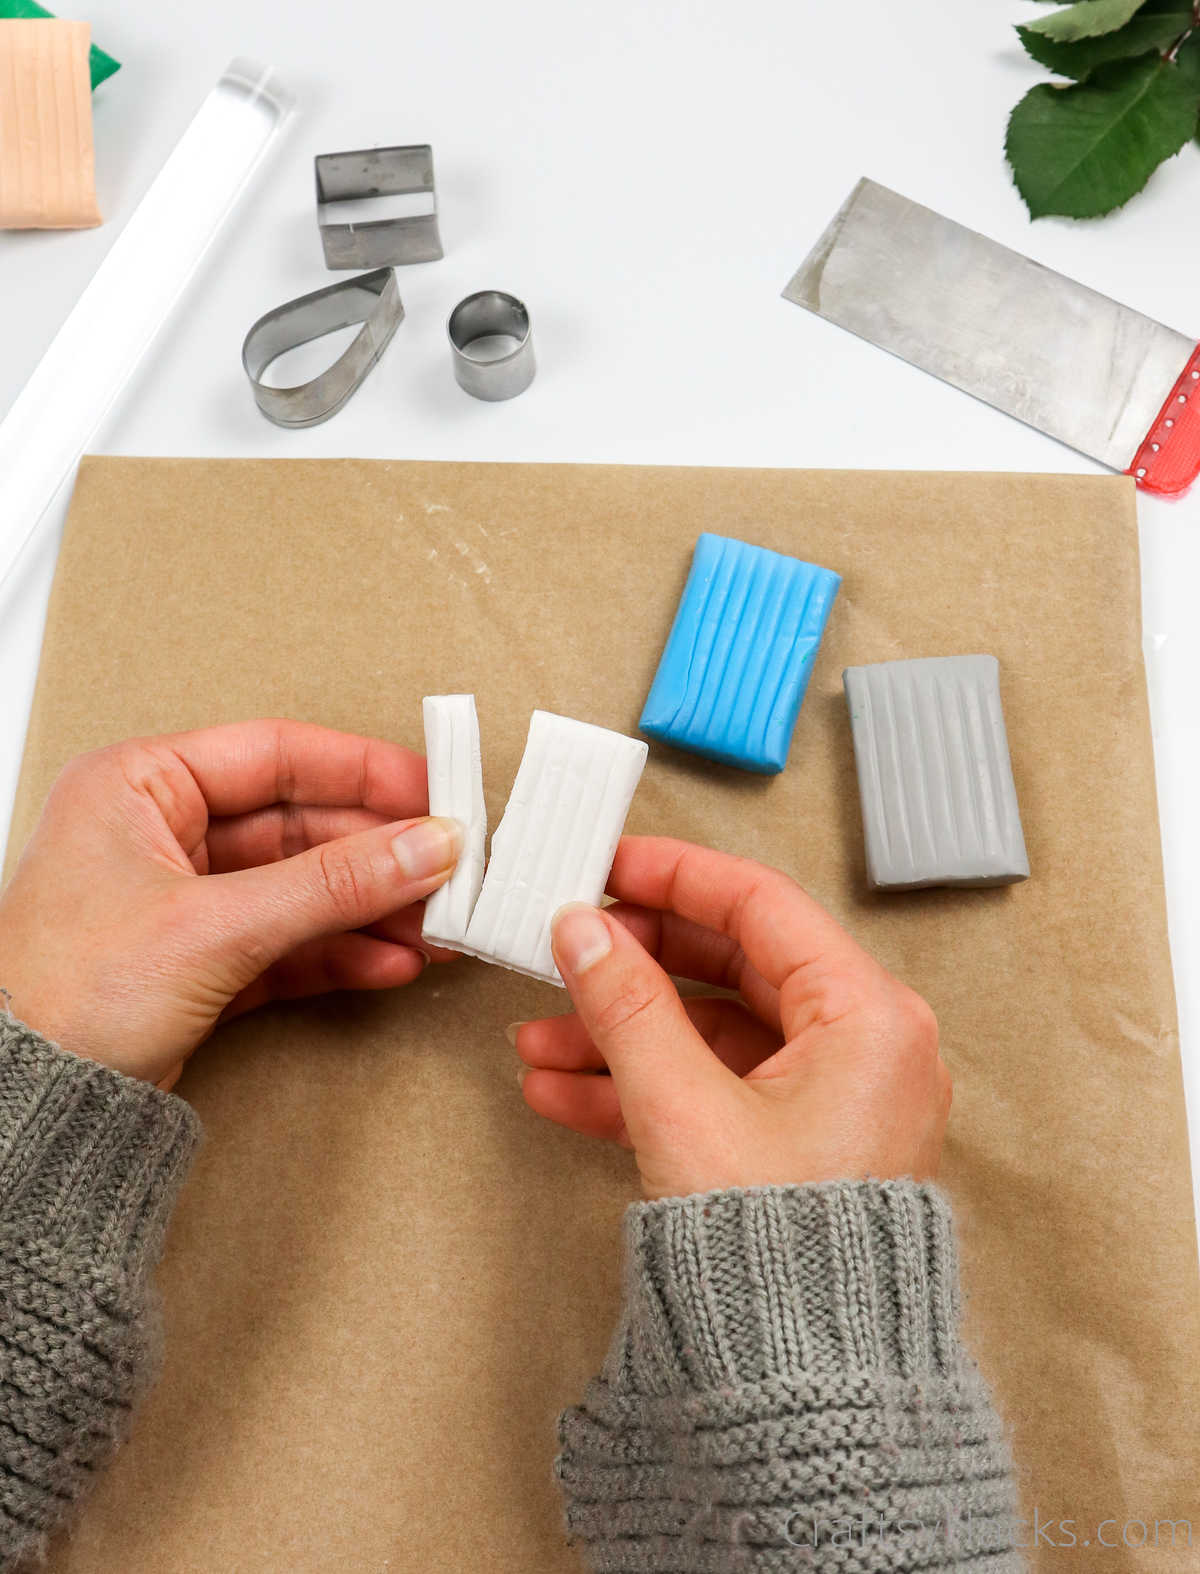
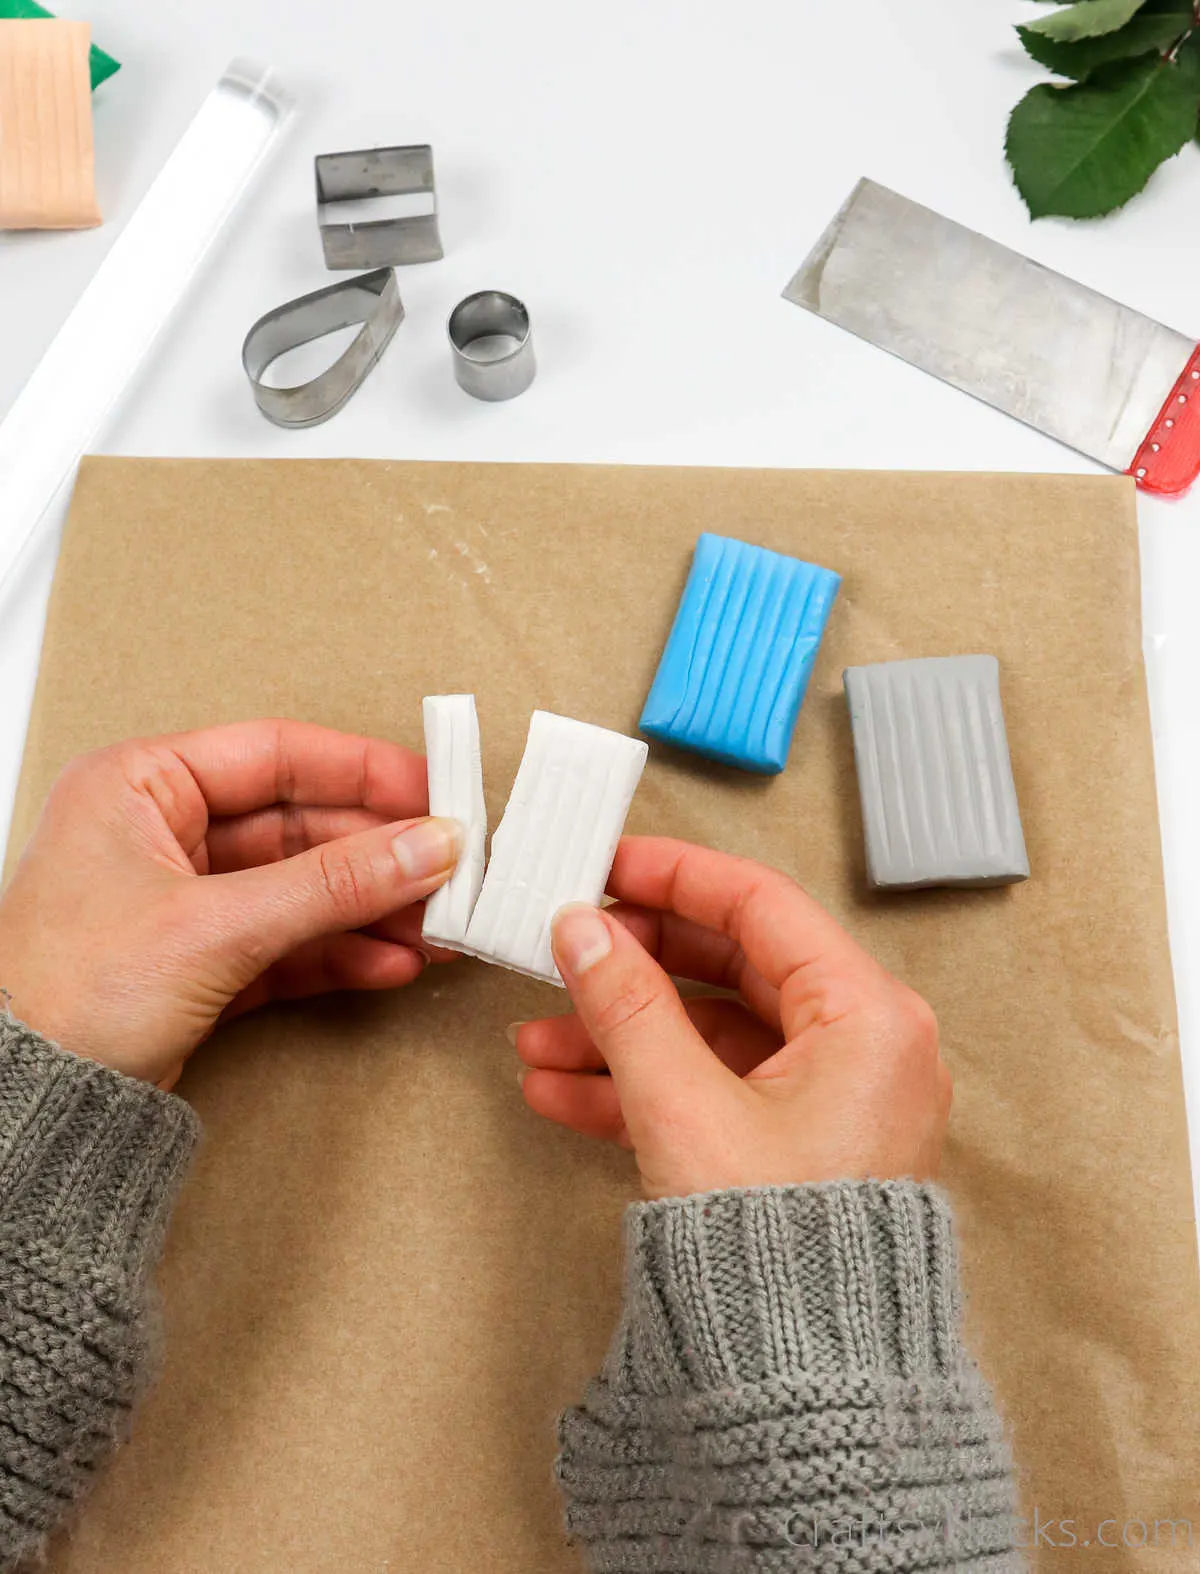
Pick out the different colors you want your earrings to be and section off some clay from each color block.
Design 1
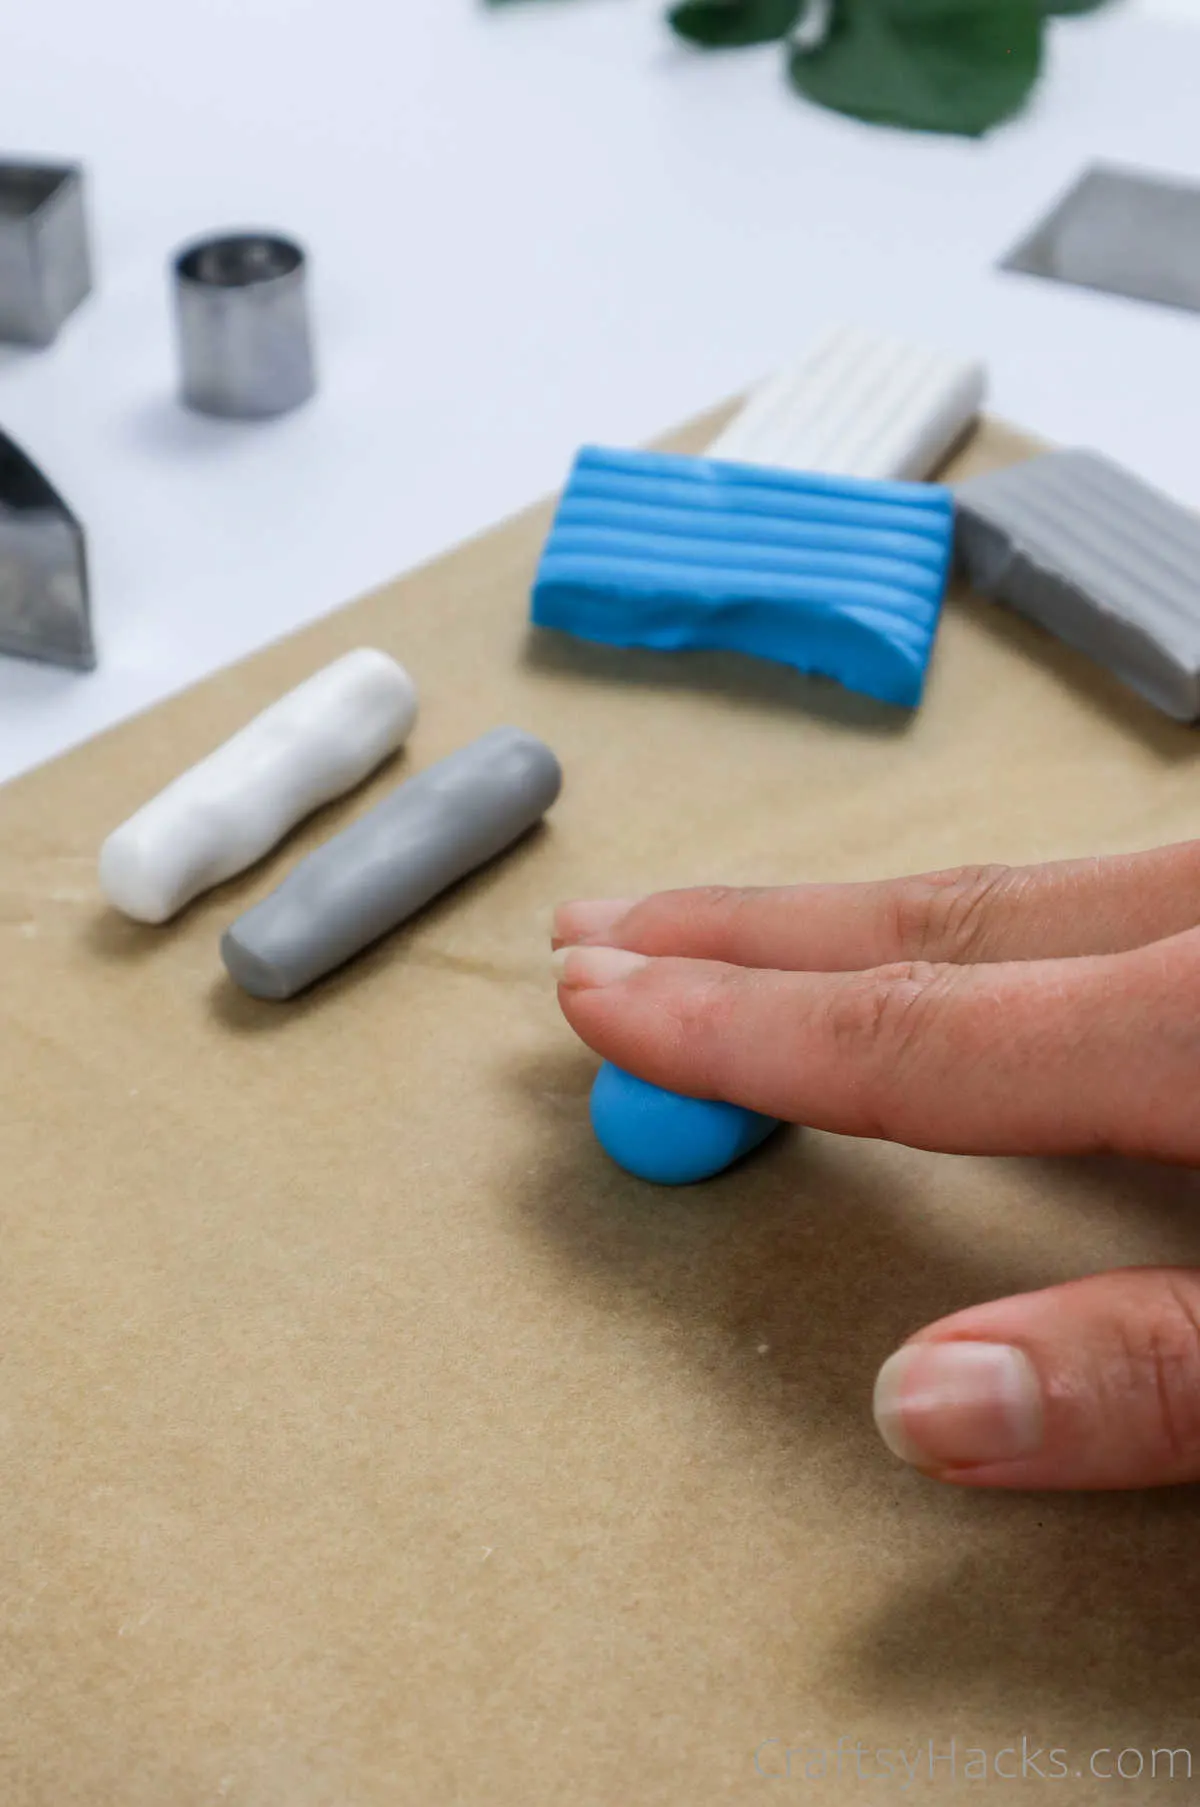
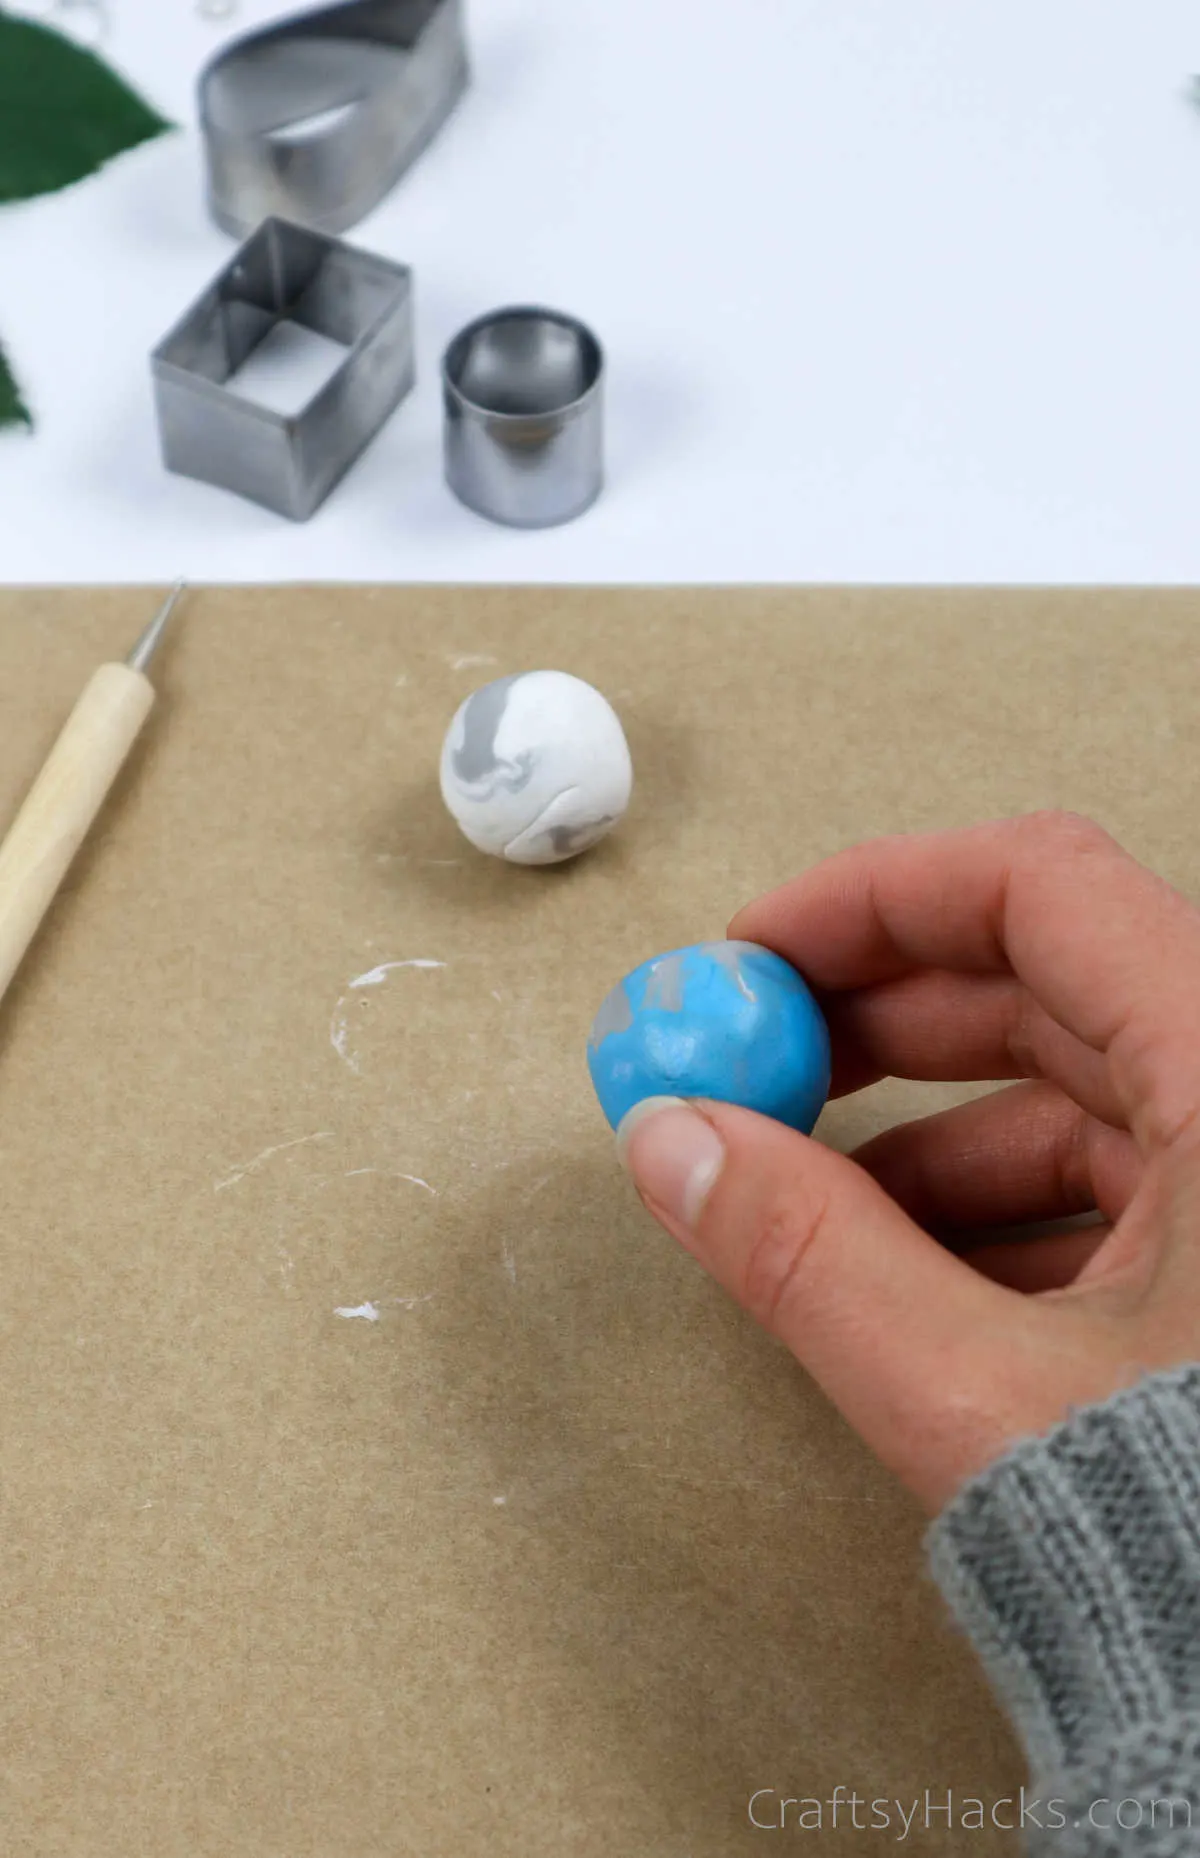
Using the warmth from your fingers and palms to soften it, roll the clay around to soften and stretch it. Don’t let it become too squishy; it needs to be firm but still pliable.
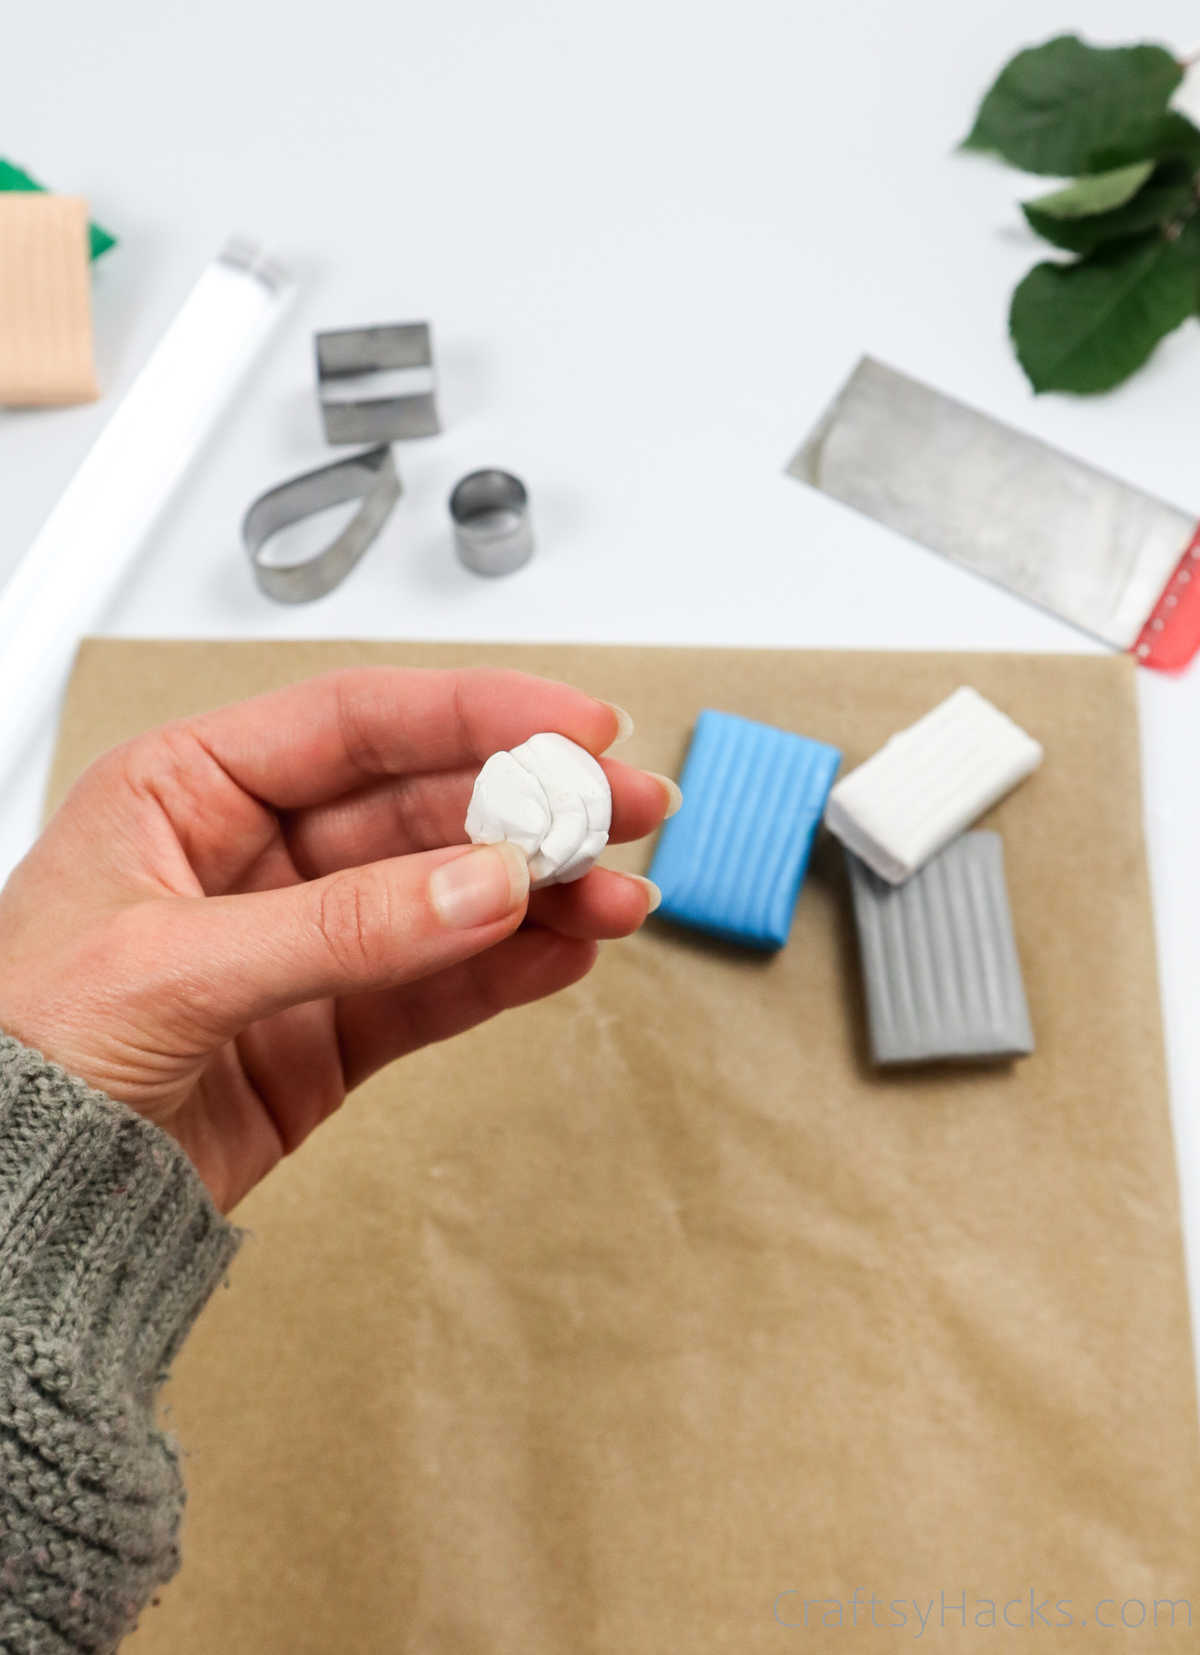
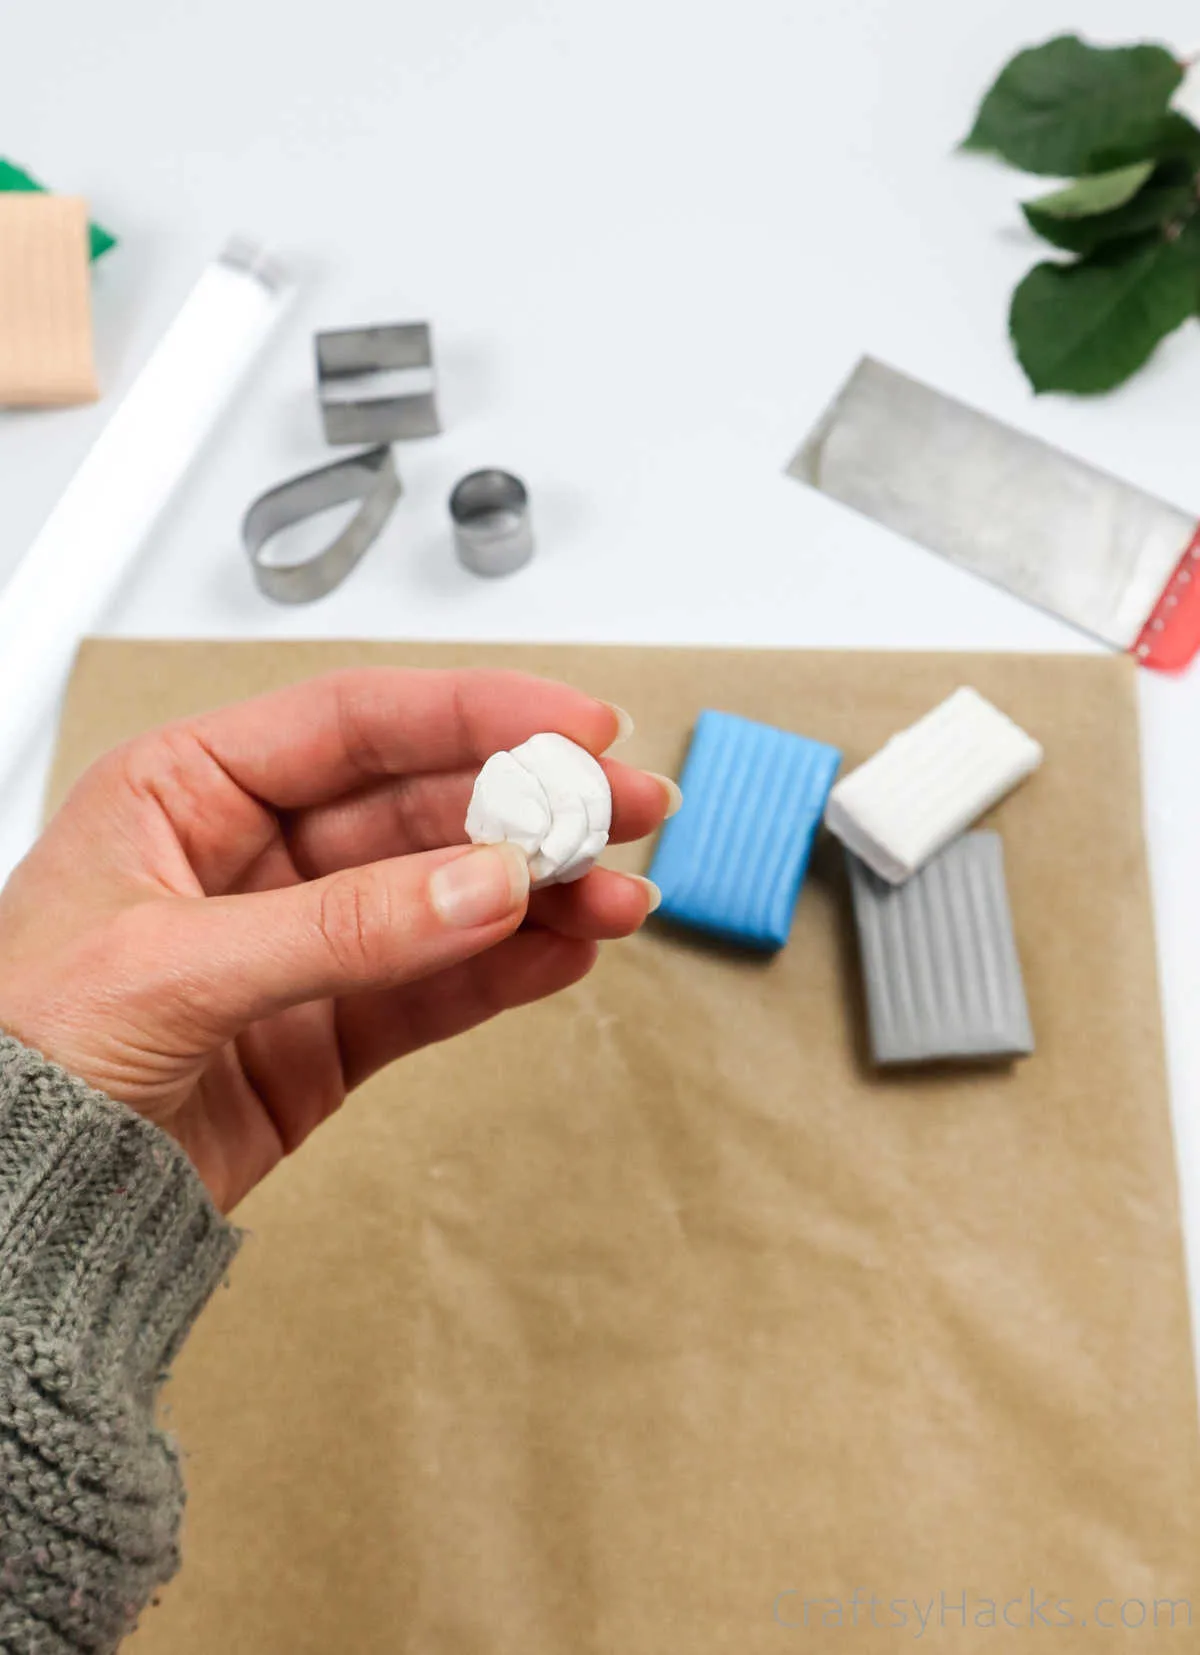
Once you’ve smoothened the clay and rolled it into a ball, it should look something like this.

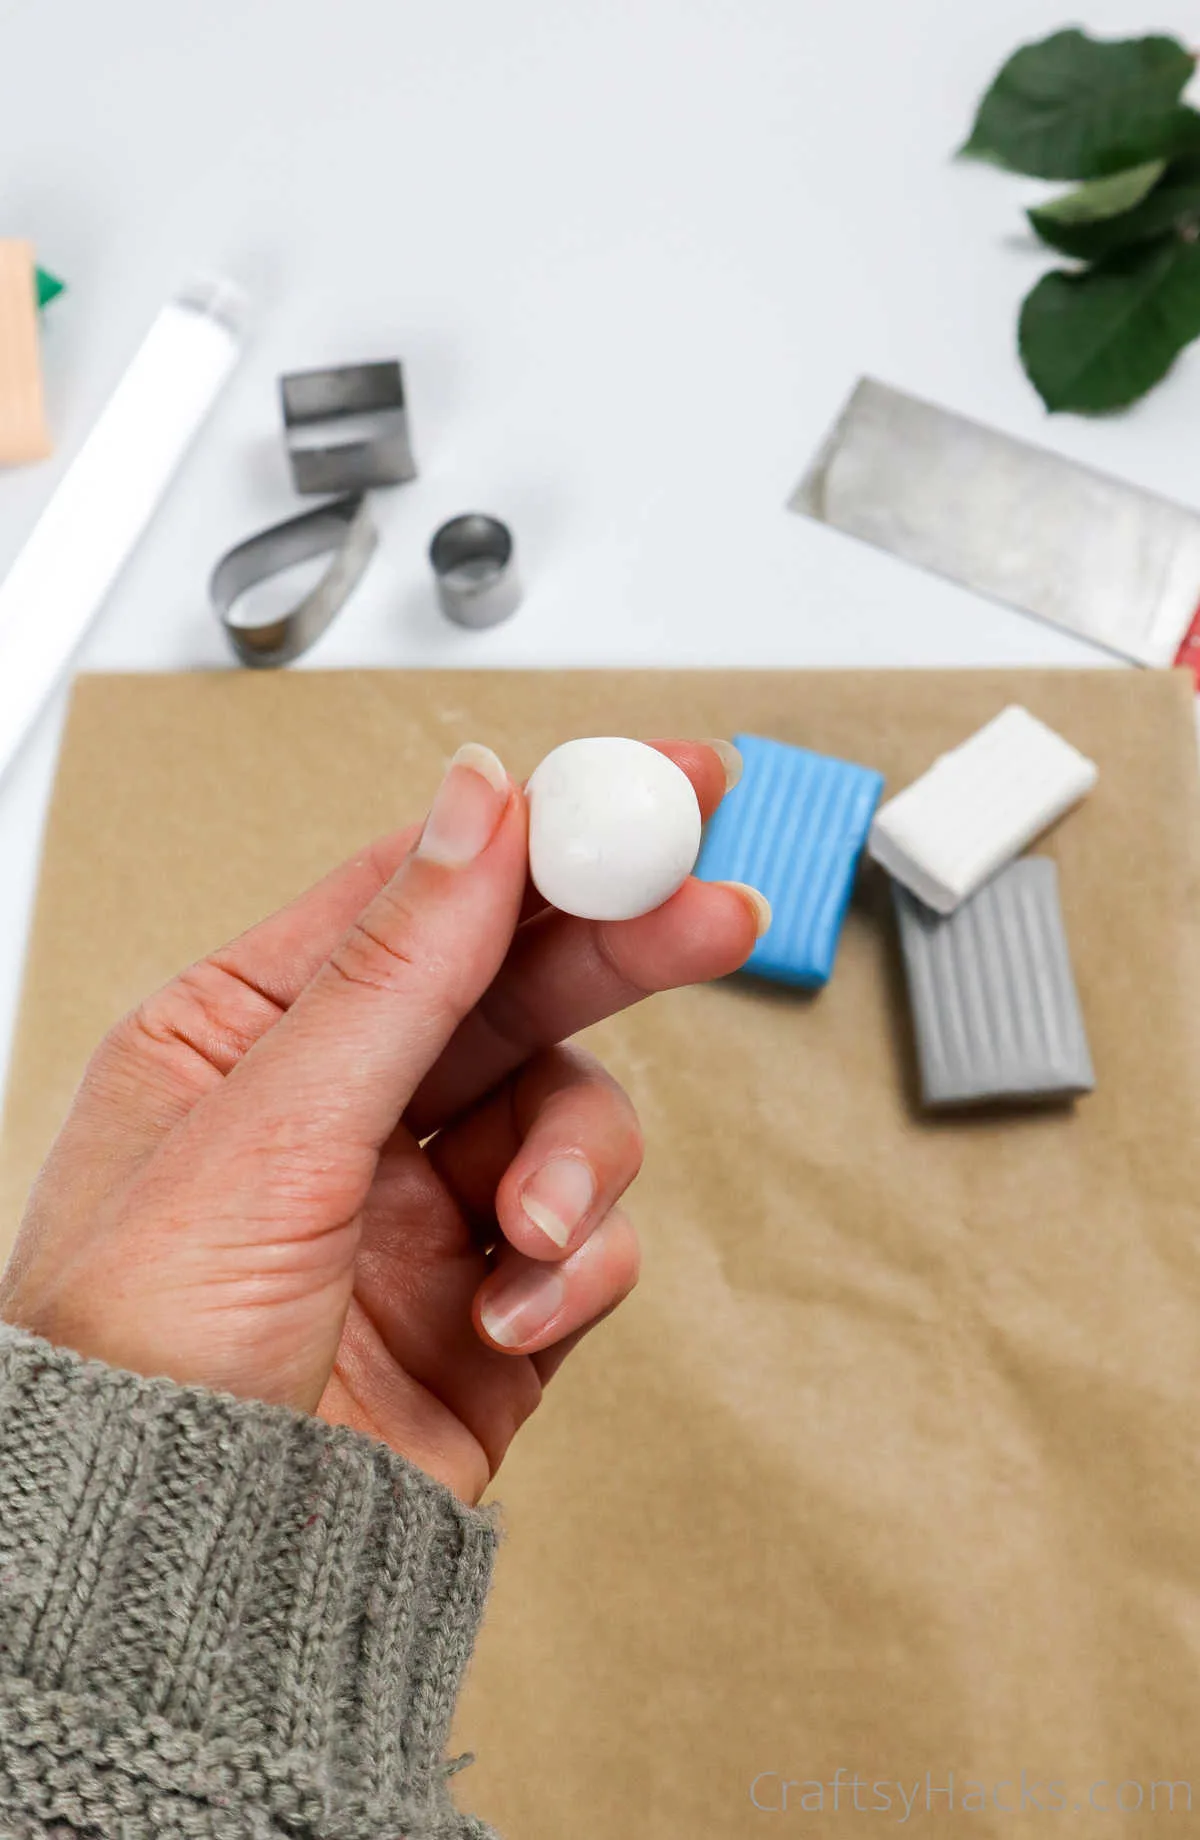
Repeat this step with all the different colors of clay.

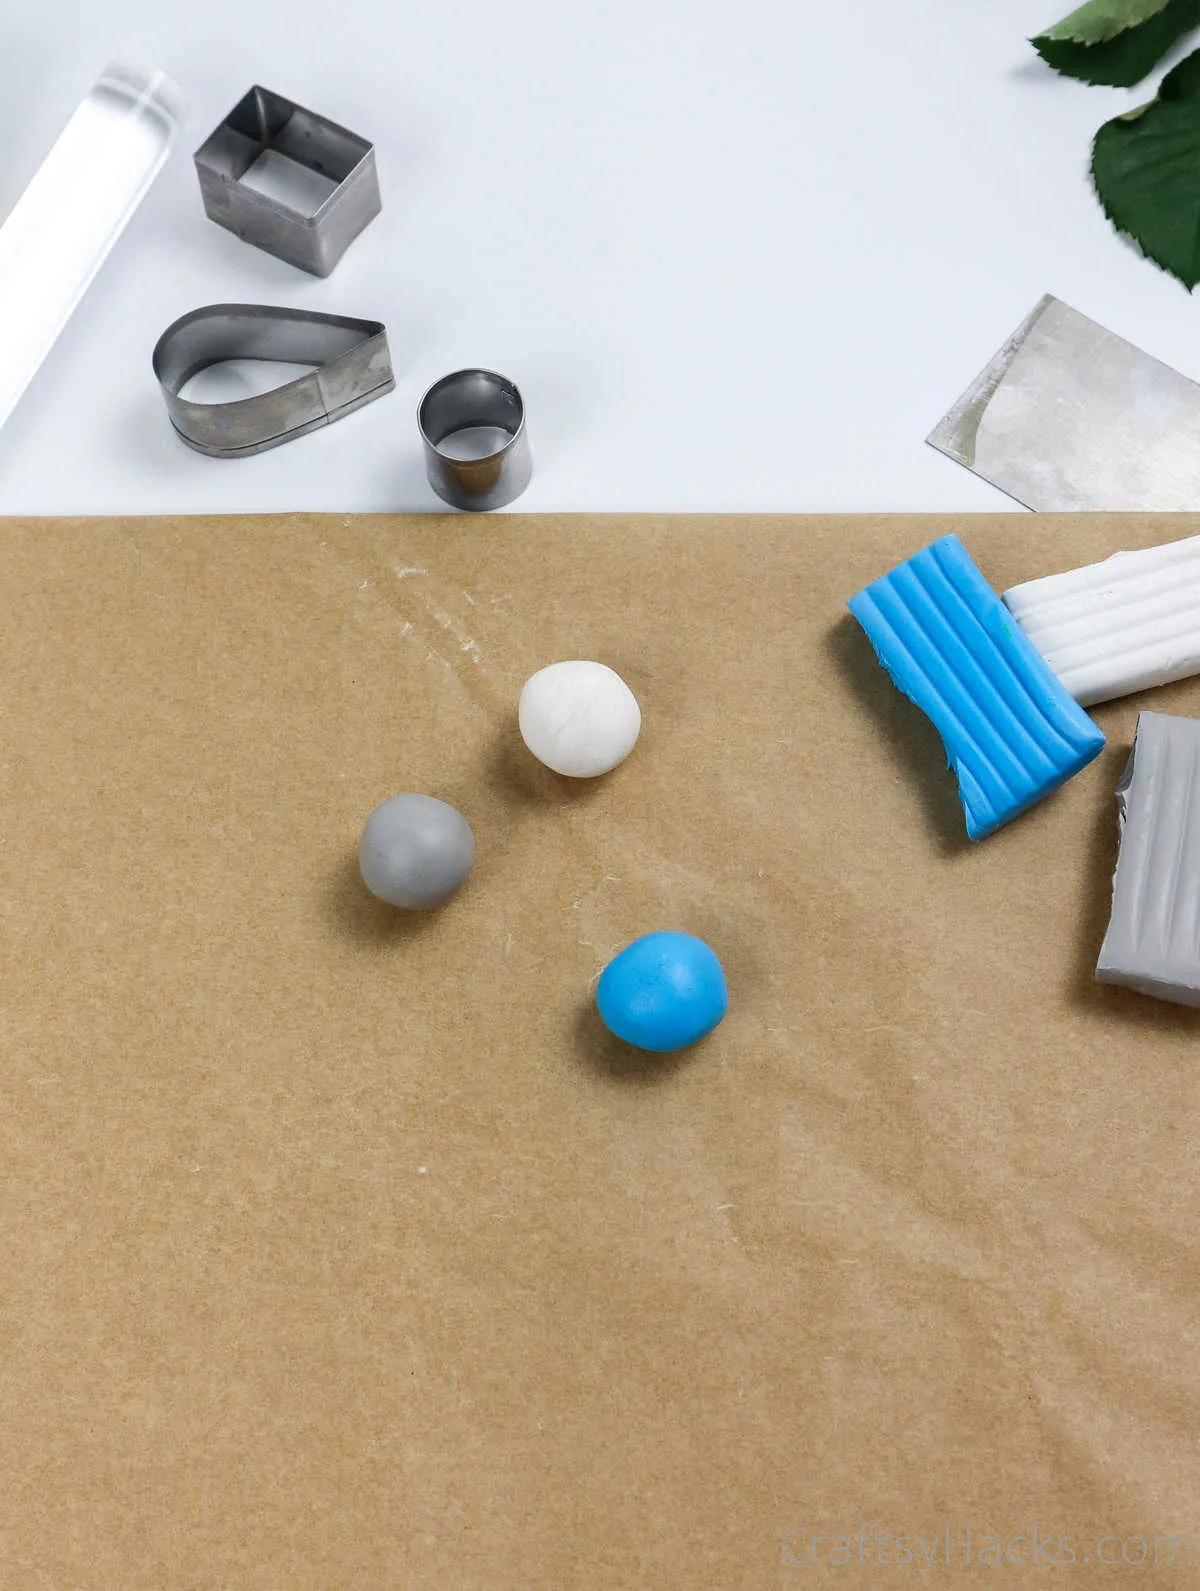
Step 3
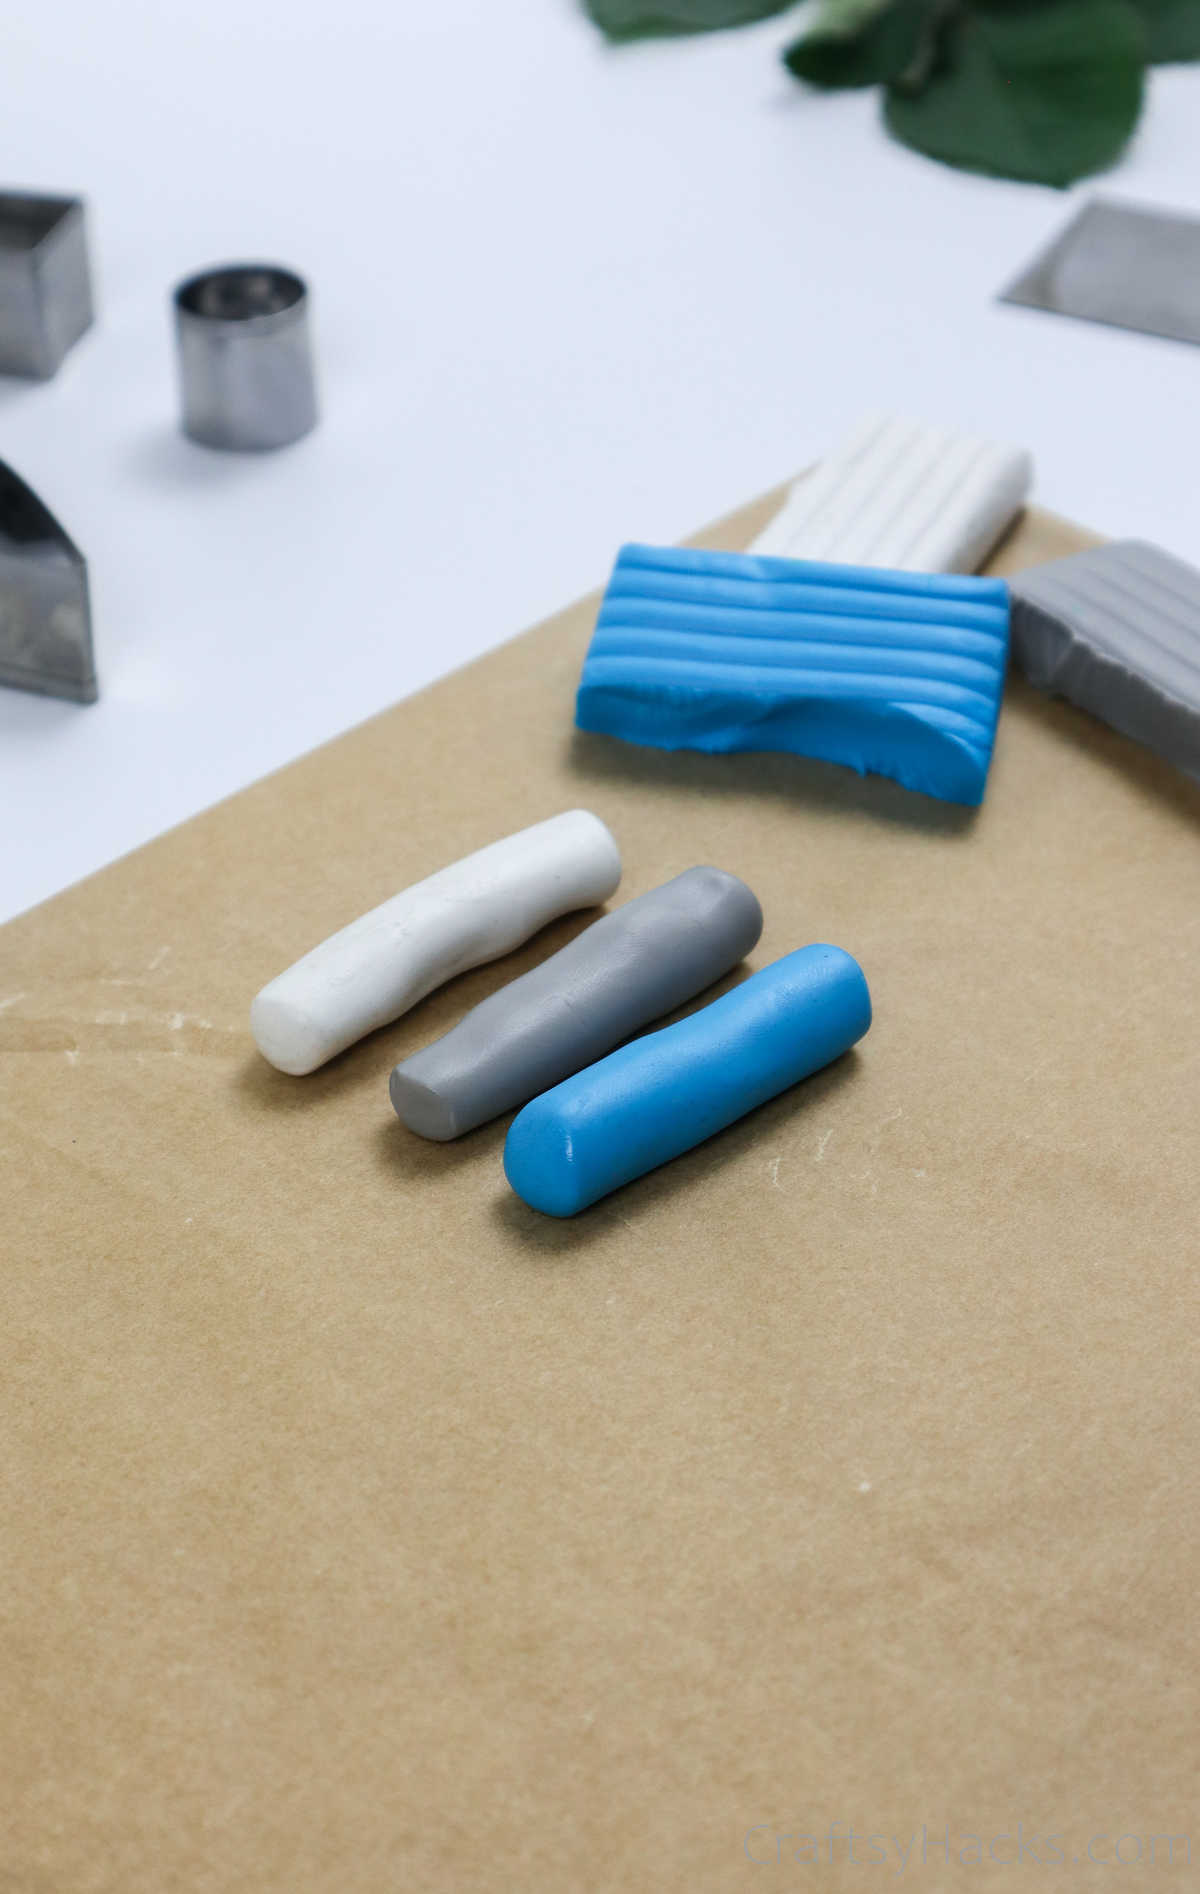
Next, roll the clay into cylindrical strips.
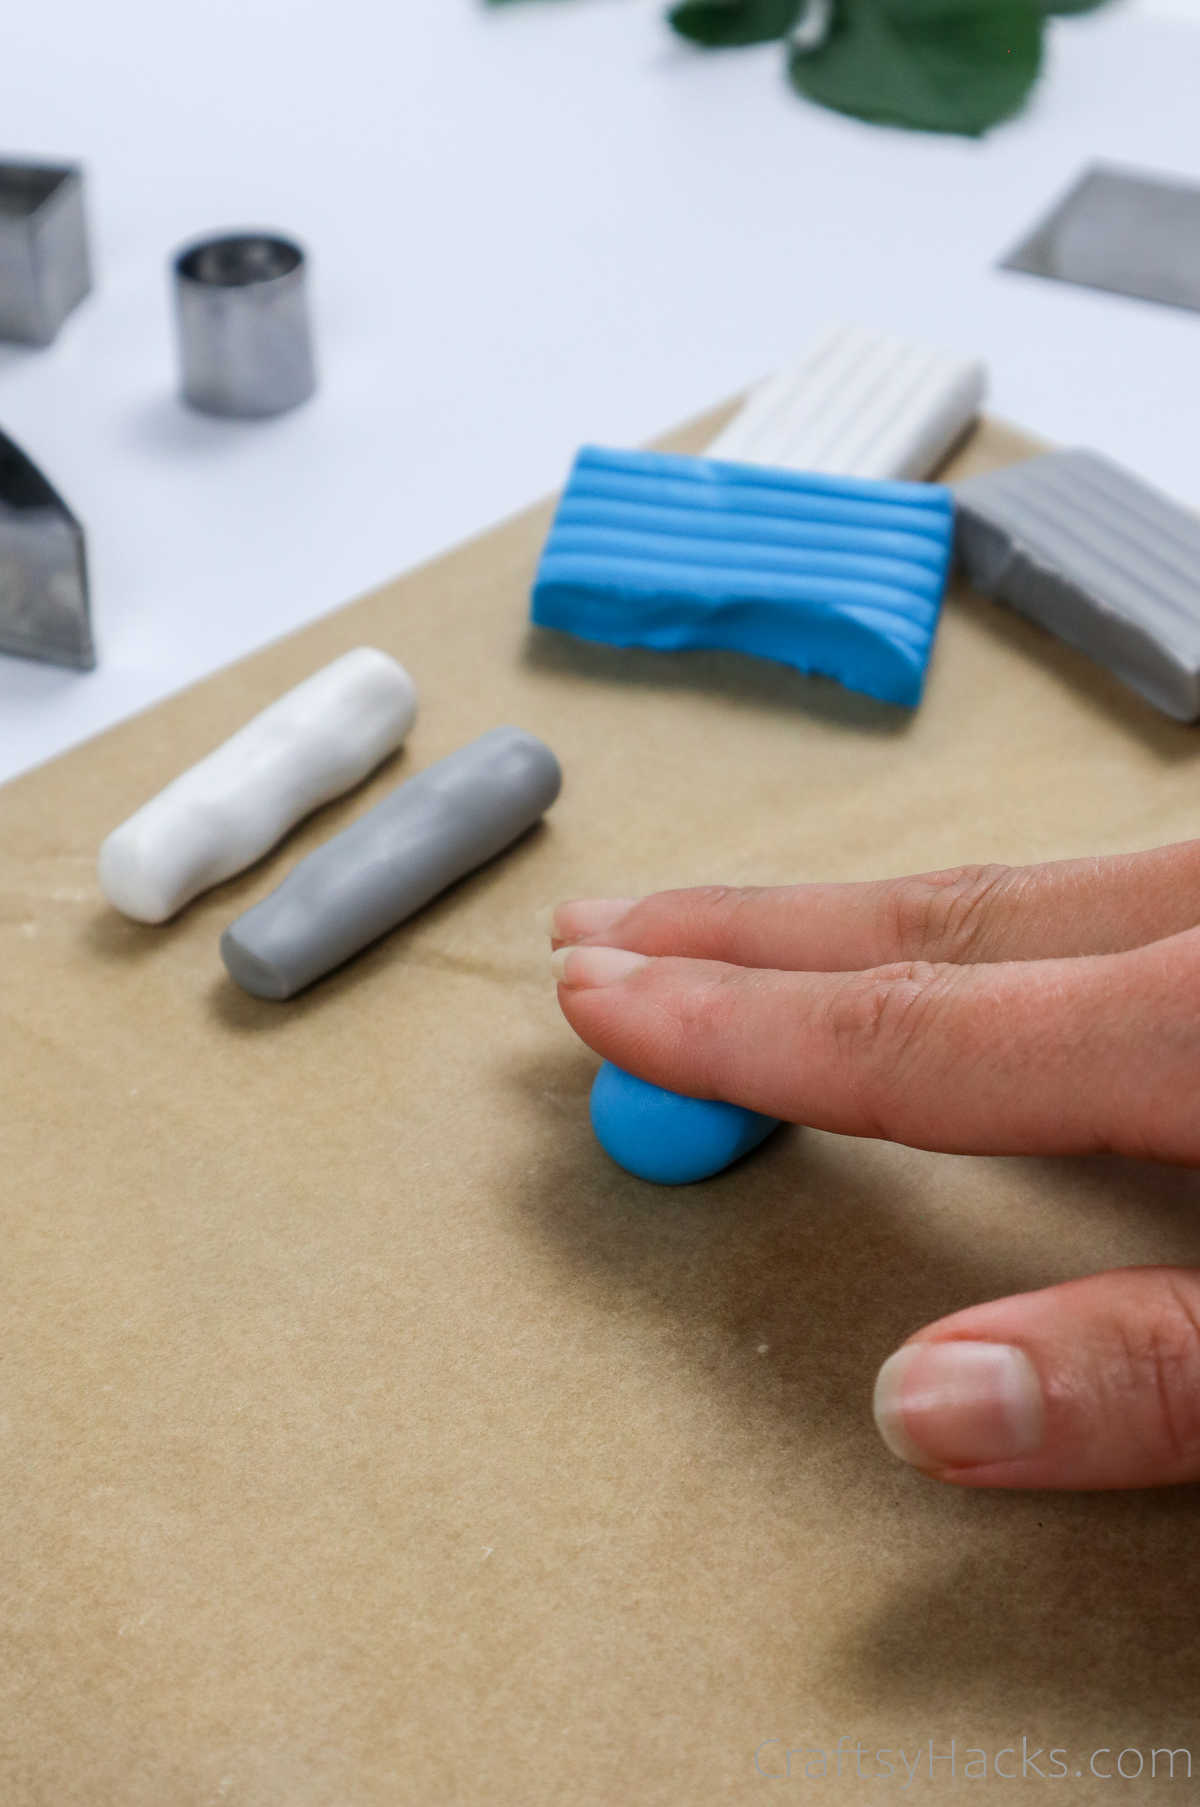

Step 4
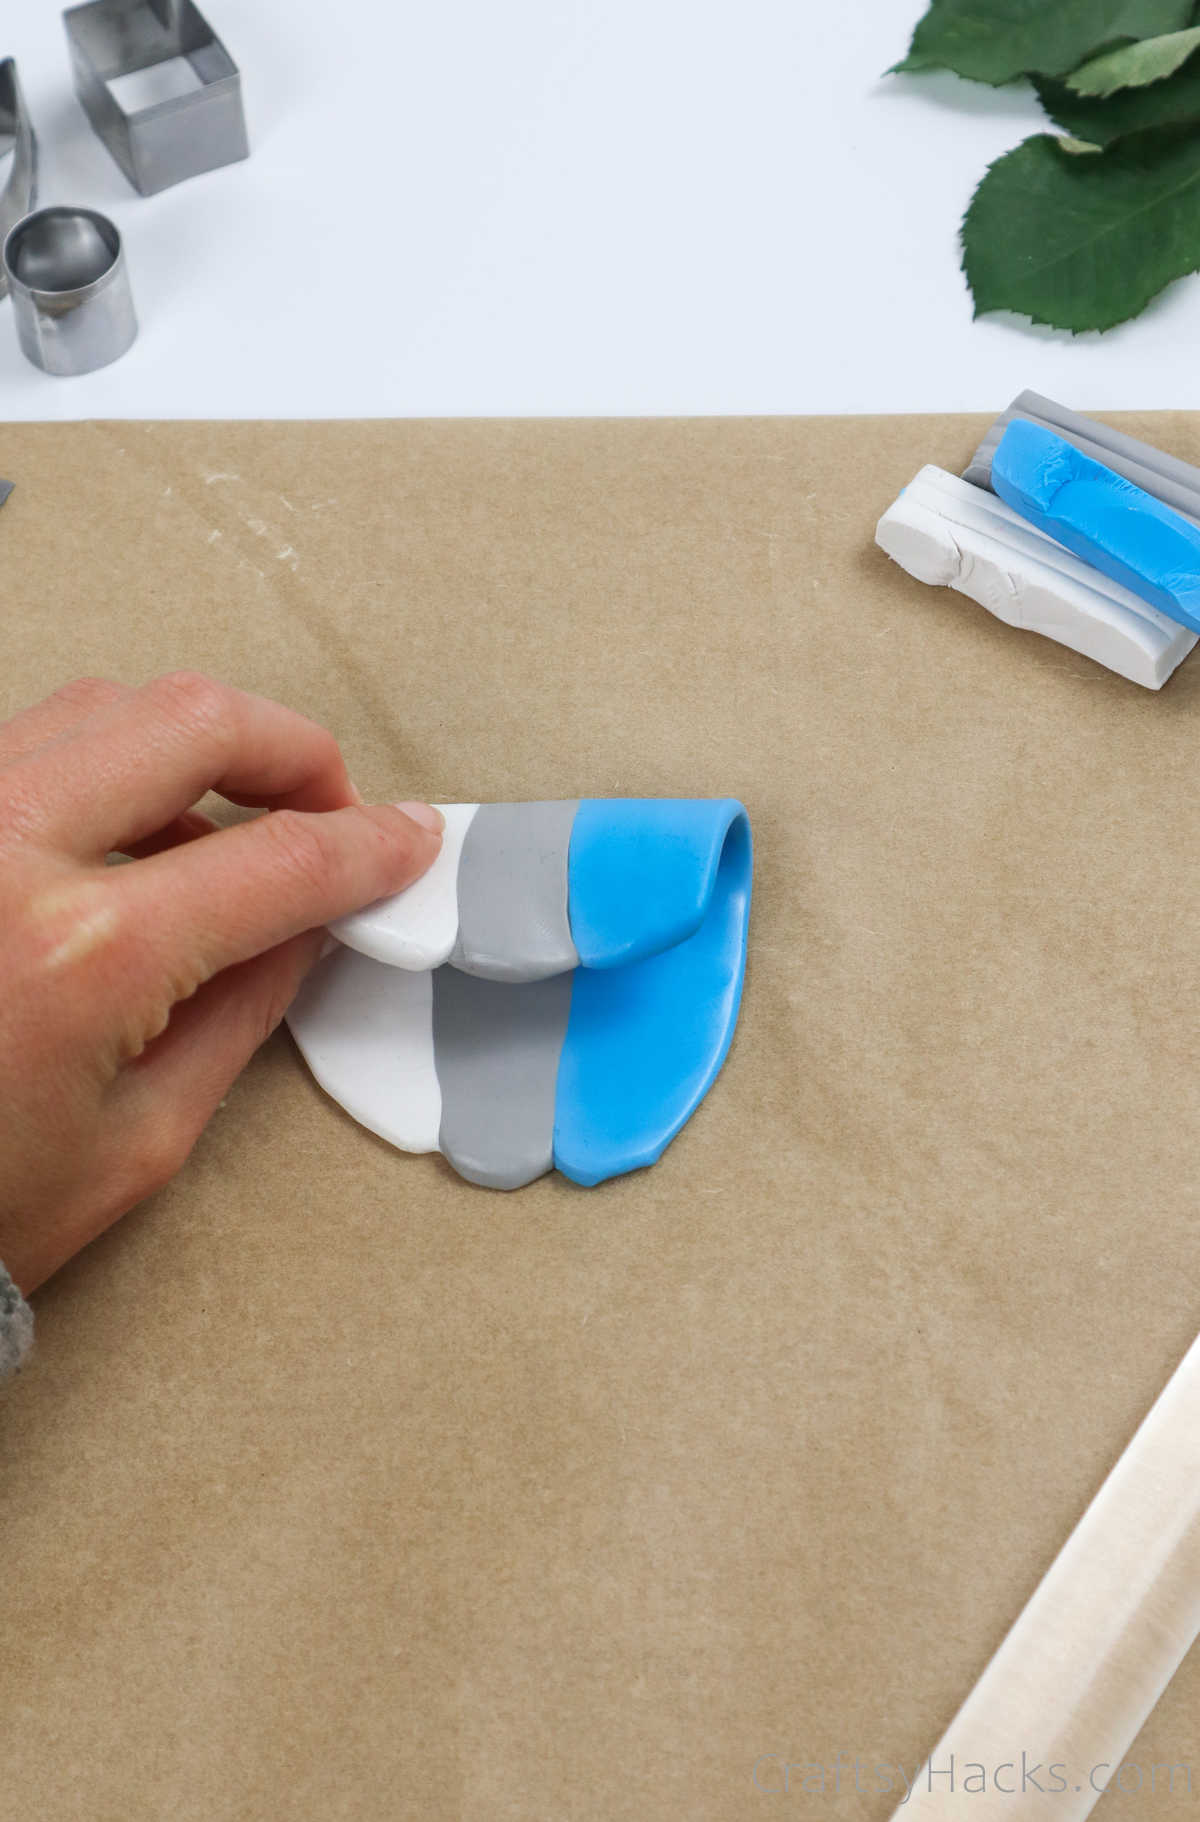
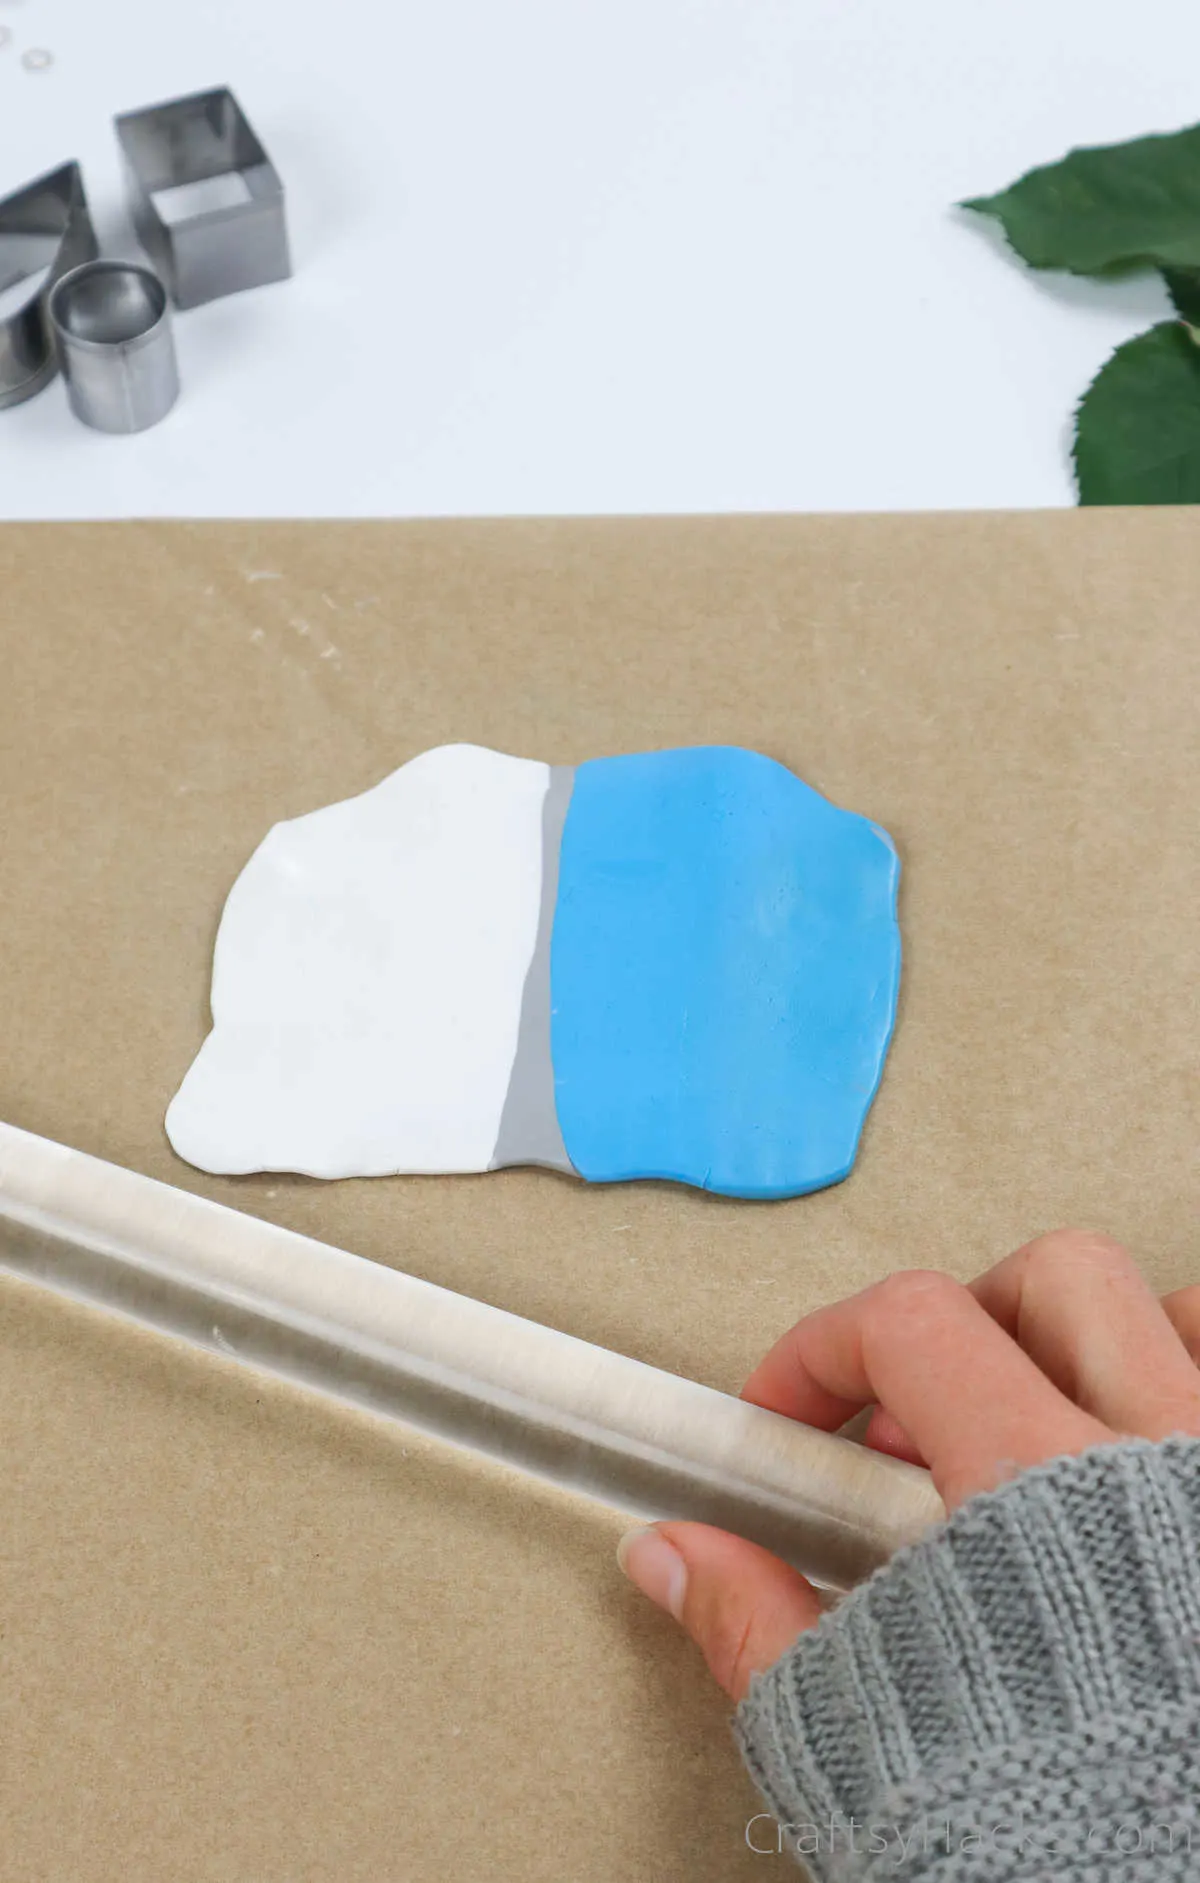
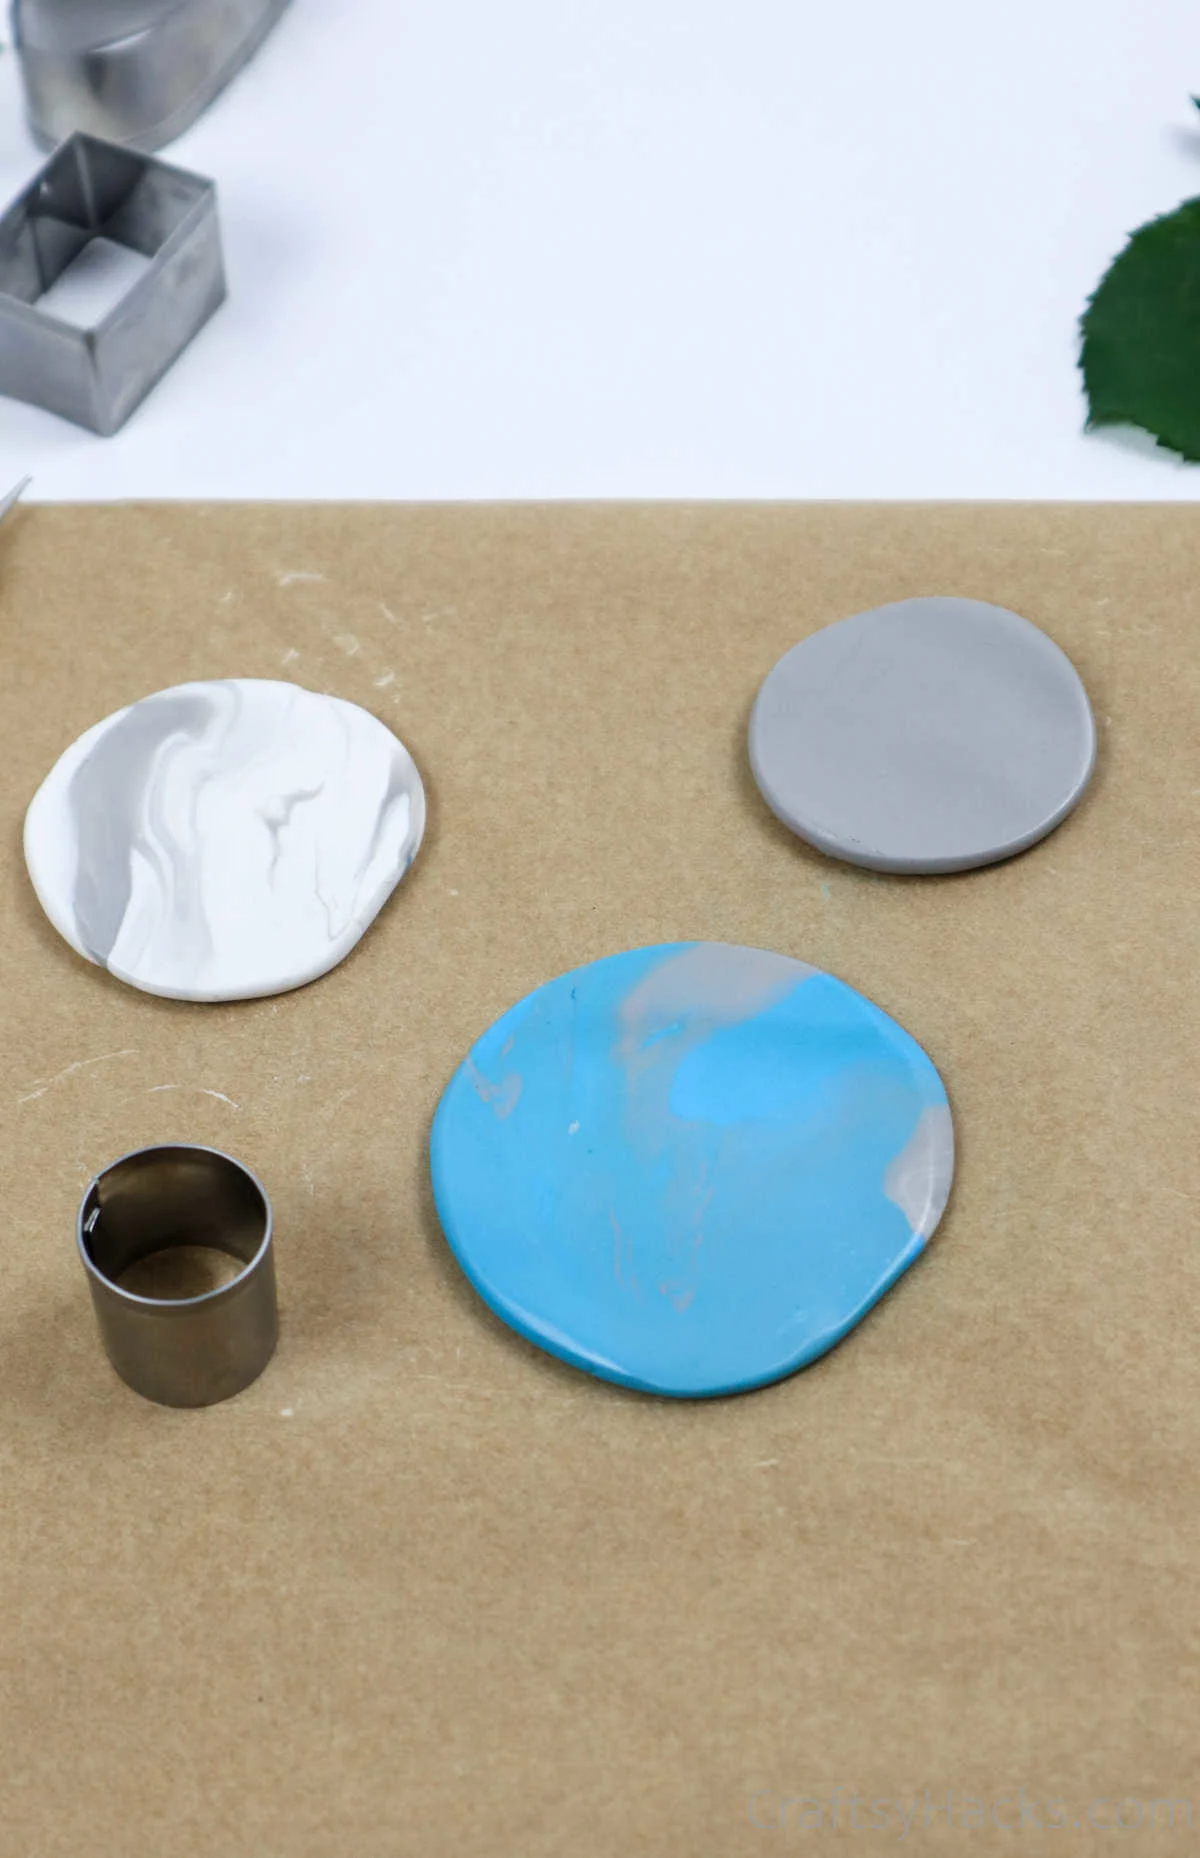
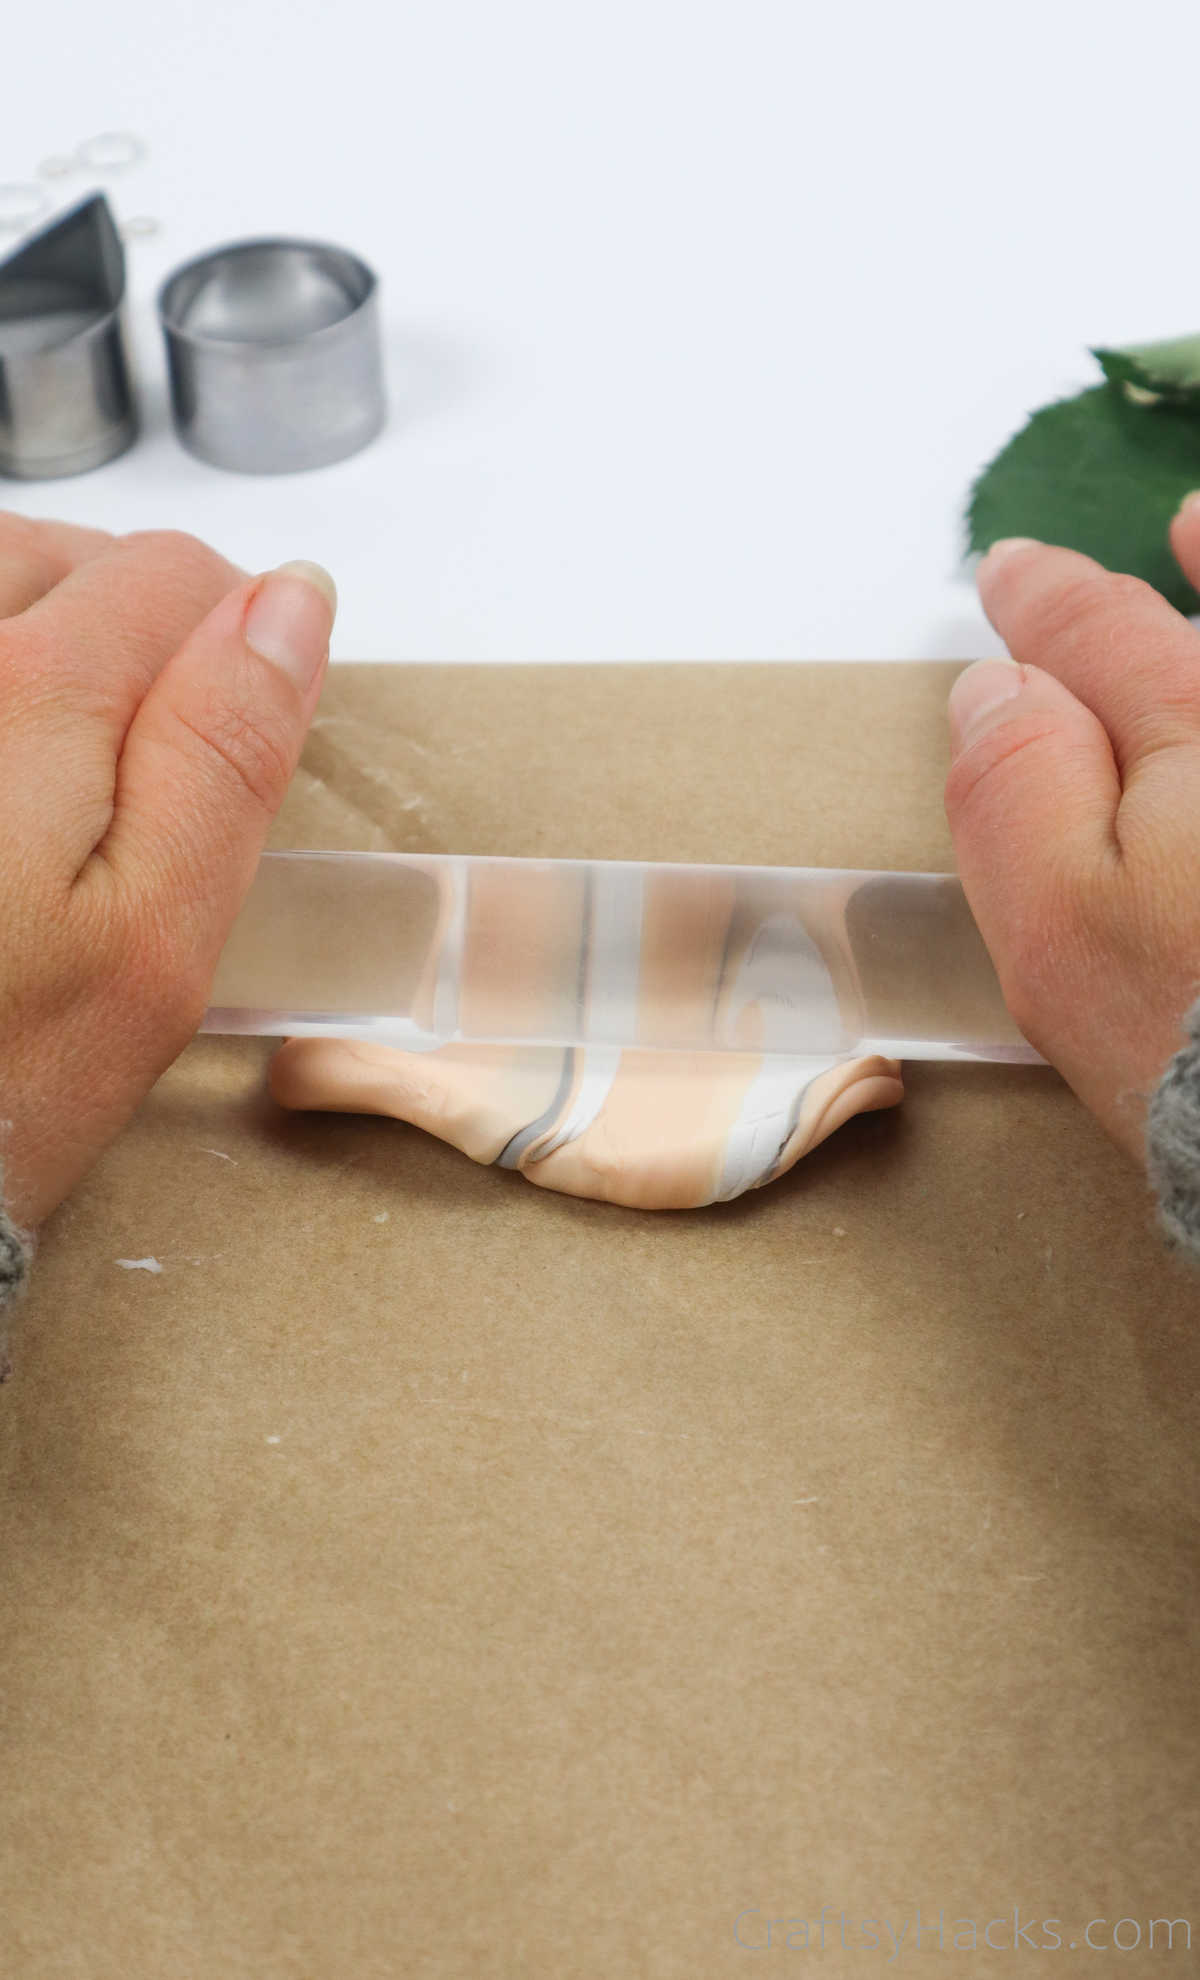
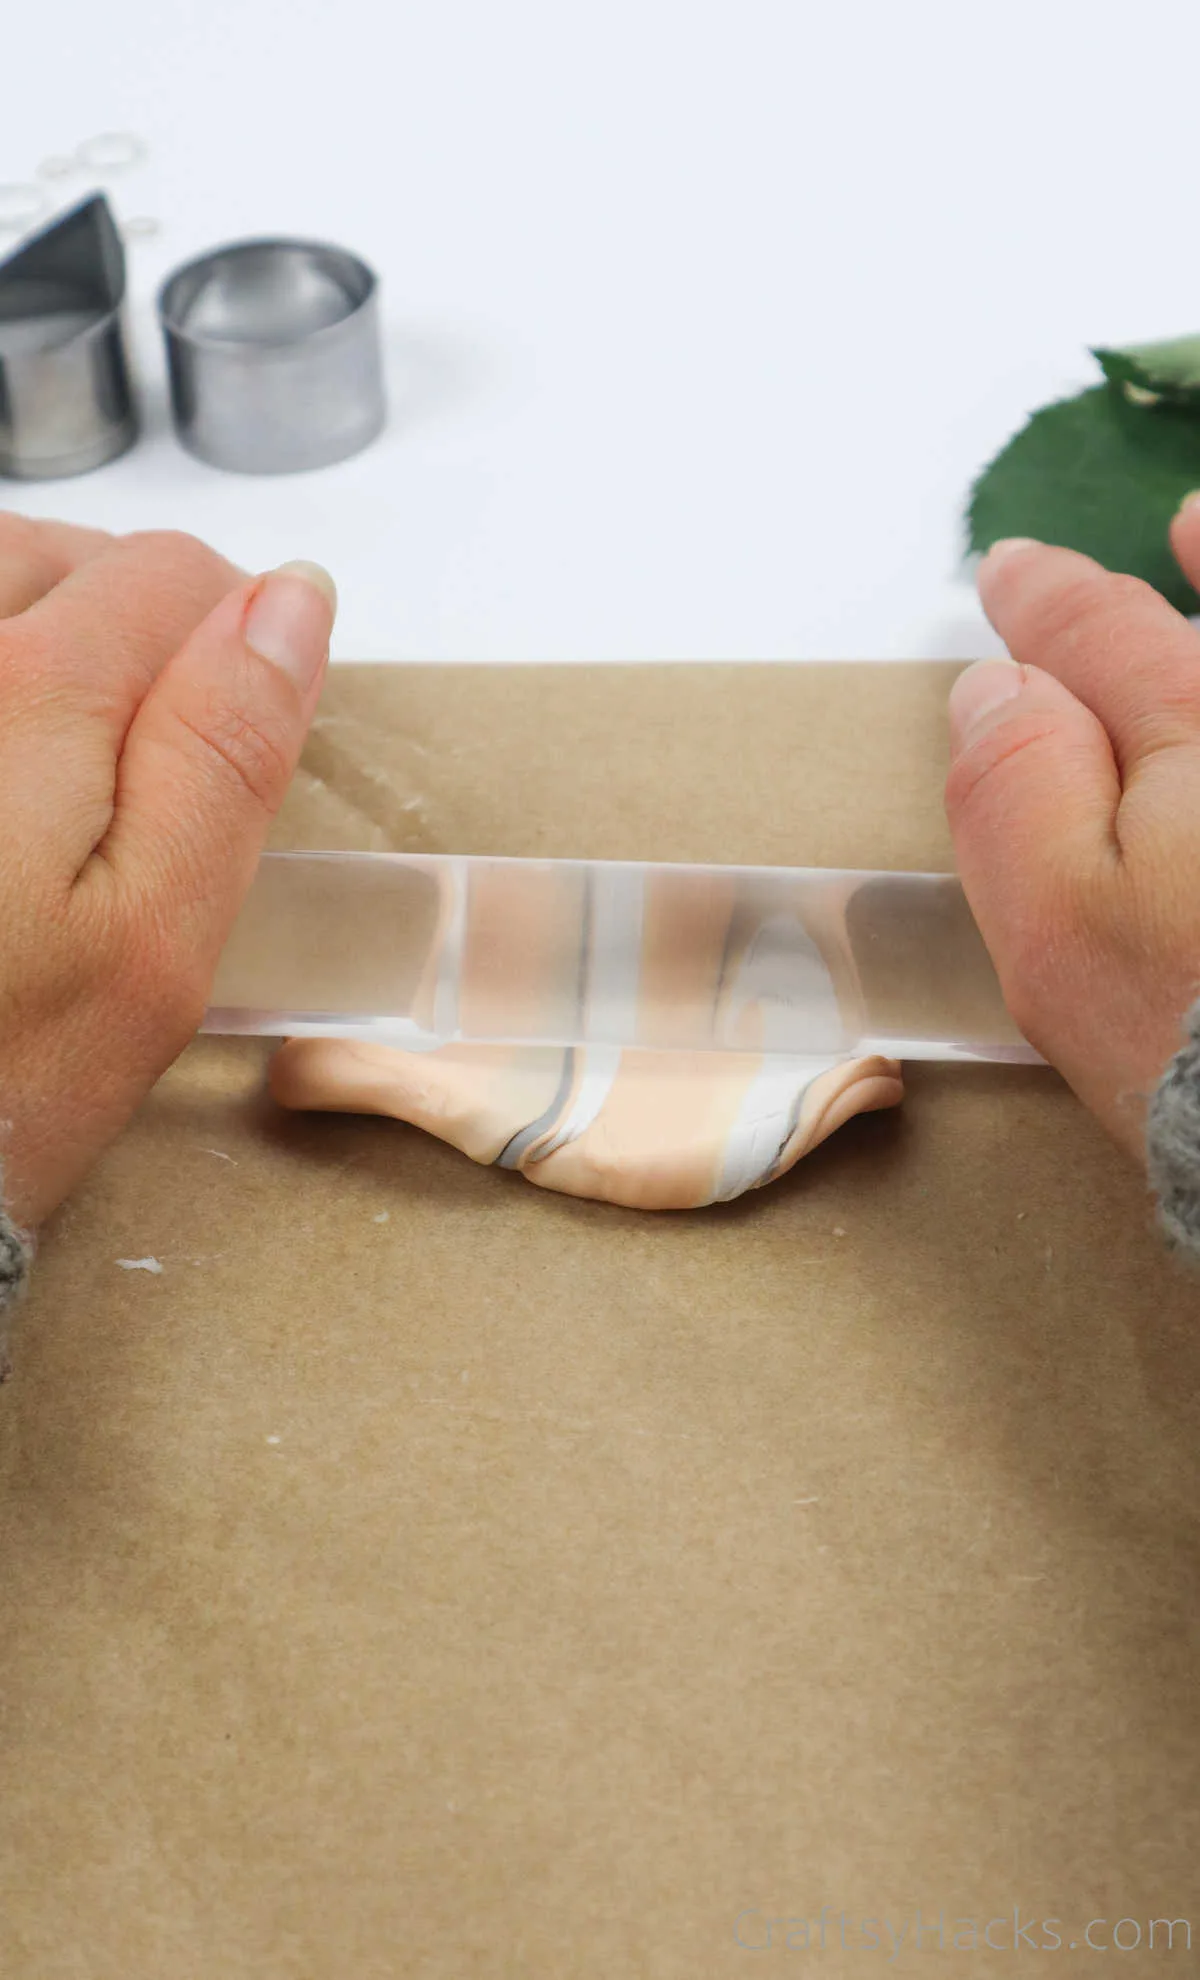
Then, line the different rolls up against each other and start rolling them flat together.
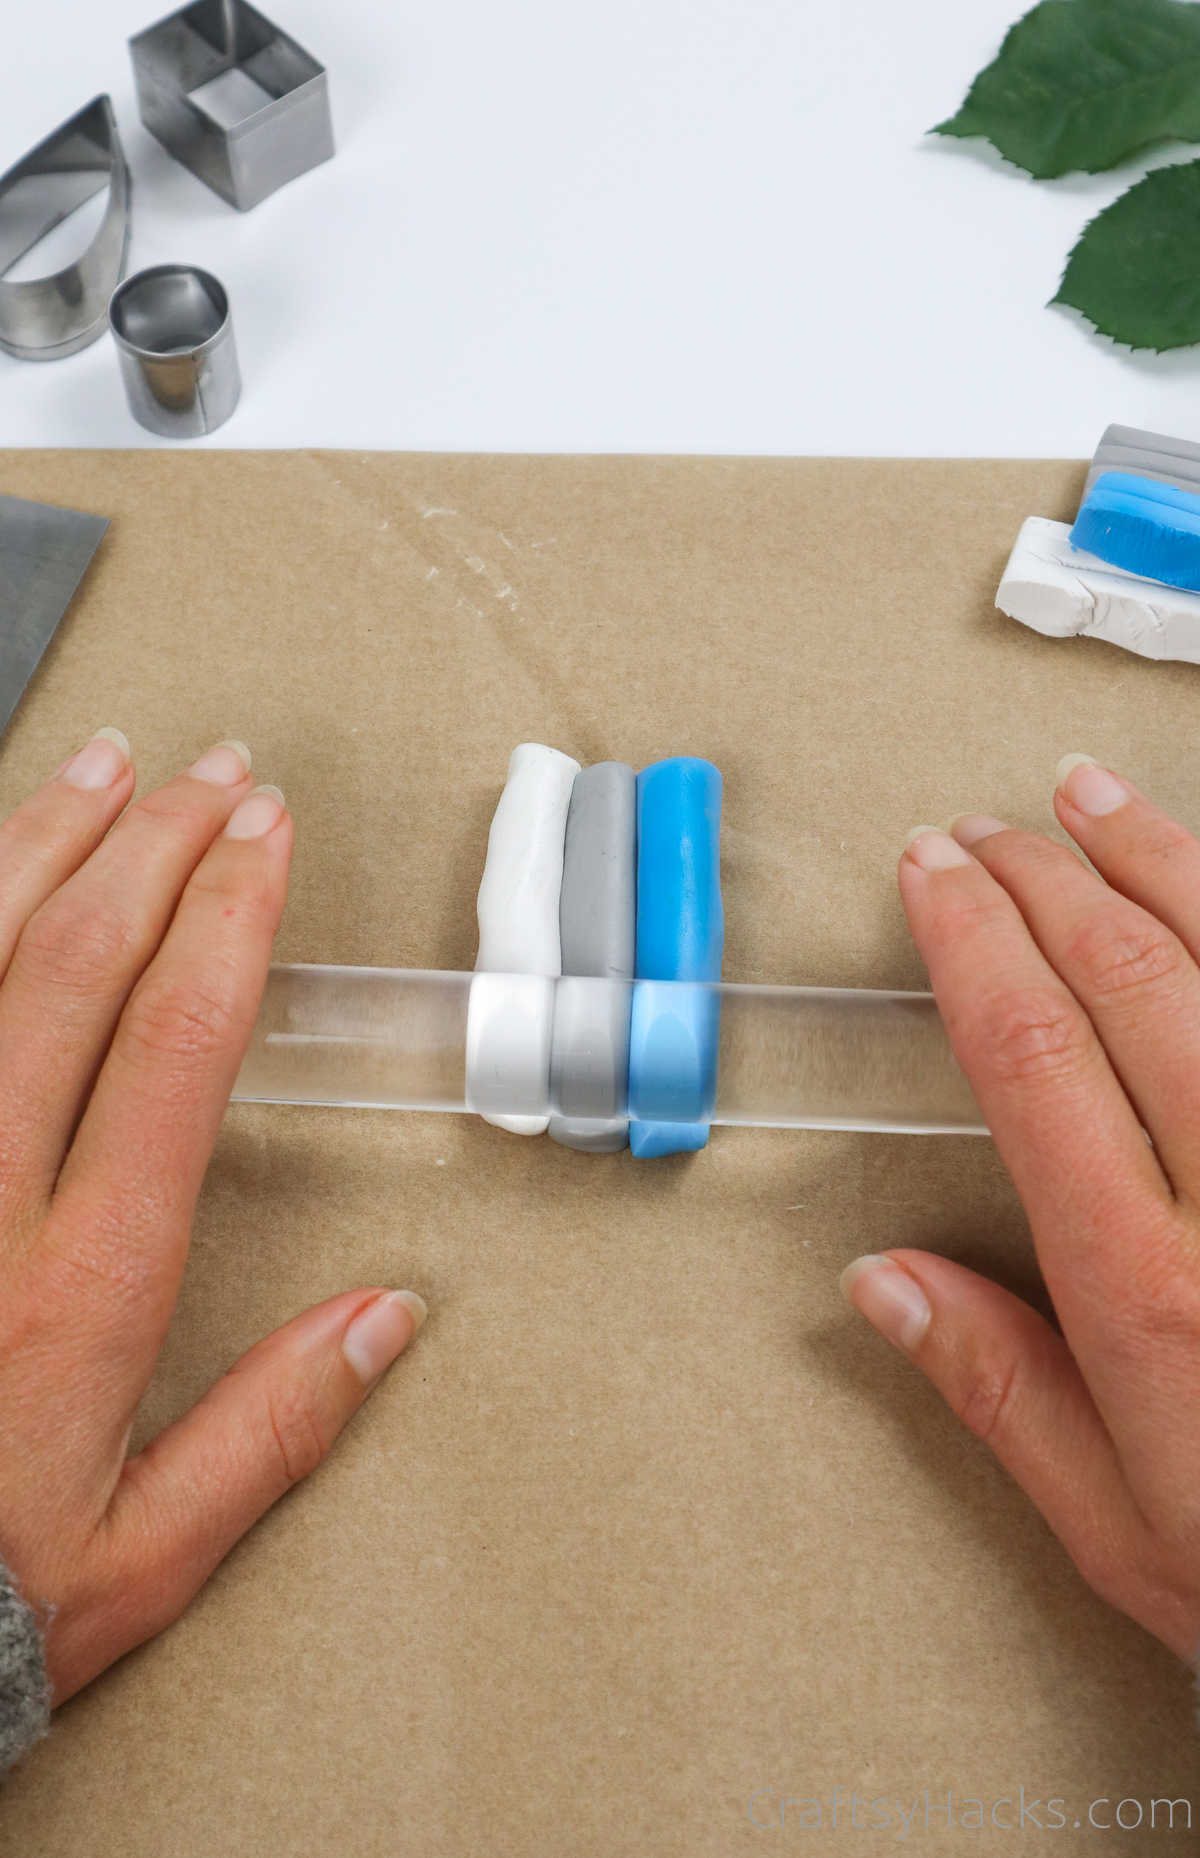

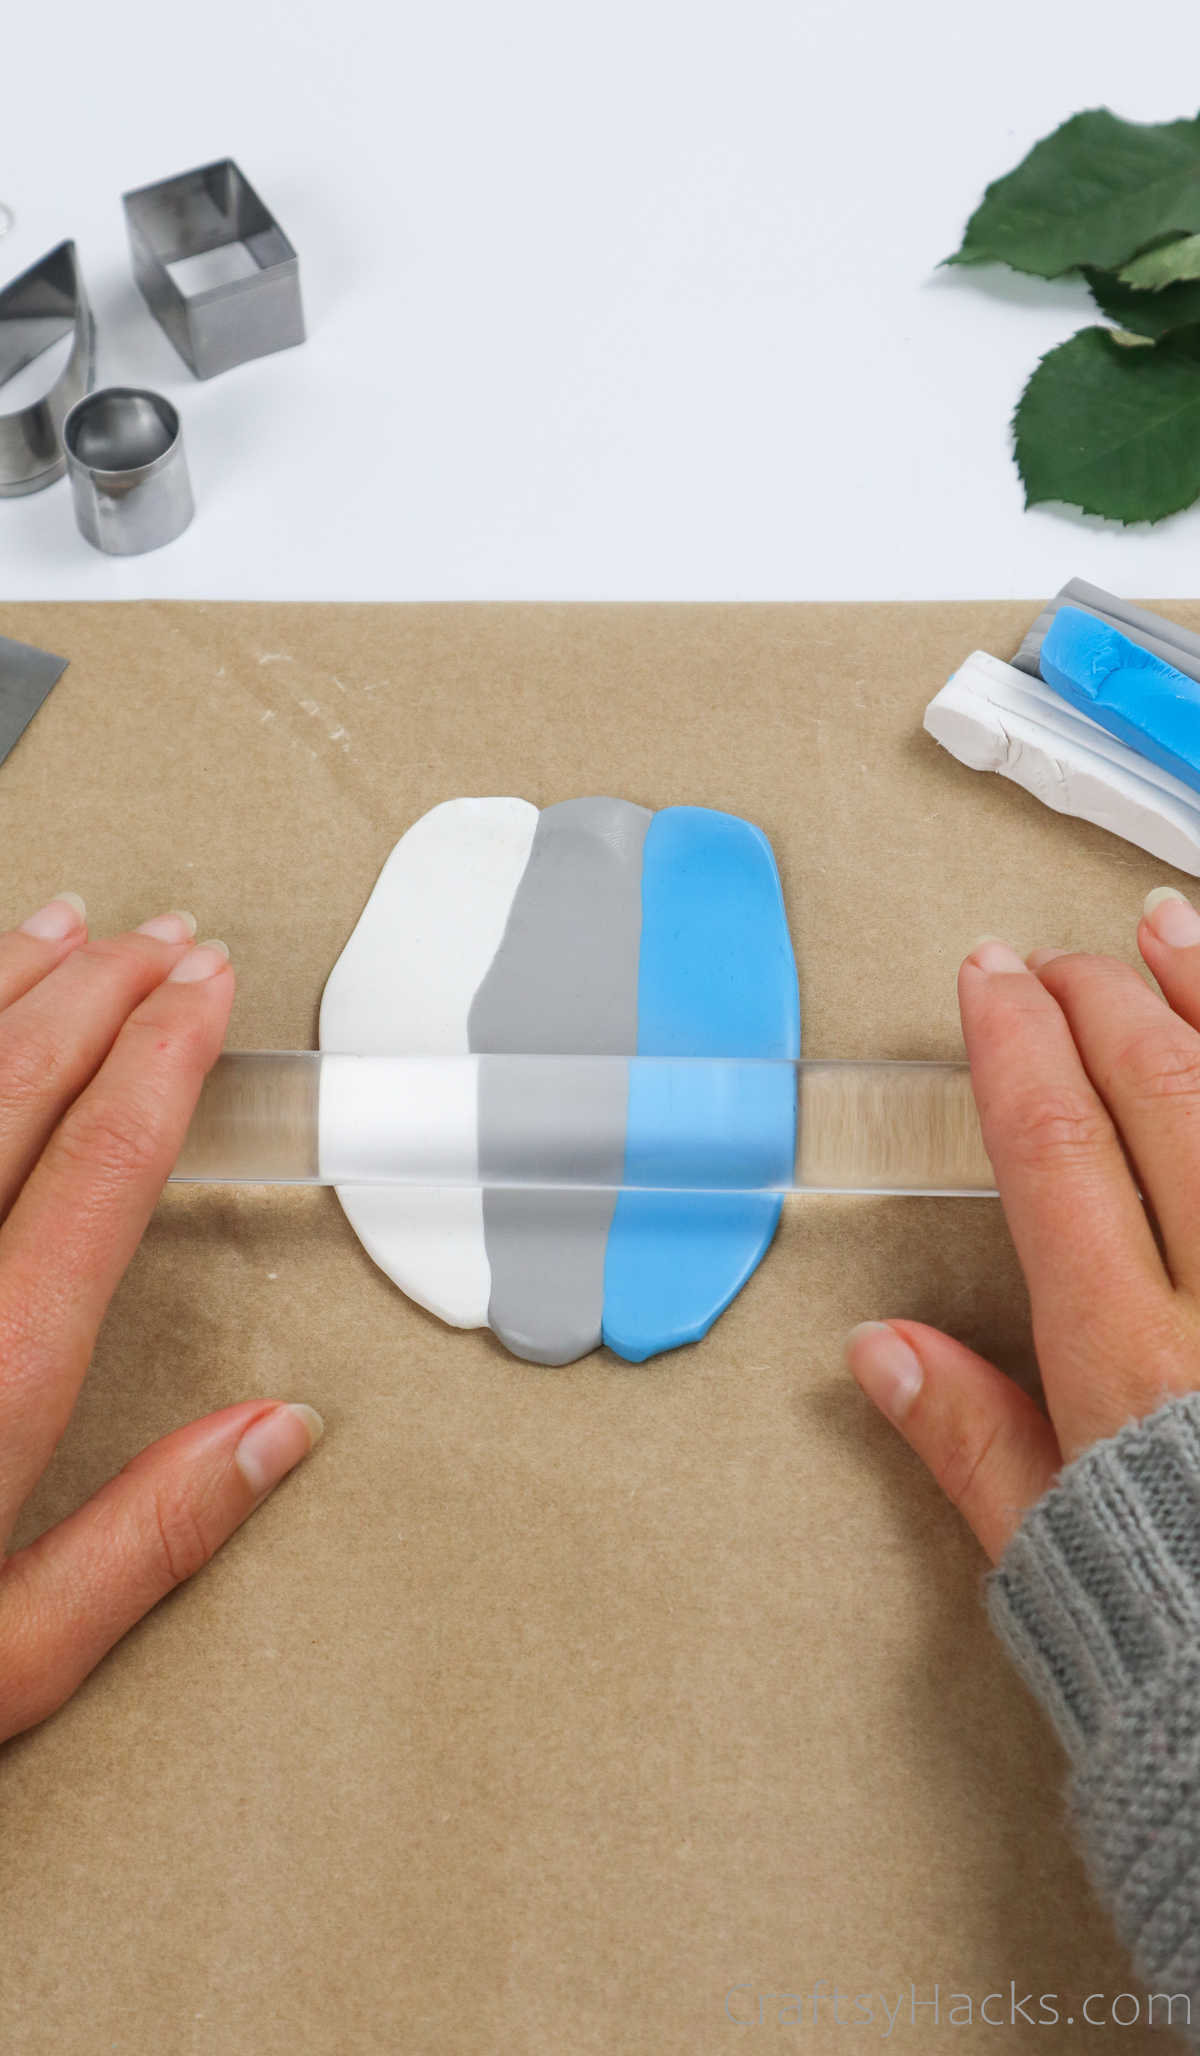

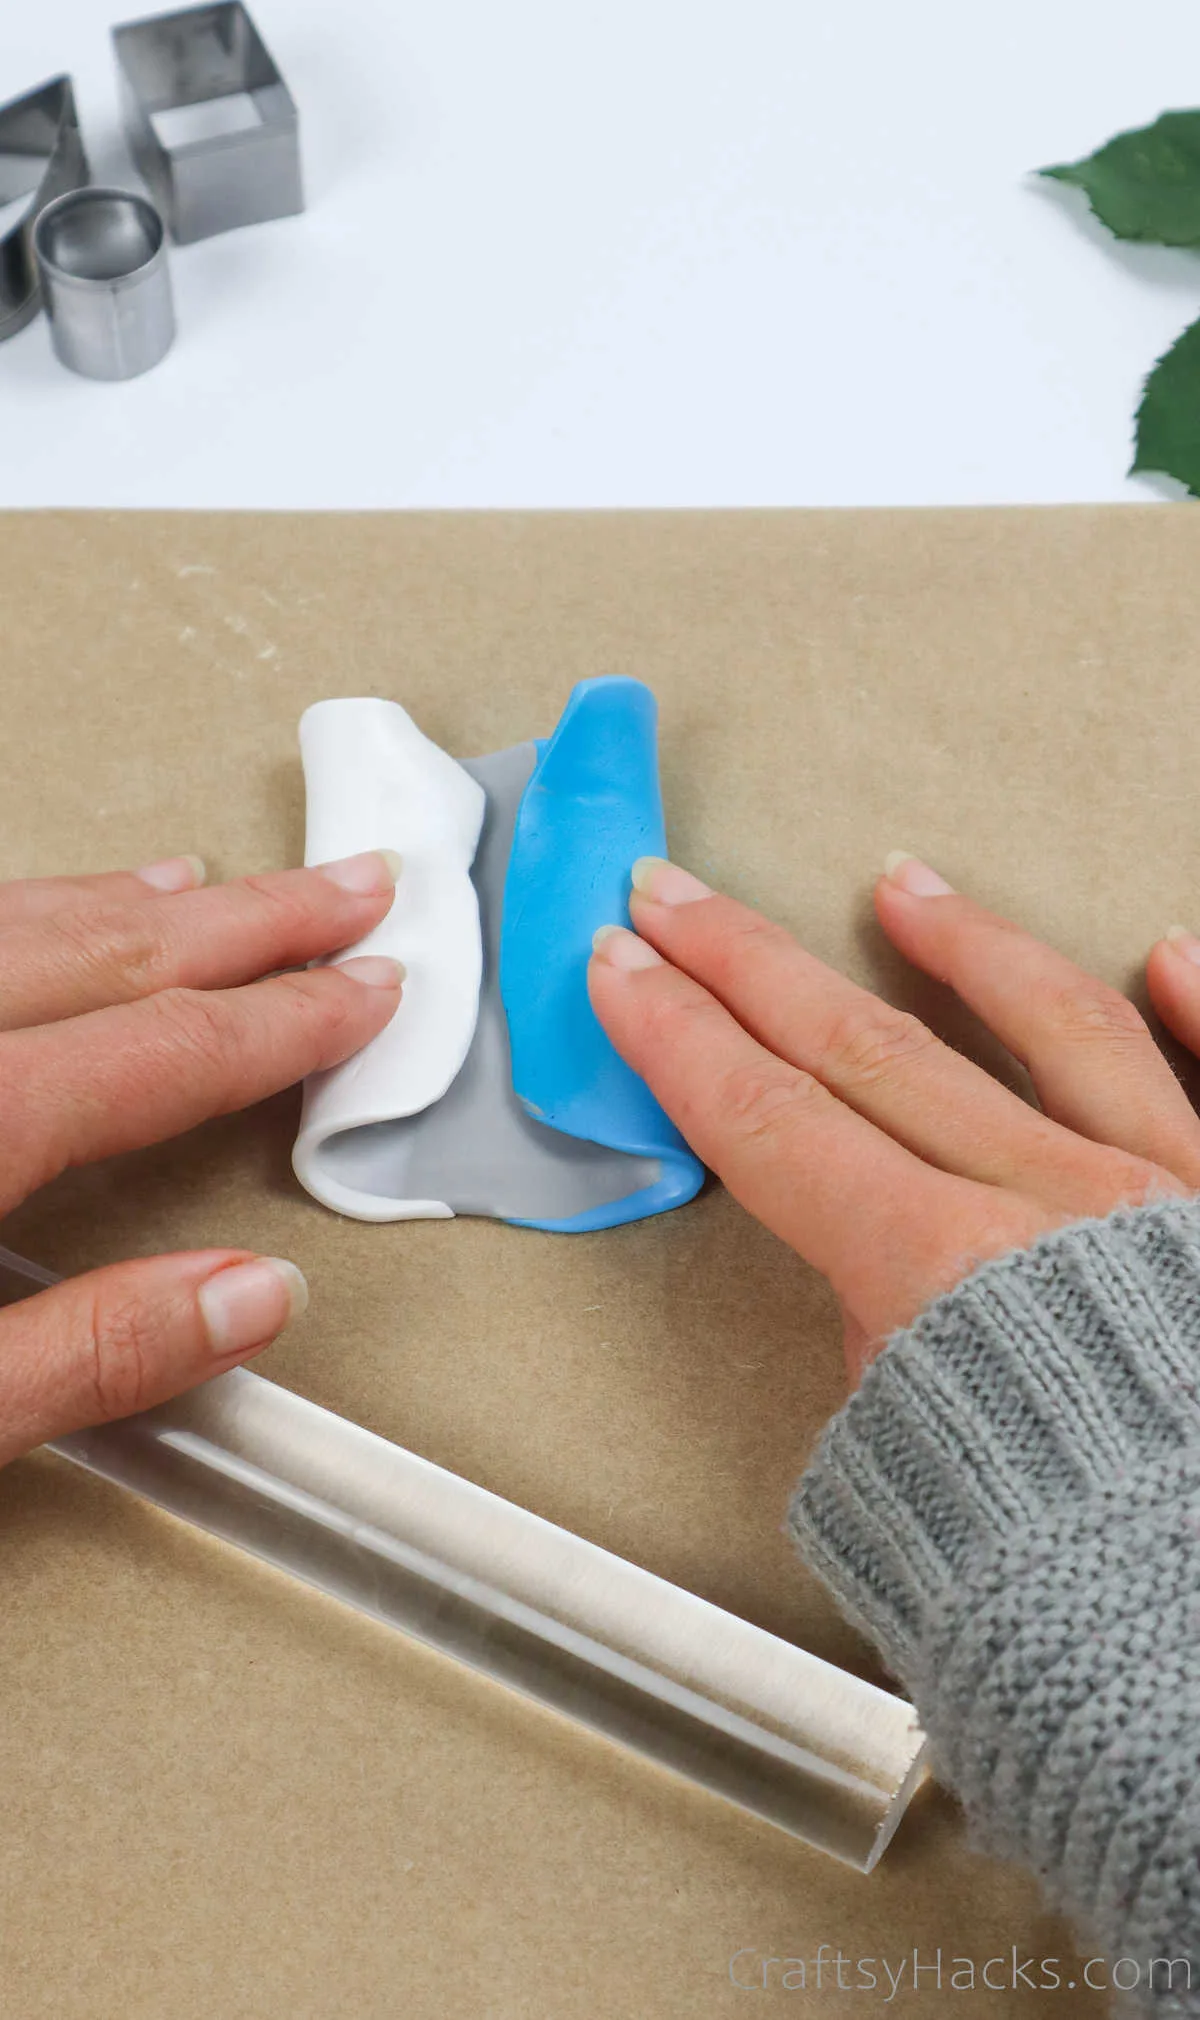
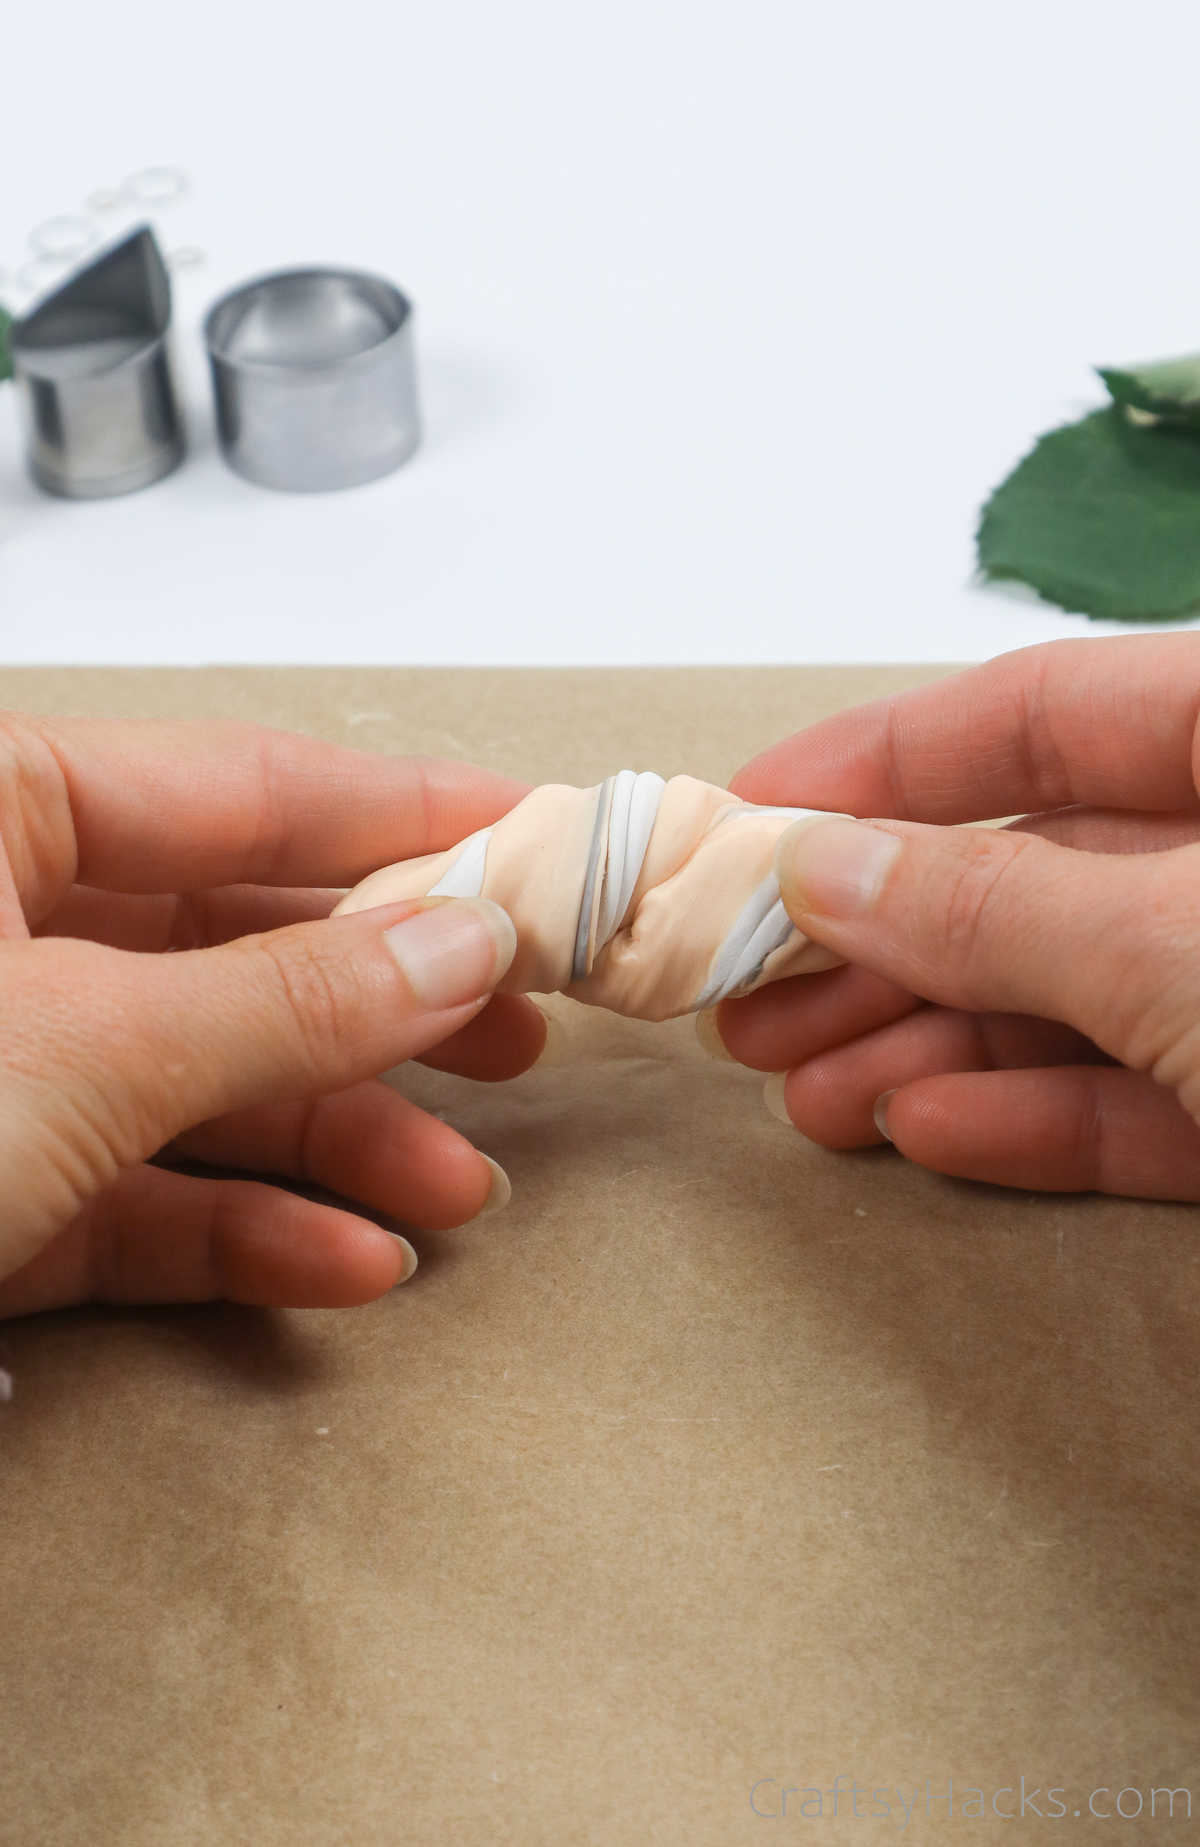
Keep rolling the clay to blend the colors. Then, bring one end over and fold it down over the other and continue rolling it.

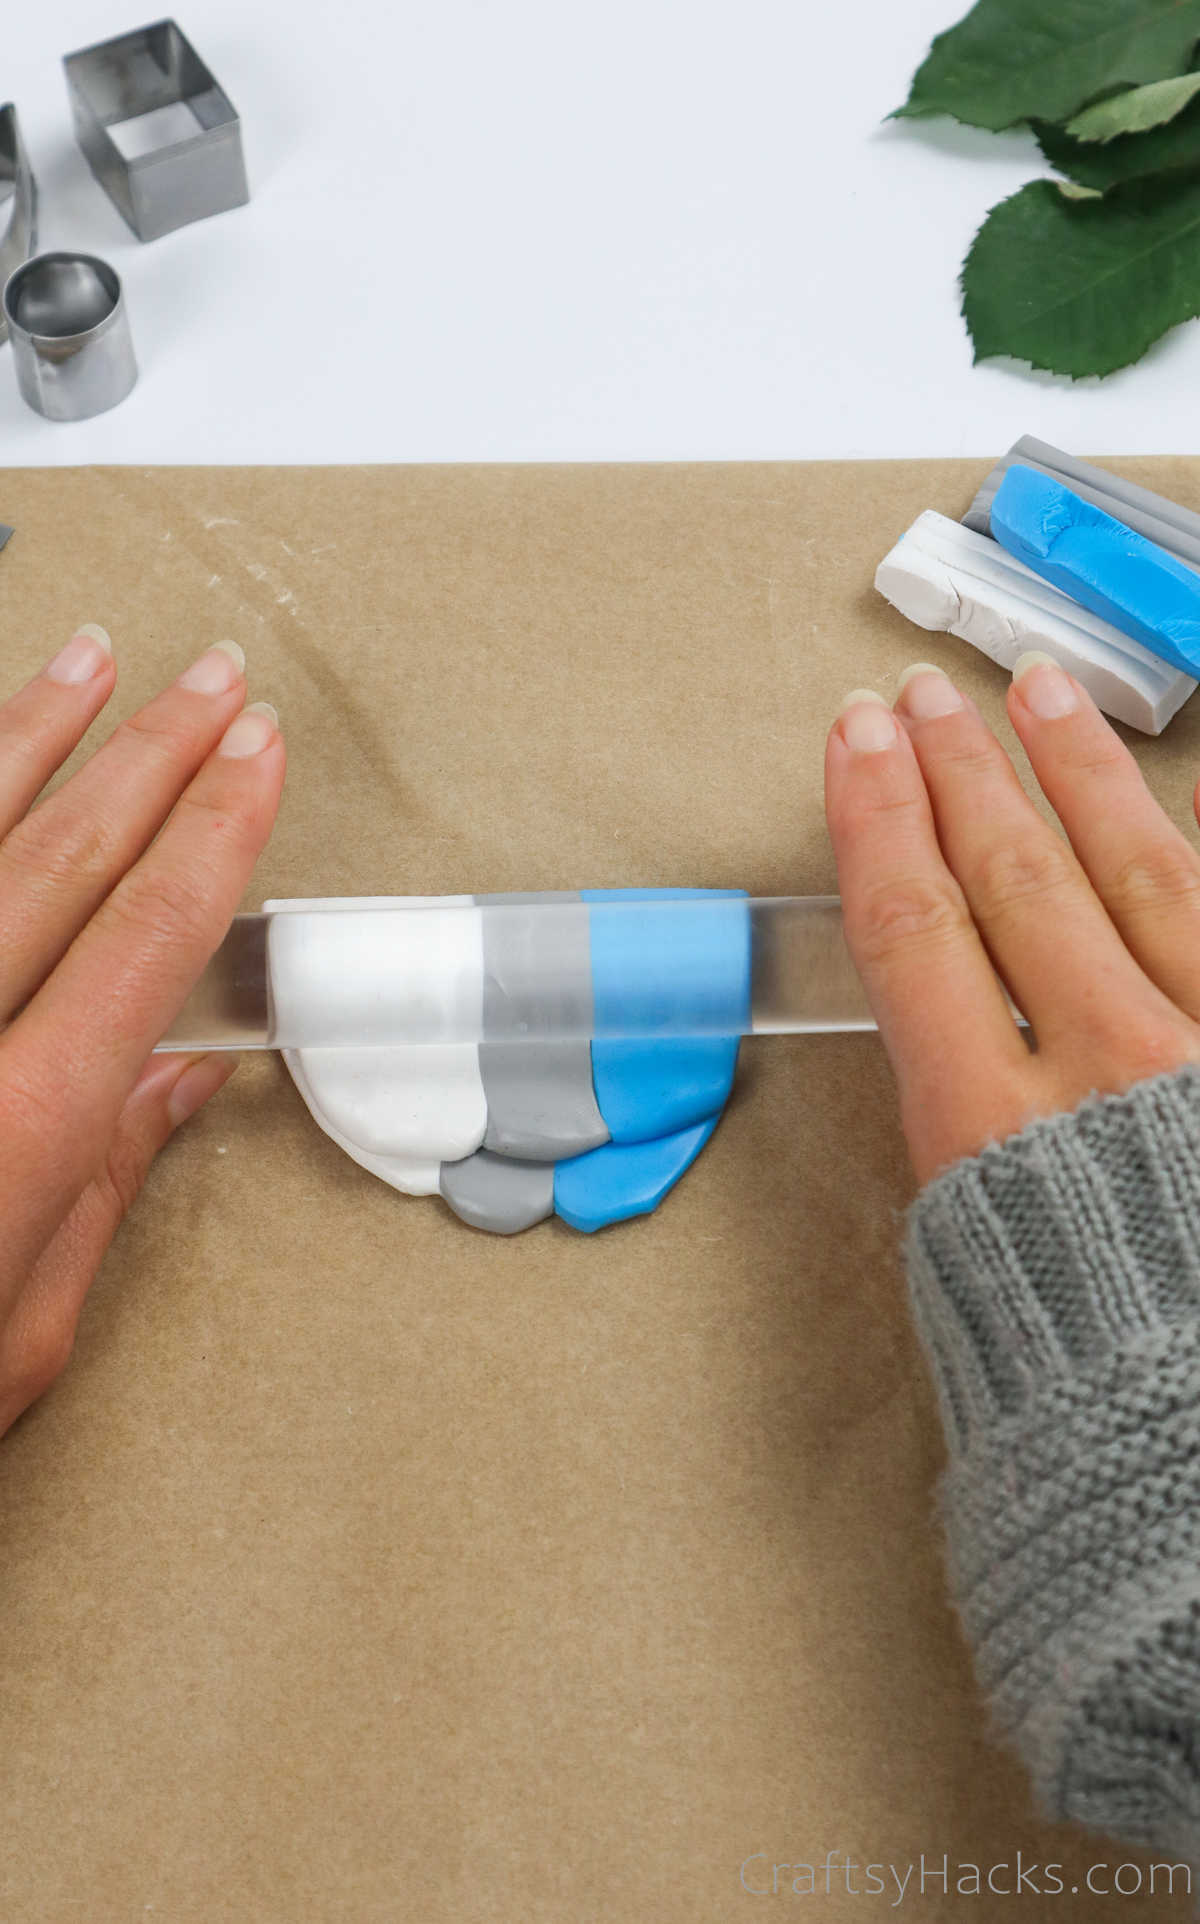

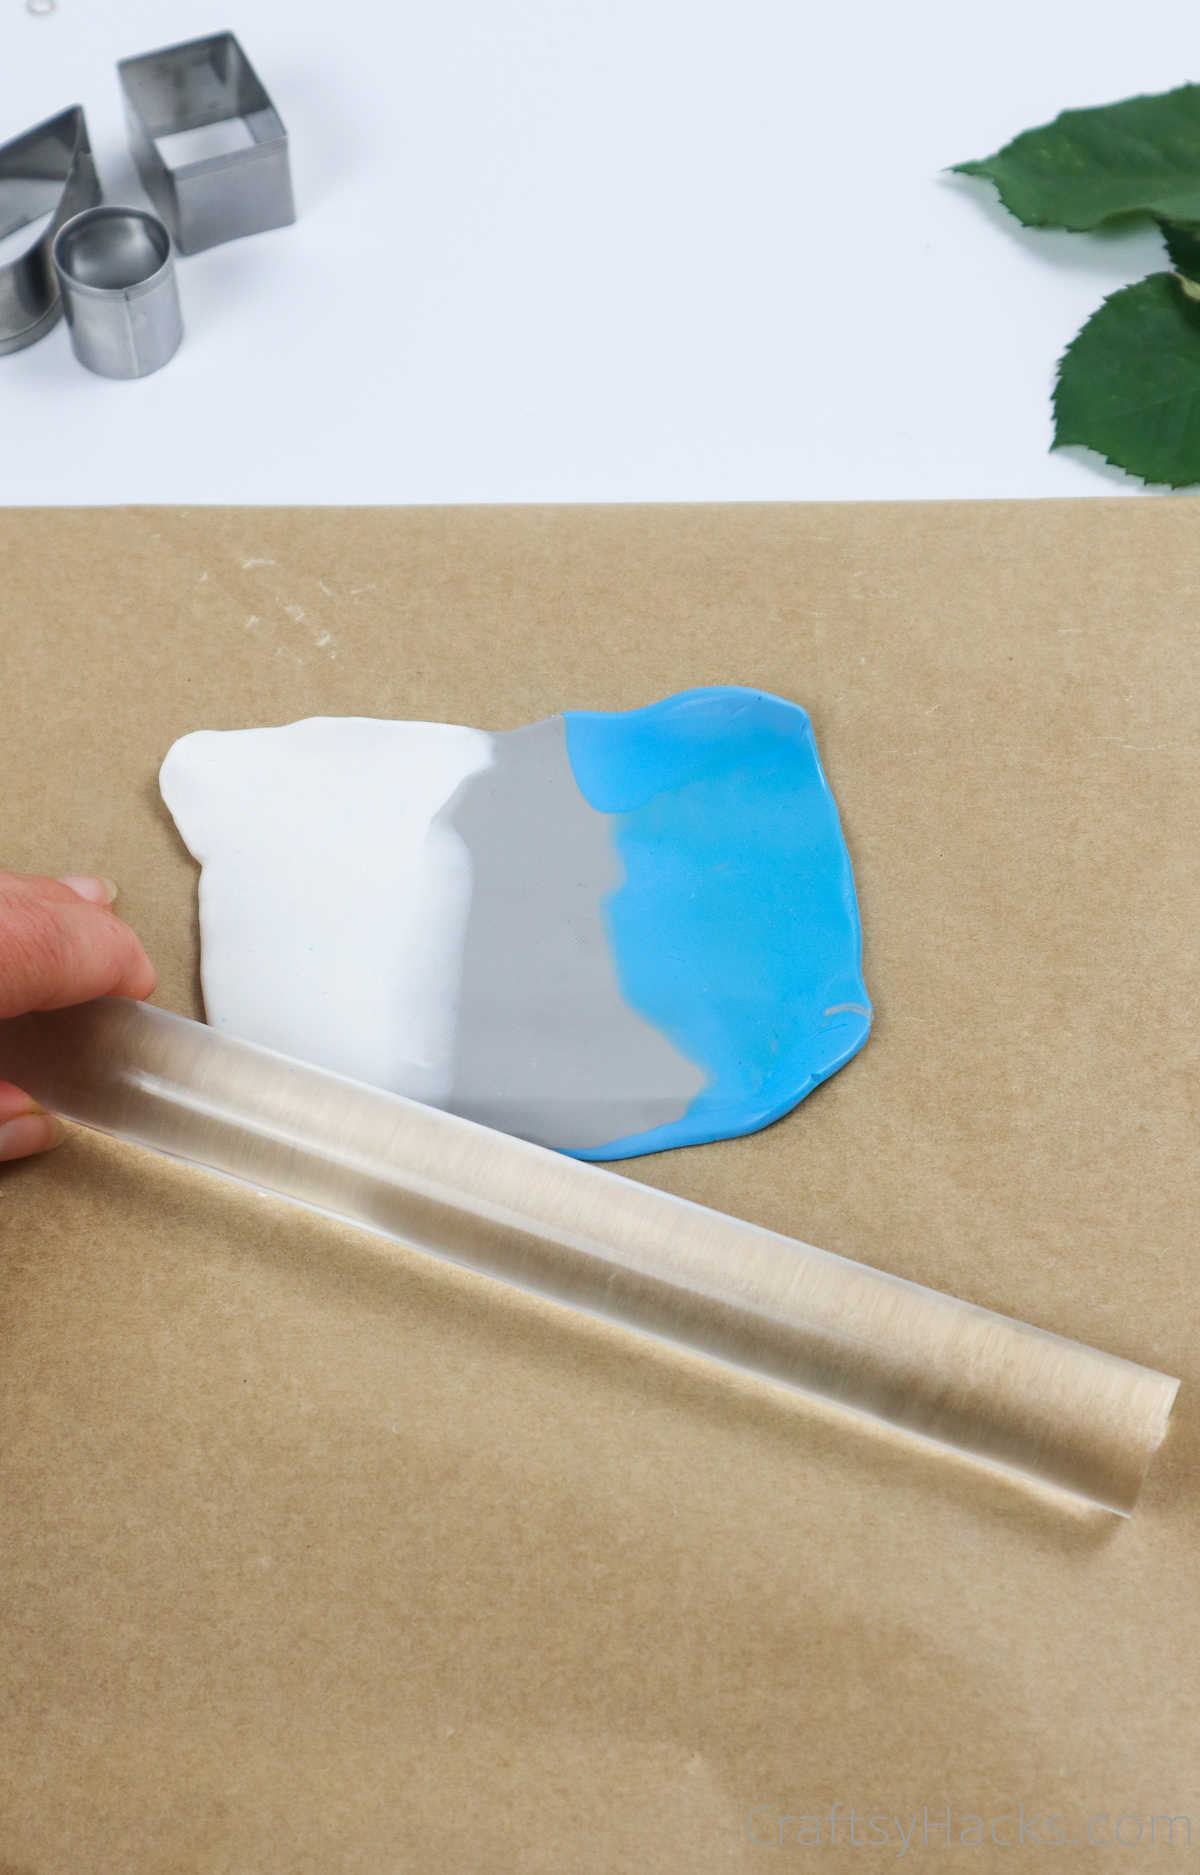

Keep folding and twisting the clay alternatingly and rolling and flattening it to blend the colors. Your clay should end up being around 5mm thick.


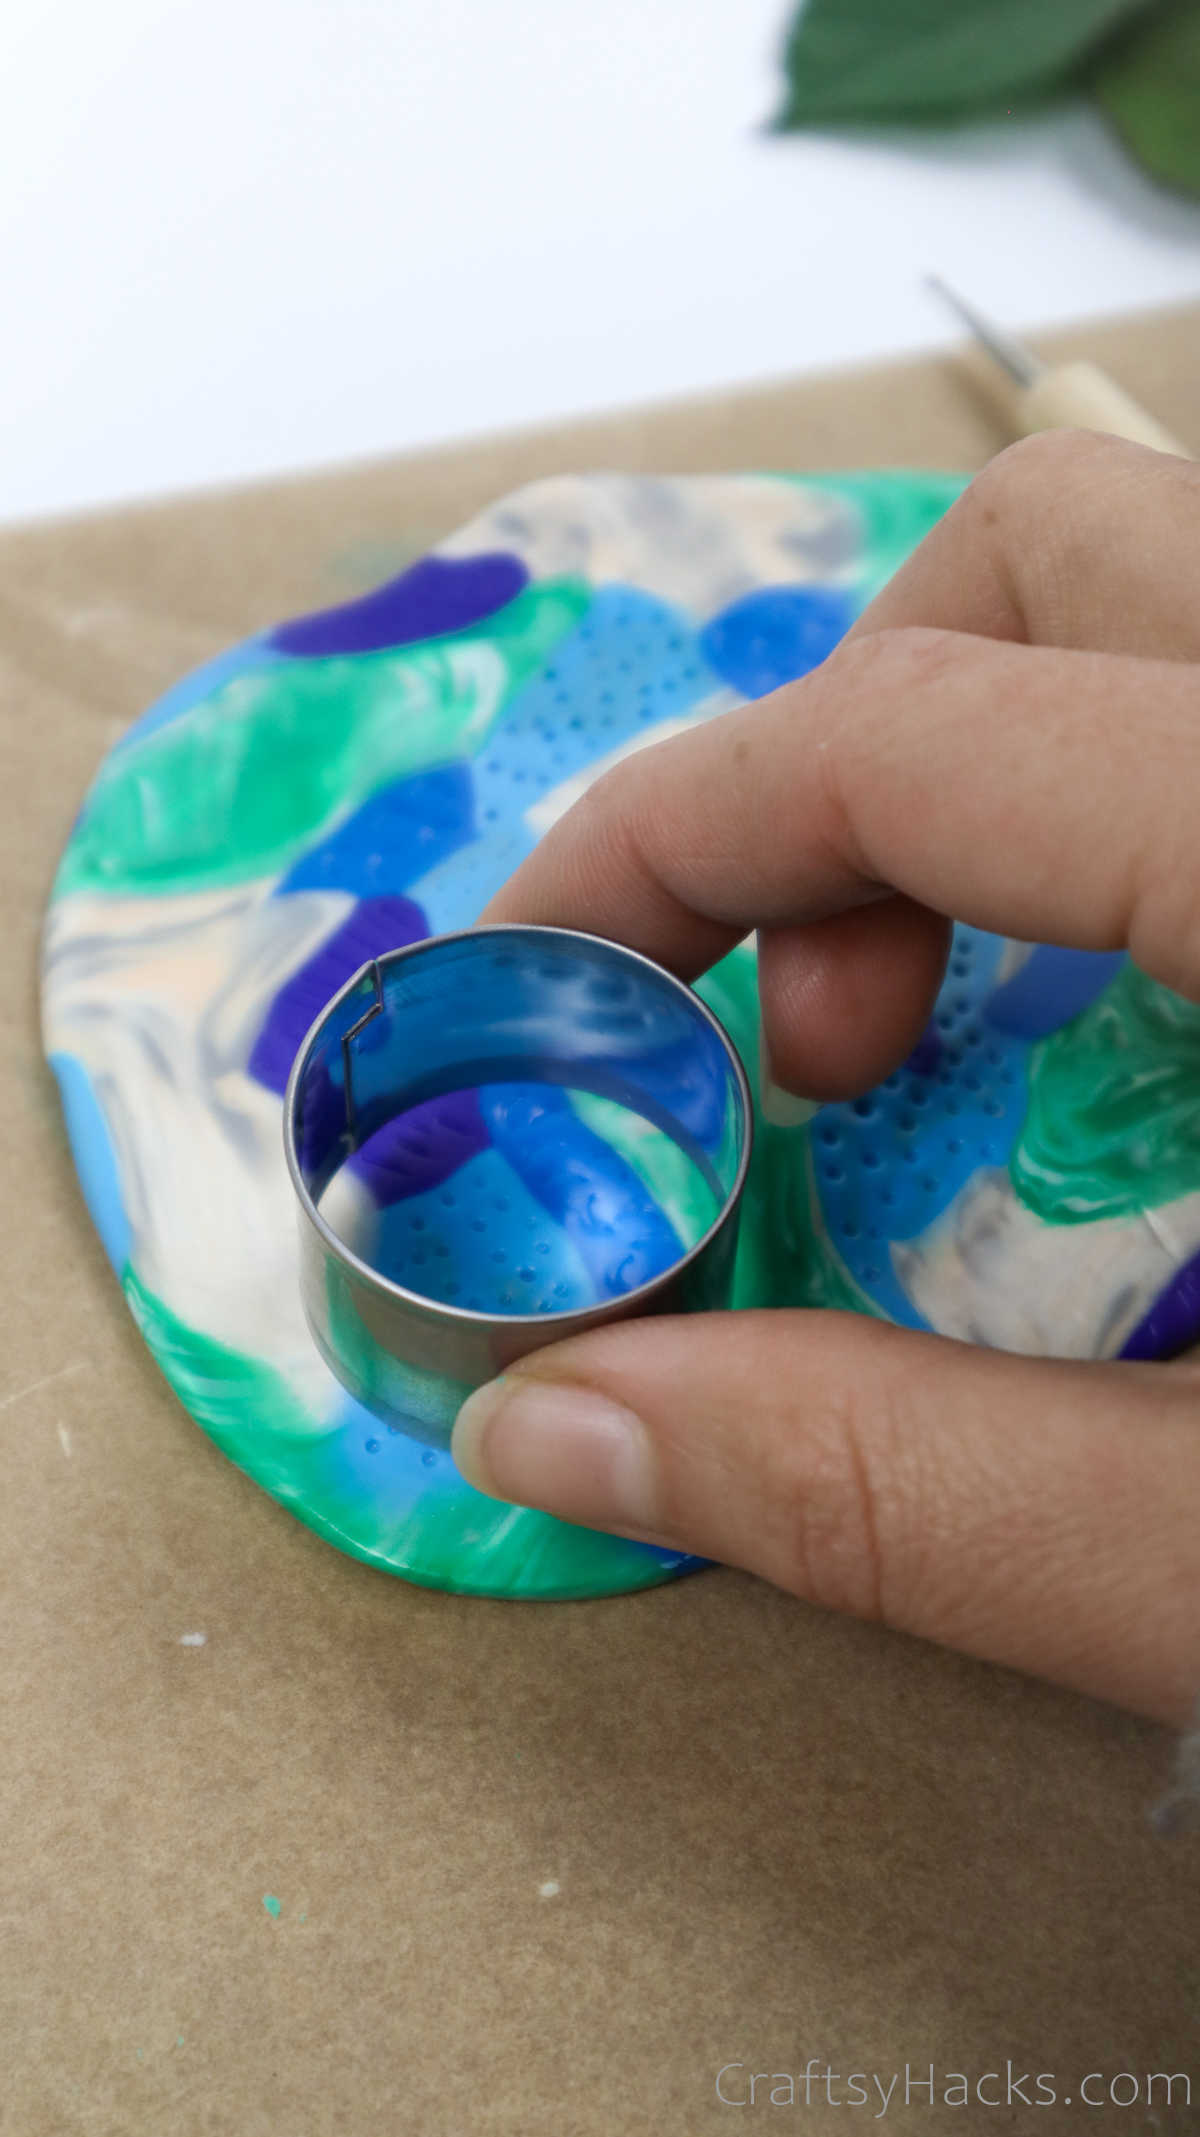
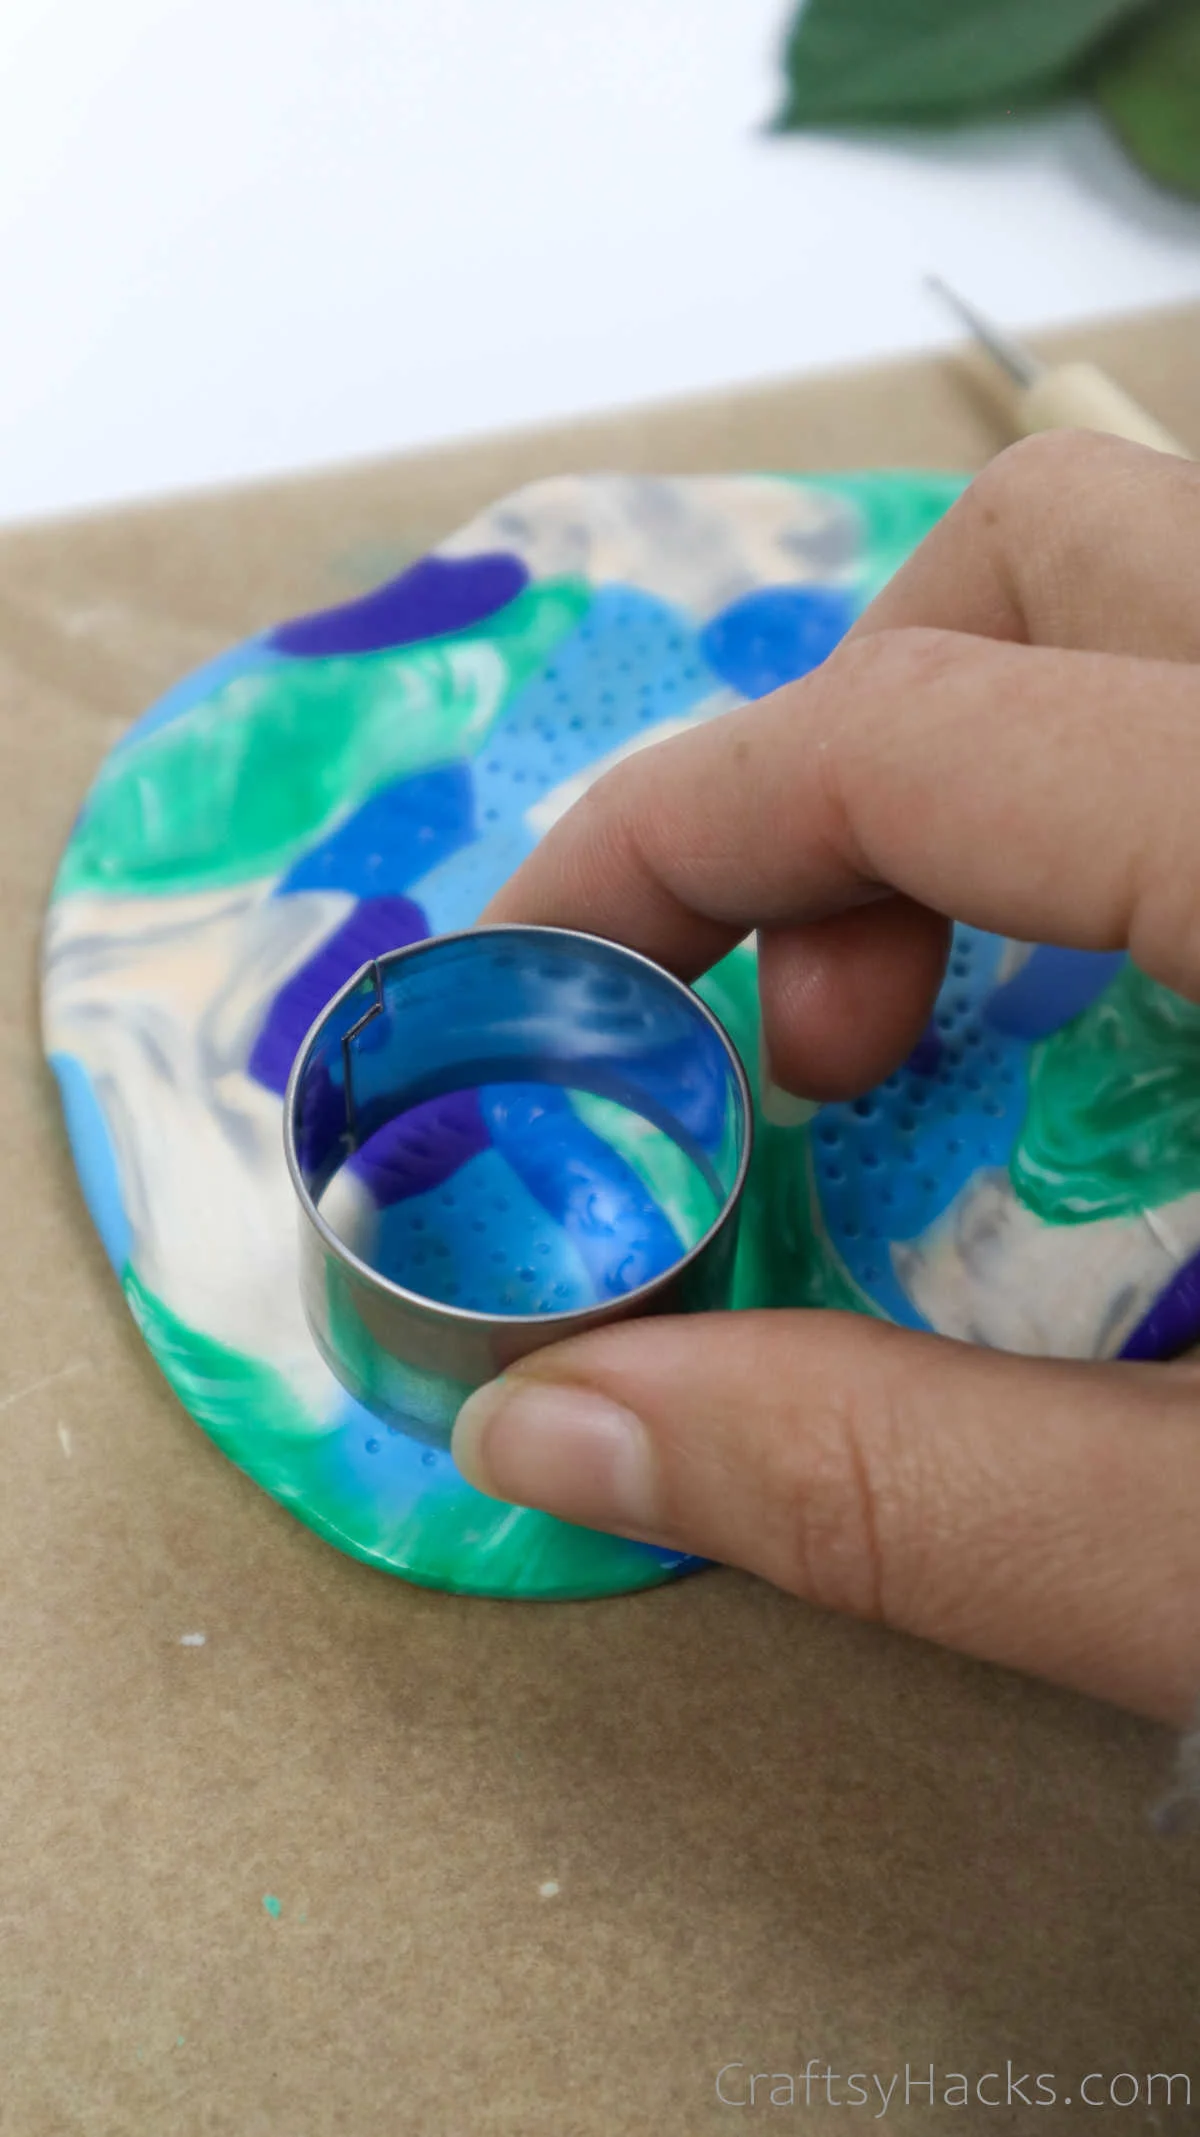
Step 5
When you’re happy with how the different colors have blended, grab a few cookie cutters and
Press them into the clay to cut it into the desired shape—circle in this instance.


Design 2
You don’t have to stop with just one pair. You still have some clay left, right? Pinch off a little bit of clay in any color you like and roll them into tiny dots like this.
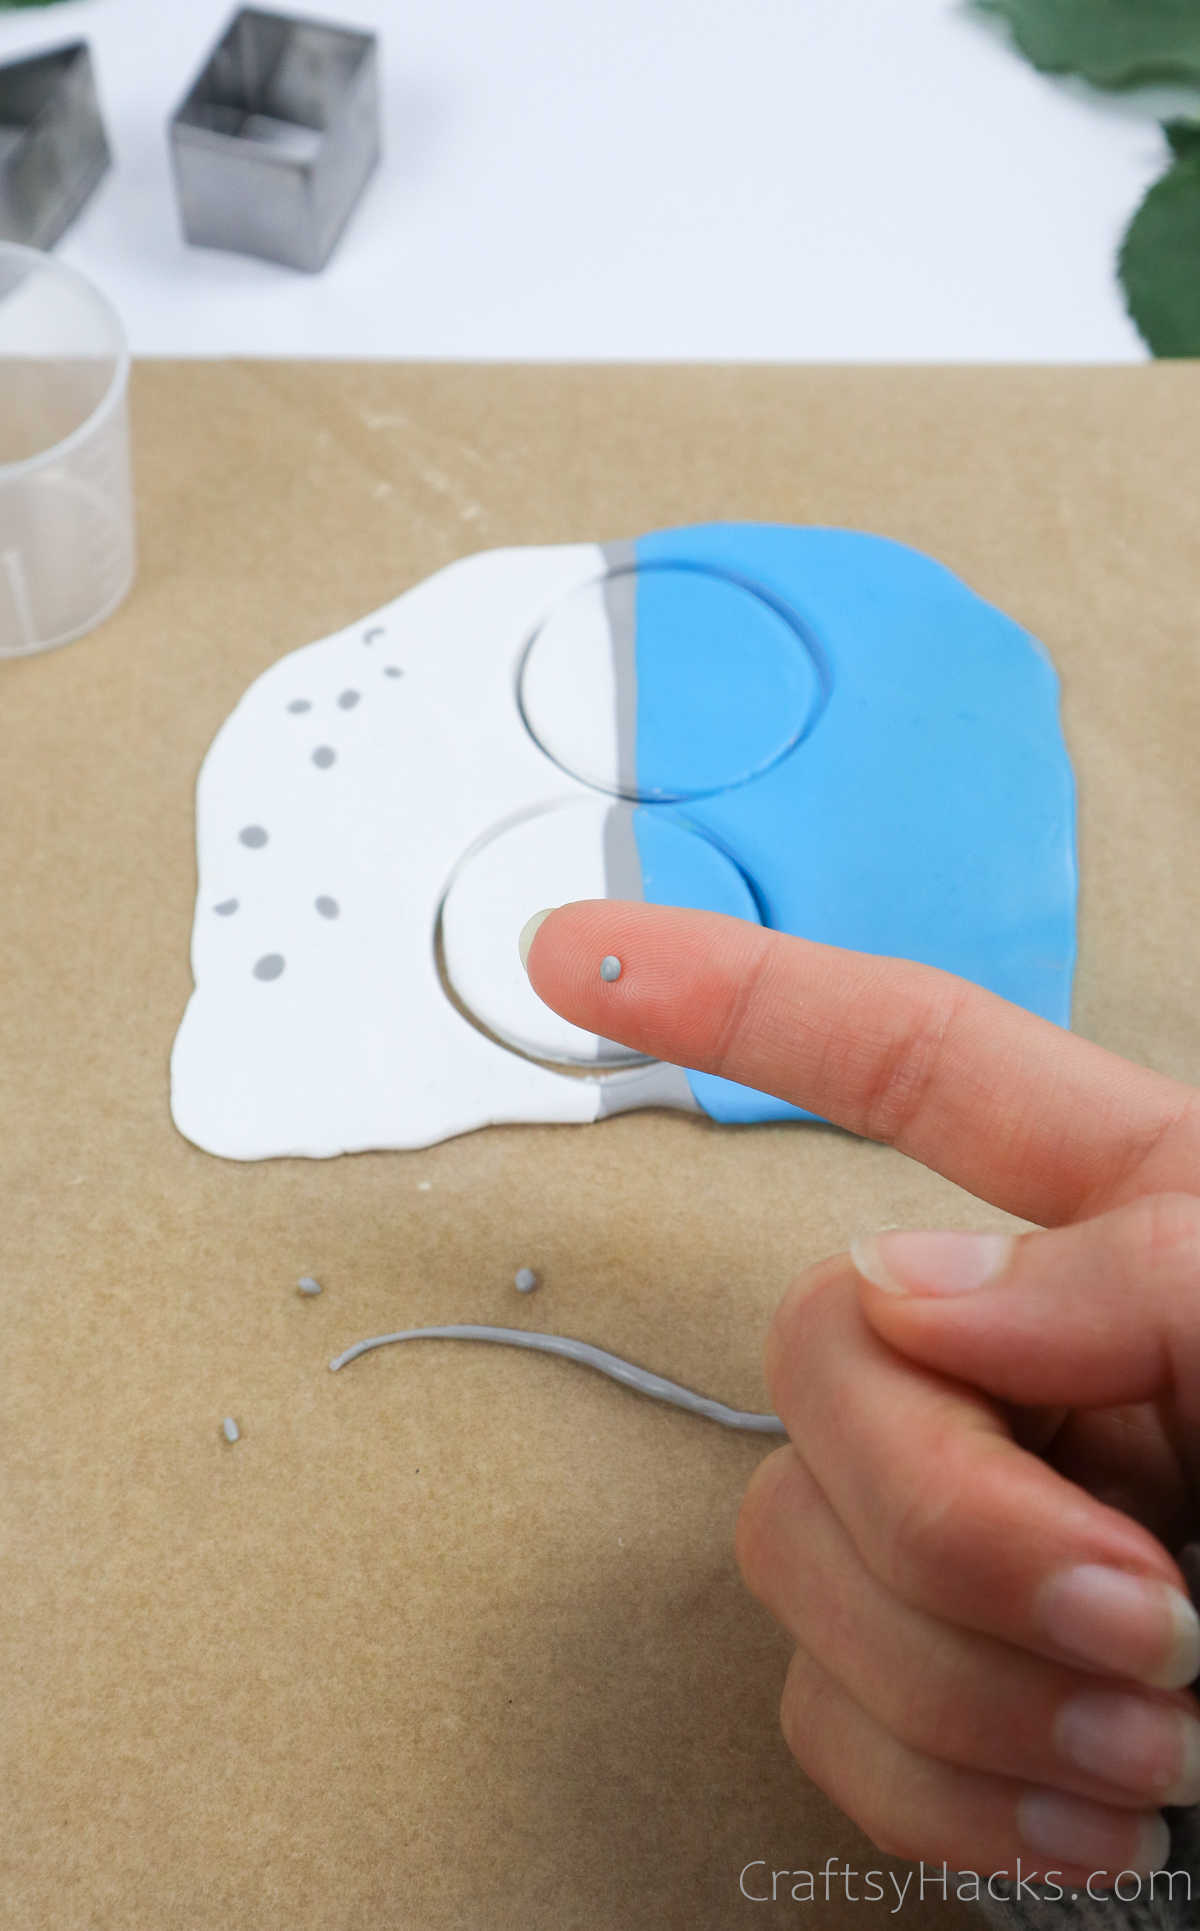

Then, press the dots into the flattened clay to speckle it.
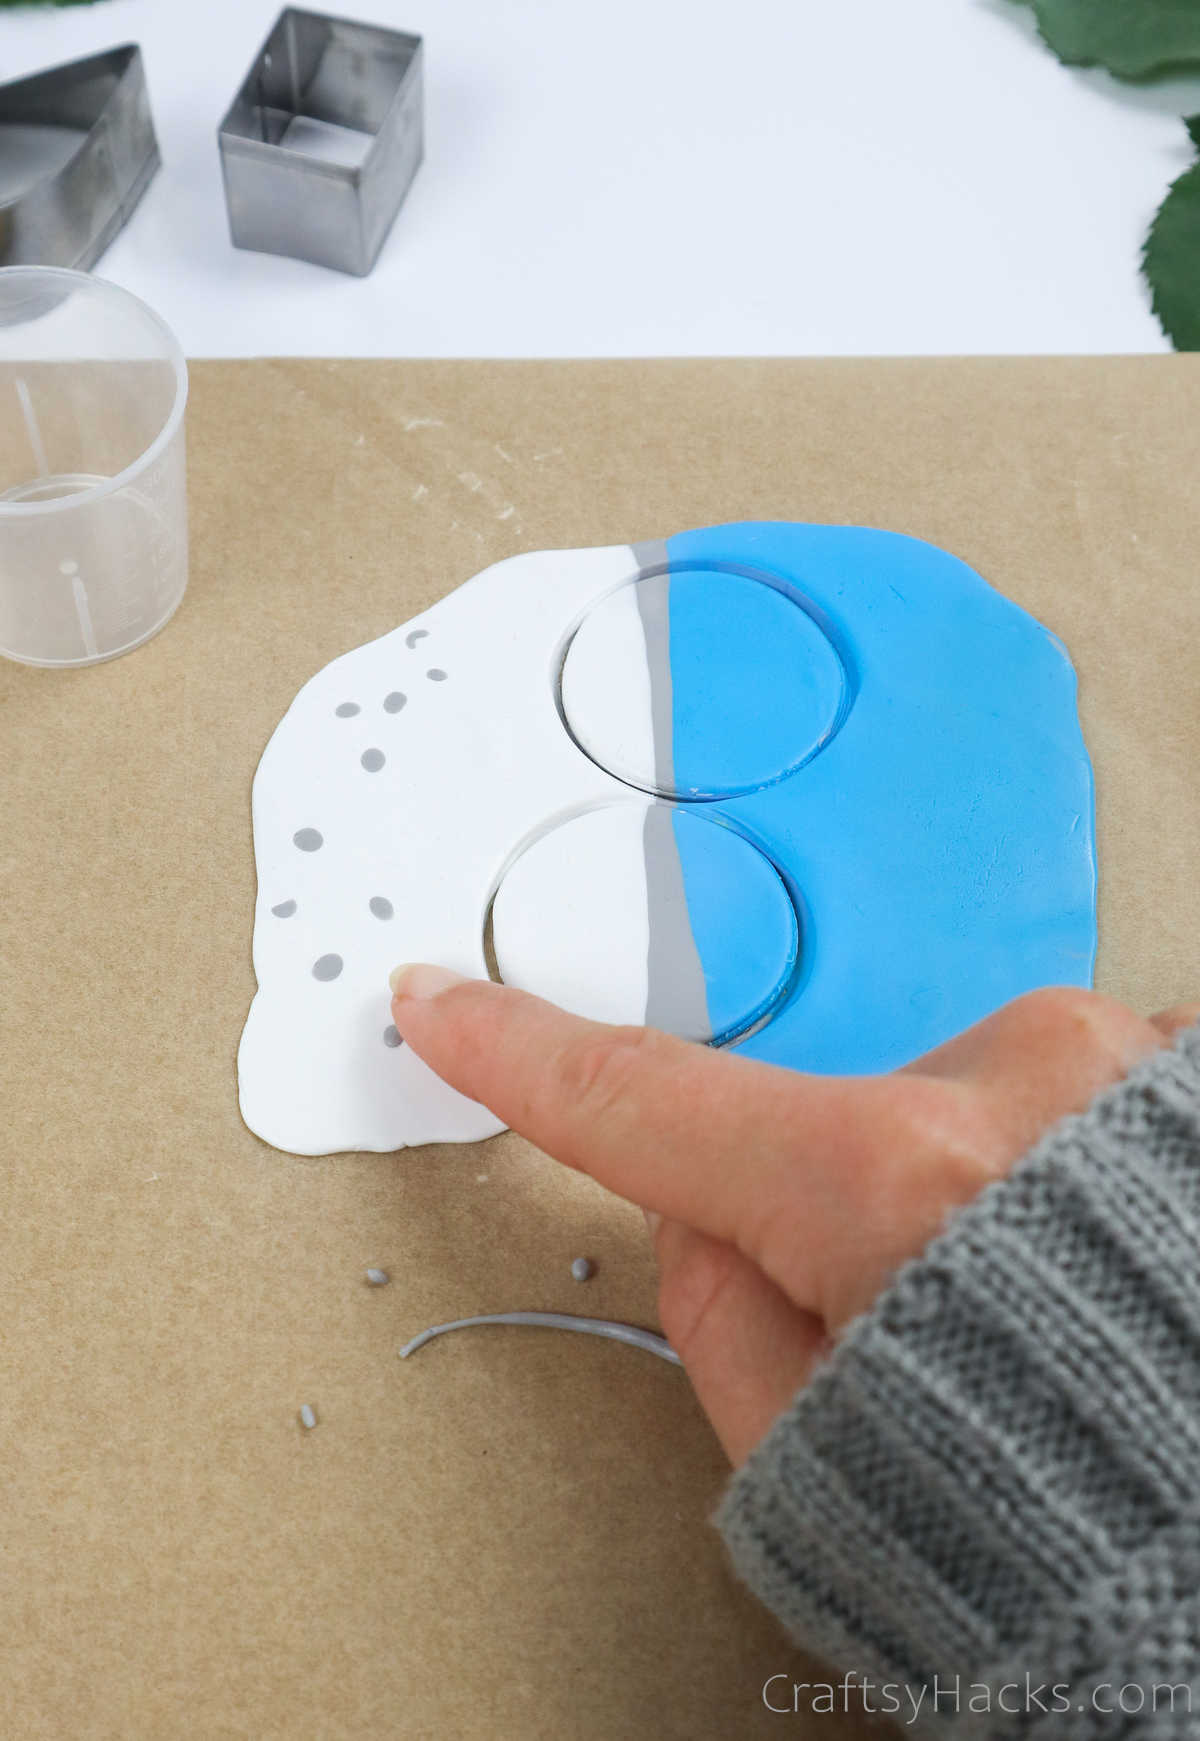

Grab another cookie cutter and cut out two more pieces for another pair of earrings. You can stick to the same round cutter or try another shape, too.

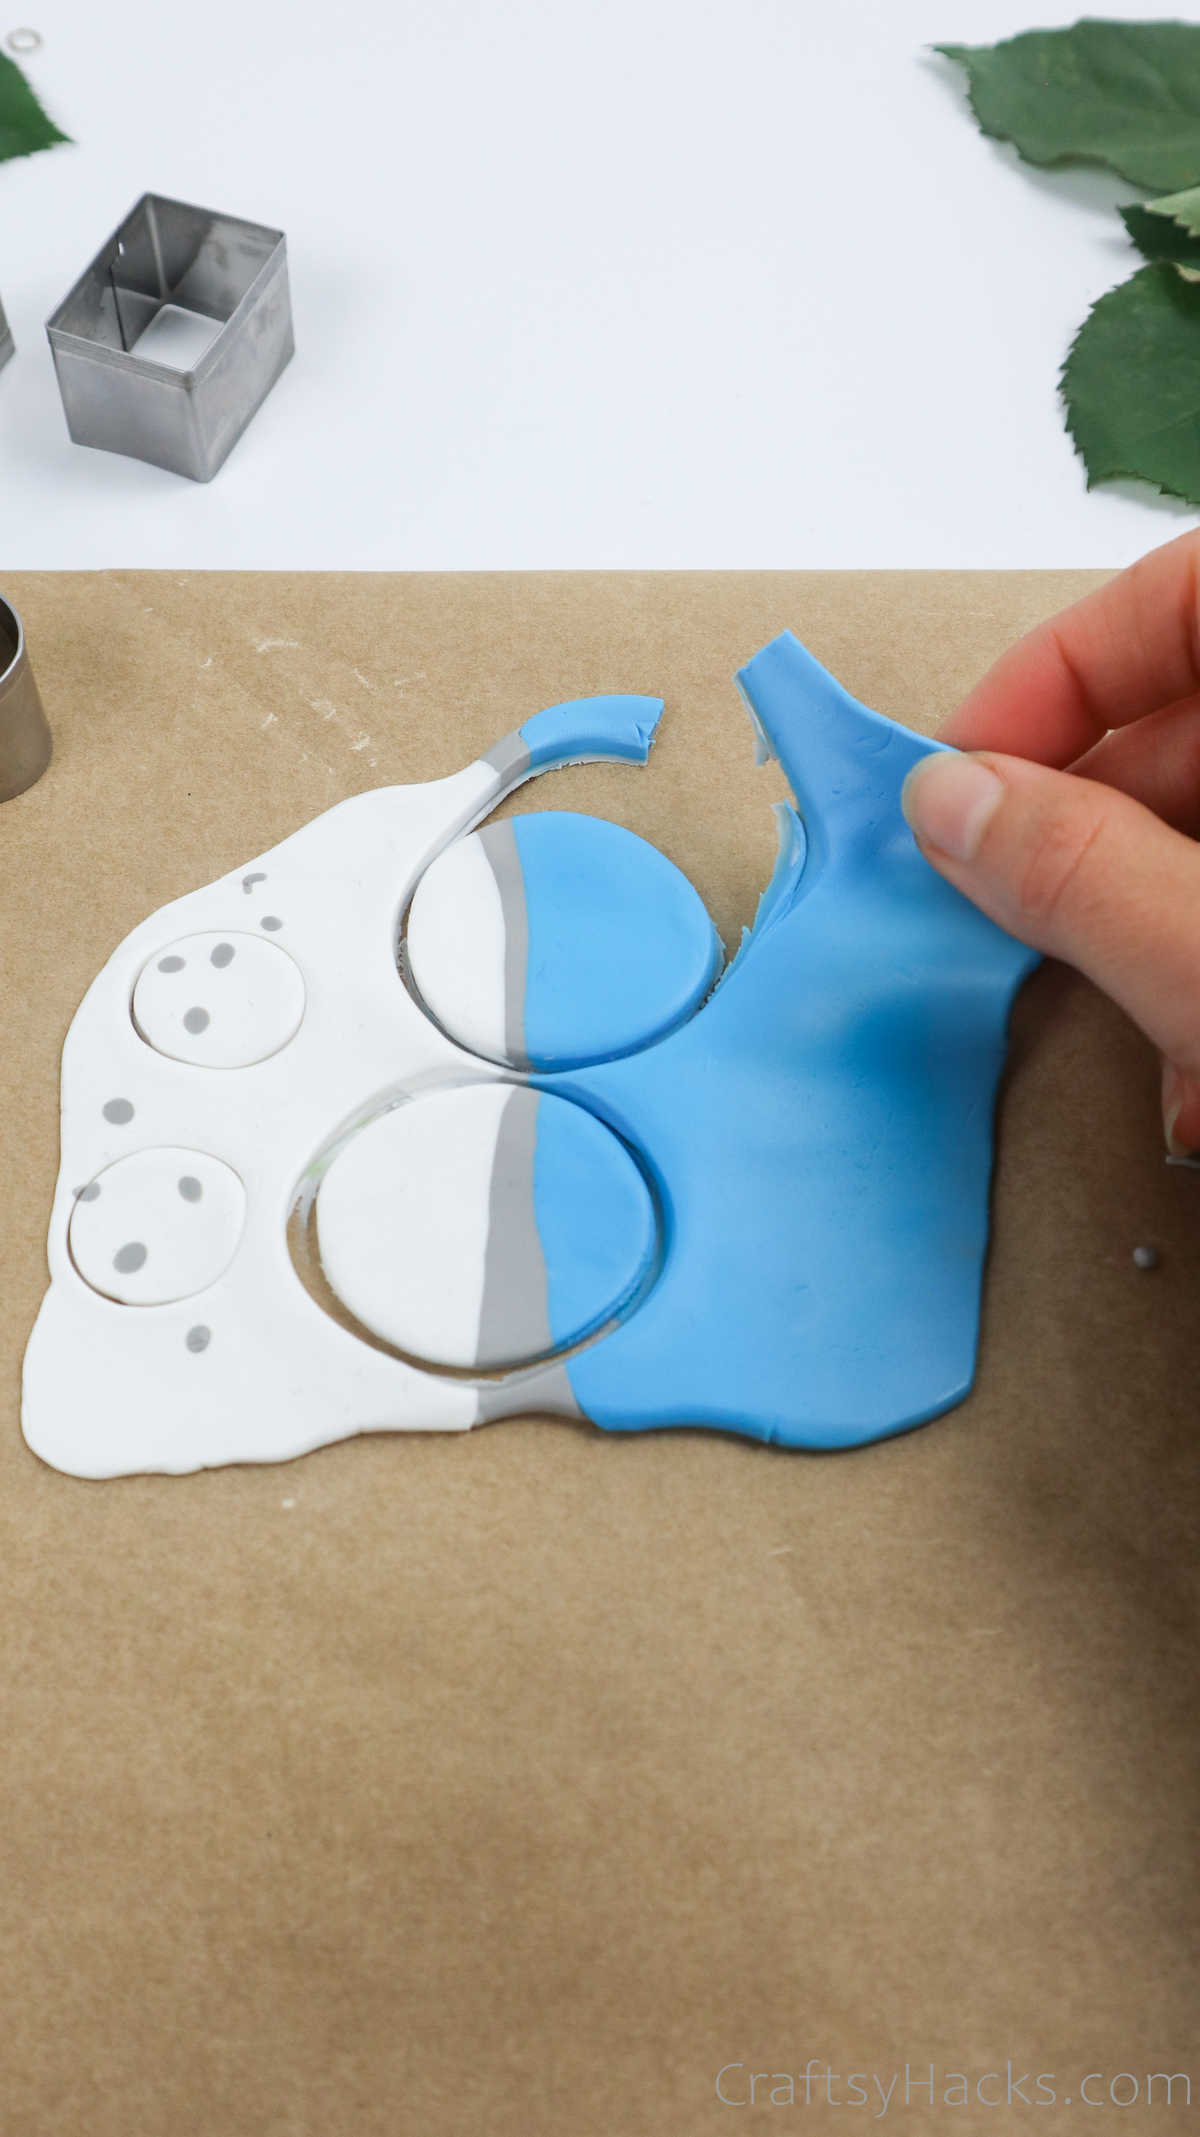
Step 6
Carefully pull the excess clay away from the shapes you cut out. You can set it aside to use later for other projects.
You can use a cutter, toothpick, or pin to help you cut away any fine clay shavings or scraps.

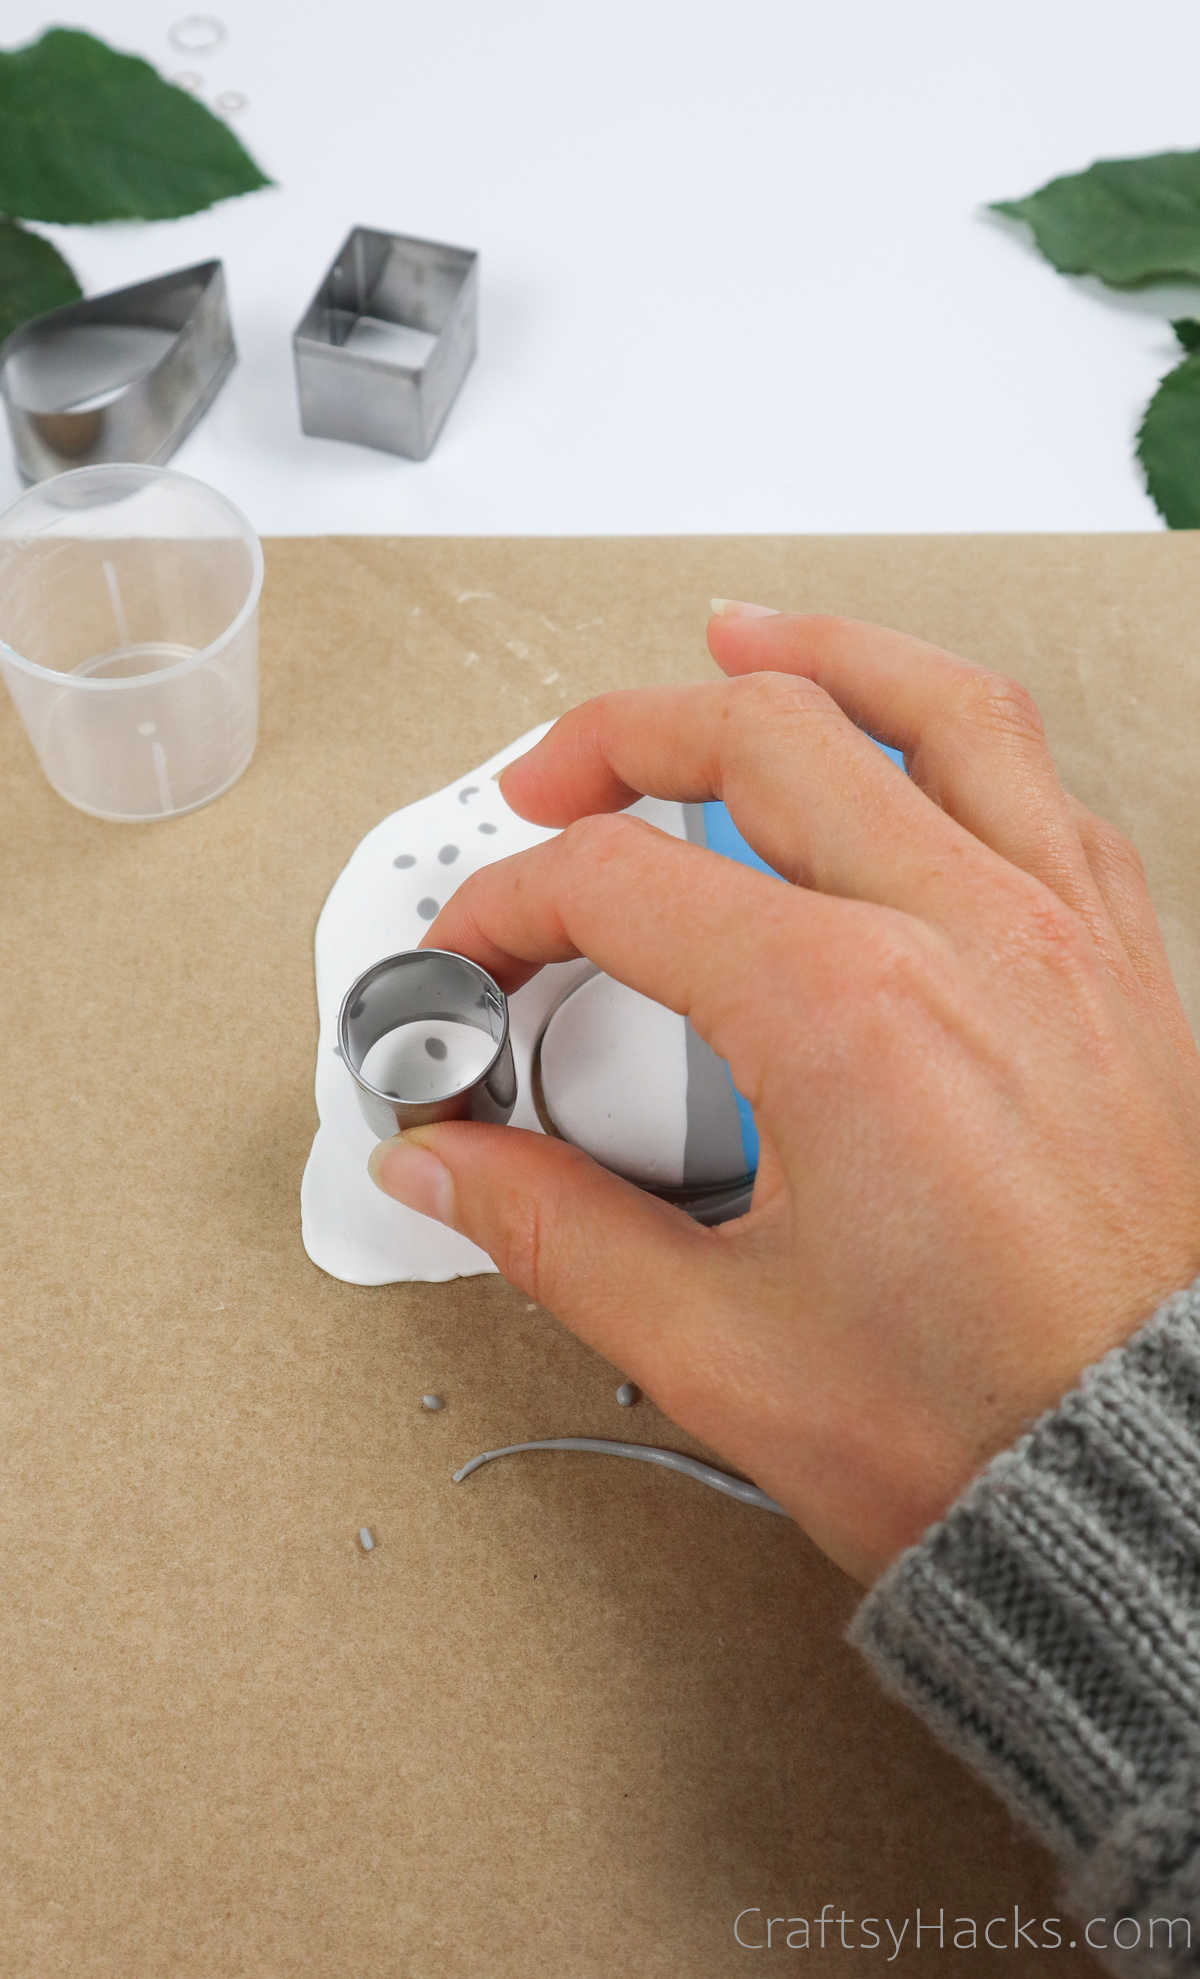
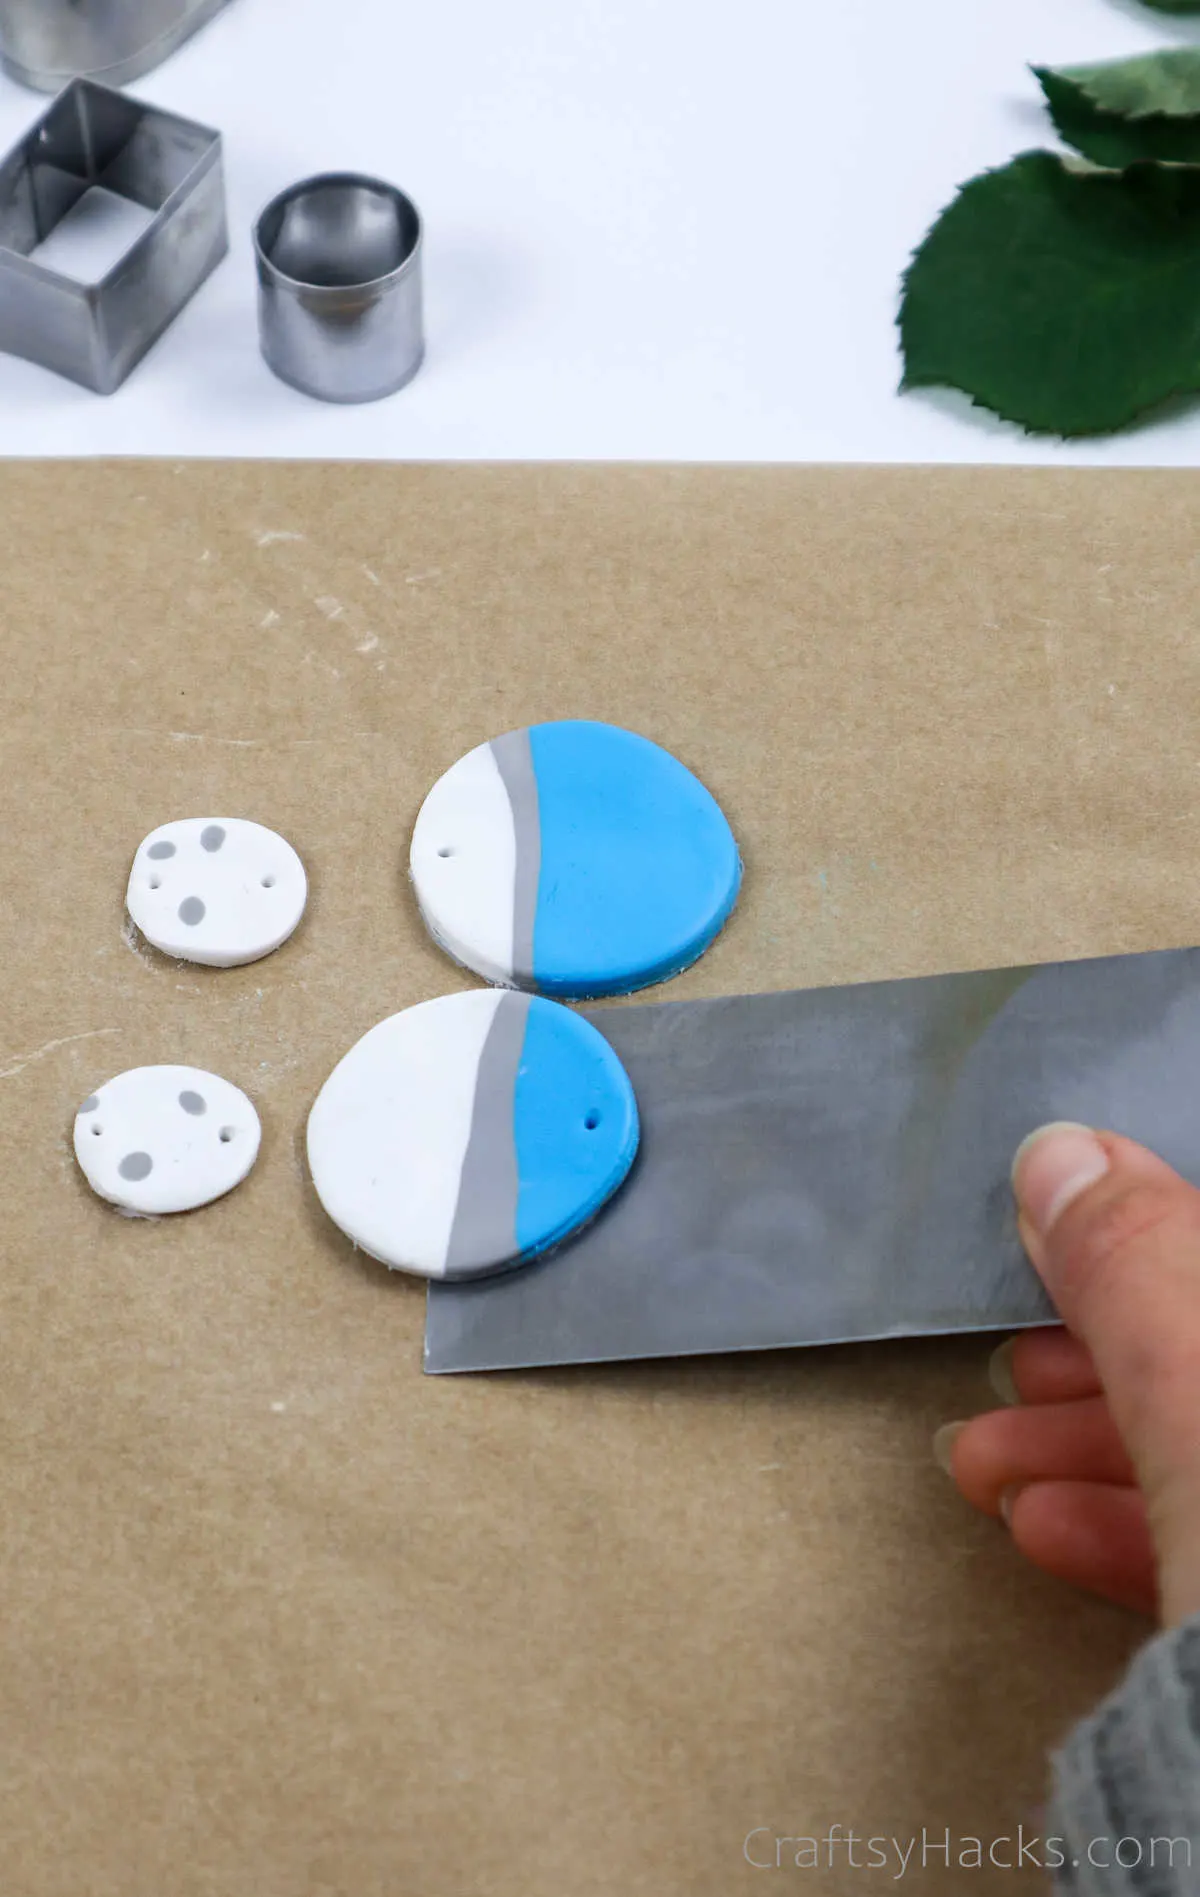
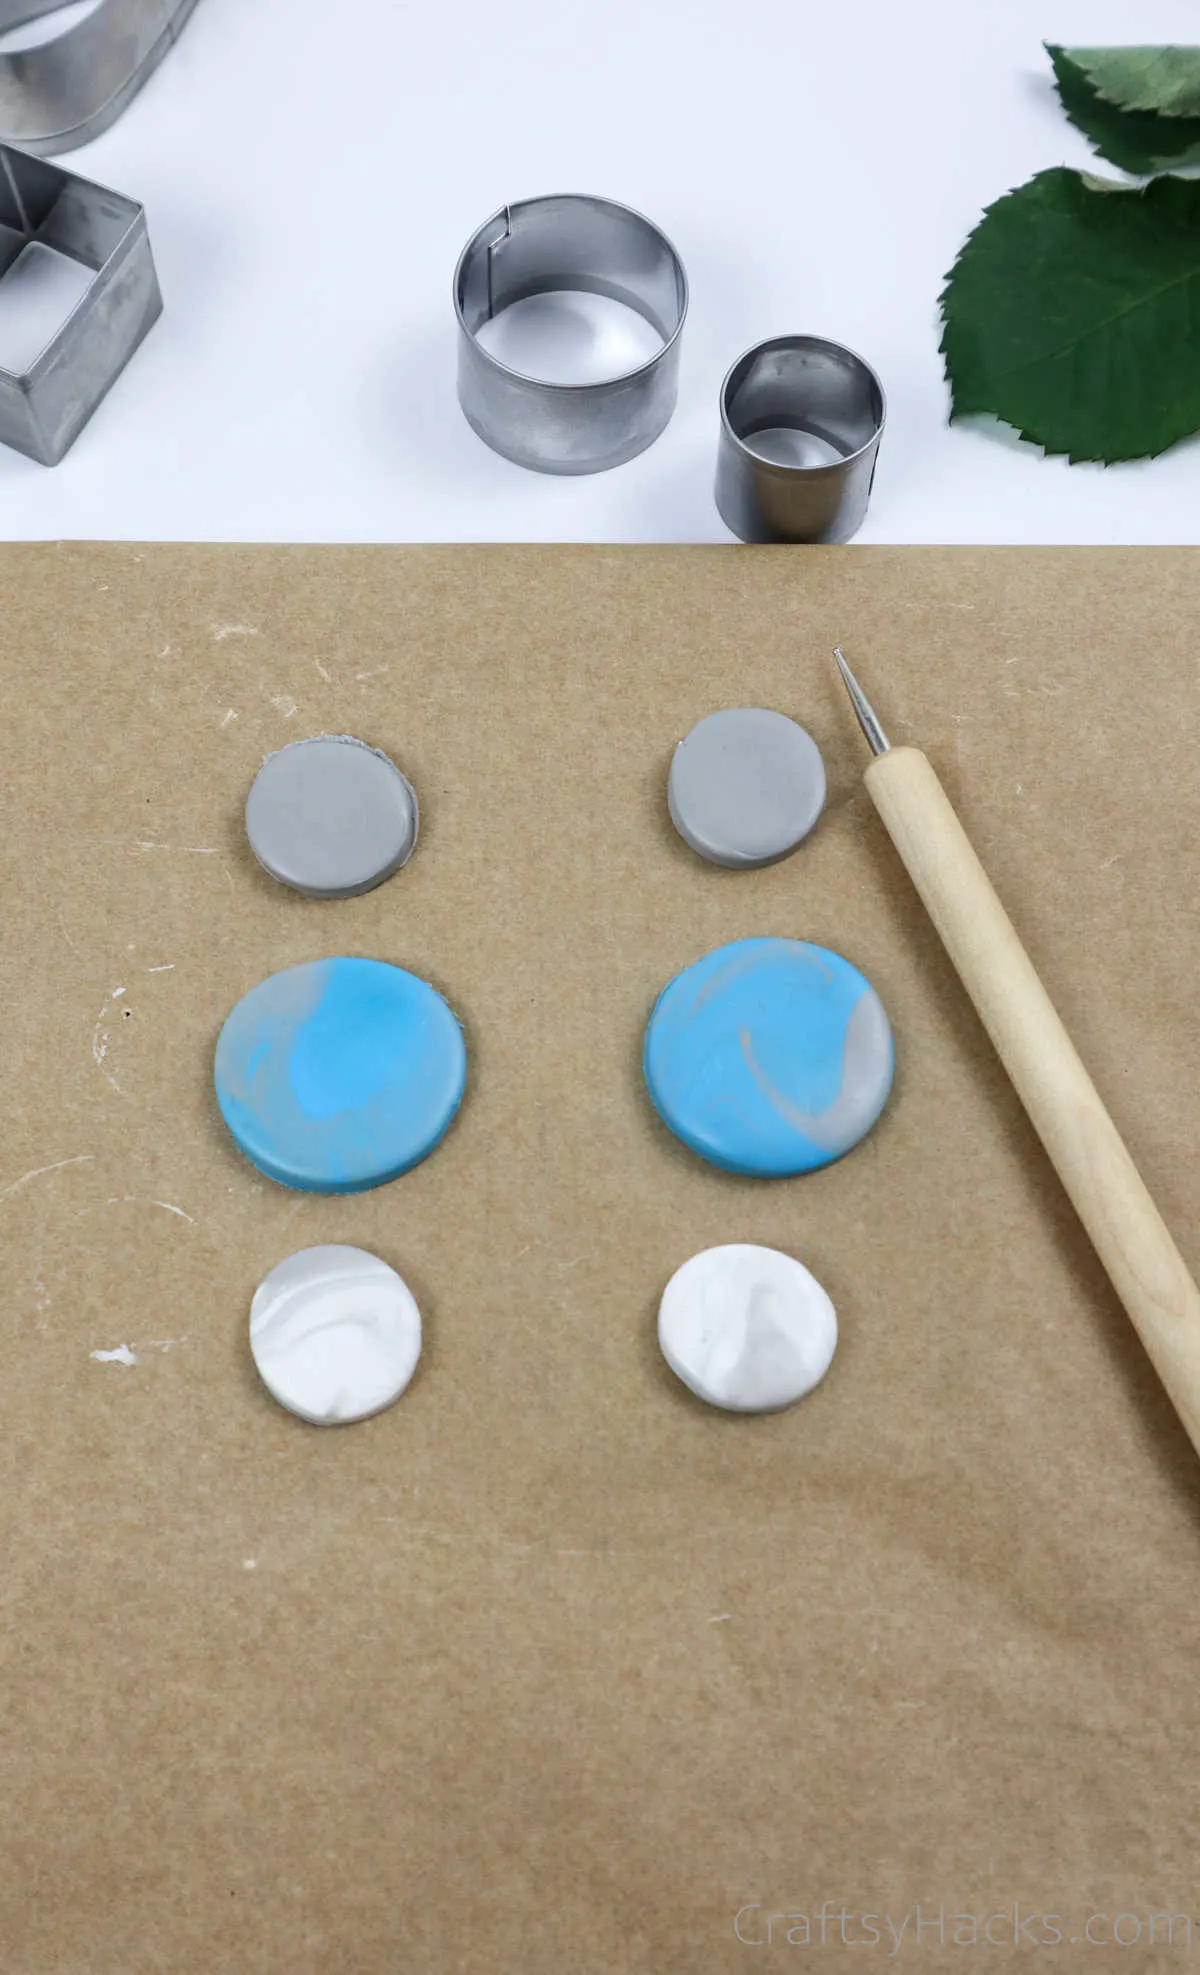
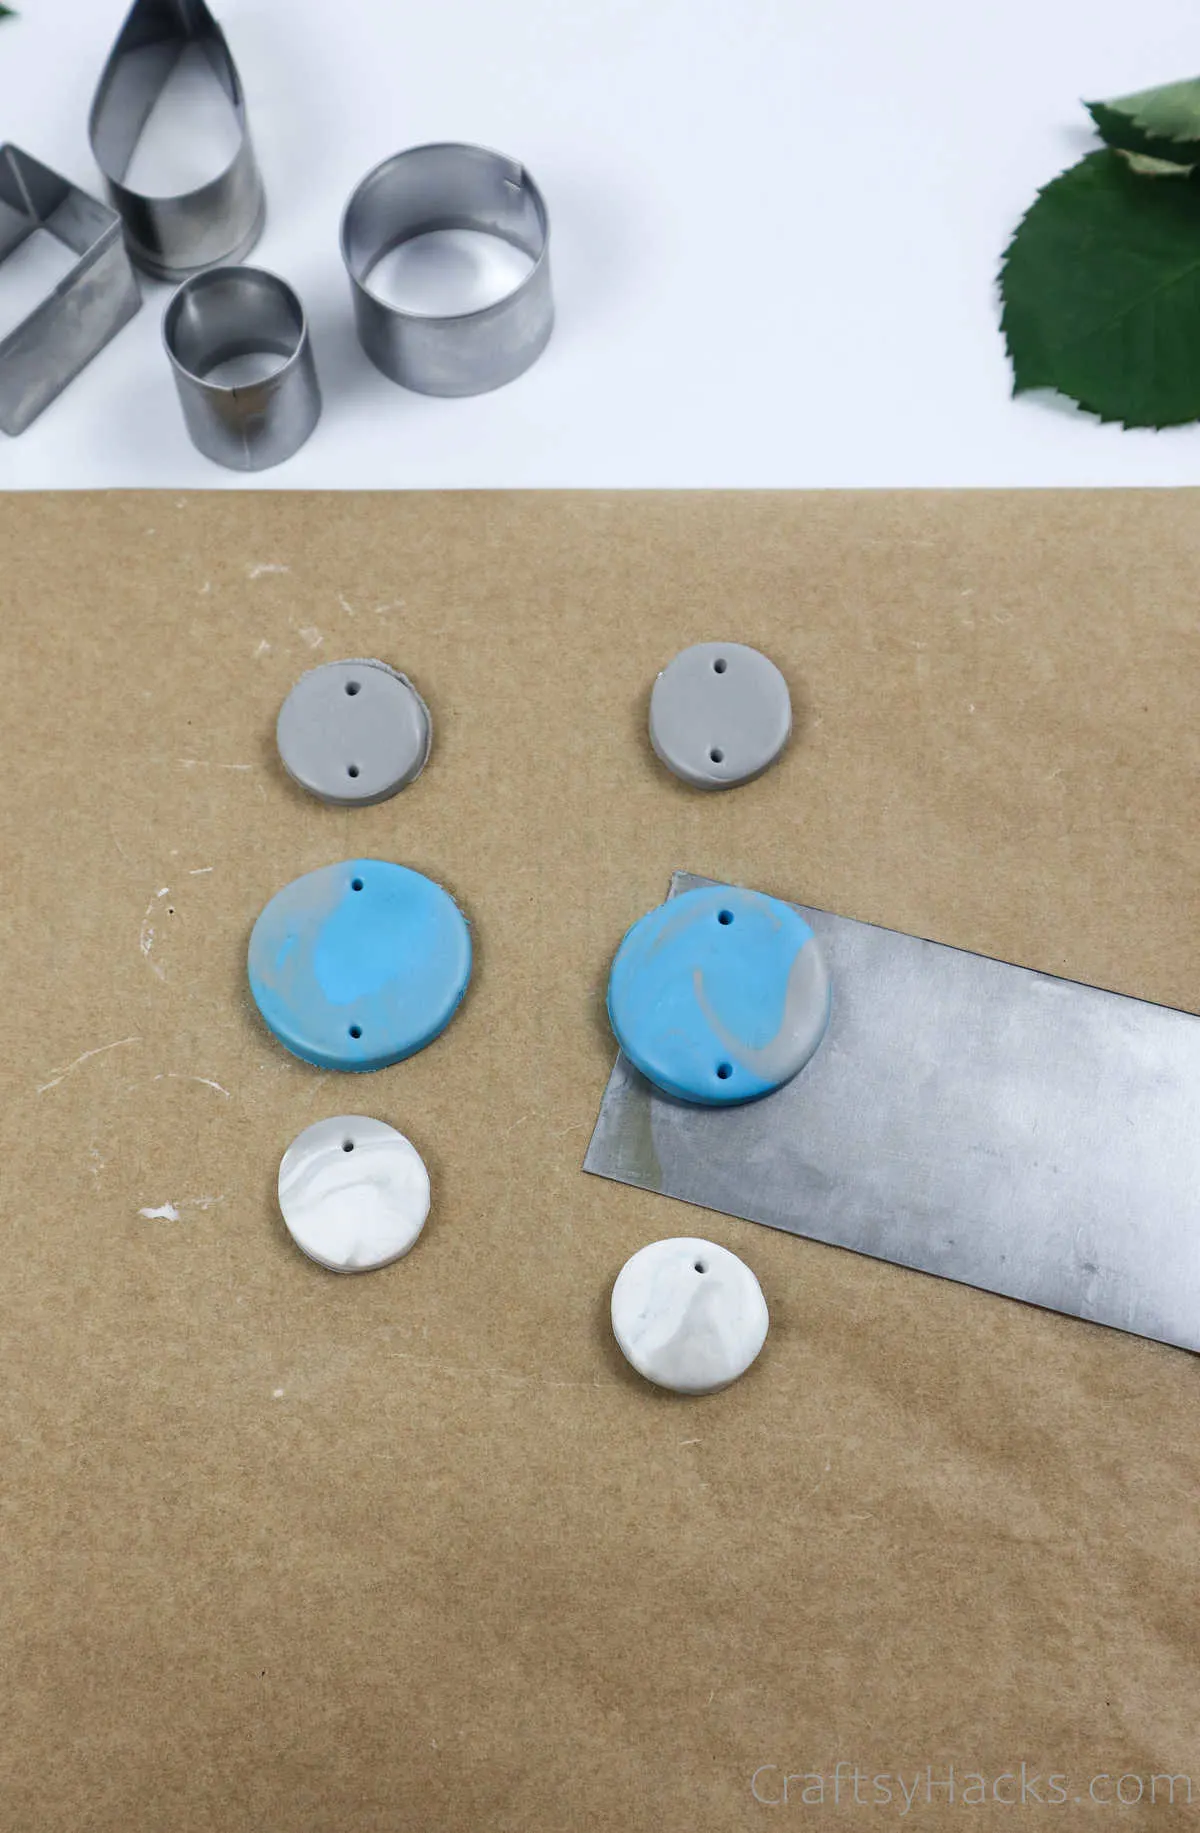
Step 7
With your craft cutter, carefully poke a little hole into the clay at the top of where you want to insert your earring hooks.


Step 8
Then, grab a flat blade or a scraper and carefully pull the clay earrings away from the parchment paper. Be extra careful with this step; you don’t want to damage the texture or shape of your clay cutouts.

Design 3
Remember that extra clay you set aside earlier? Go ahead and roll it out into separate pieces, and then proceed to flatten the pieces over the parchment paper, much like you did before.


Once again, use cookie cutters and make a few more pairs of earrings. Then, pull the excess clay away, and use your cutter to poke holes for the hooks.

Finally, use your blade or scrape to peel the clay away.

Step 9
Design 4
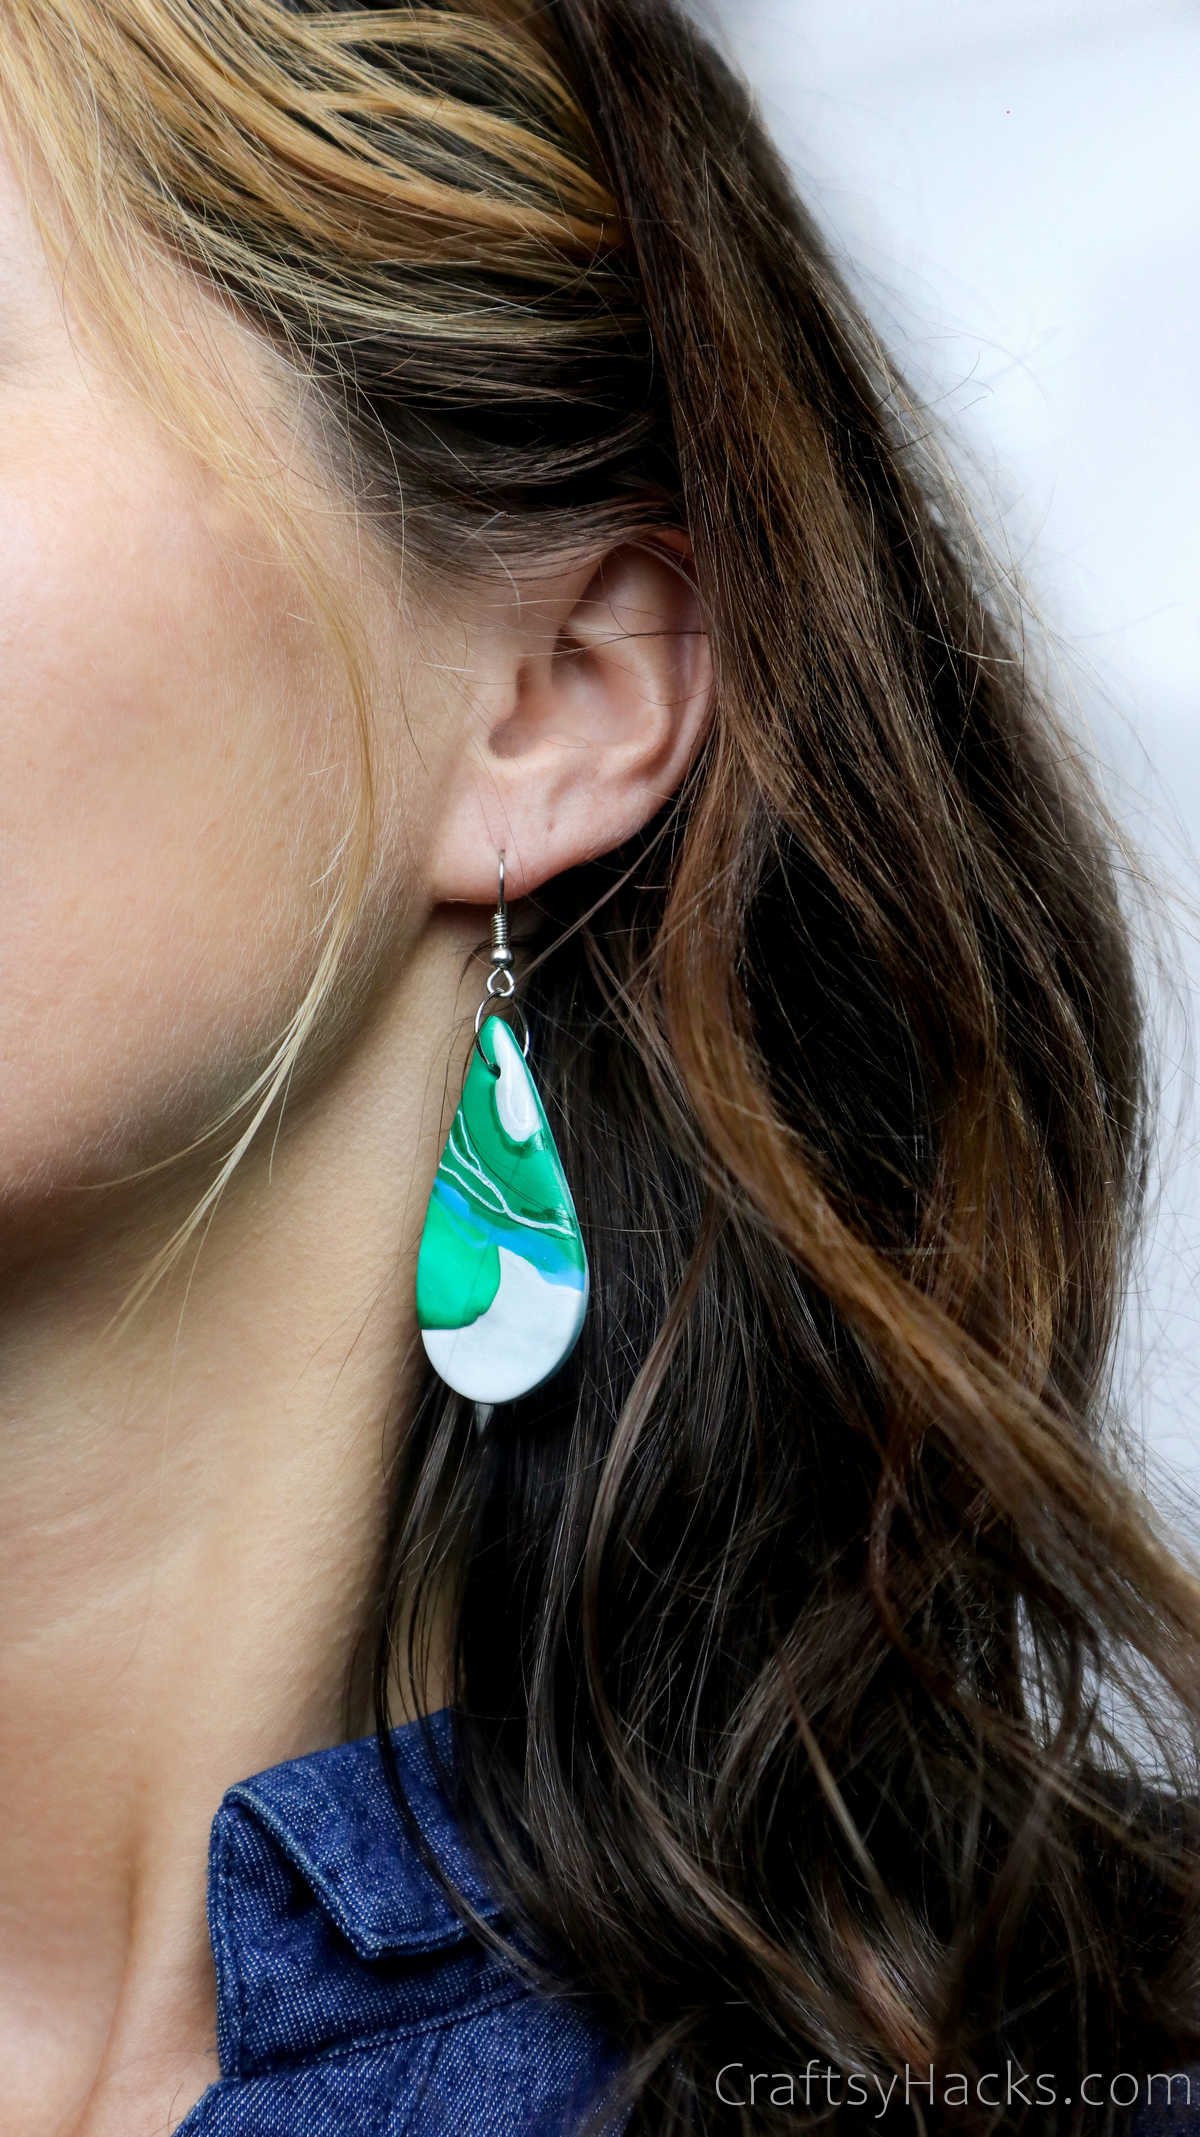
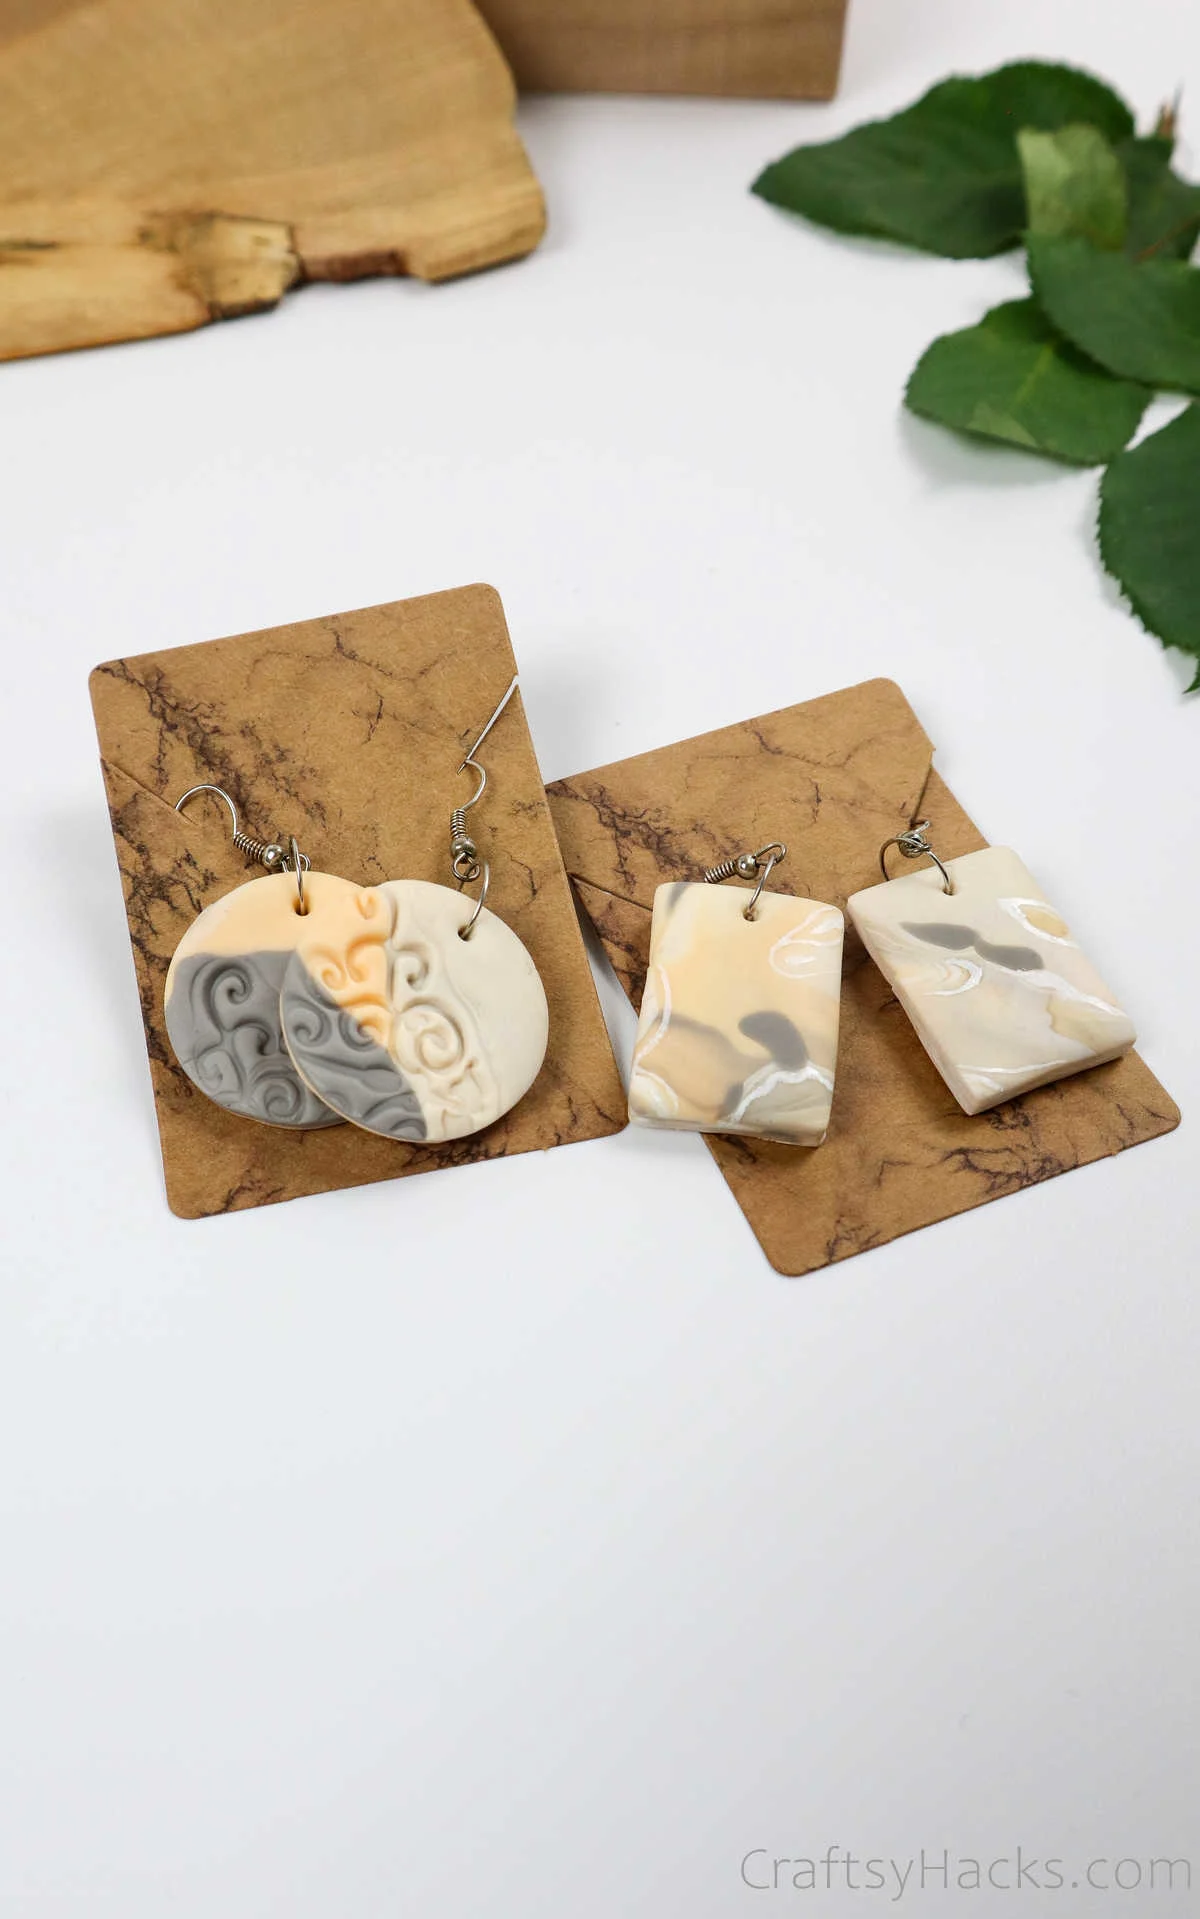
Feel free to experiment with different colors of clay and also with different patterns. Grab bits of clay in a different combination of colors(white, grey, and peach in this instance).
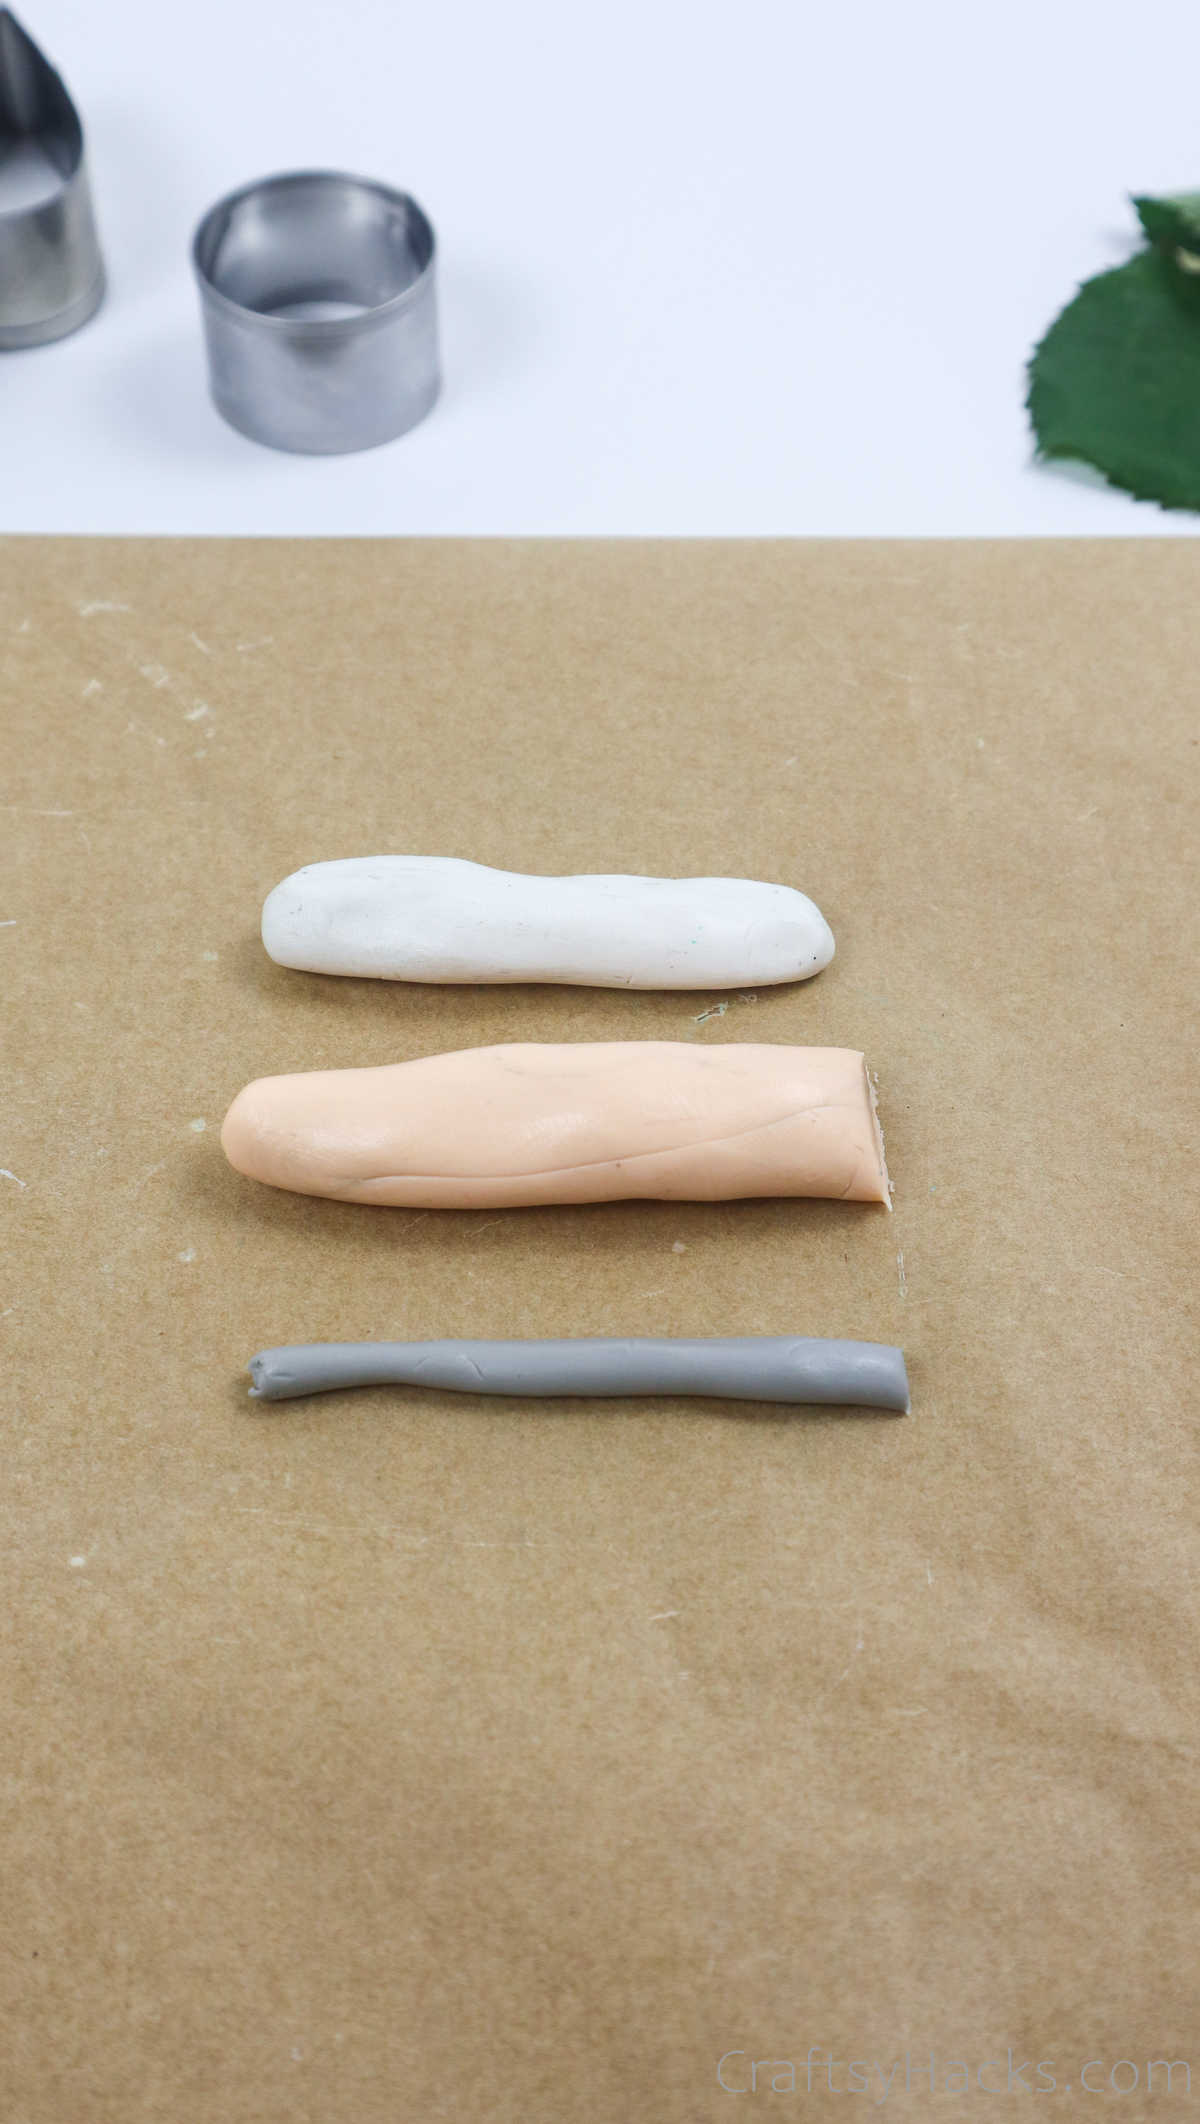
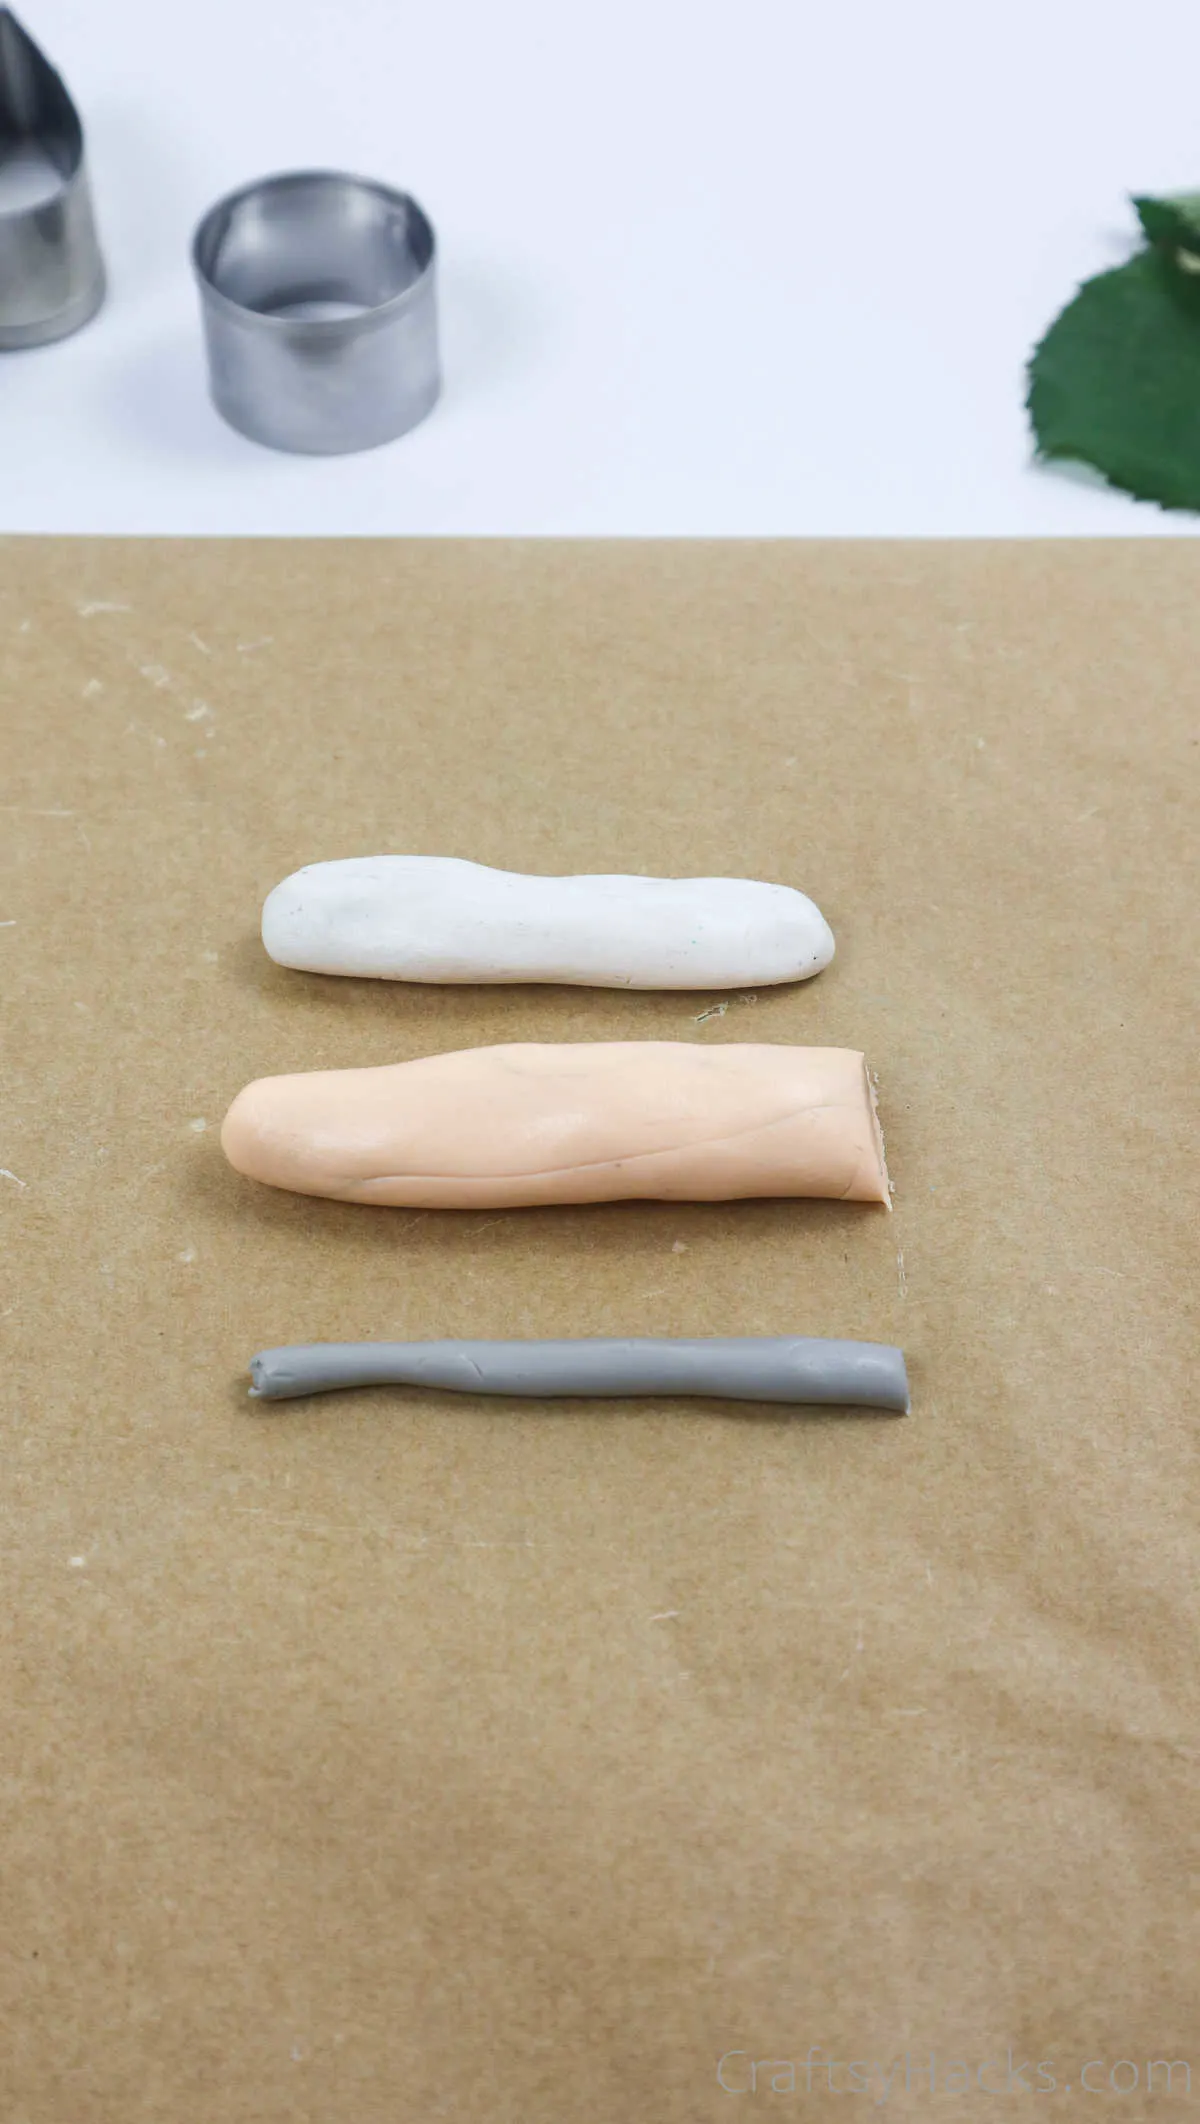
You can roll the clay, twist them, and flatten them out in any number of swirling patterns and designs.
It’s completely freestyle, of course, but that’s what makes these earrings unique!

You can also use a stencils to press beautiful designs, swirls, and filigree patterns onto the clay,

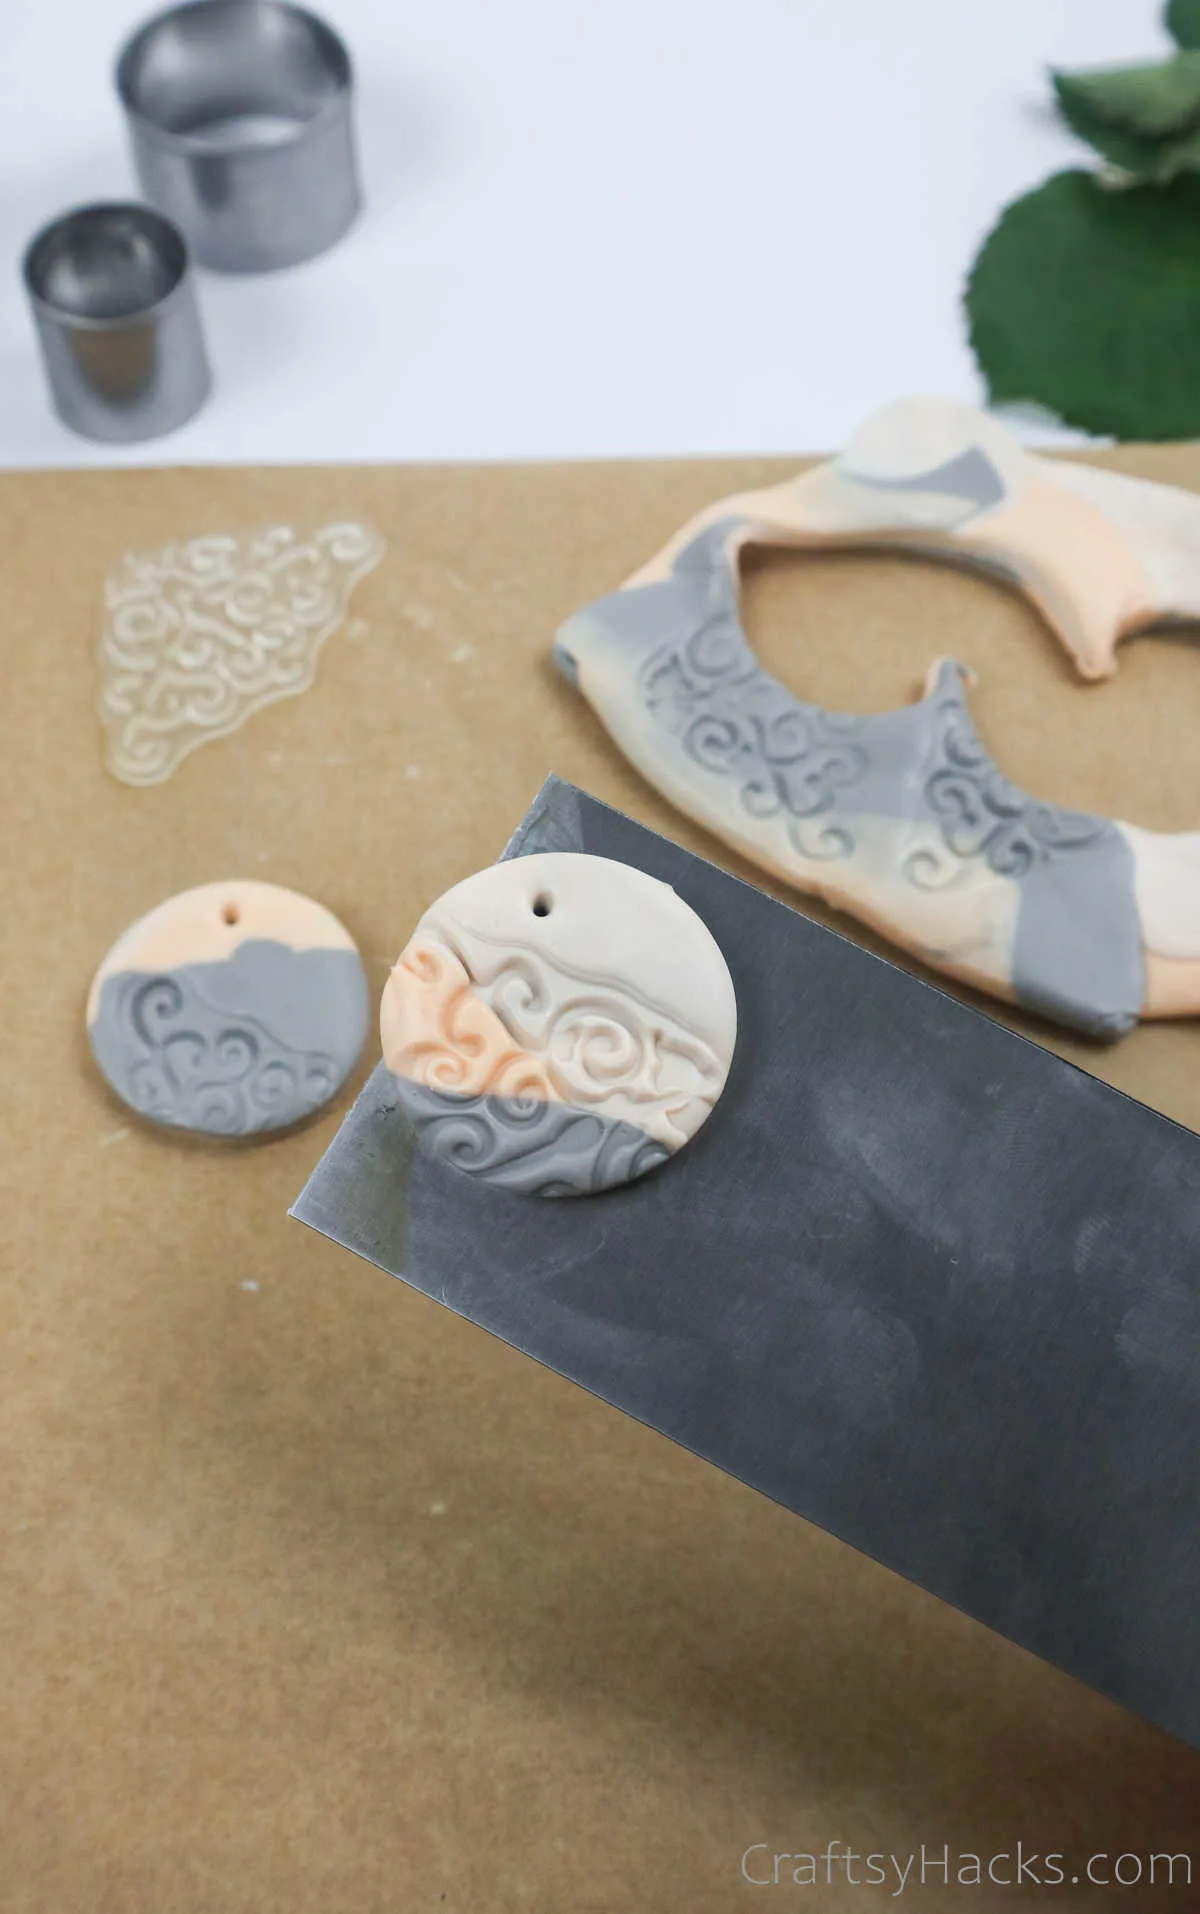
Design 5
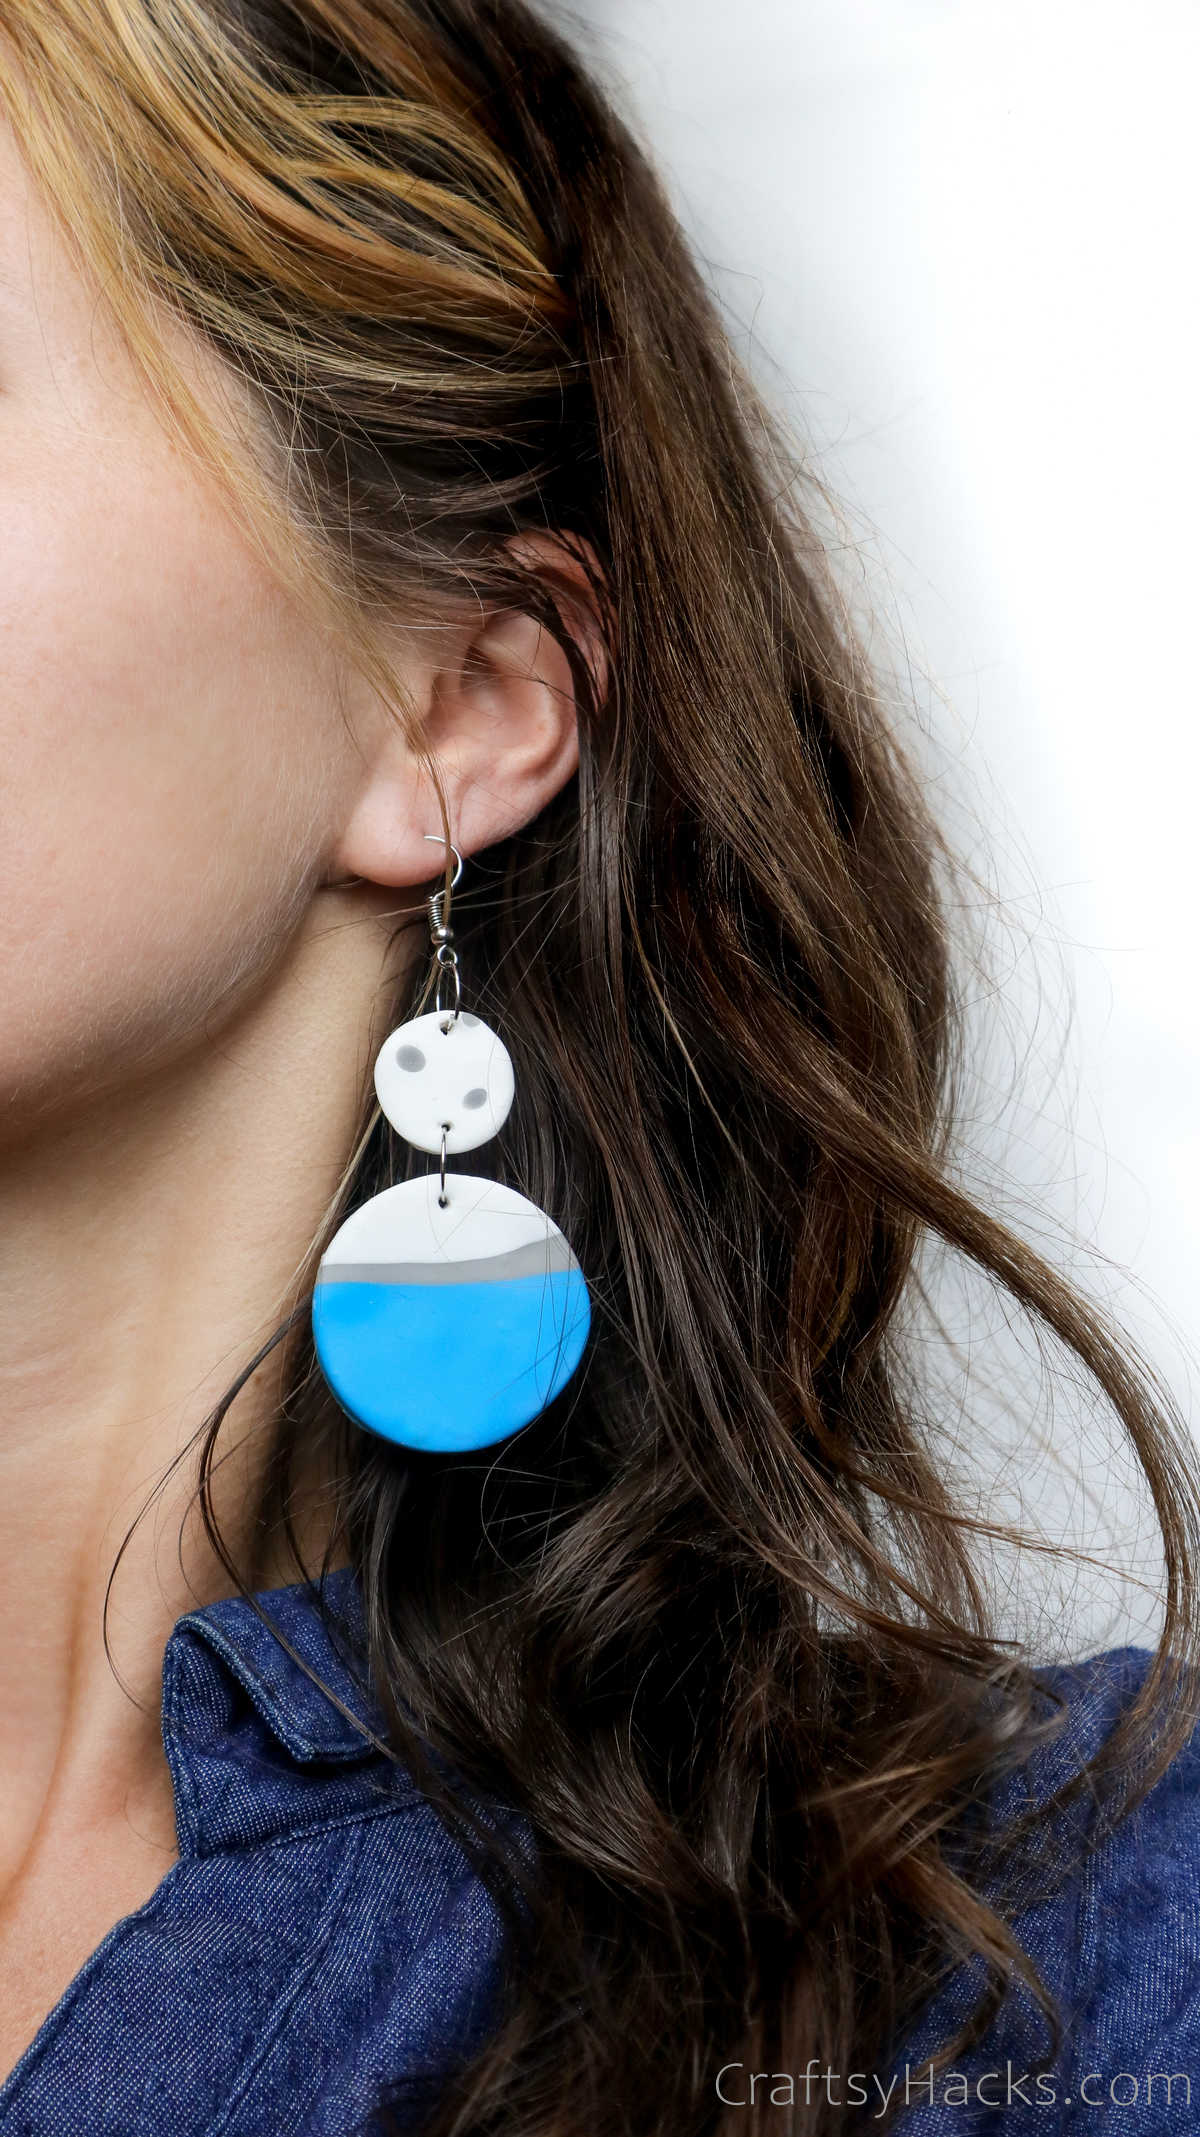
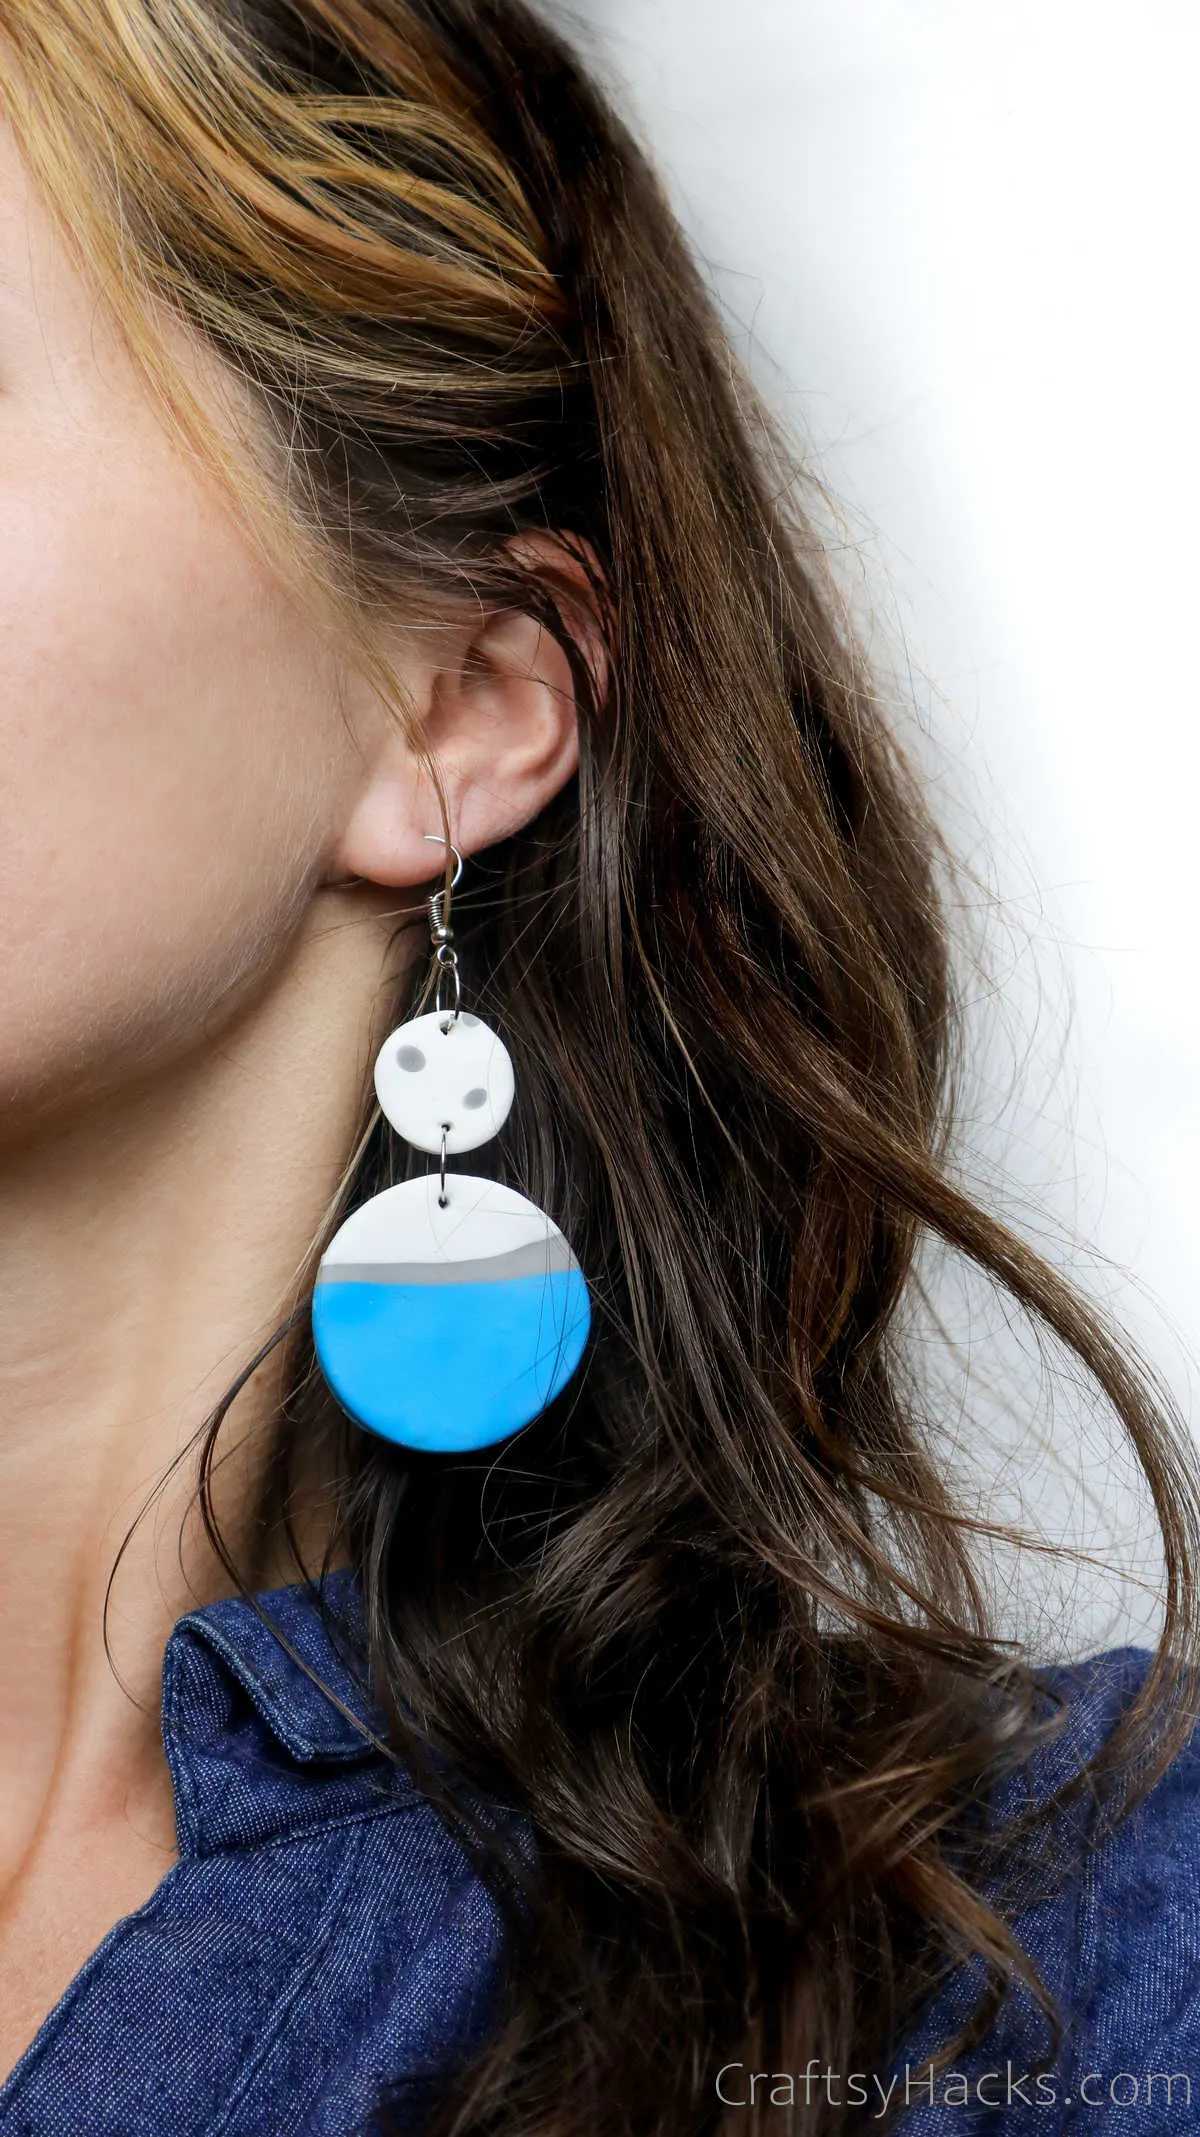
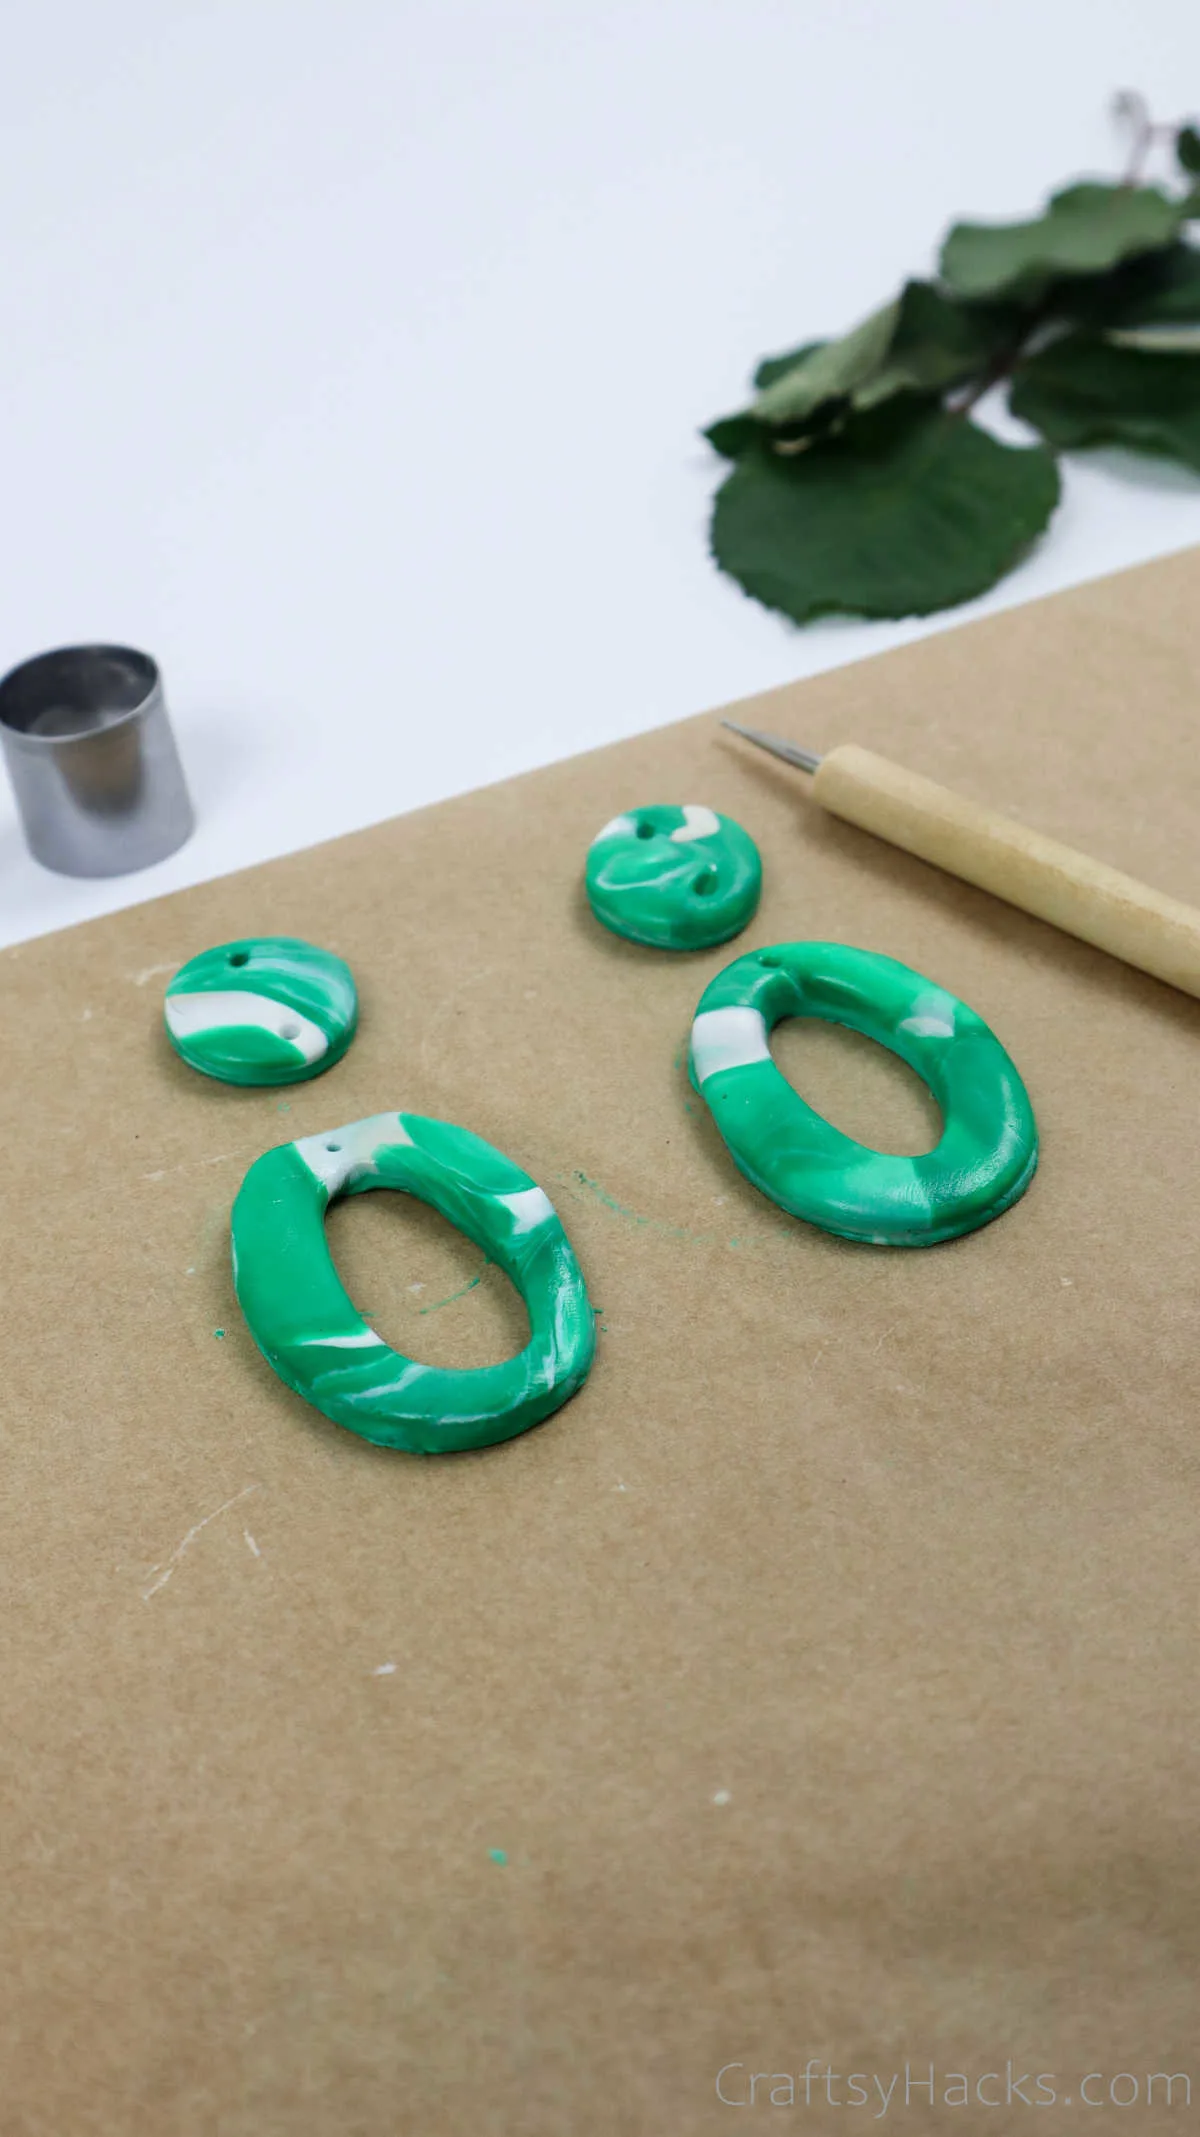
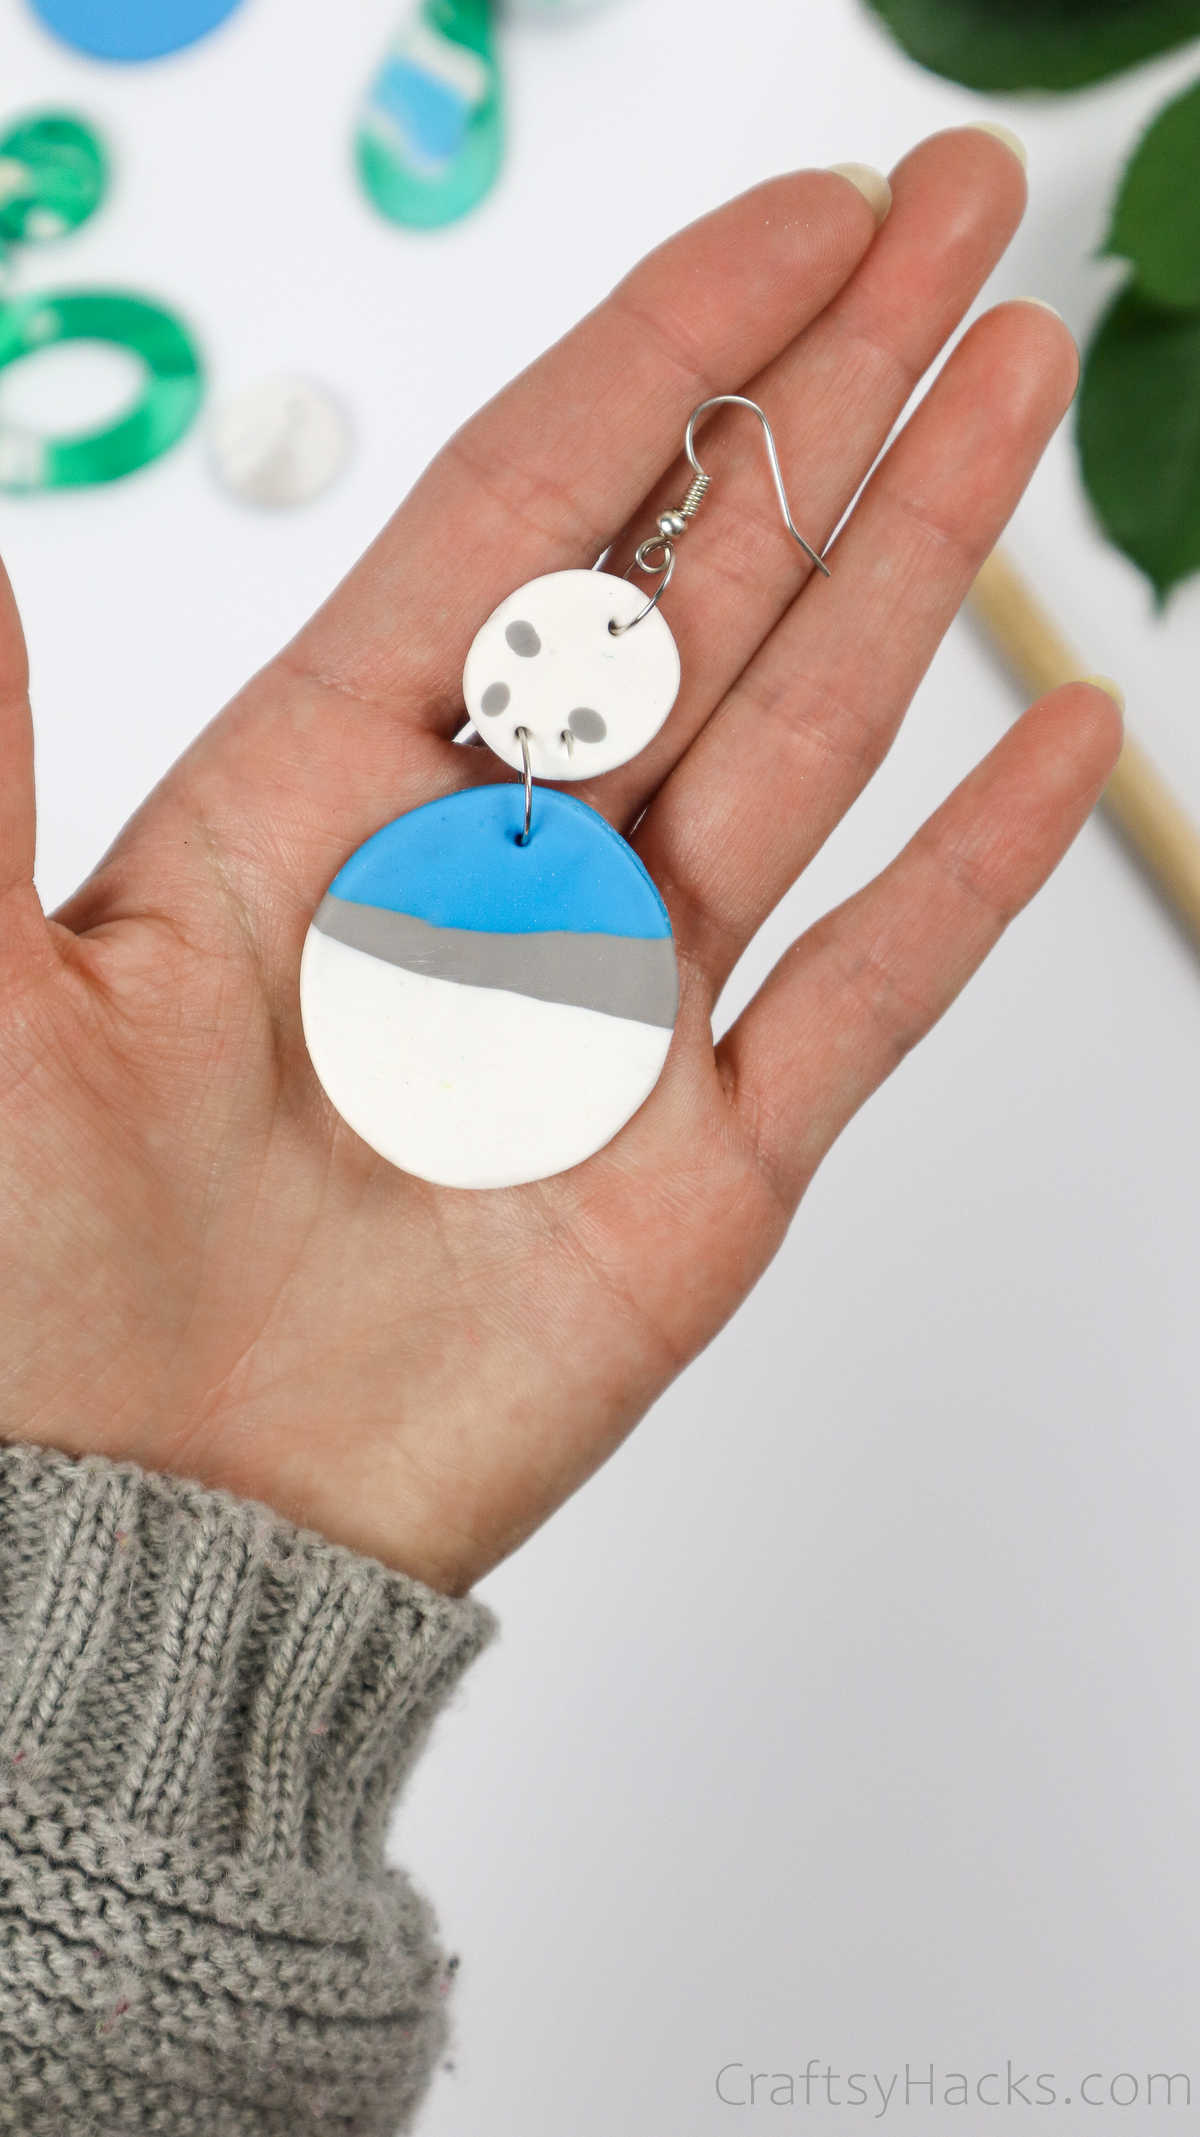
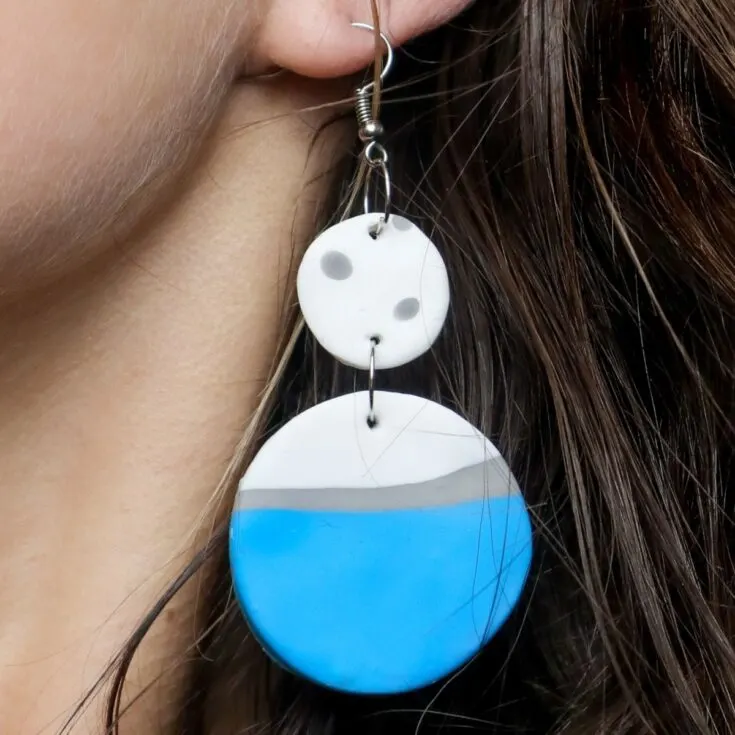
Actually, why stop there? How about you make a two-piece earring set? The one you see below has a small stud-like top with an oval piece that drops down from it.

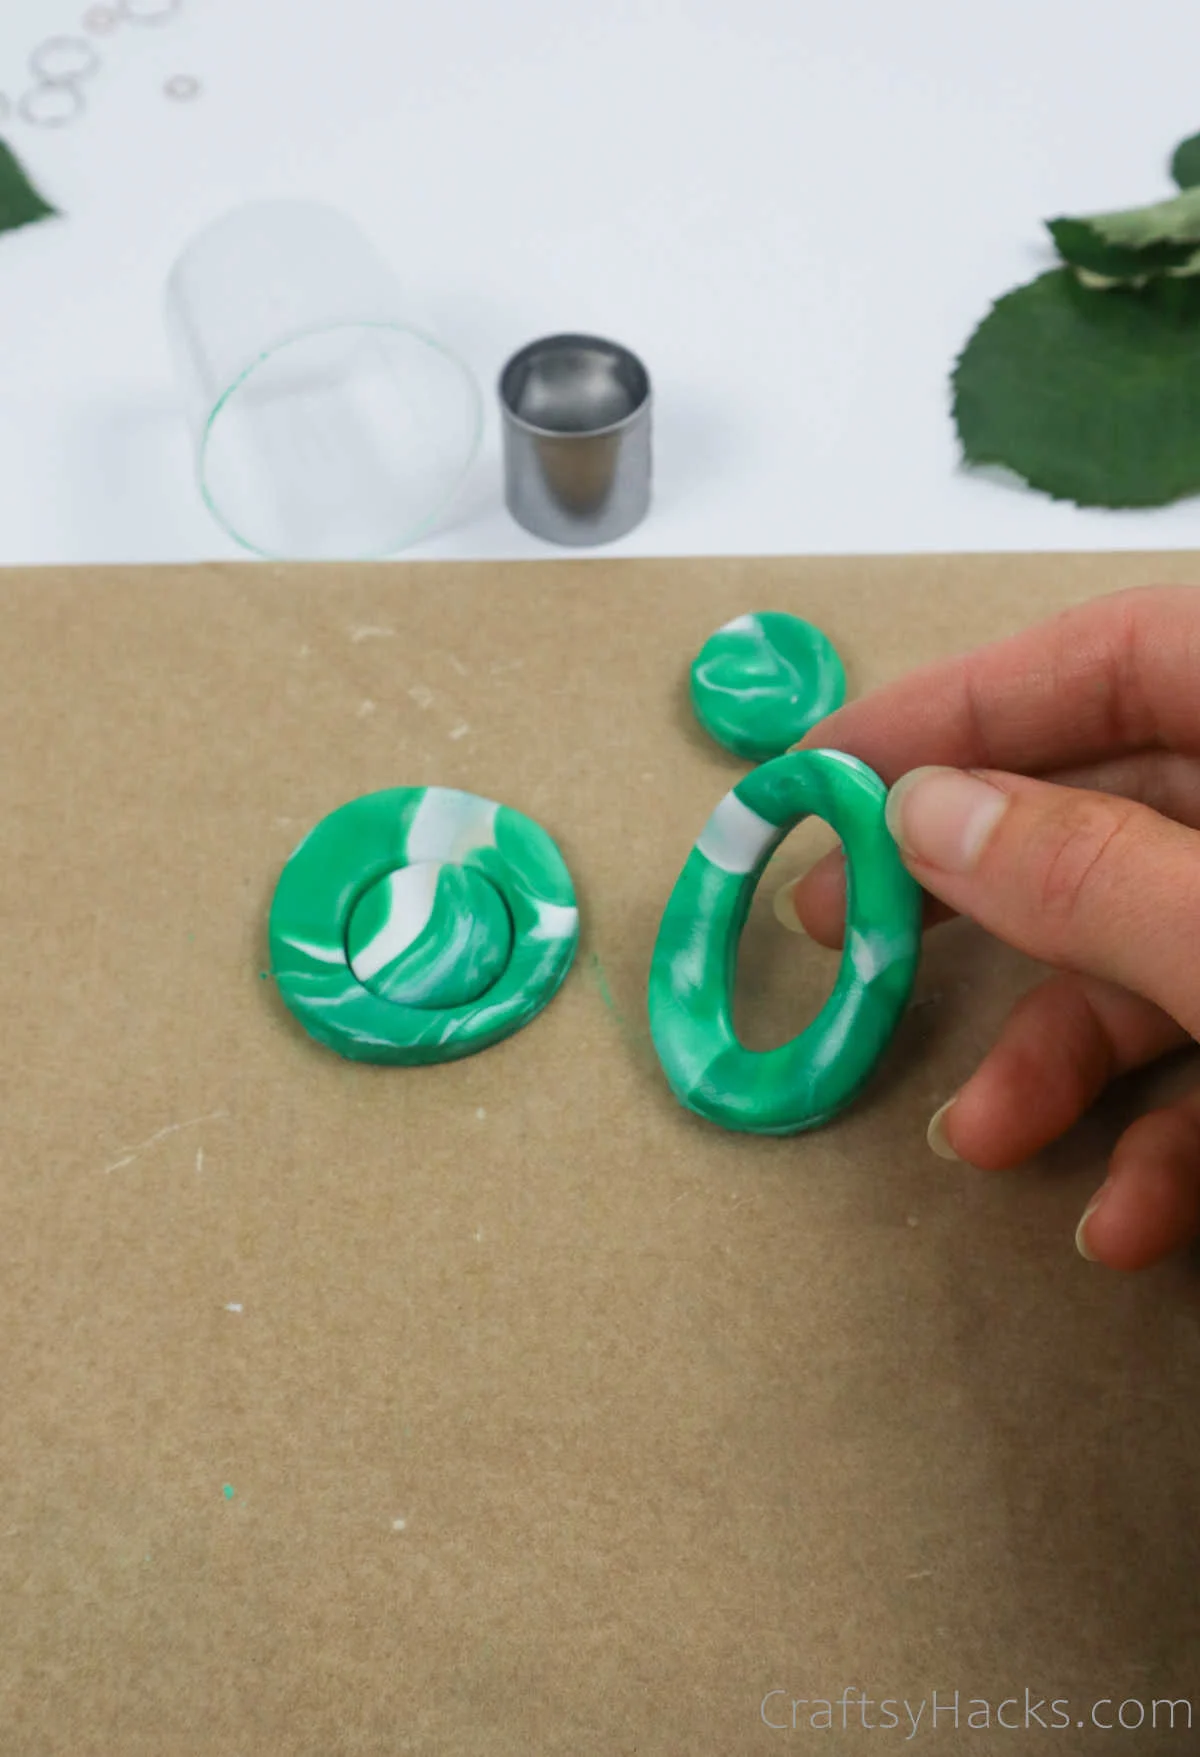
You just need to poke holes into the clay in the right place to attach the hooks to the earrings and attach the oval piece to the bottom of the circle on top.
See?

Design 6
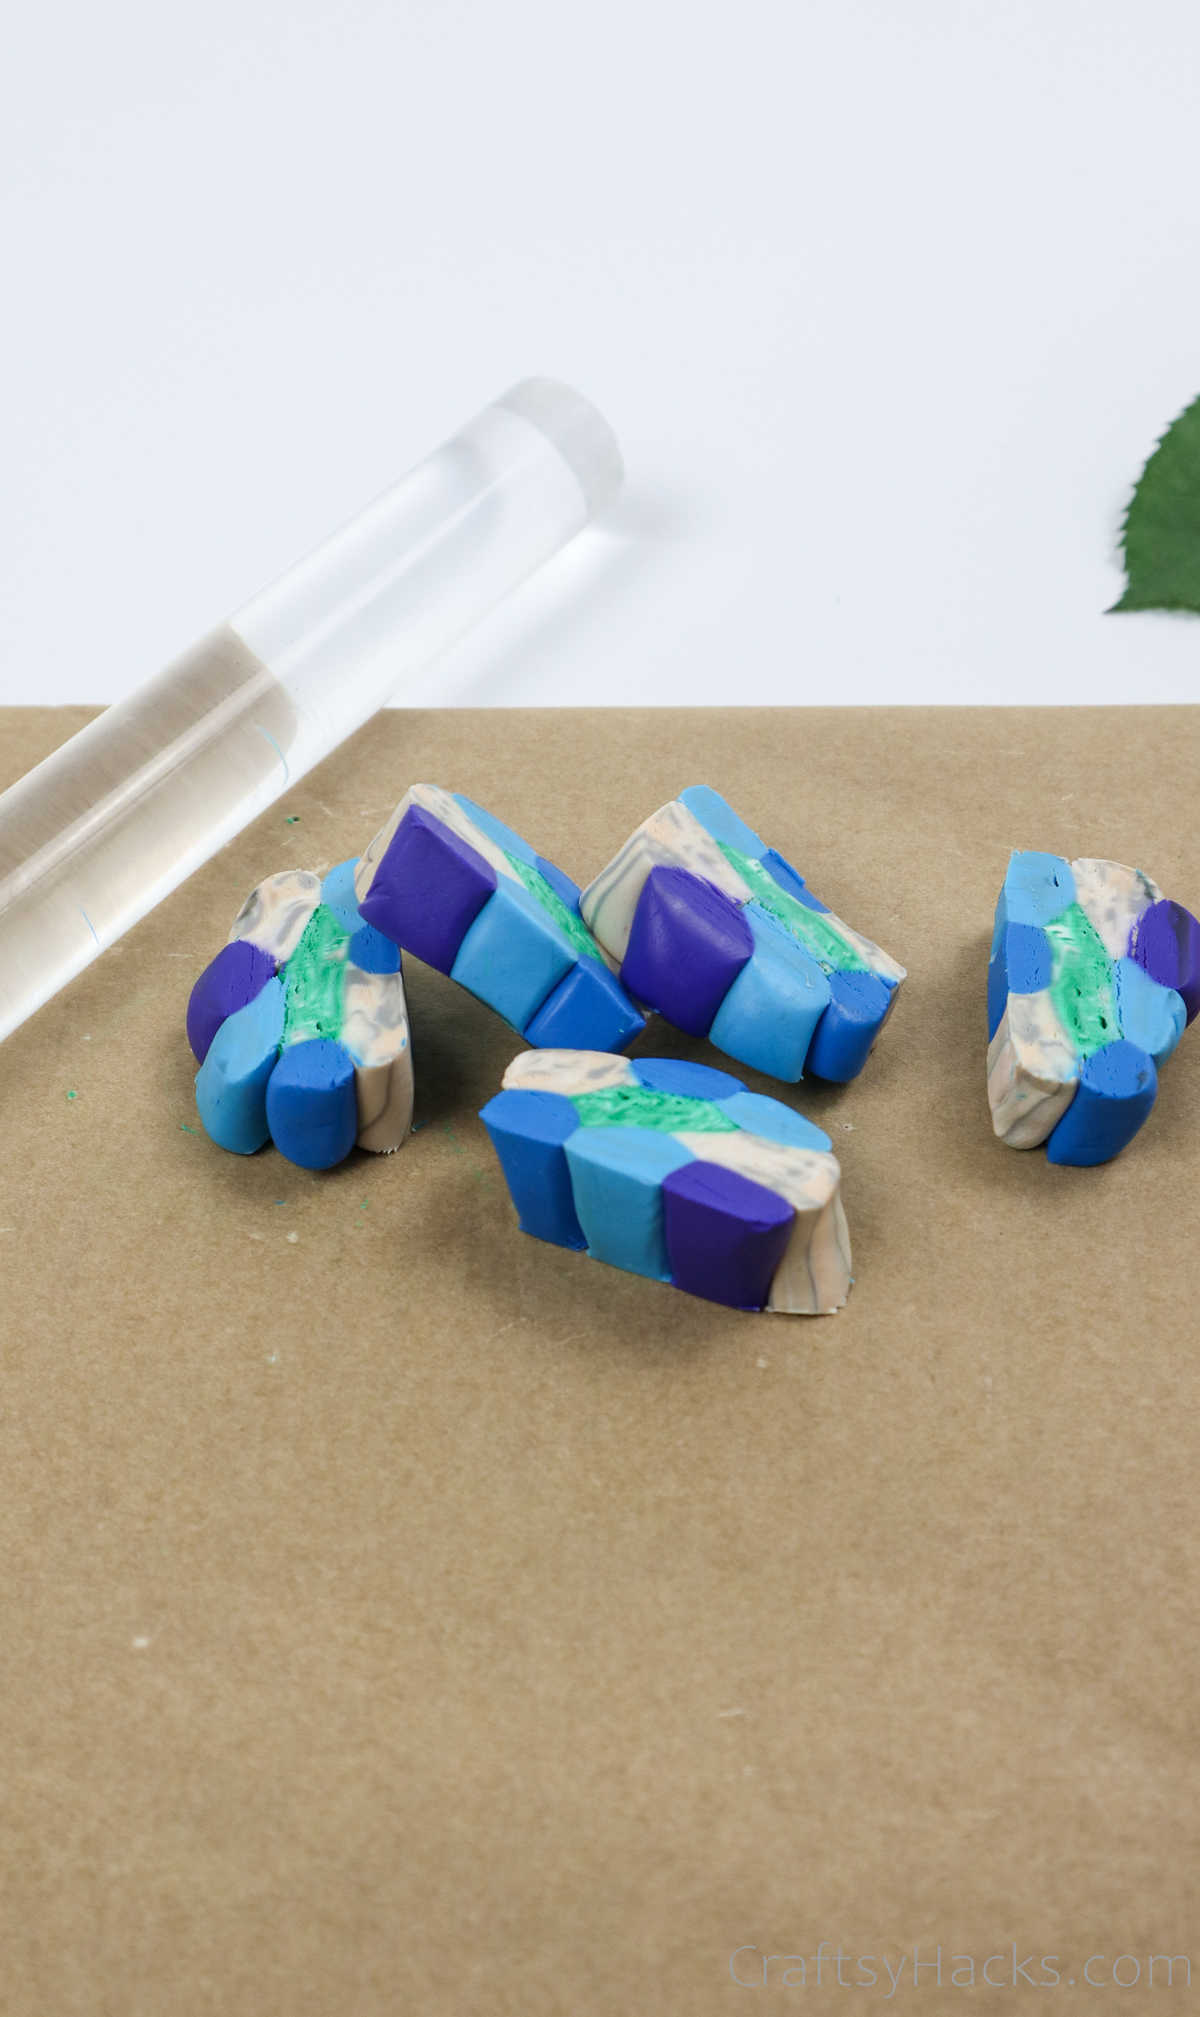
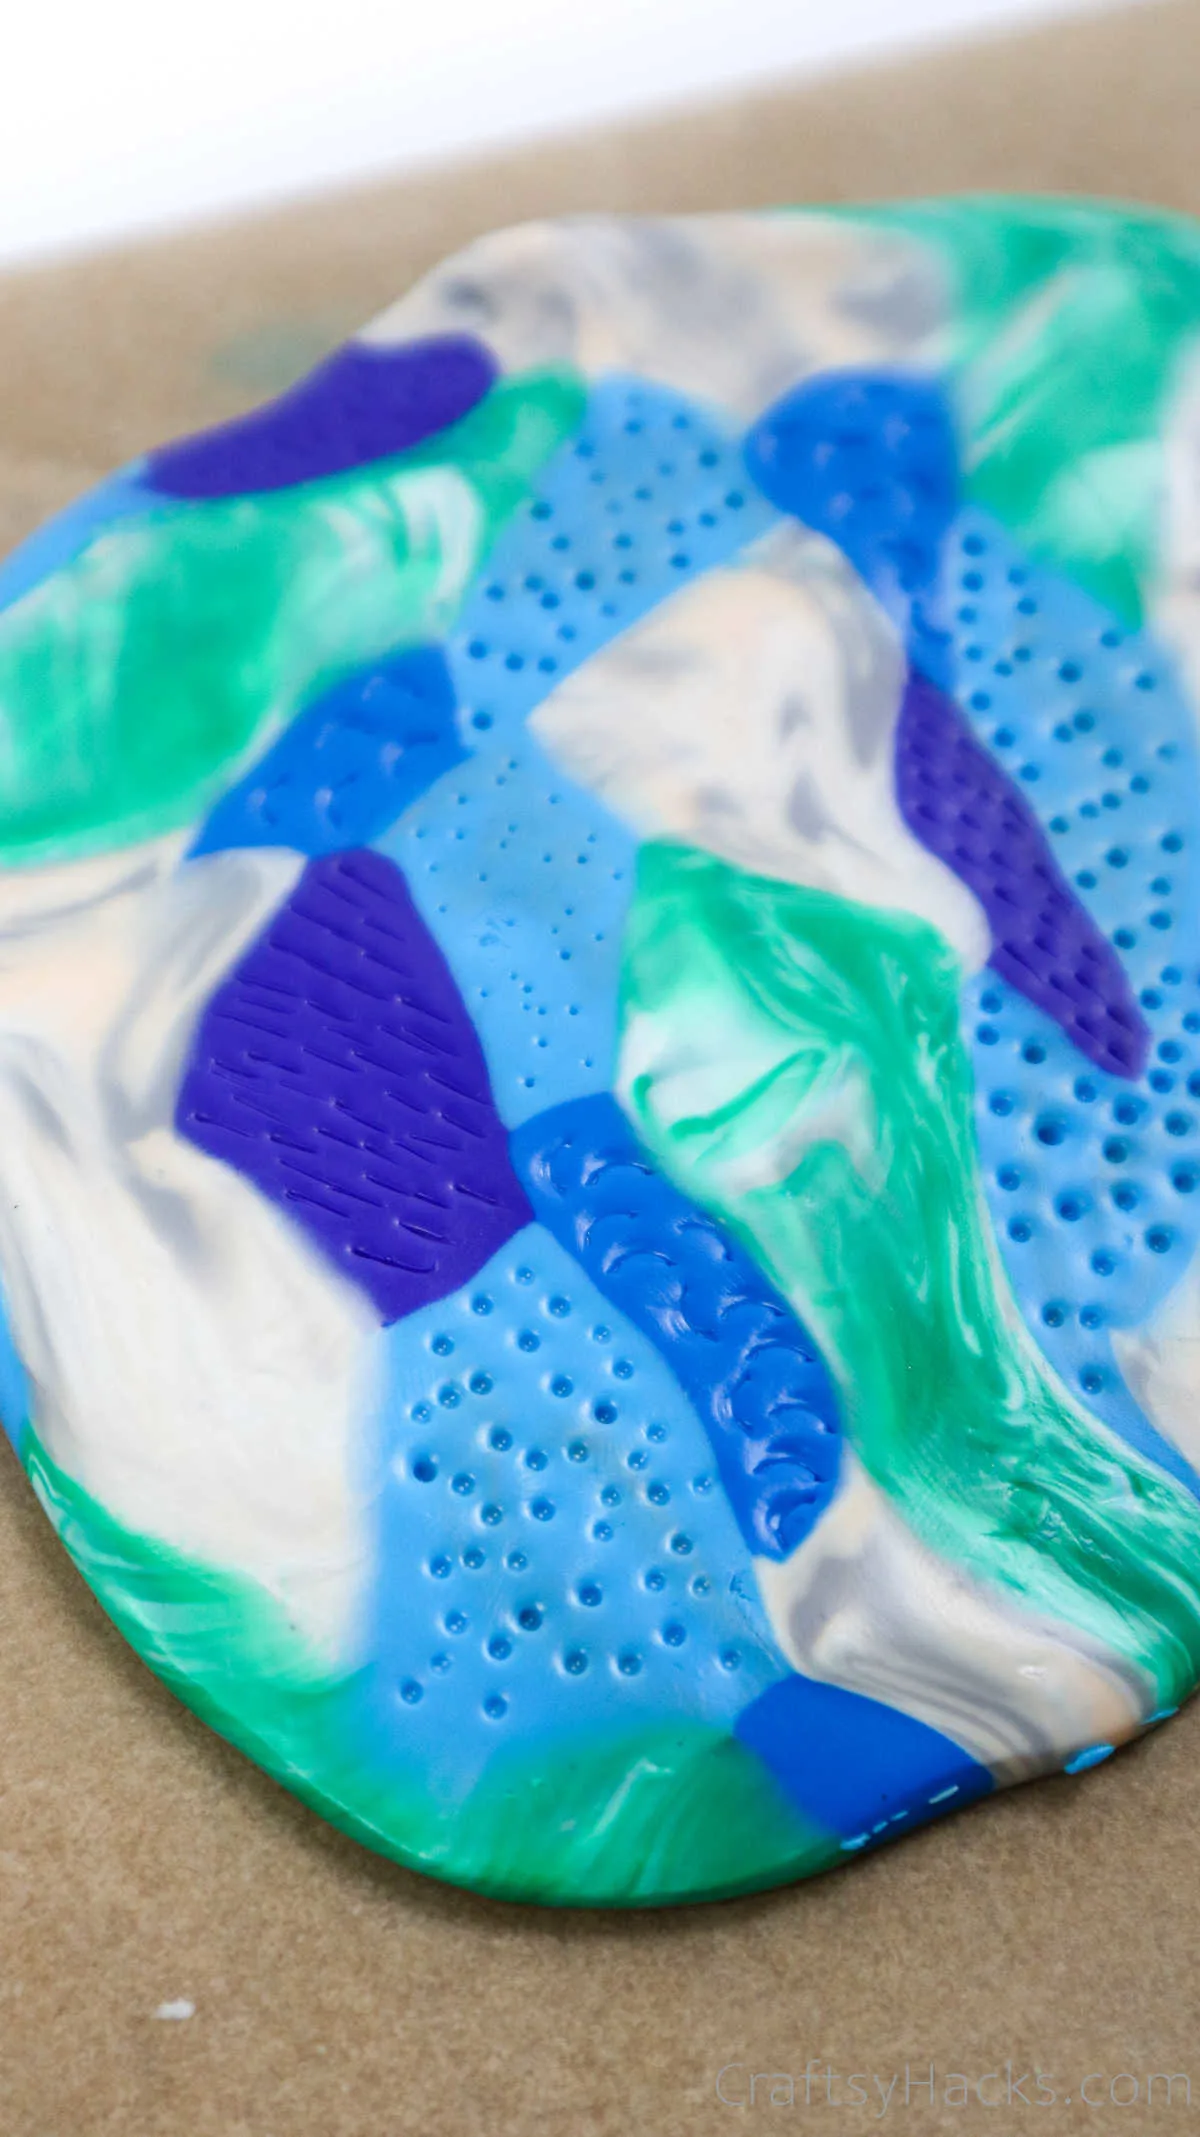
Check out all these funky colors. For this particular pattern, you’re going to try something a little different.
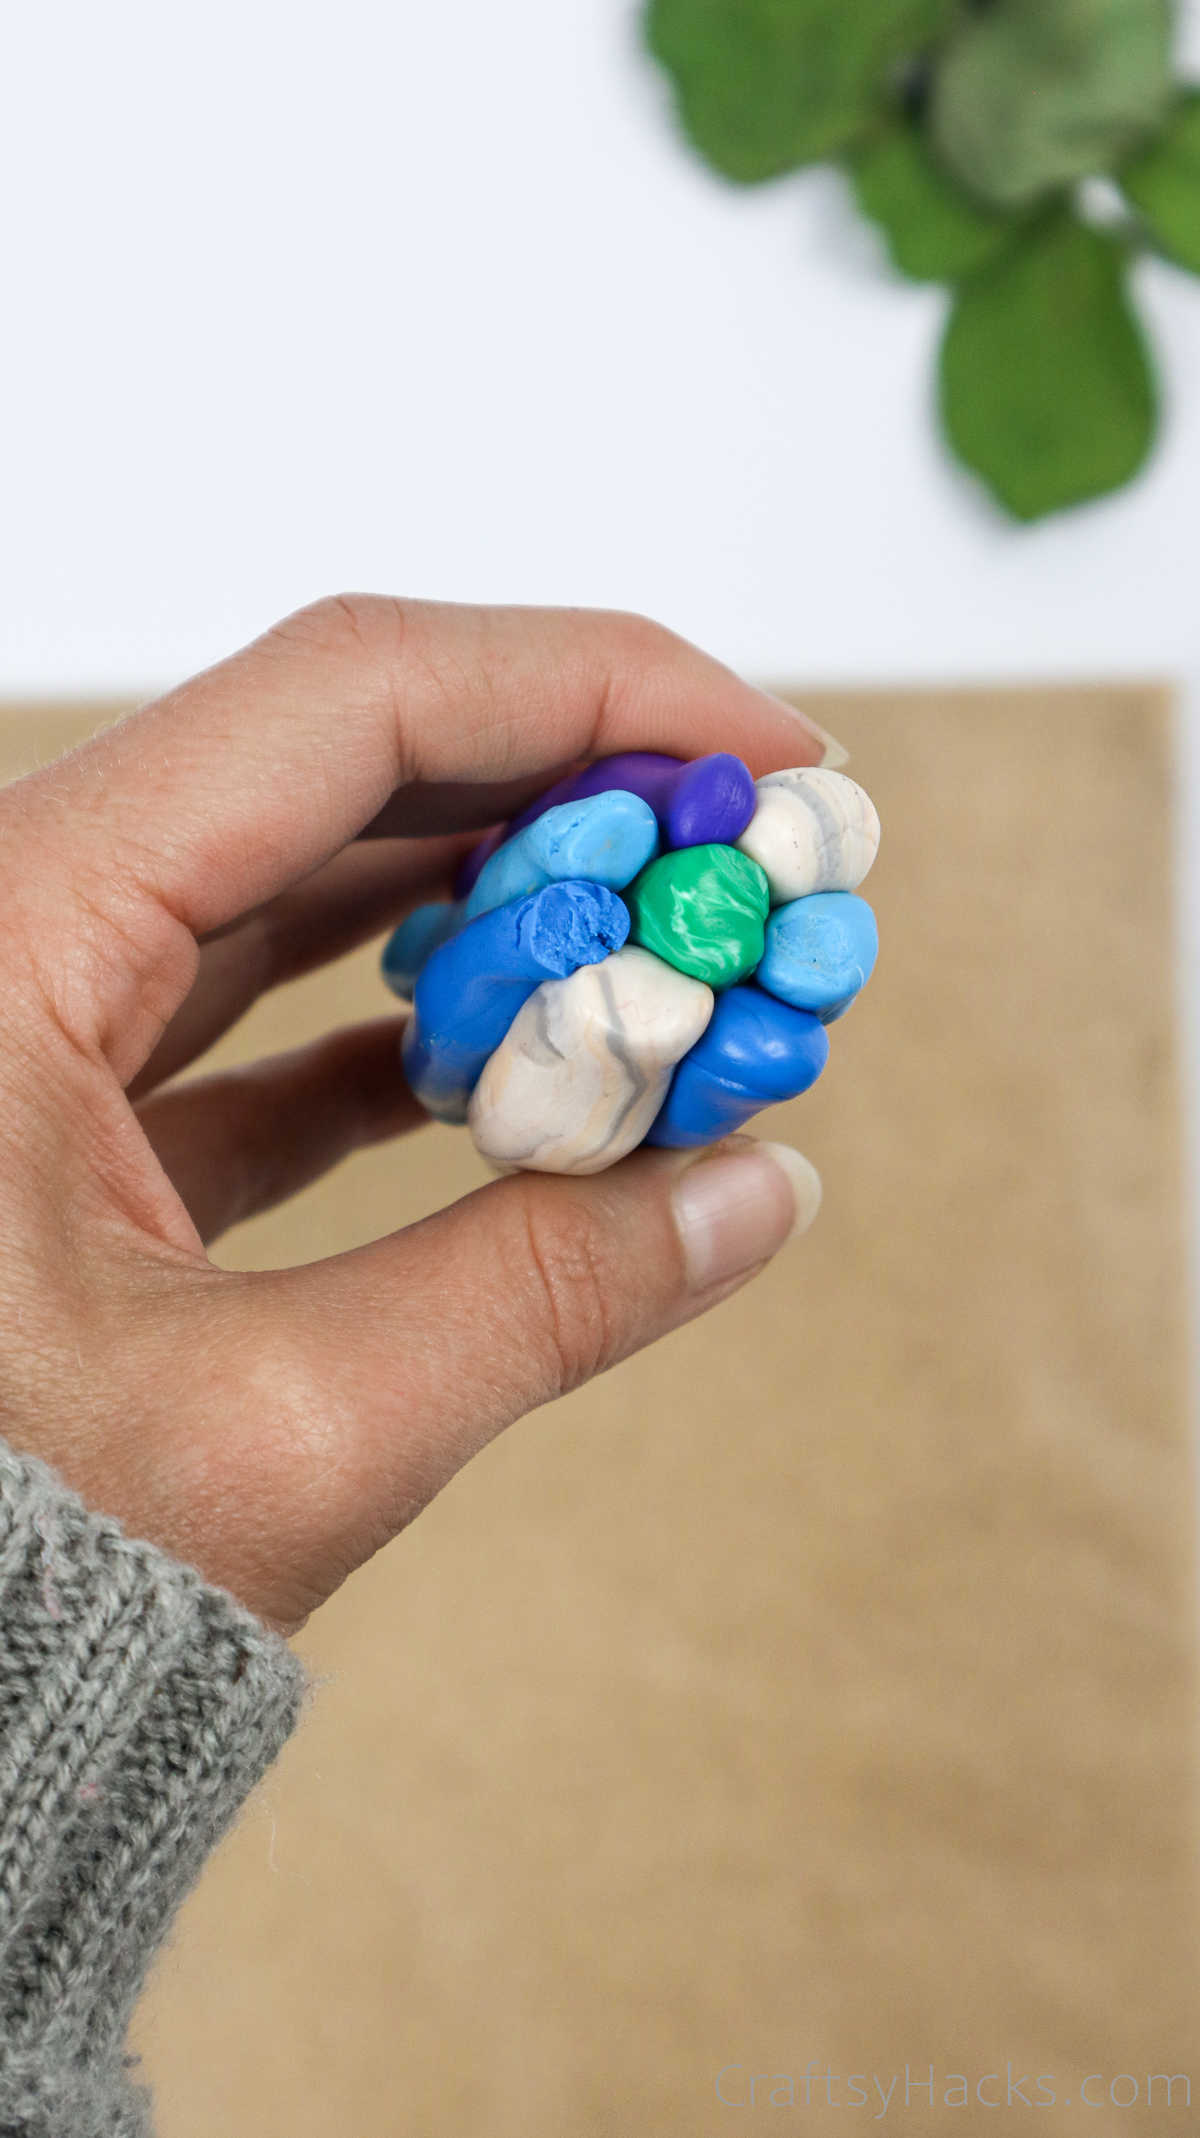

You’re going to line all the different colors of clay against each other and slice them up, around a half-inch per slice. You’ll have three to five of these half-inch pieces, depending on how long your initial cylinder rolls were.

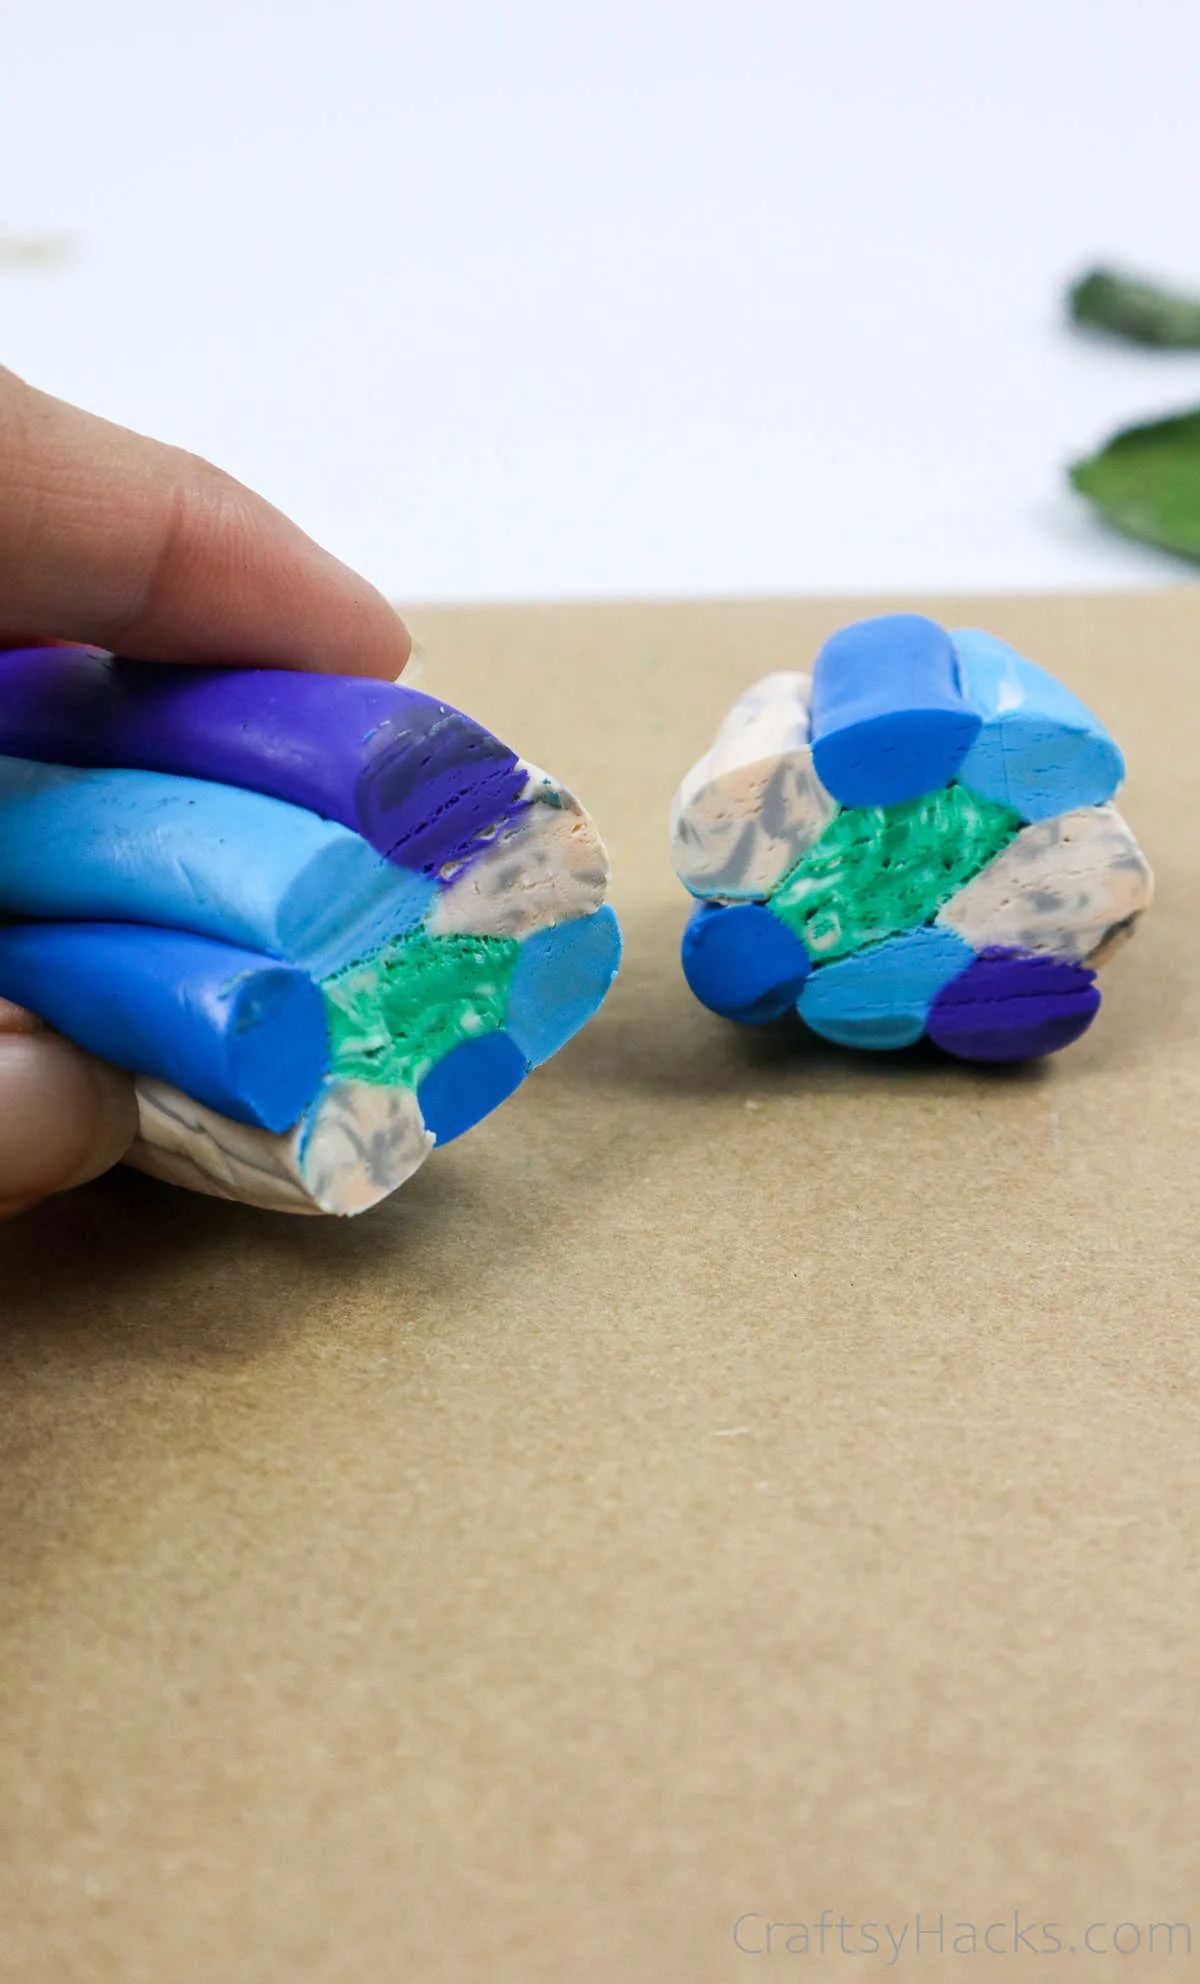
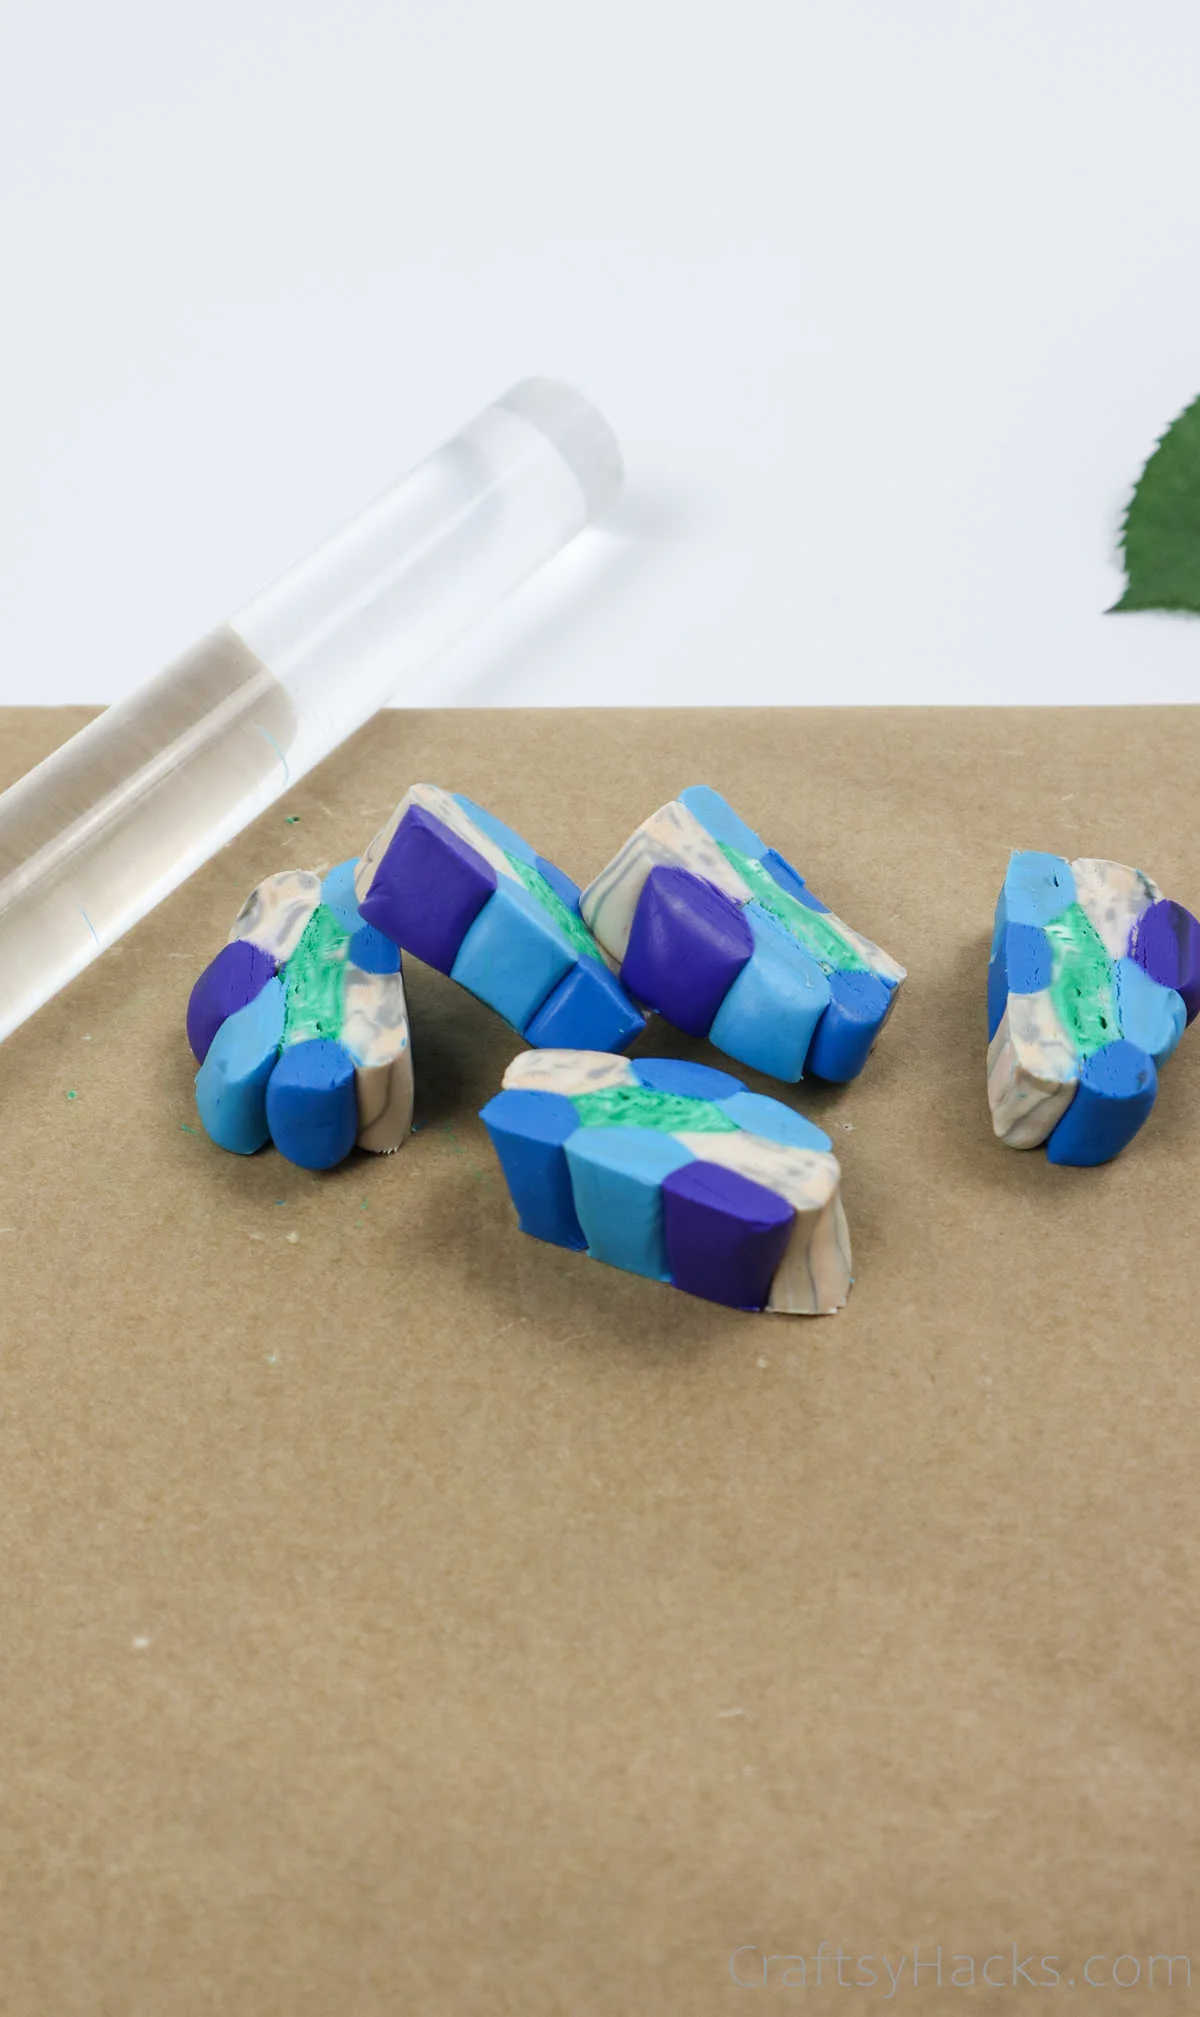
Line up all the half-inch pieces next to each other and press them together before you roll the entire piece into a funky flat roll.

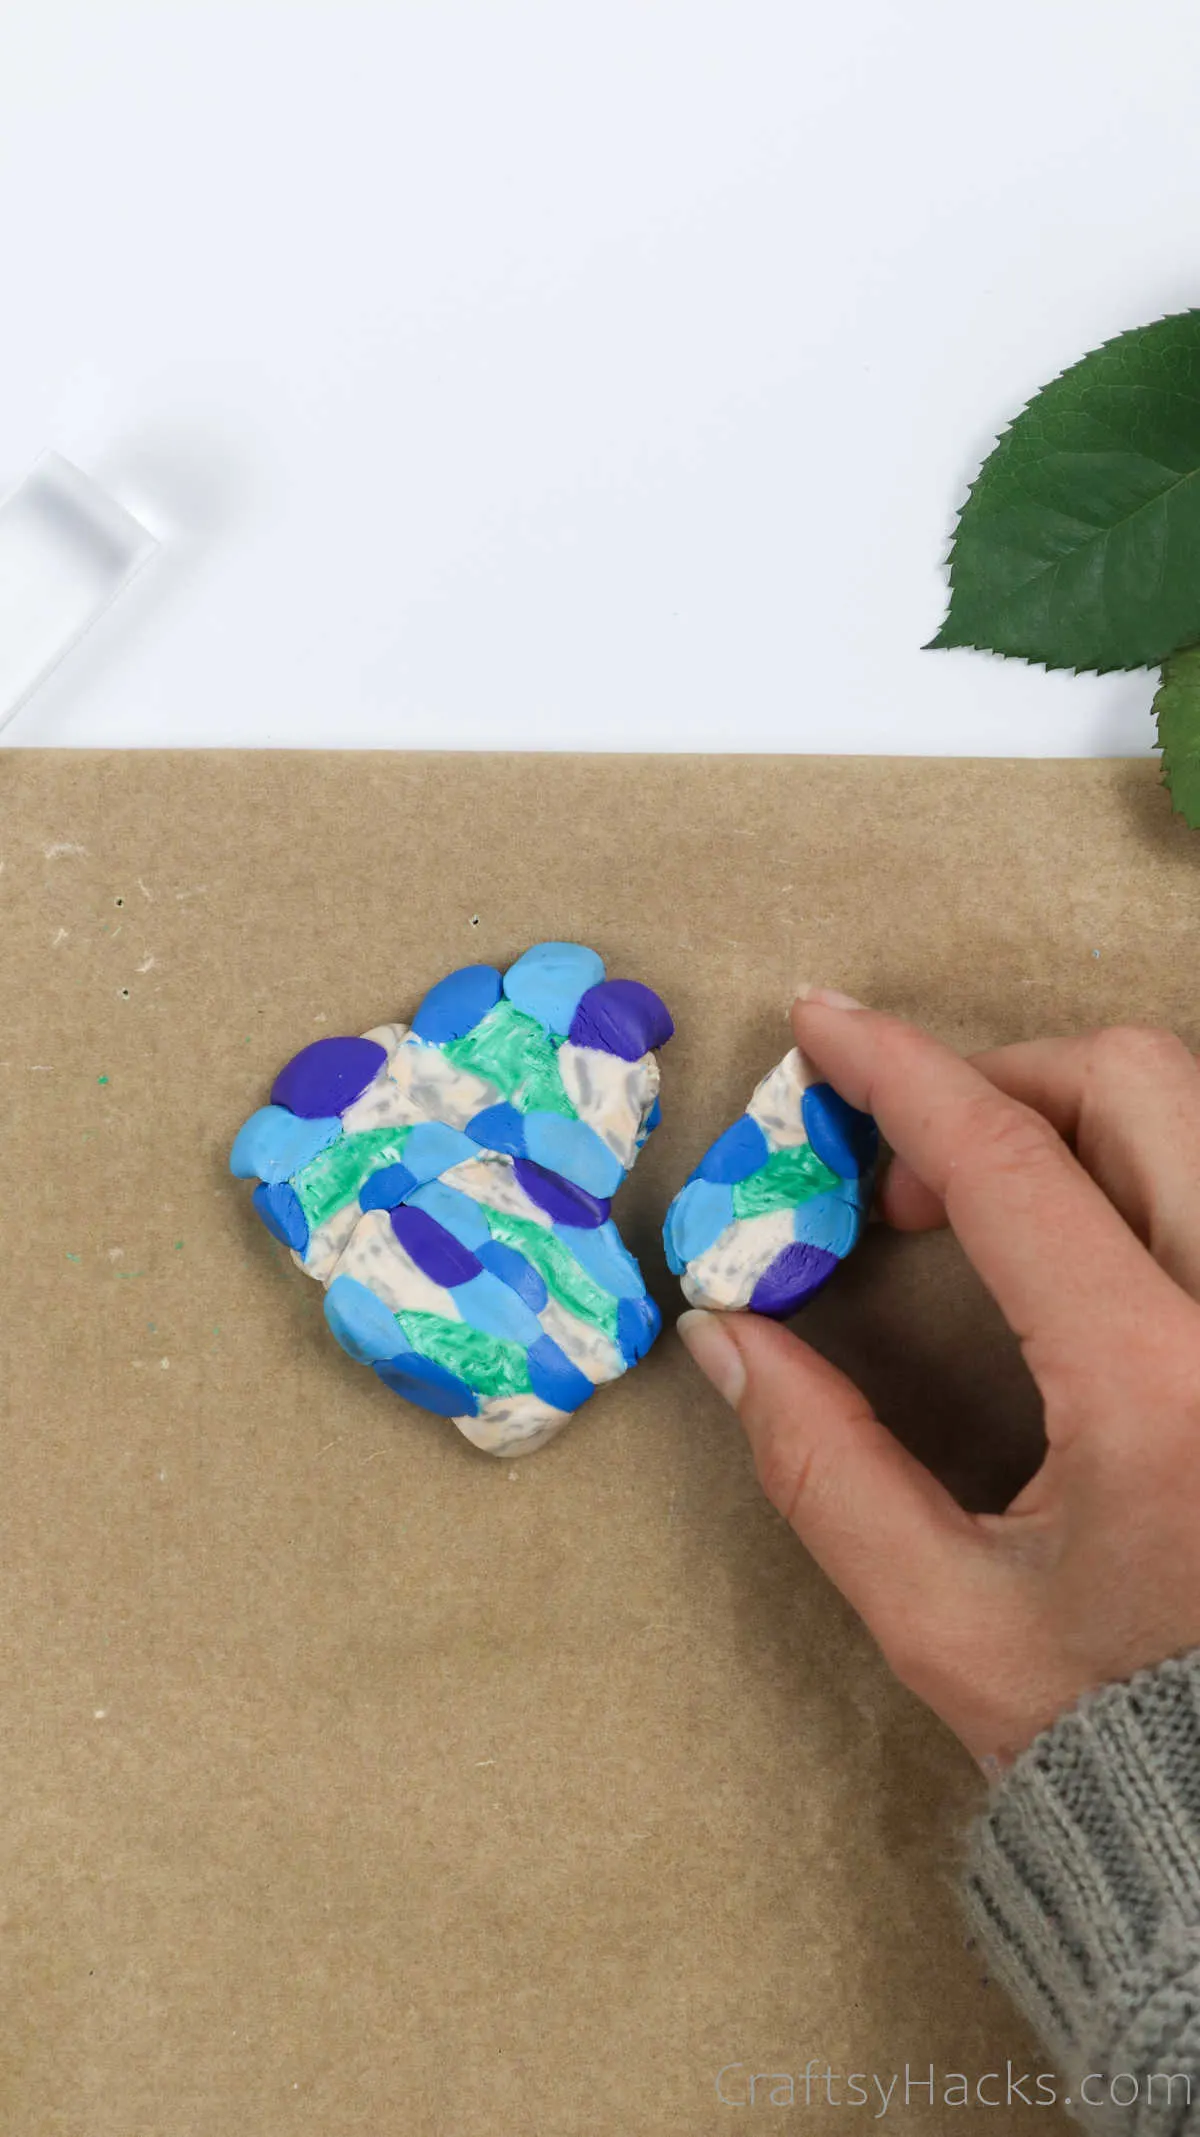


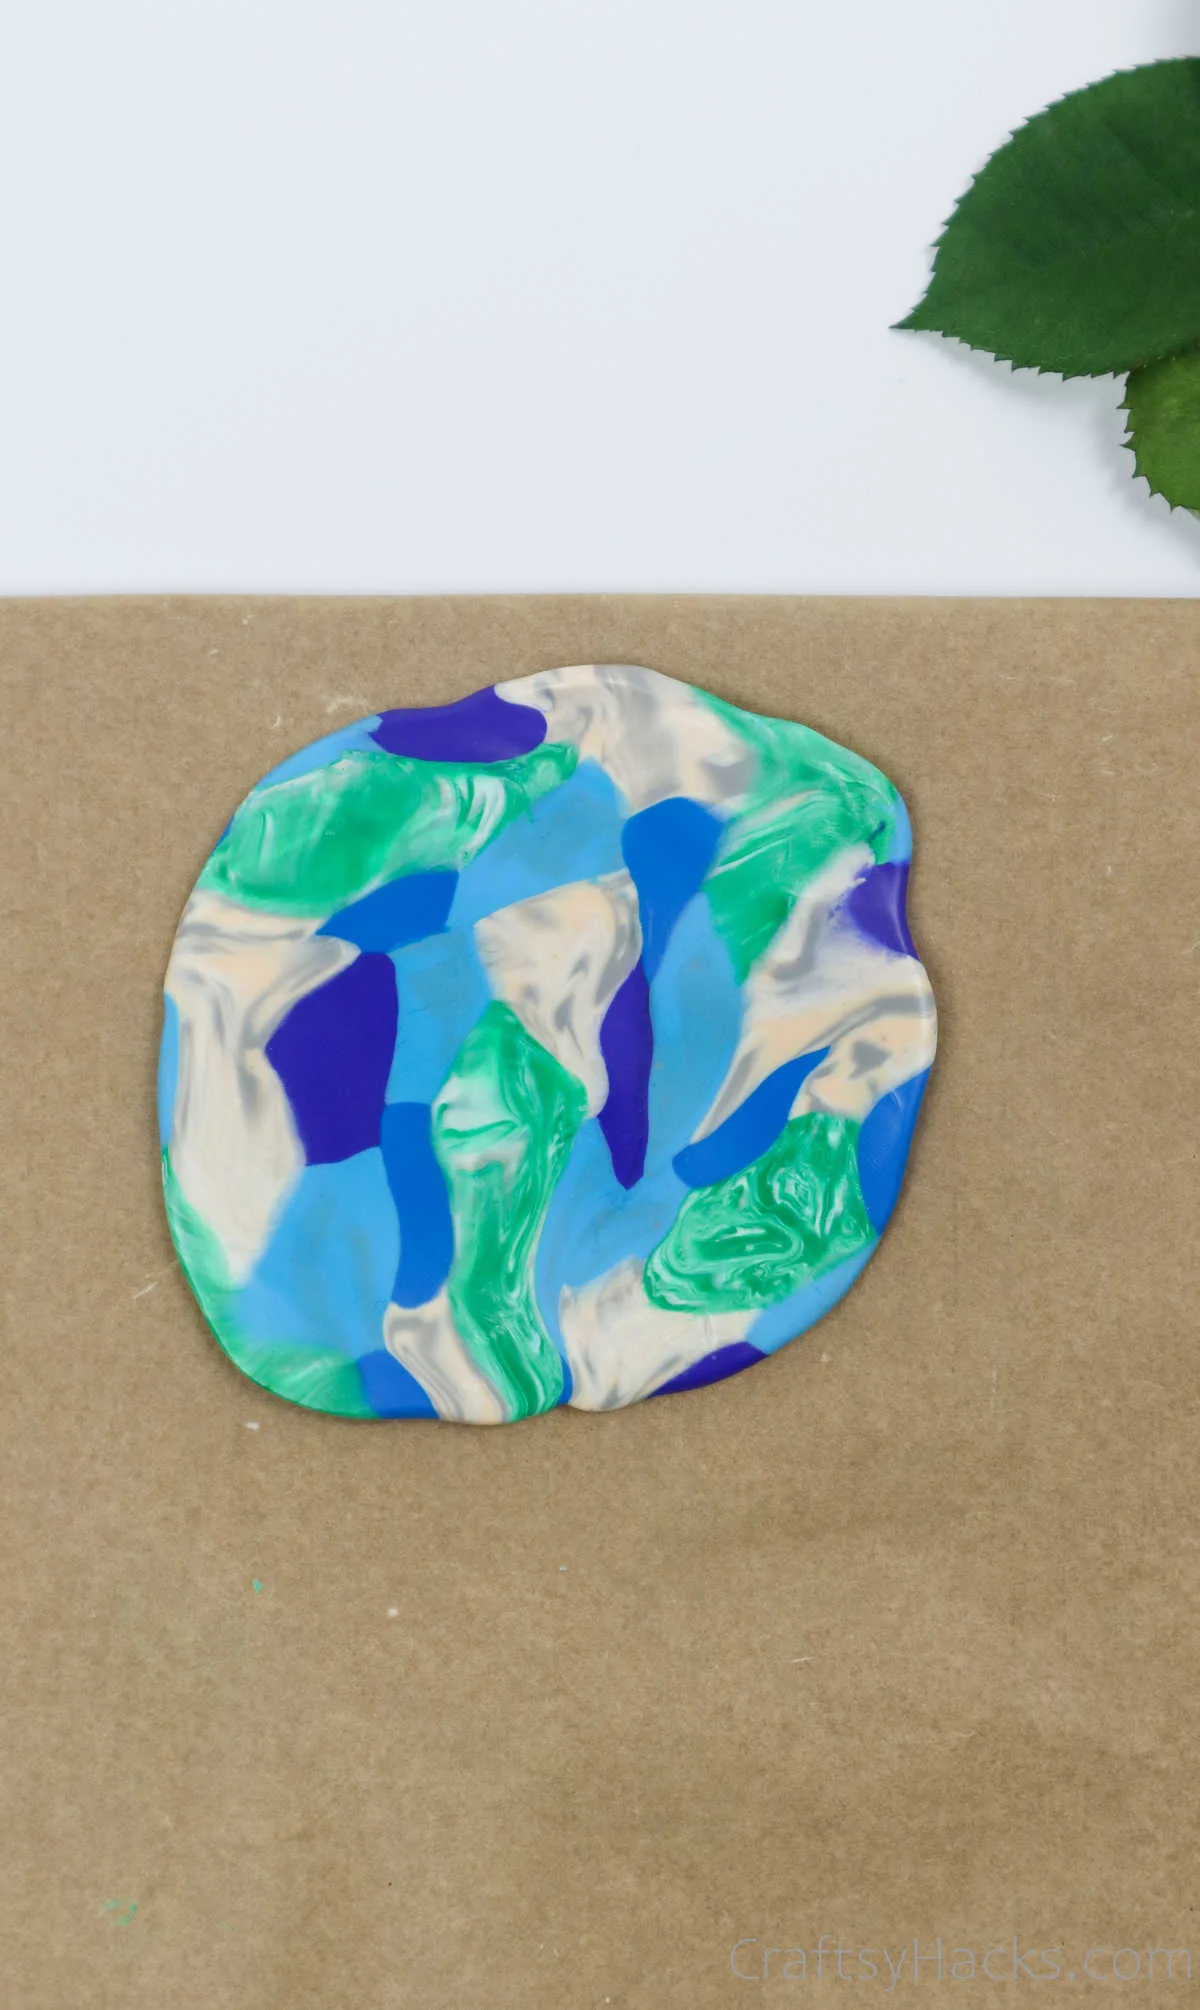
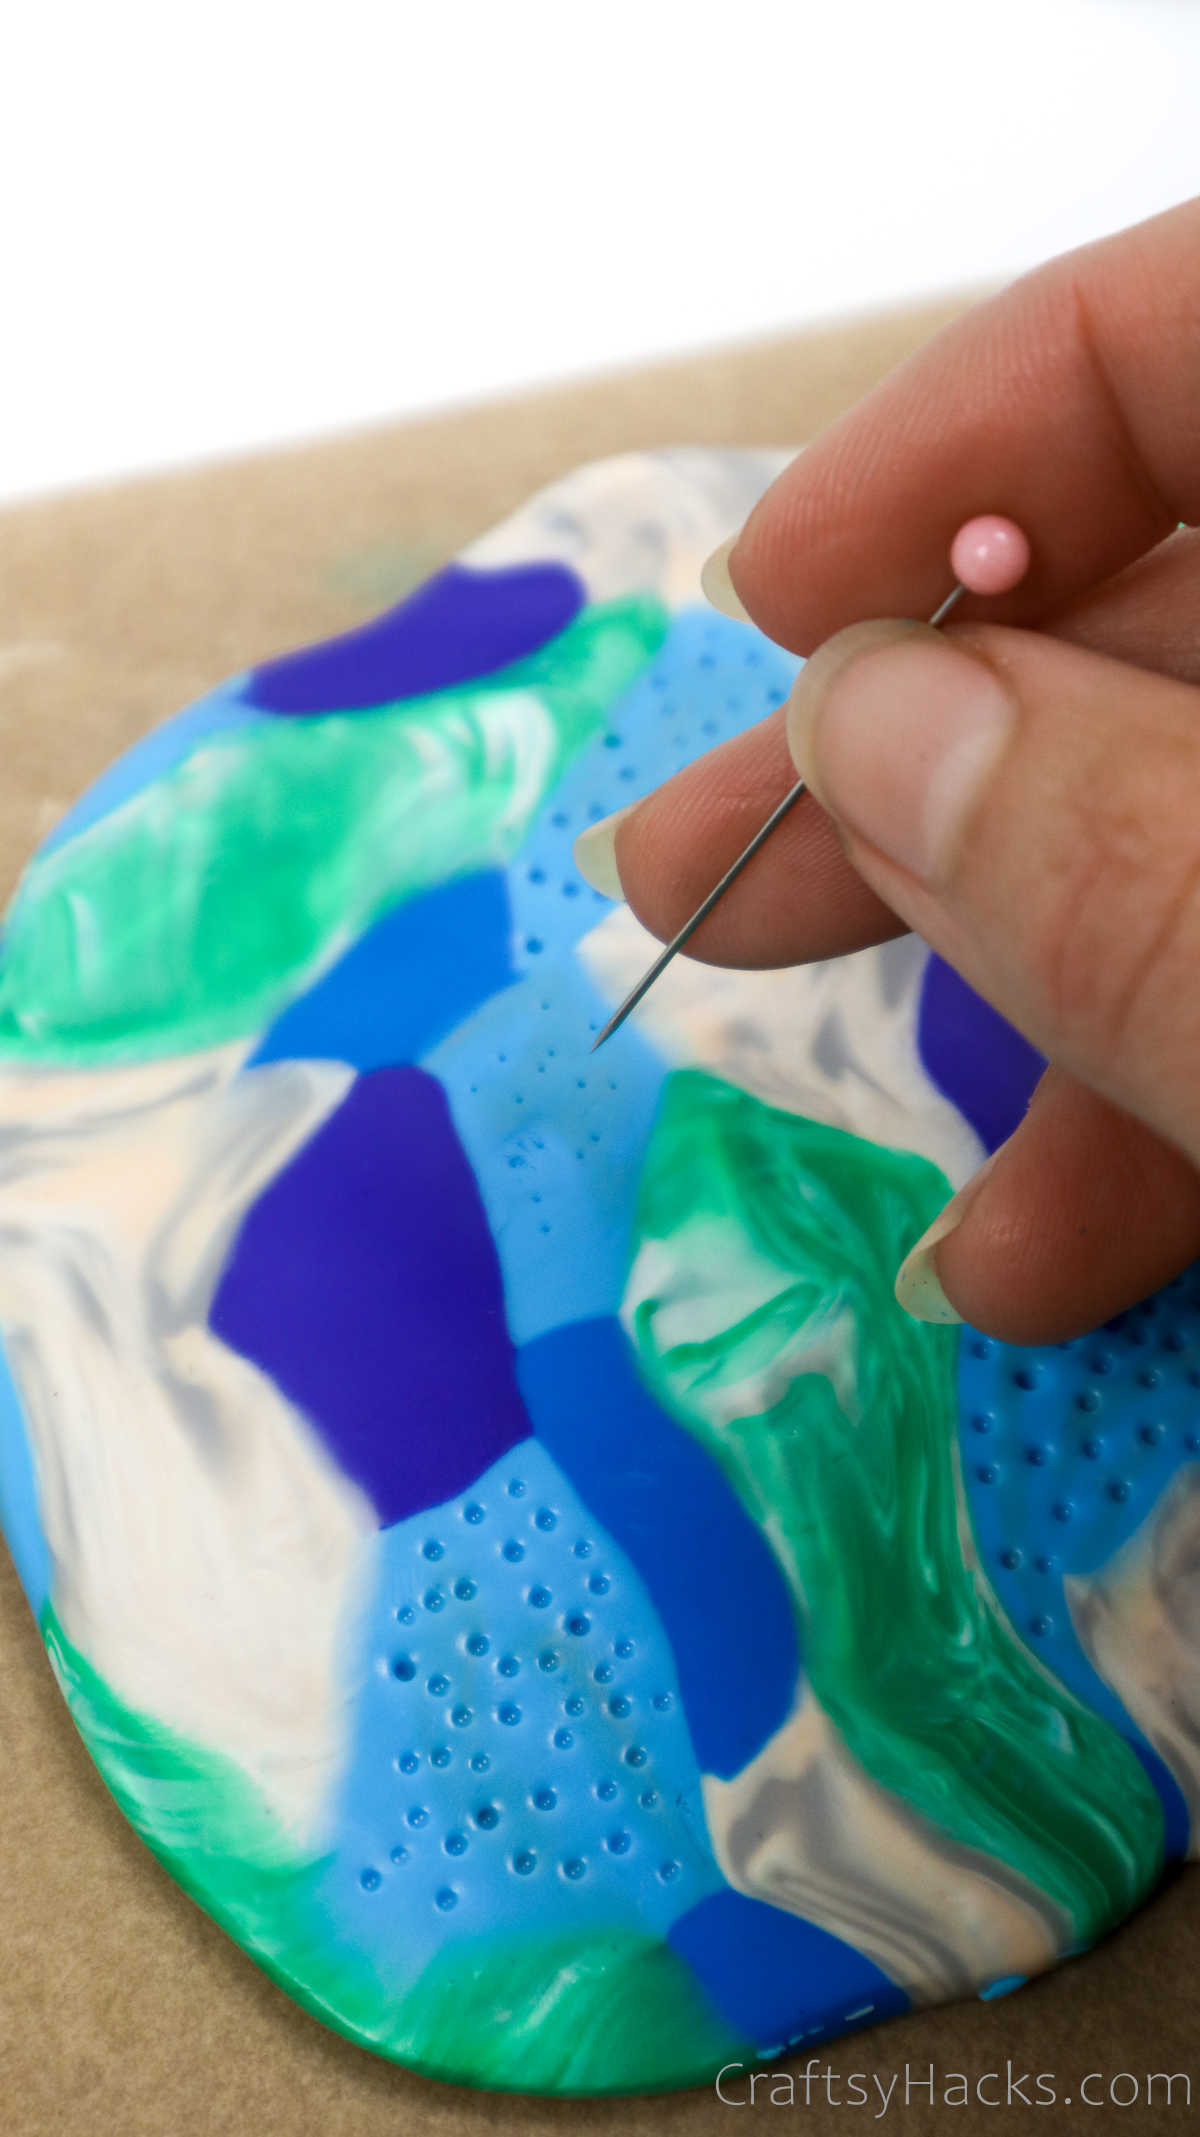
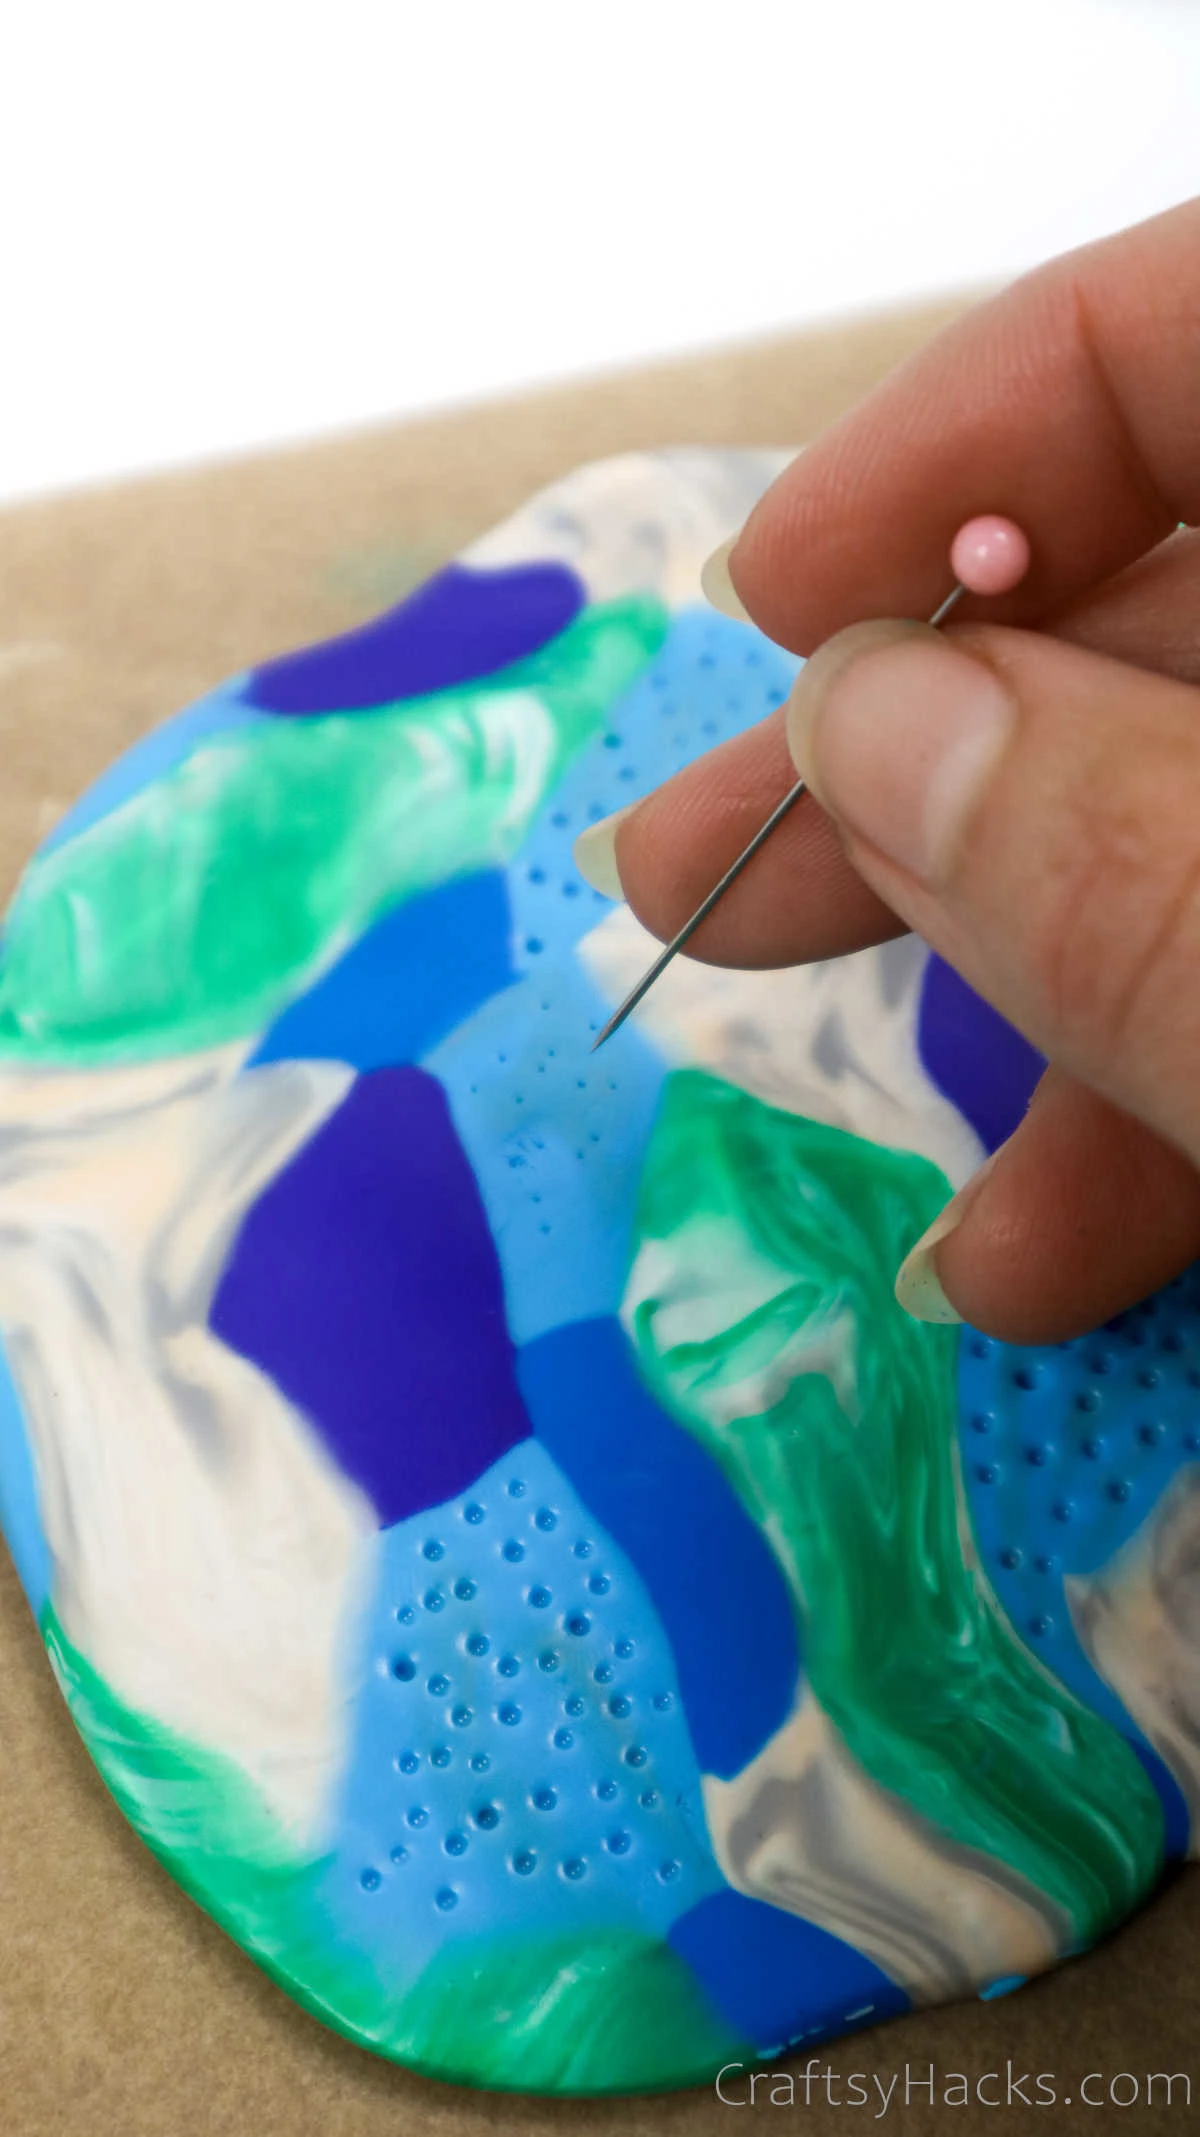
Use a craft tool, or even just a toothpick to poke little holes into the clay. You’ll find that there’s already some gorgeous marbling at work. So these little holes will add a ton of texture to your already fabulous piece.


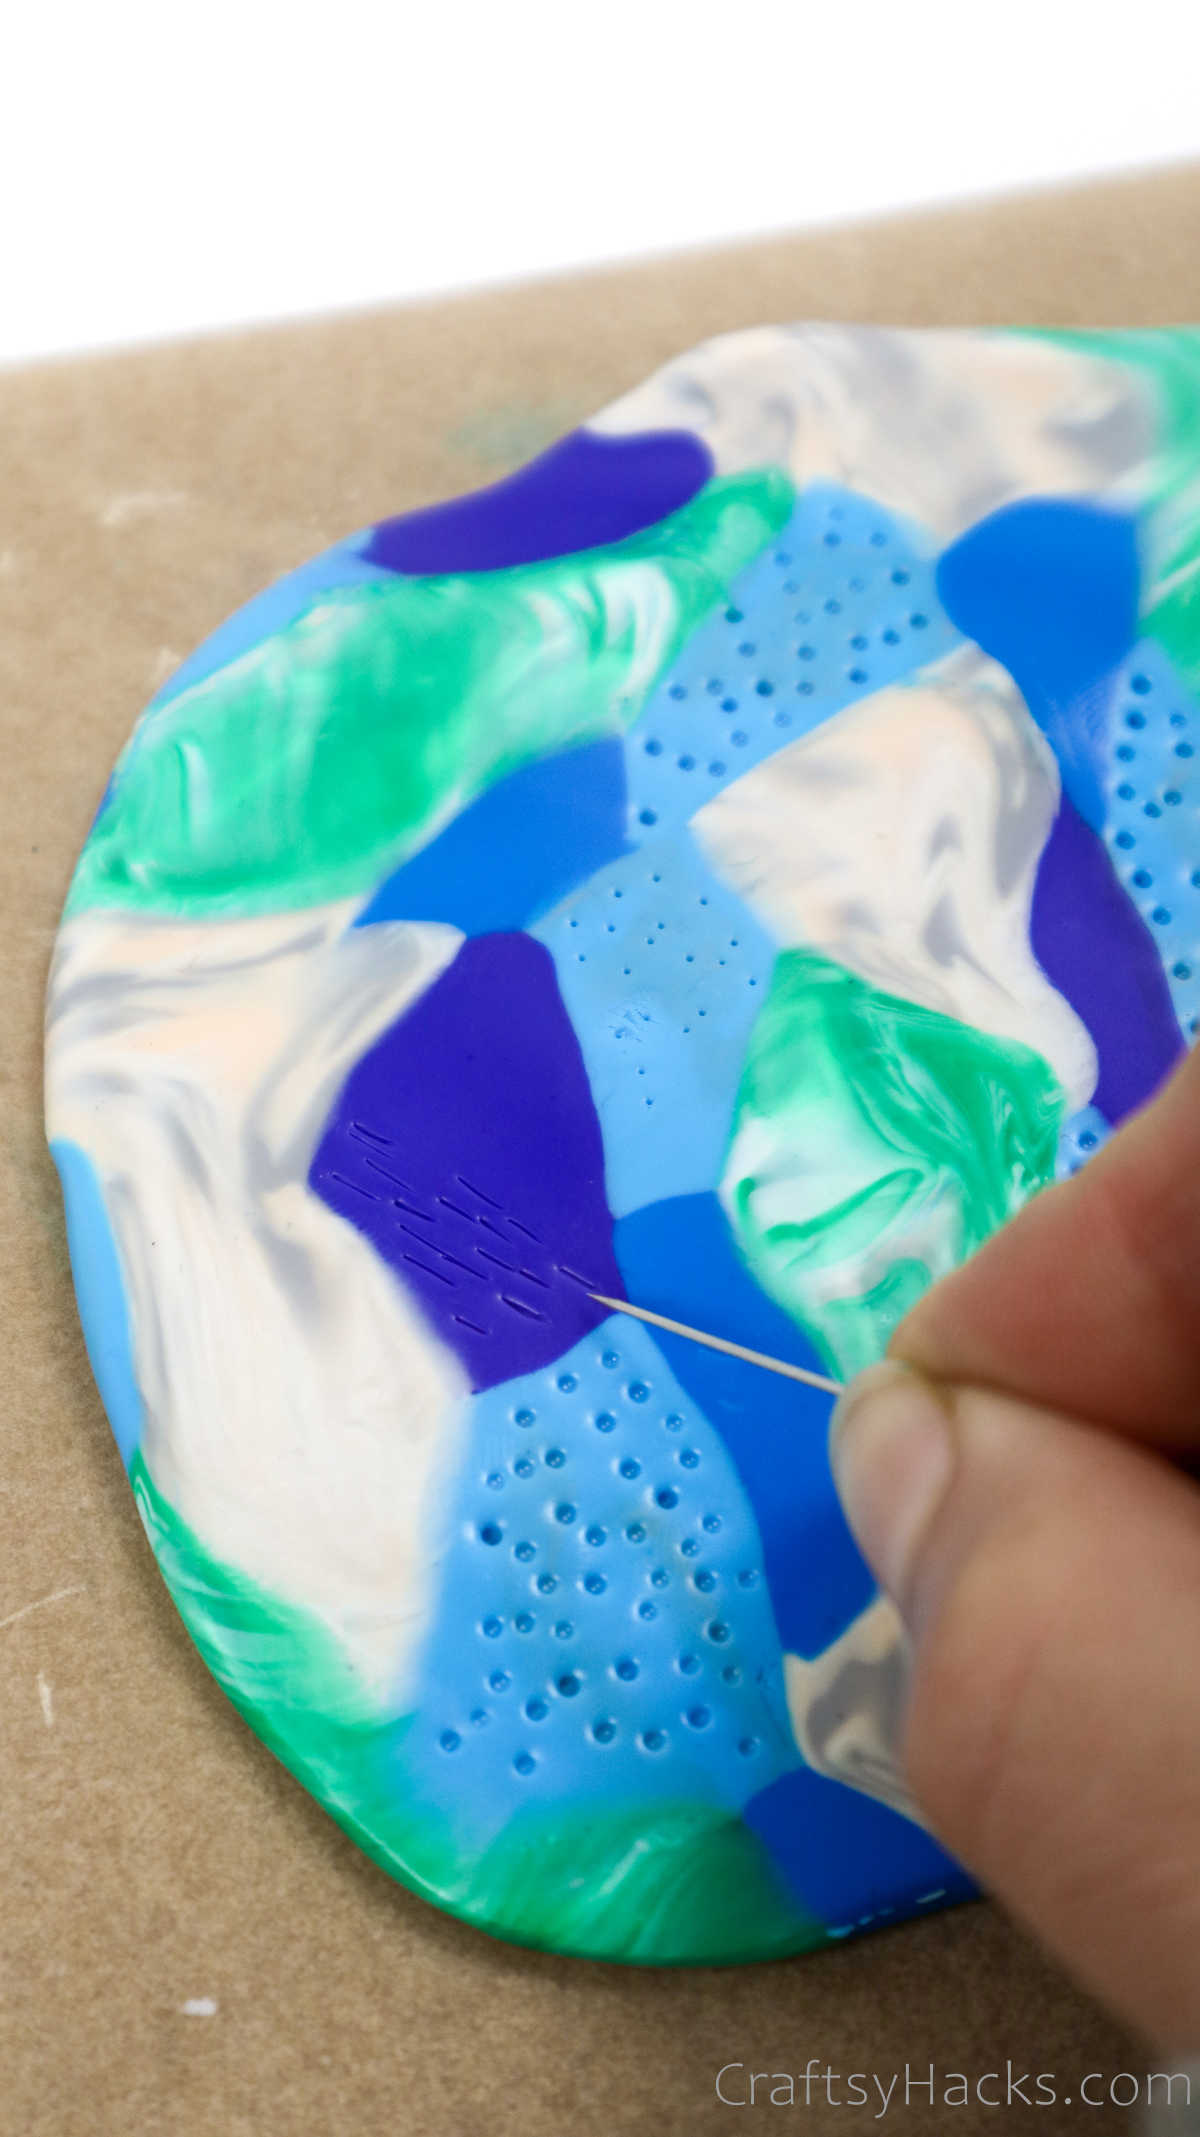
Want more texture? Just grab a scoring tool and score some lines along the clay in different color swatches.


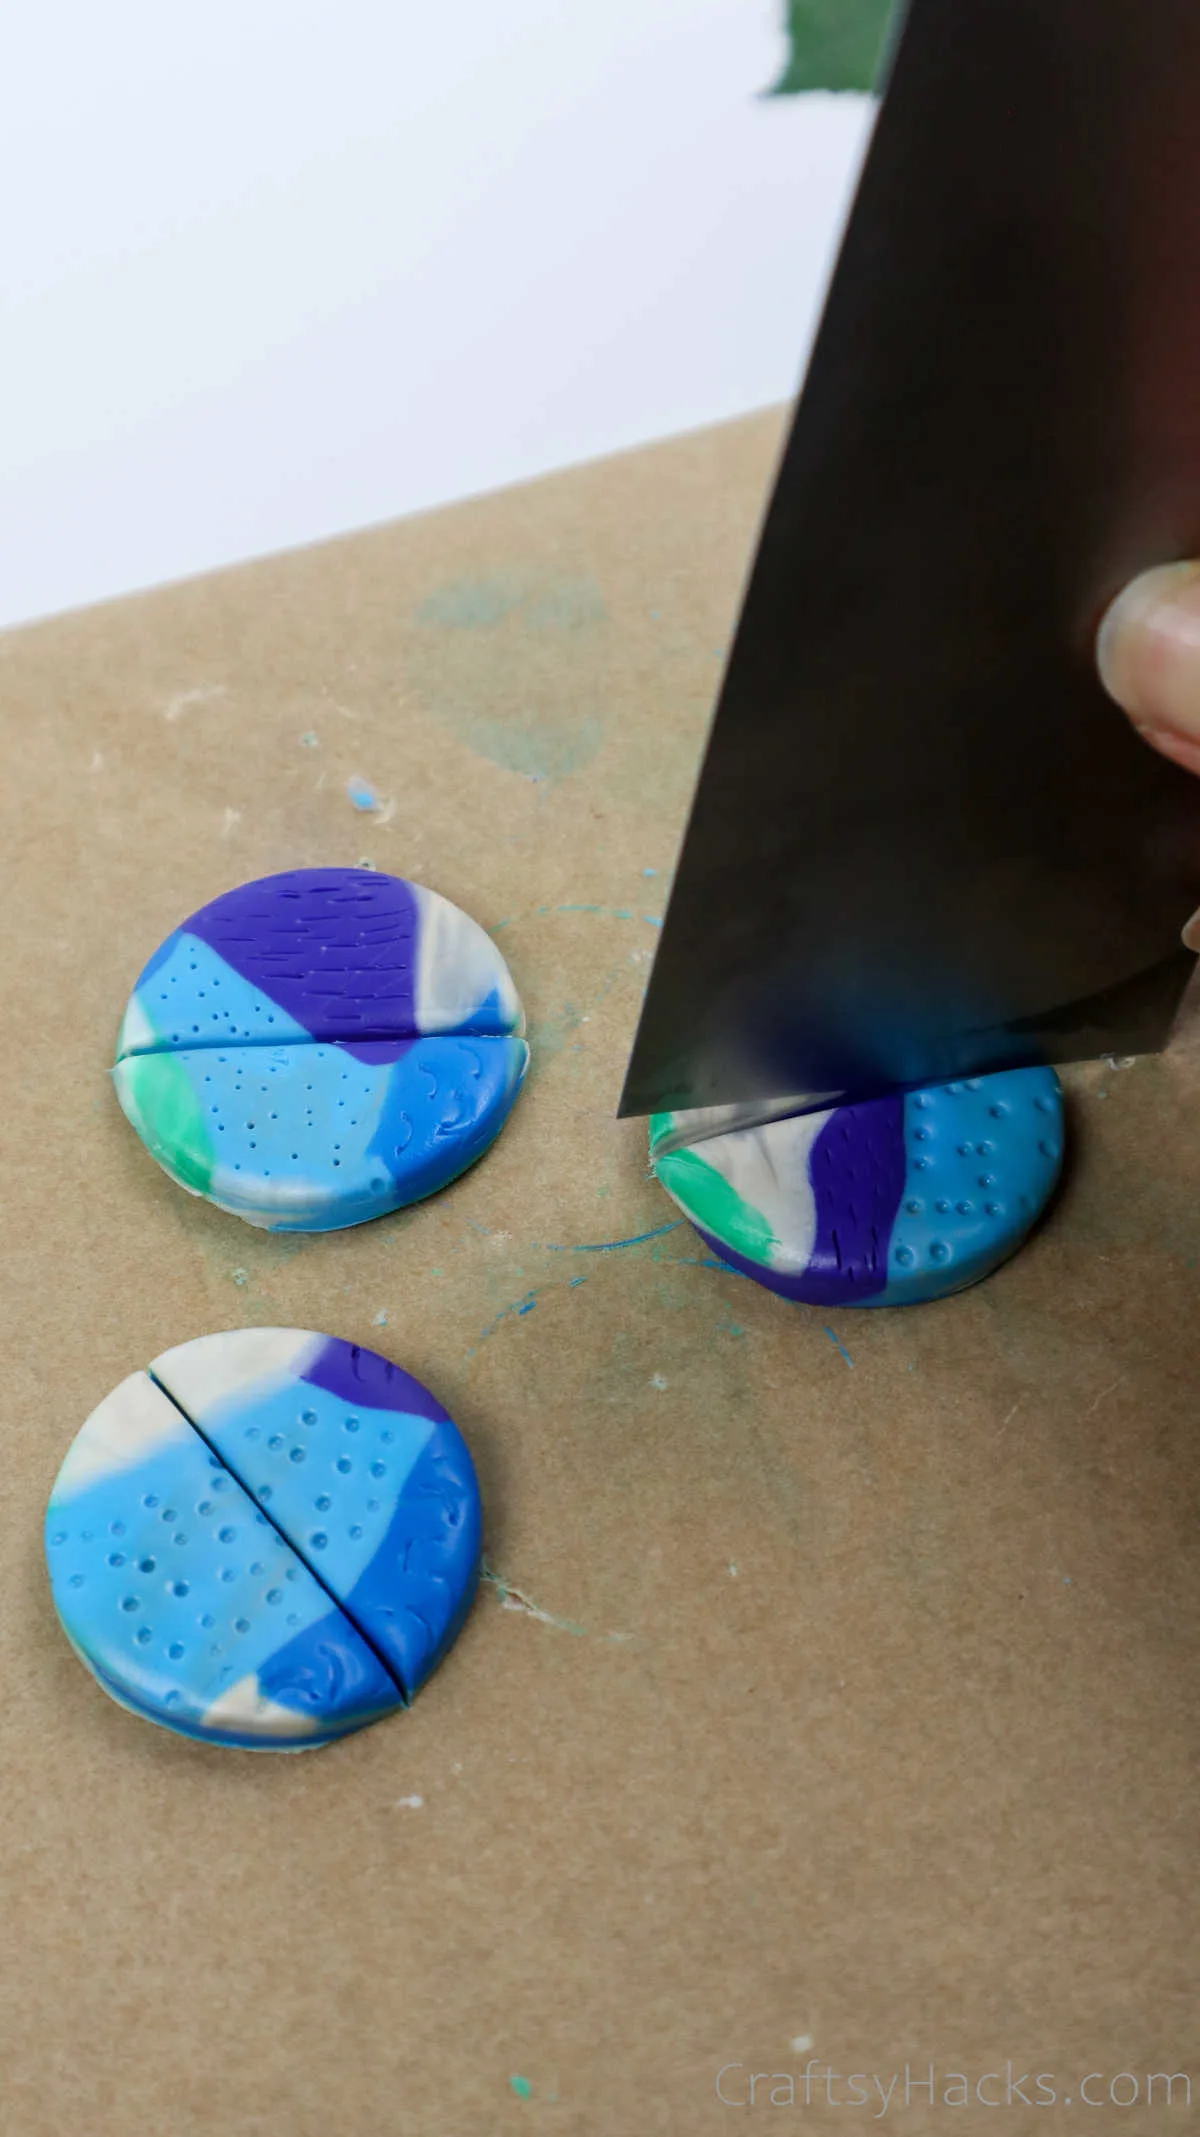
Finally, if you’re happy with the pattern, grab your cookie cutter and cut the clay.
You can also cut the clay into semi-circles, like you see here.


Step 10
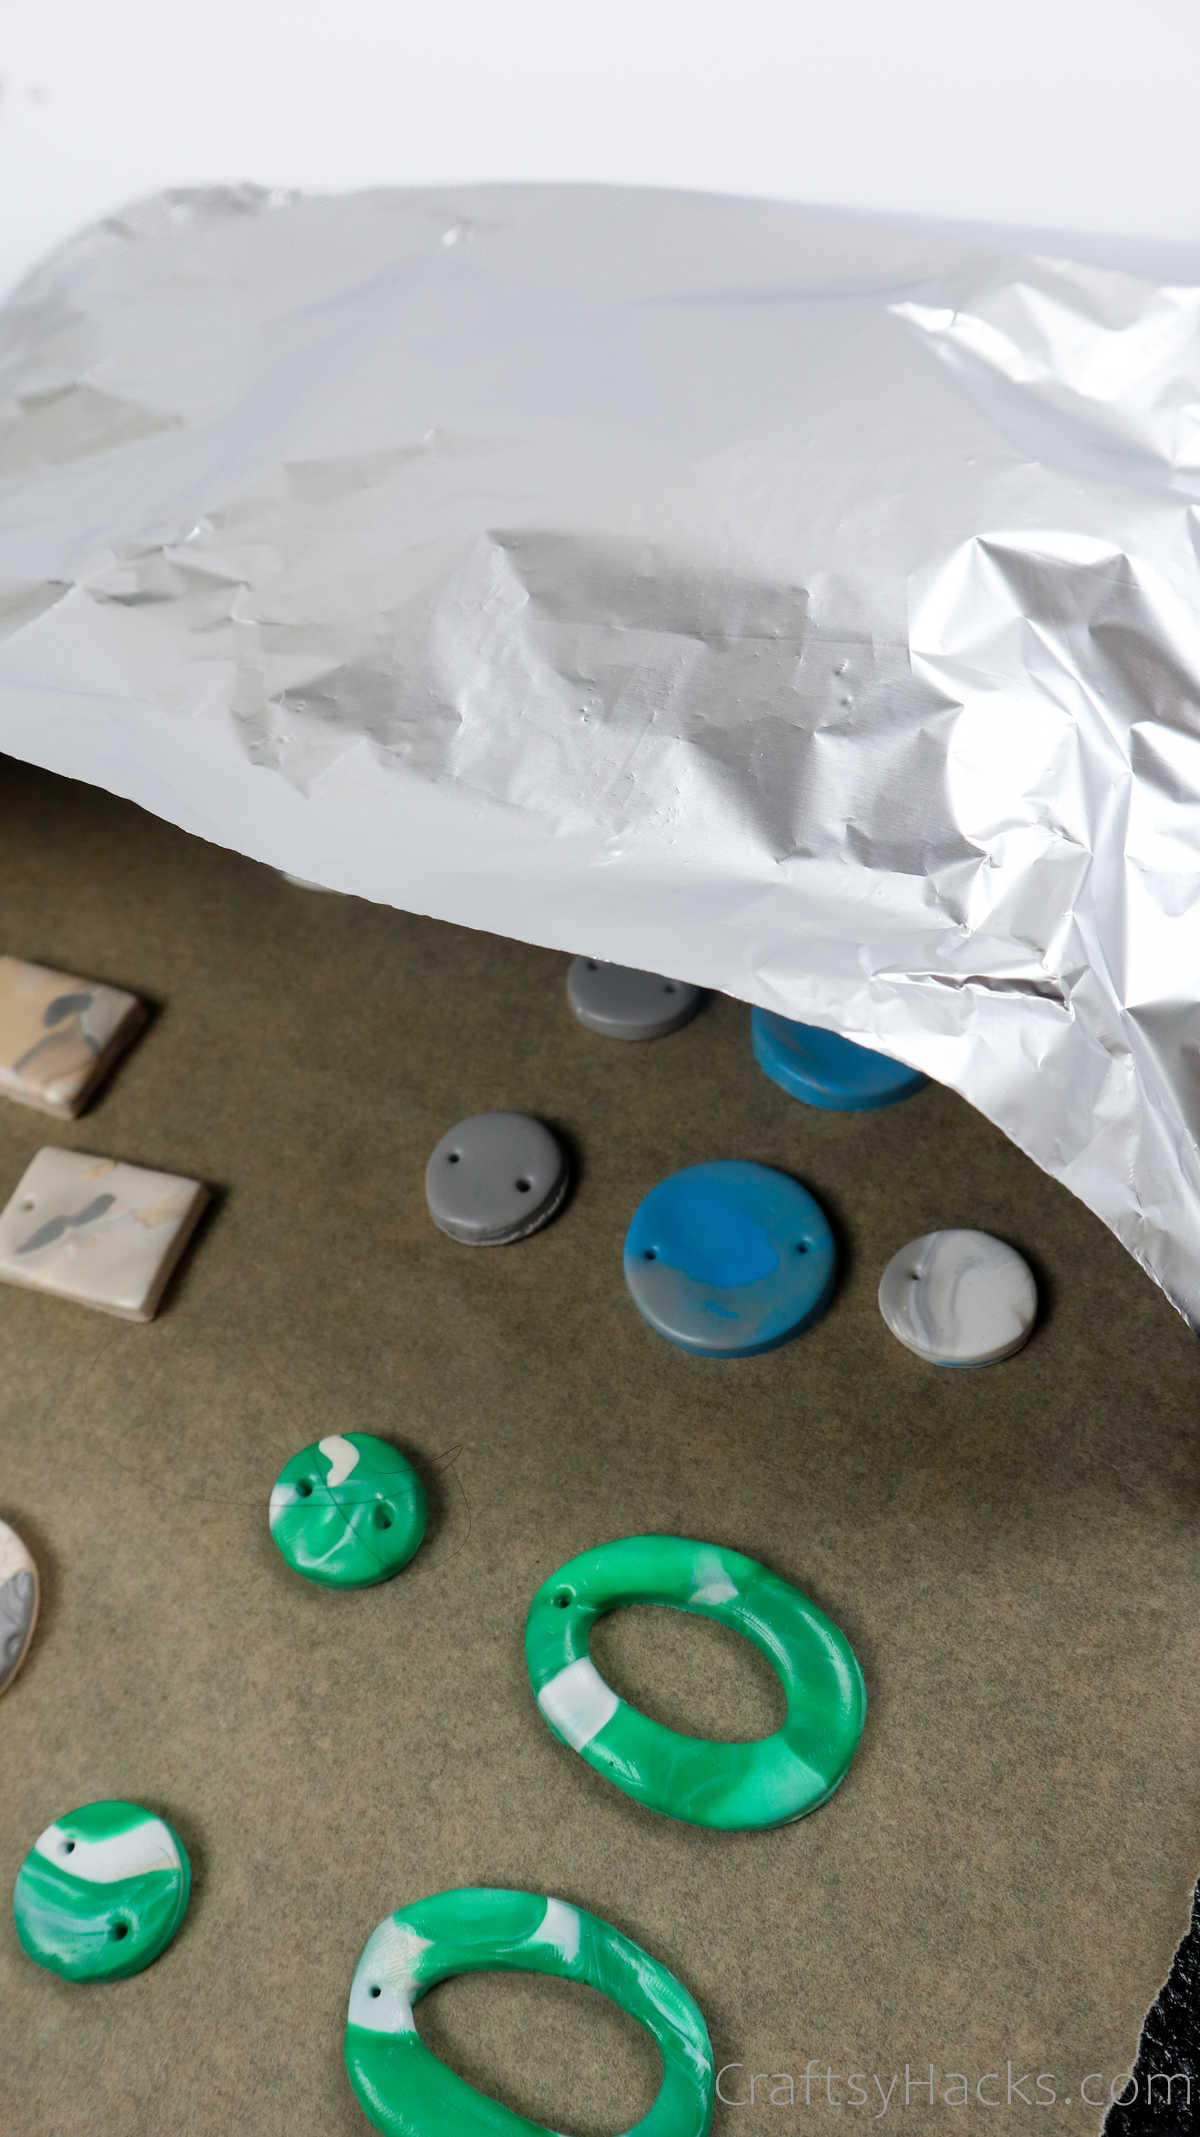
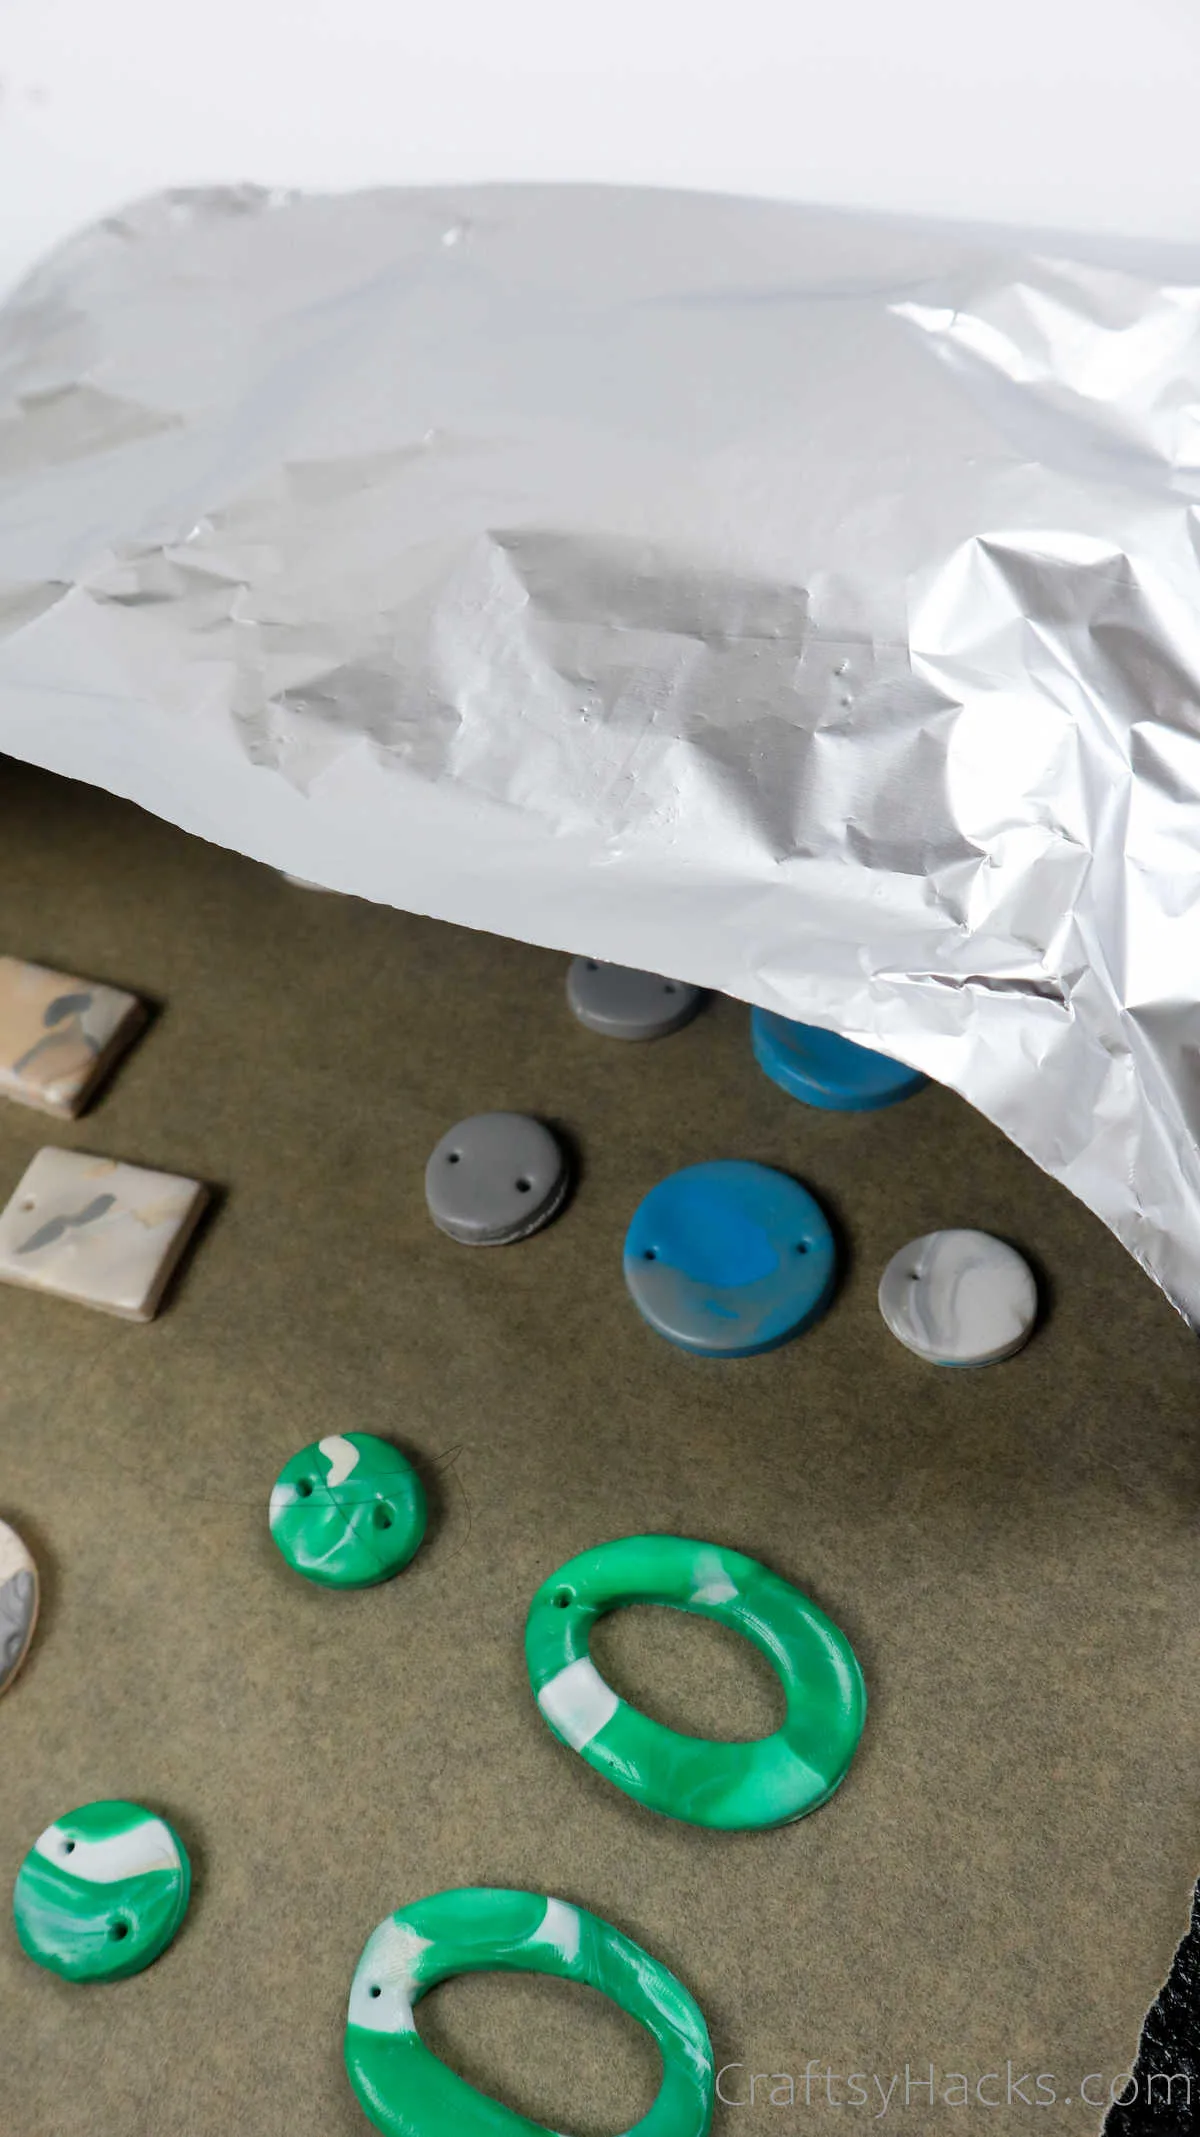
Once you’ve made all the different pairs of earrings you could possibly imagine and create, it’s time to move them over to a baking tray lined with parchment paper.


Cover the earring pieces with aluminum foil to prevent them from cracking or burning after they’re baked.
I’m baking these in the oven for 30 minutes at 230F (110C). However, check the instructions on your polymer clay packaging and bake the earrings at the temperature and time suggested for your particular clay.
Step 11
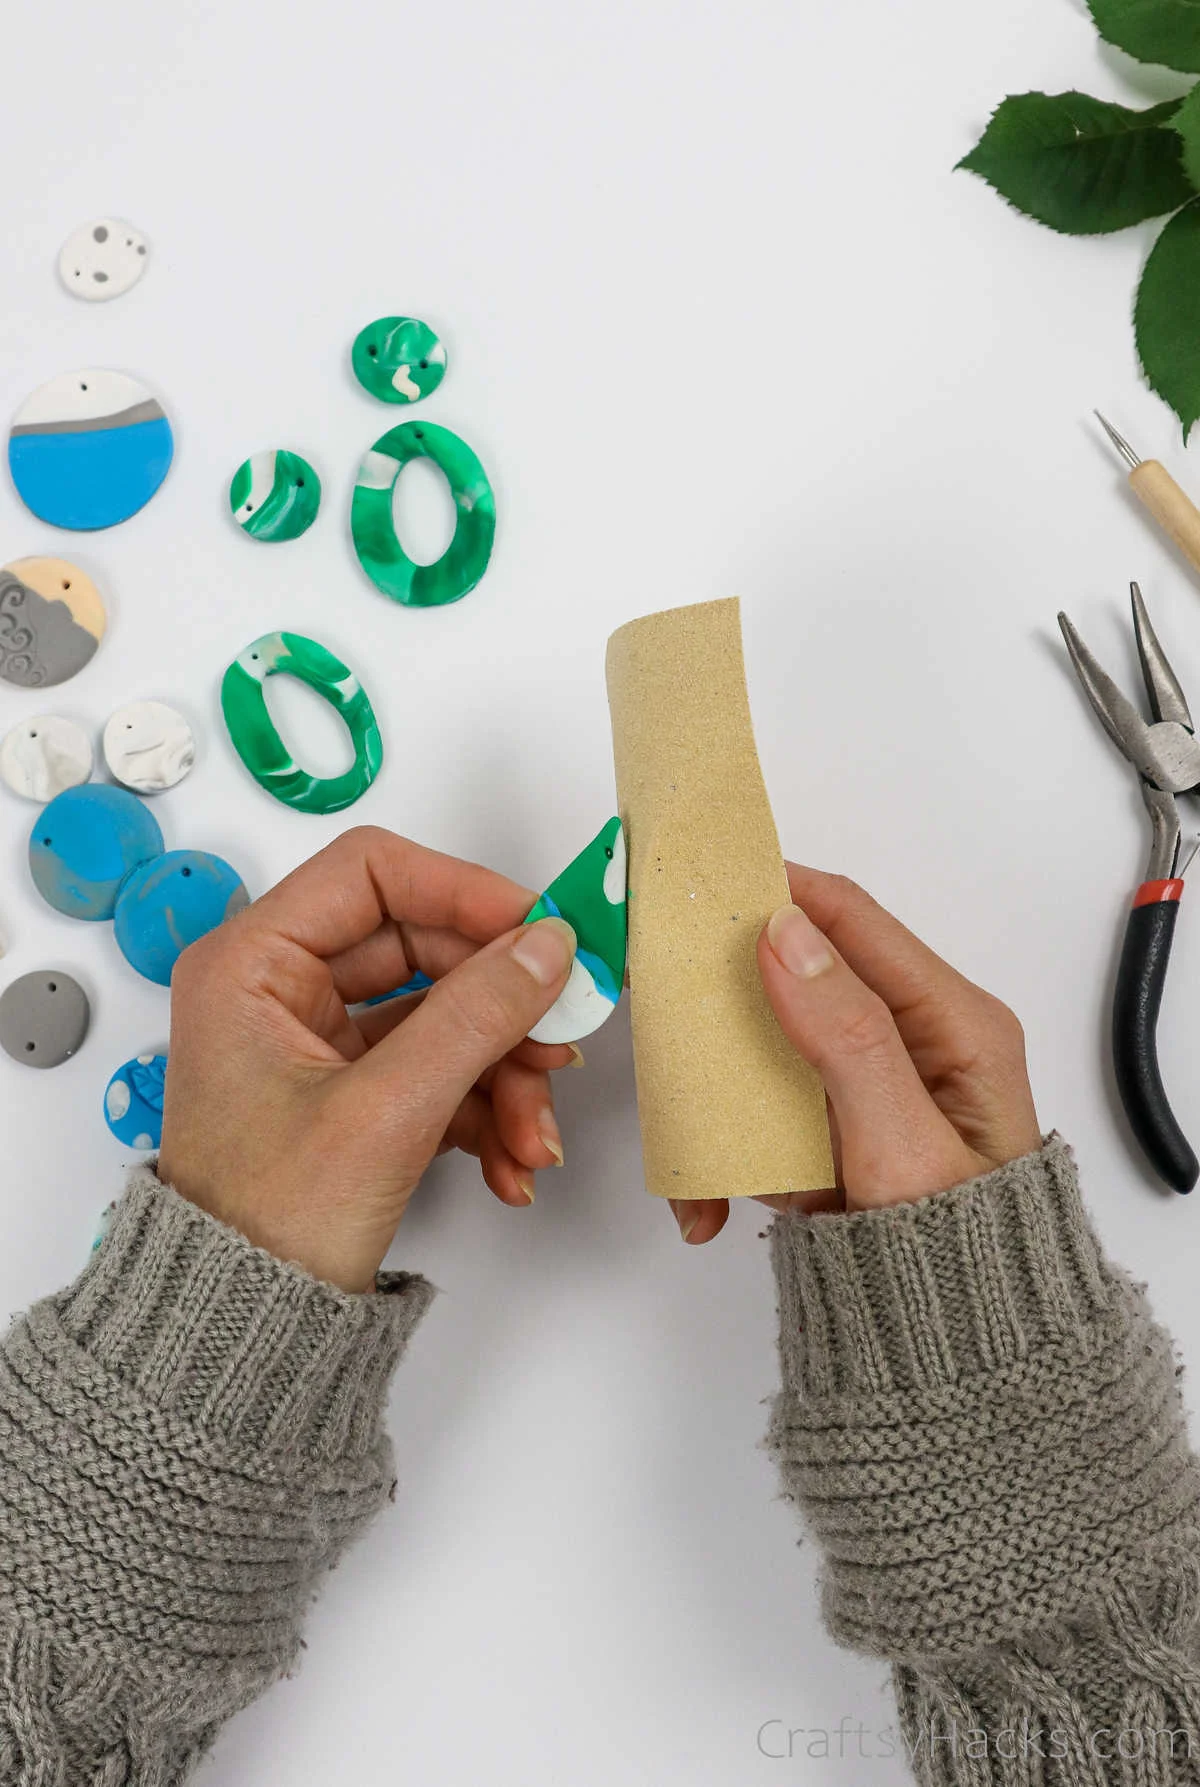
When your earrings are all ready, you can use a bit of sandpaper to smoothen out the edges and also to scrape away any excess clay from when you cut the earrings.

Step 12
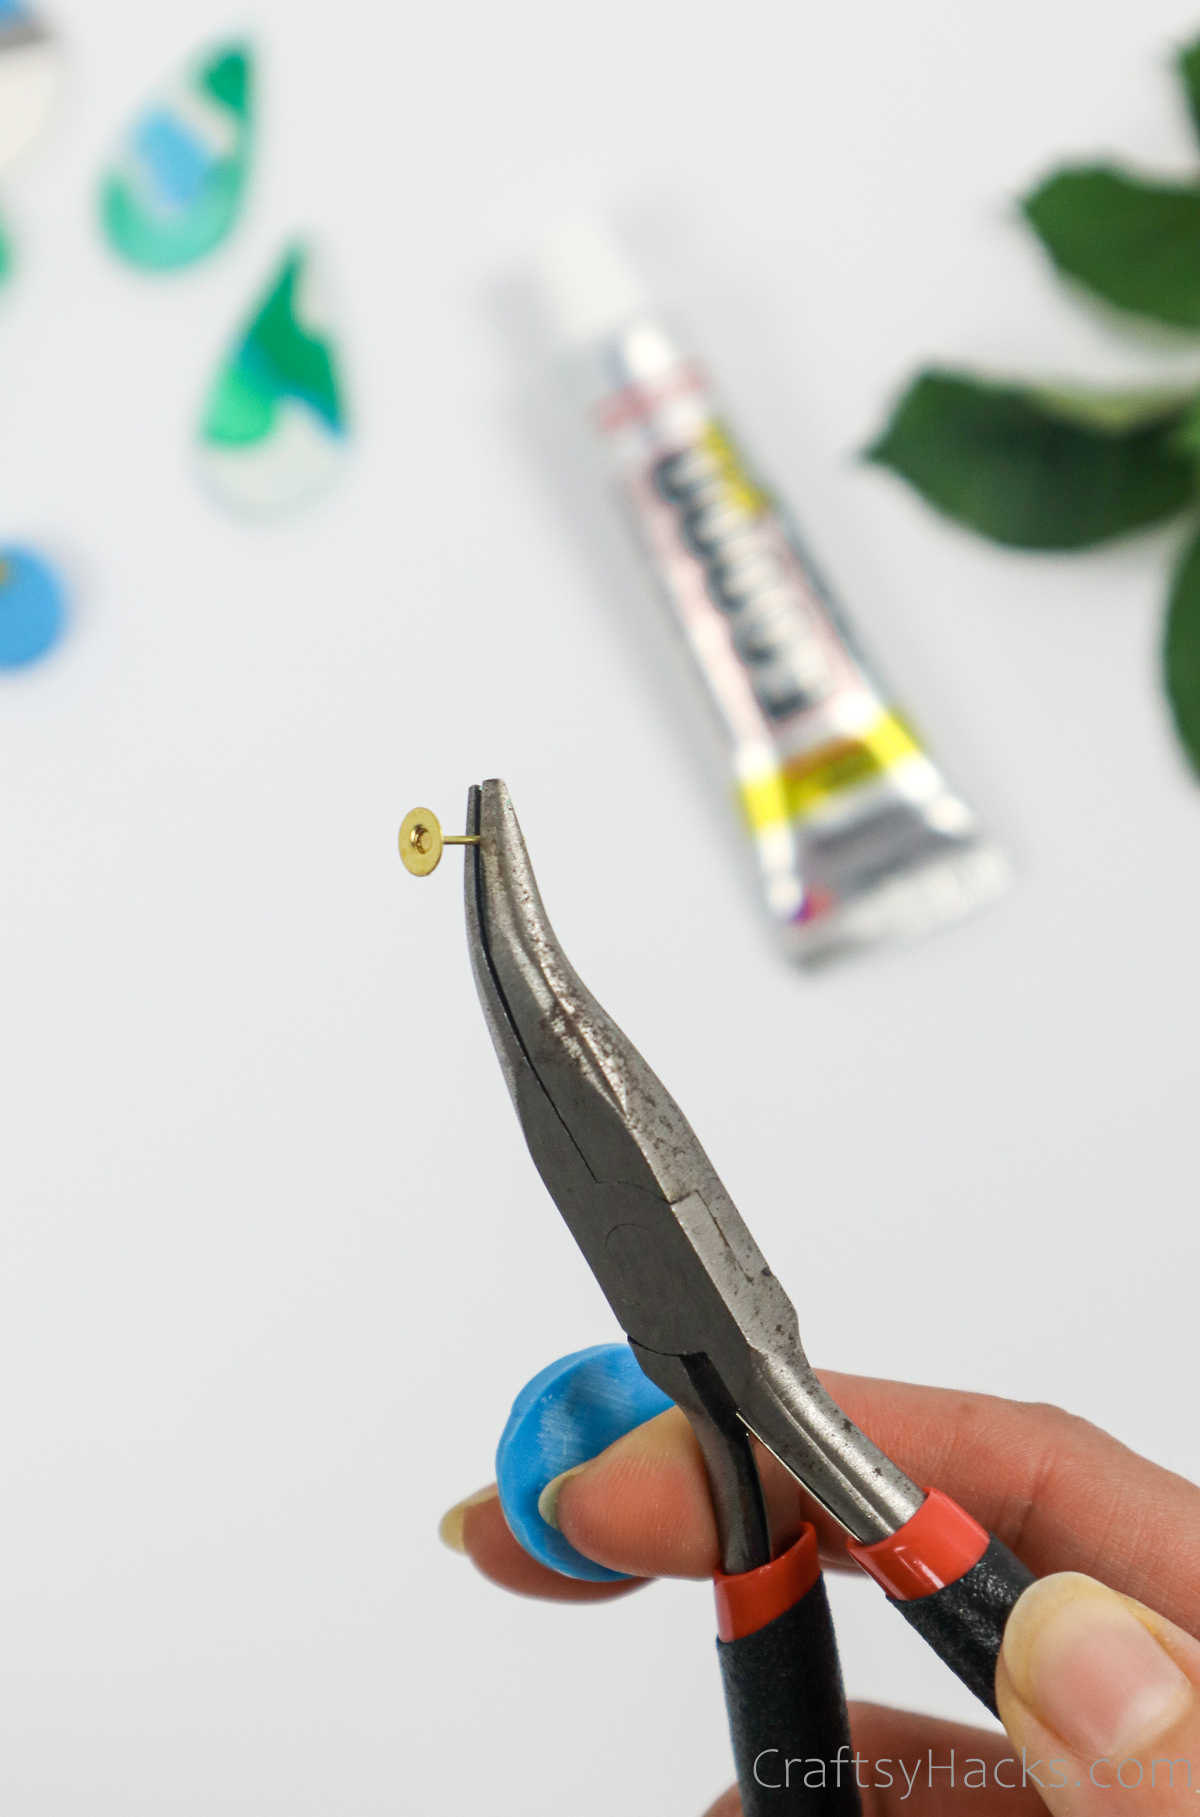
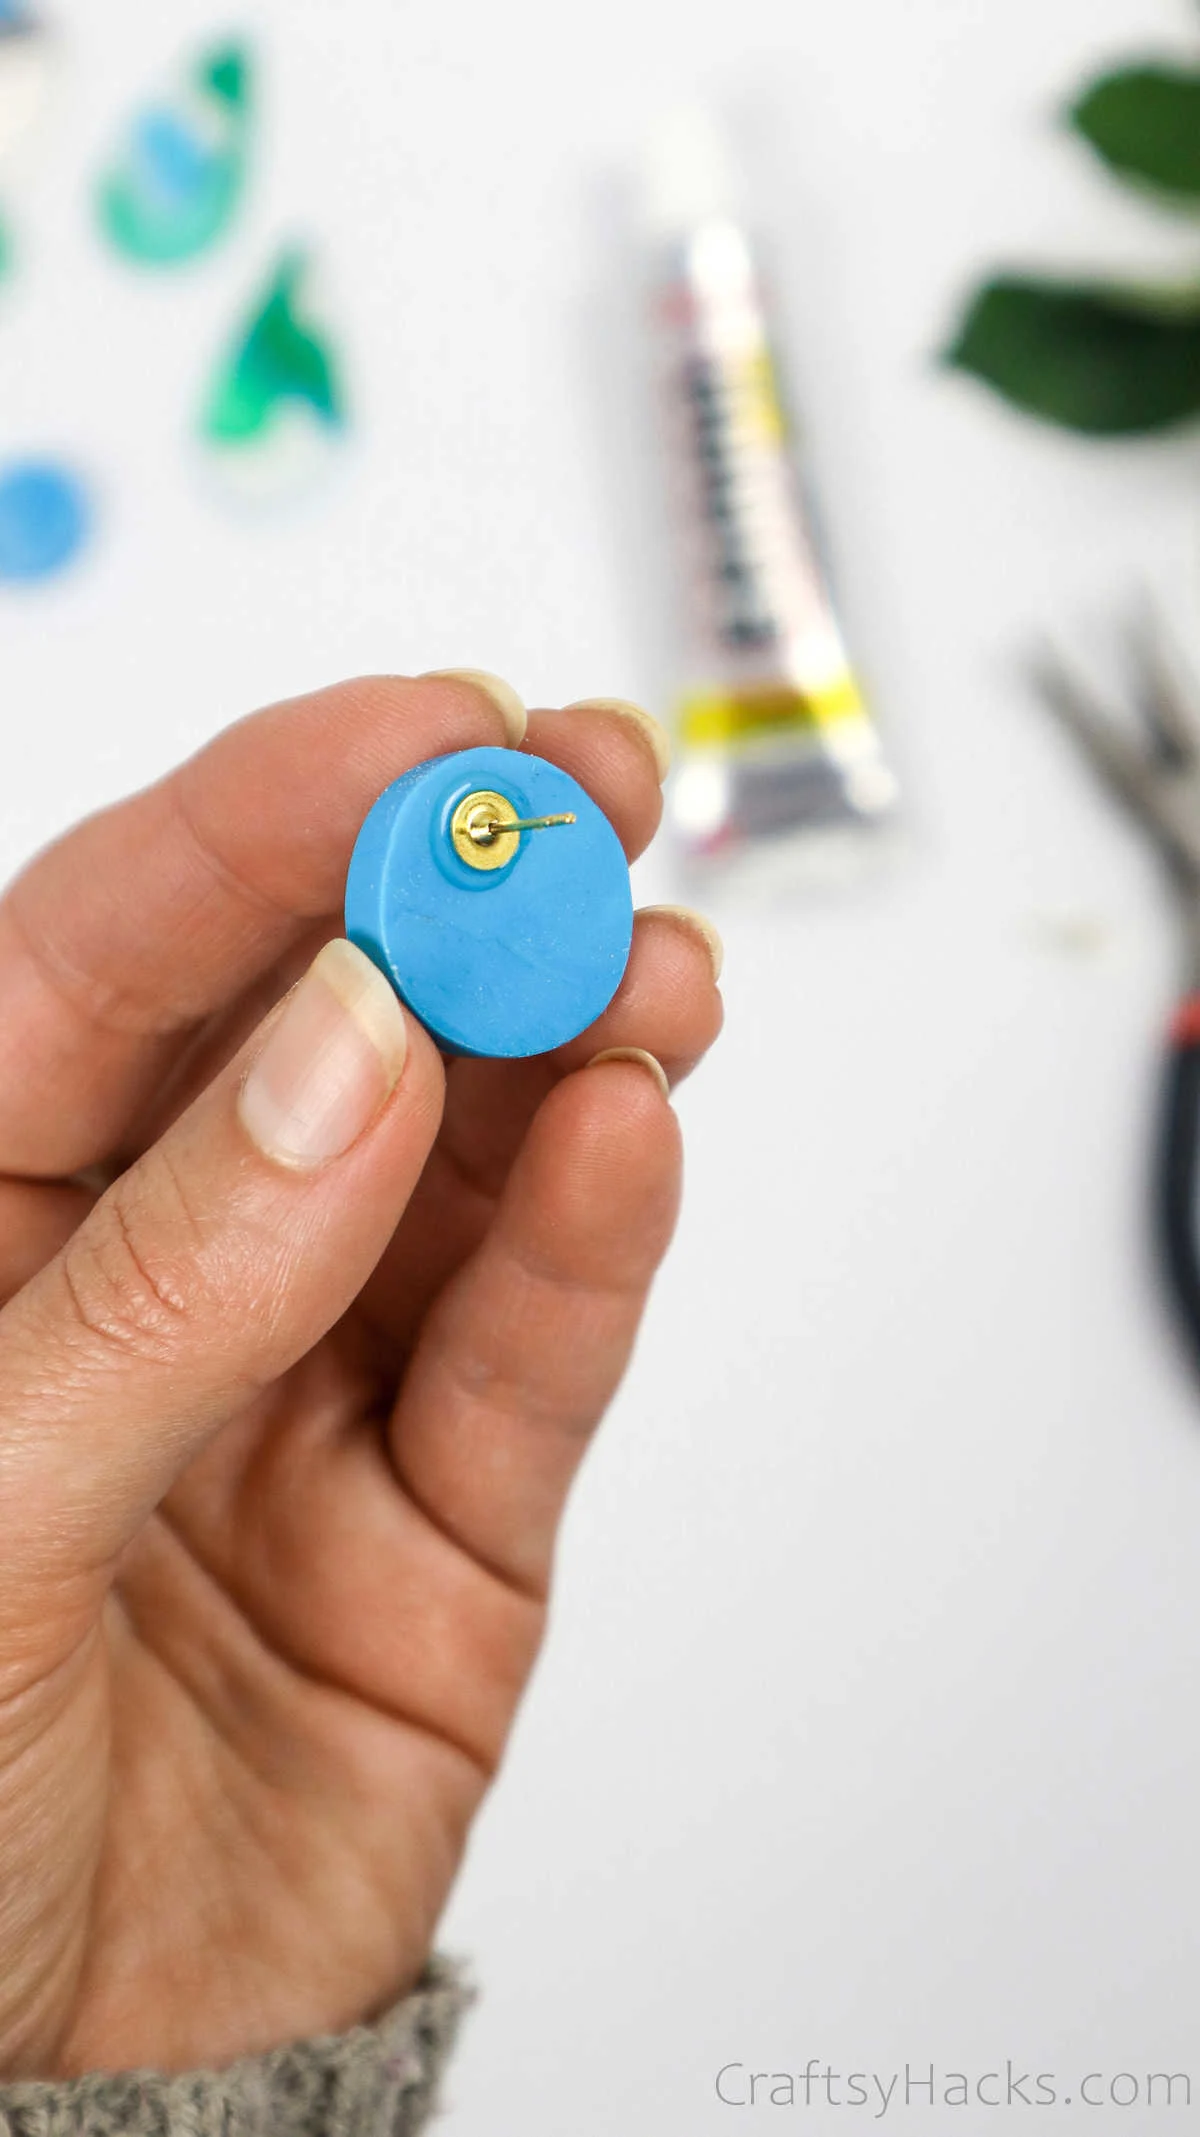
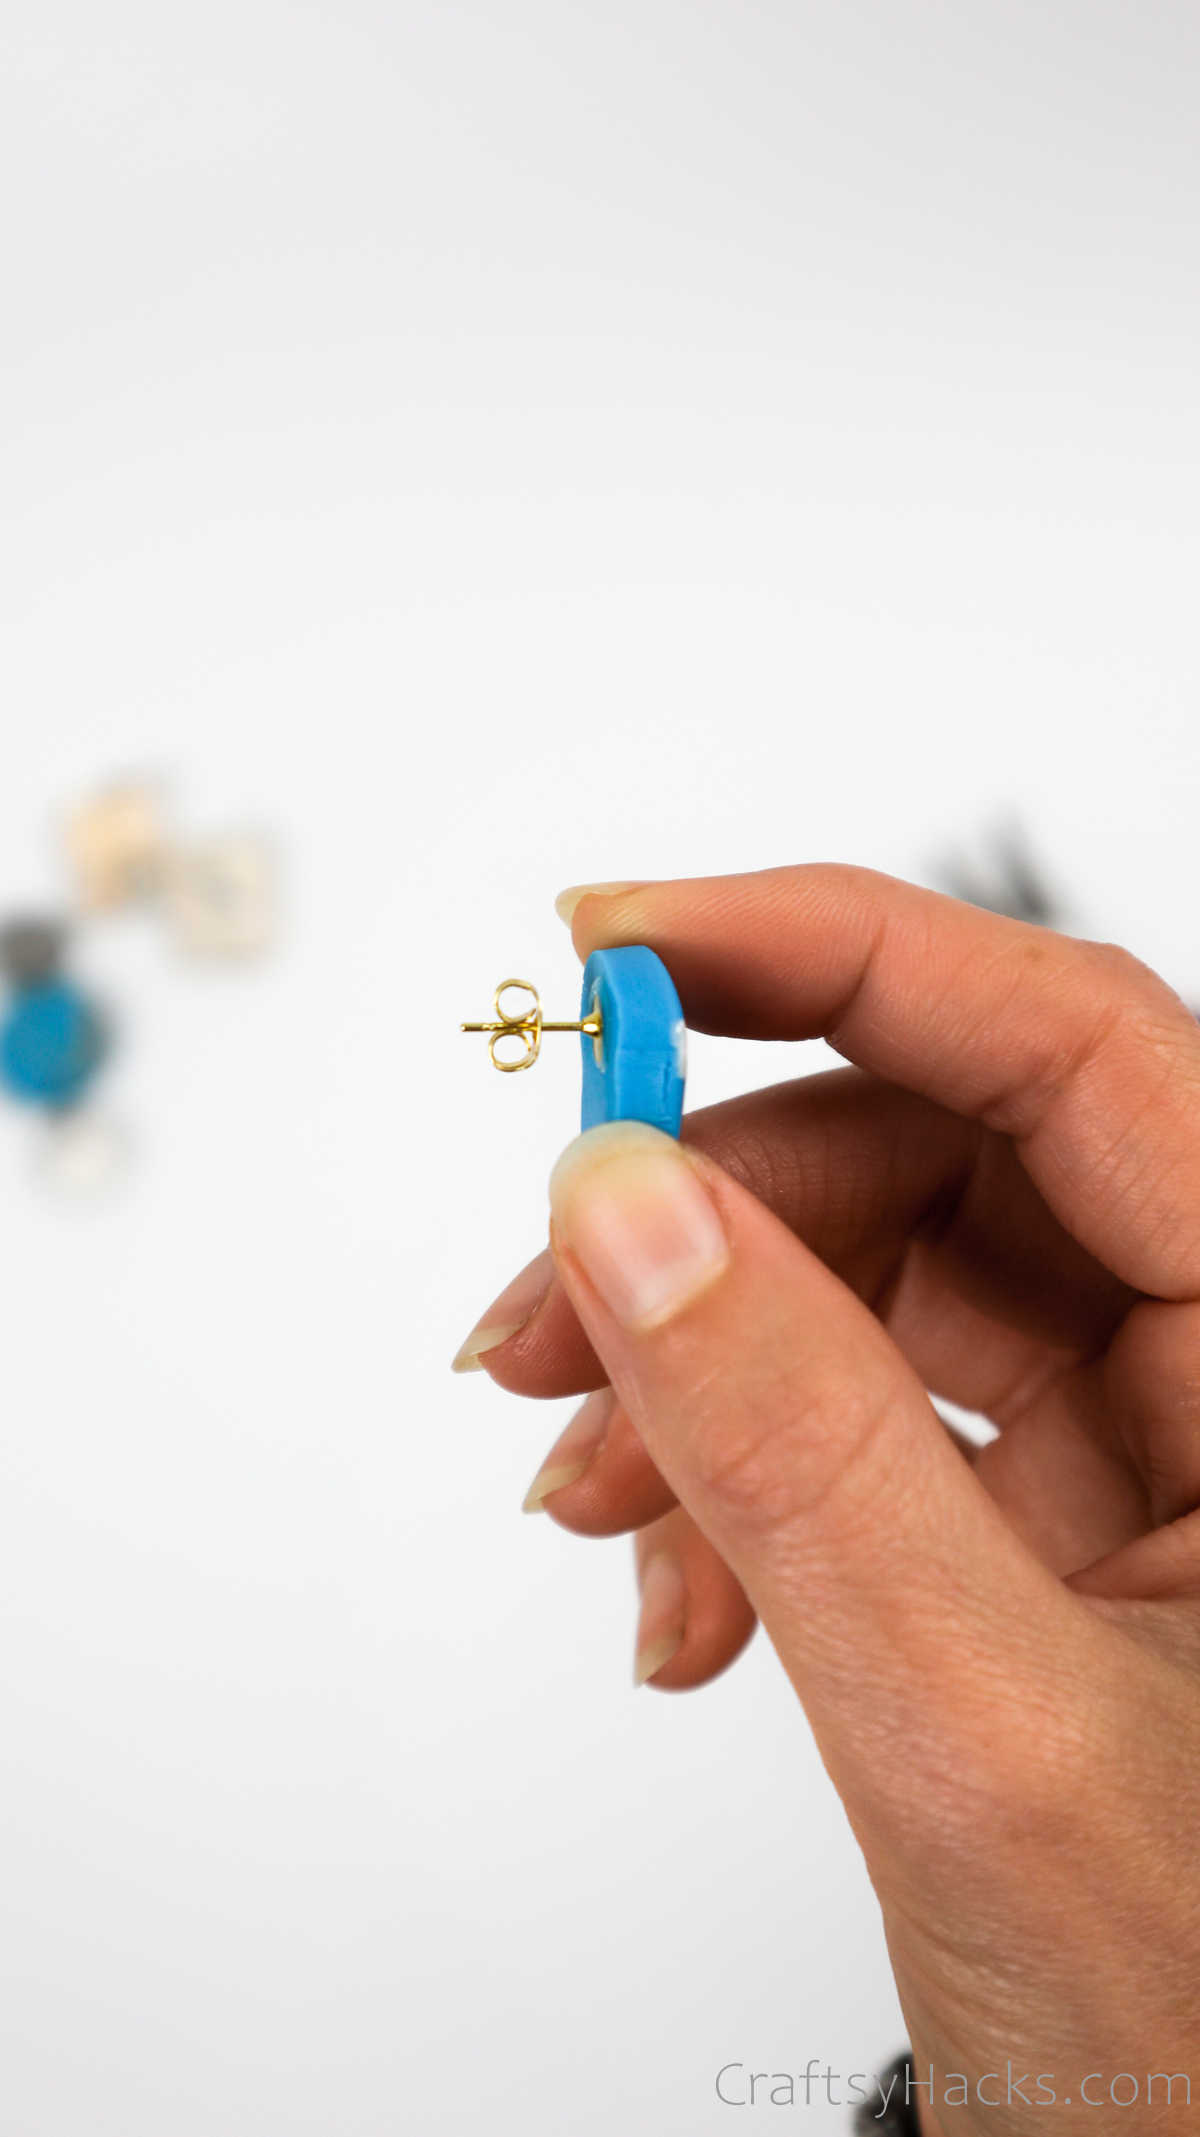
Using a pair of pliers, attach the earring studs to the back of your earrings with a bit of adhesive. This method applies only to earrings that you didn’t poke holes into and would rather use as studs.


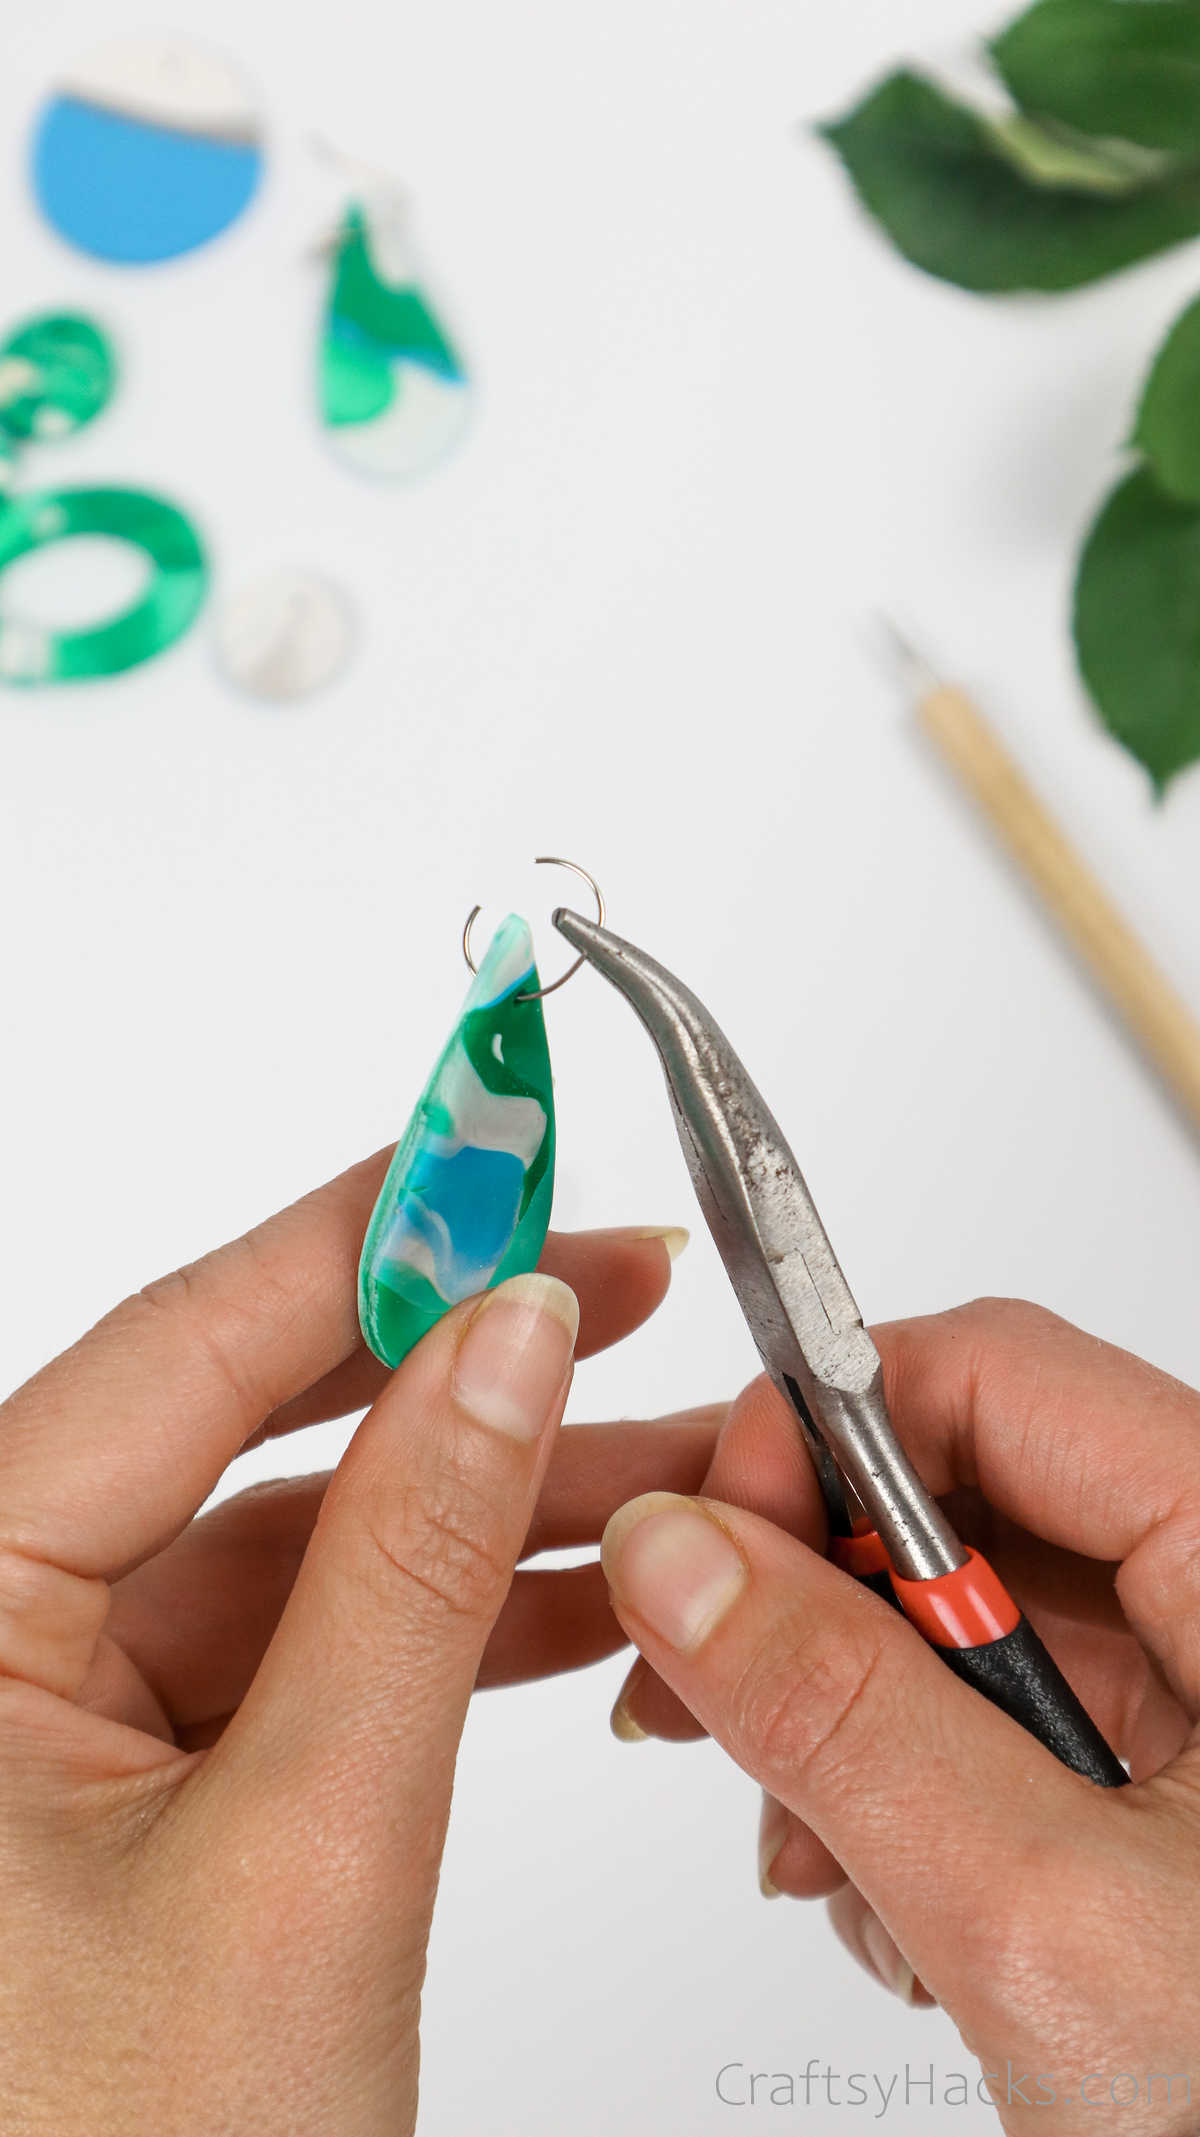
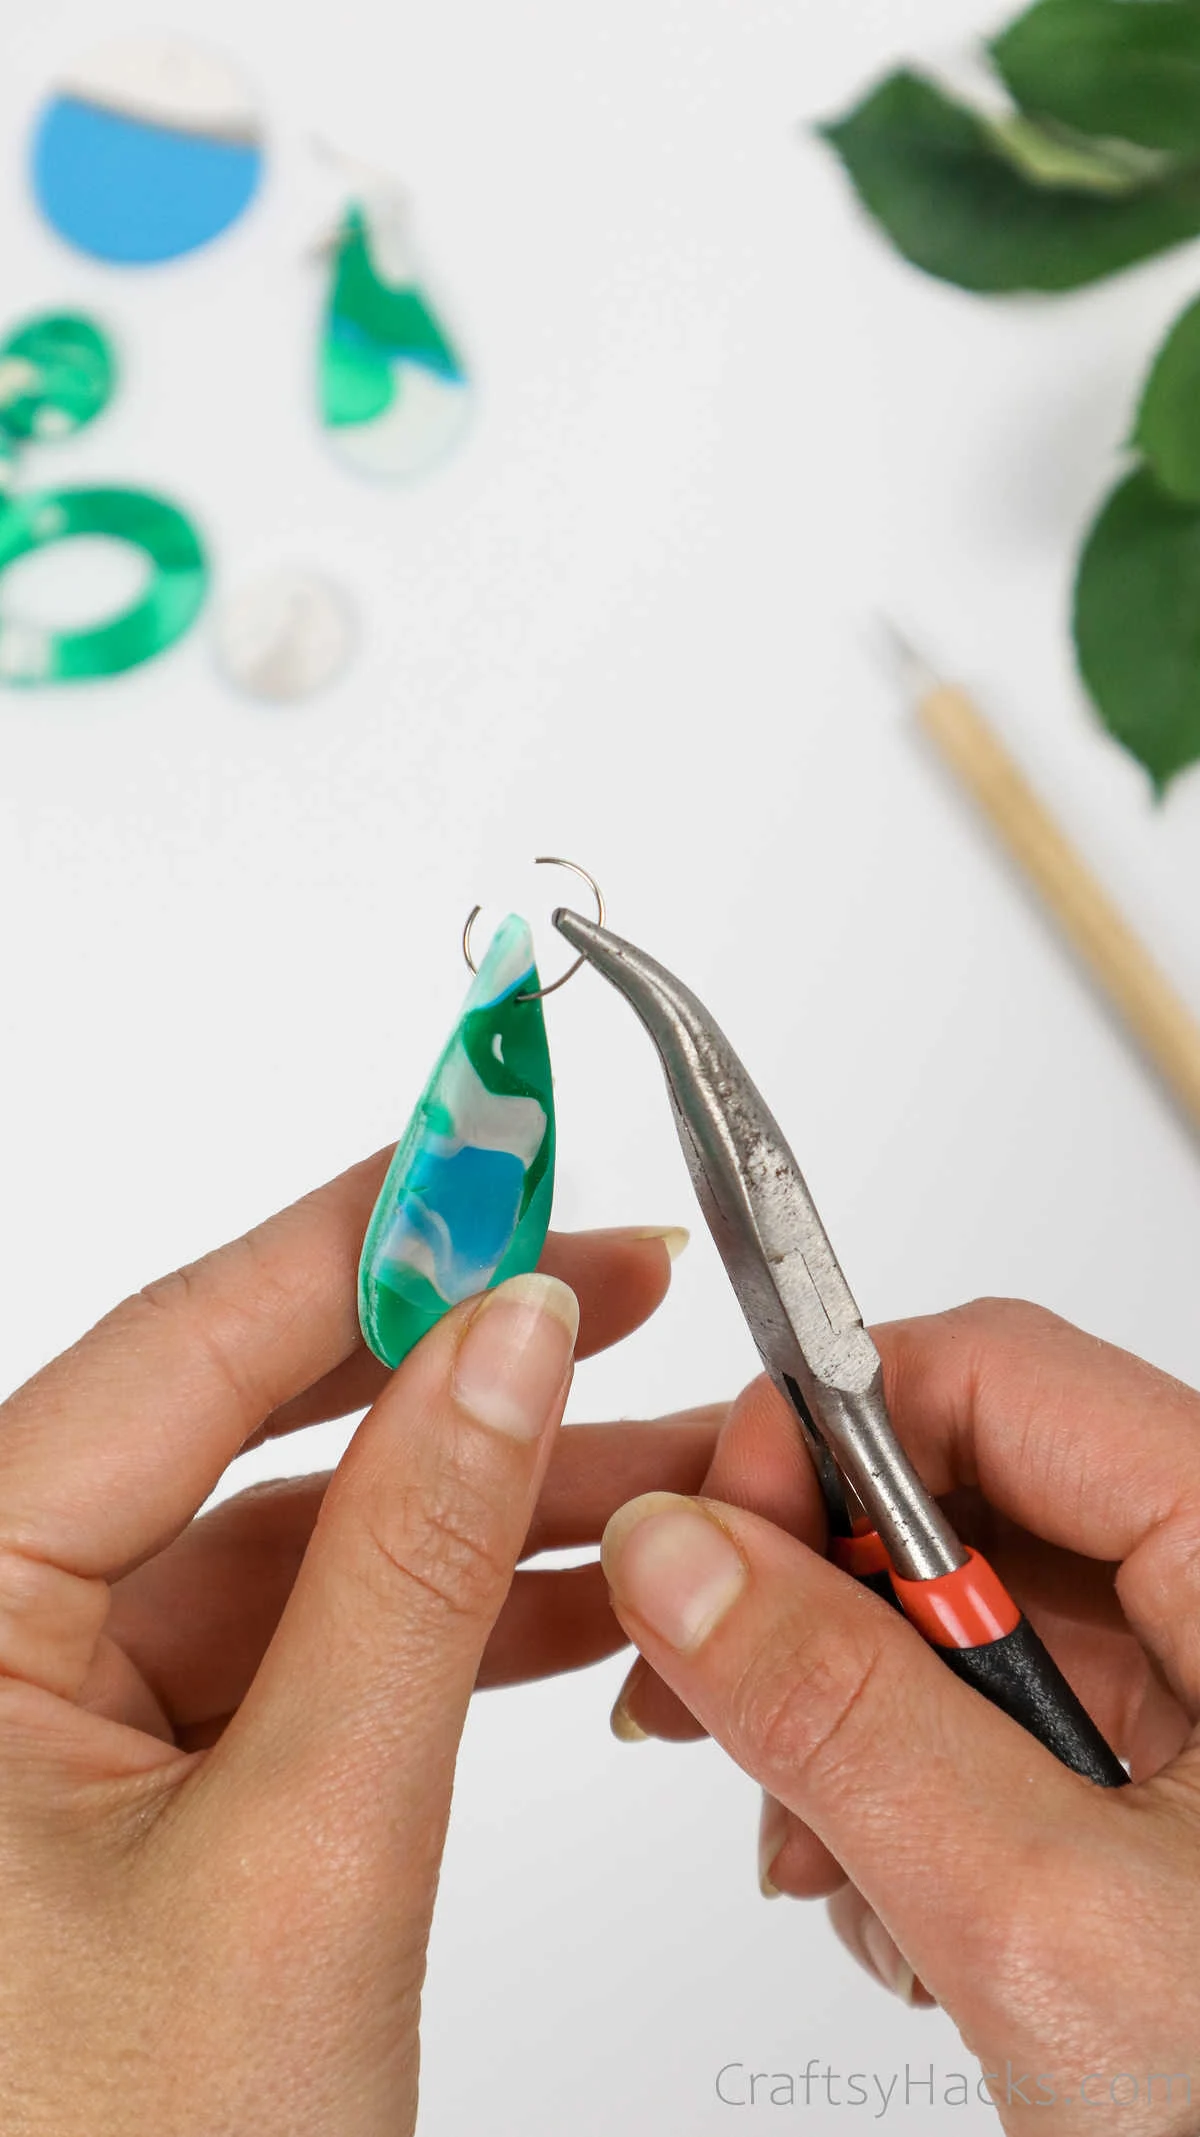
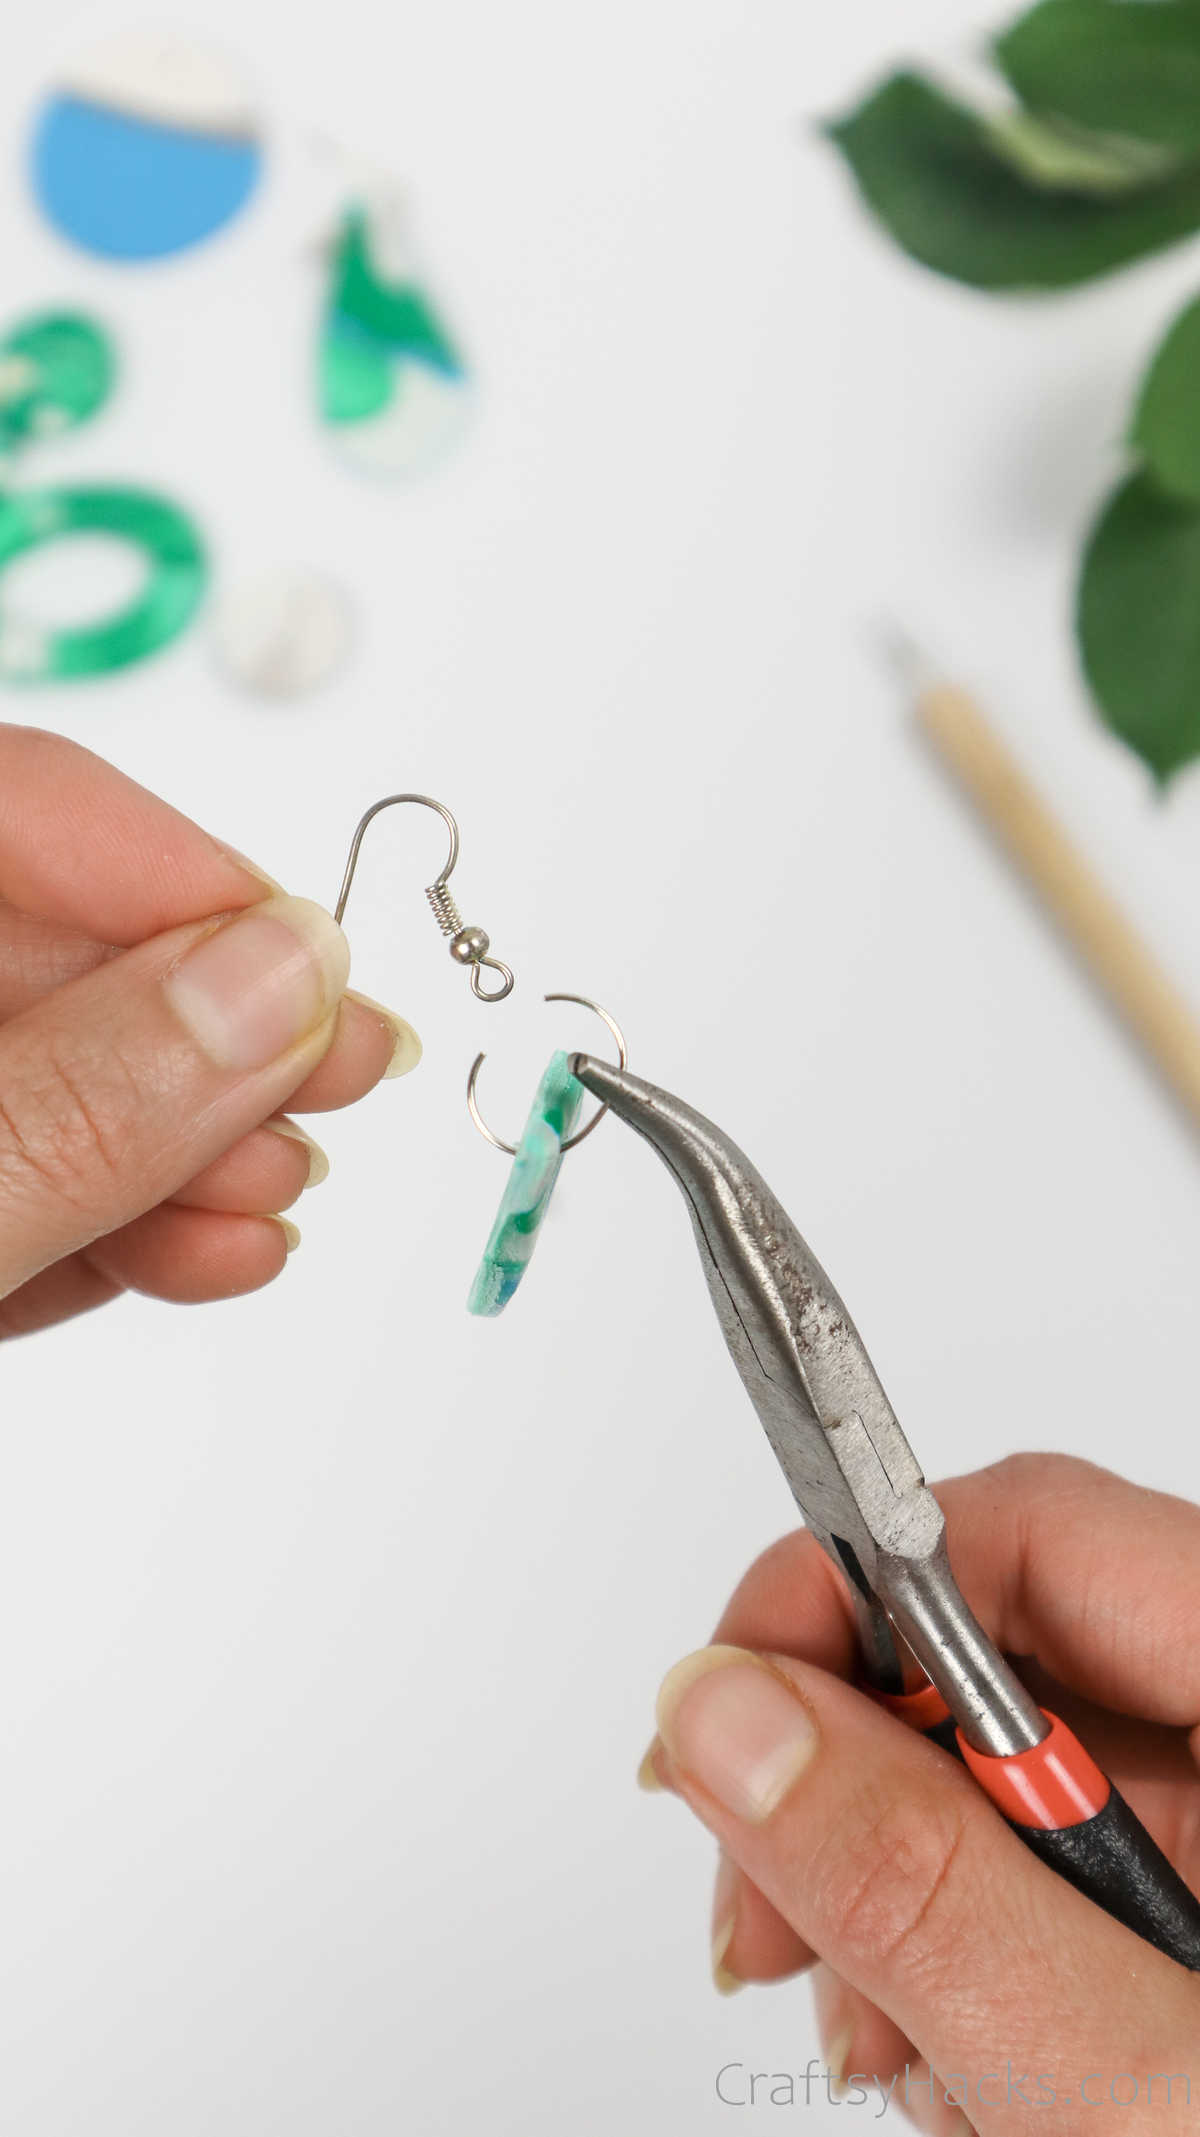
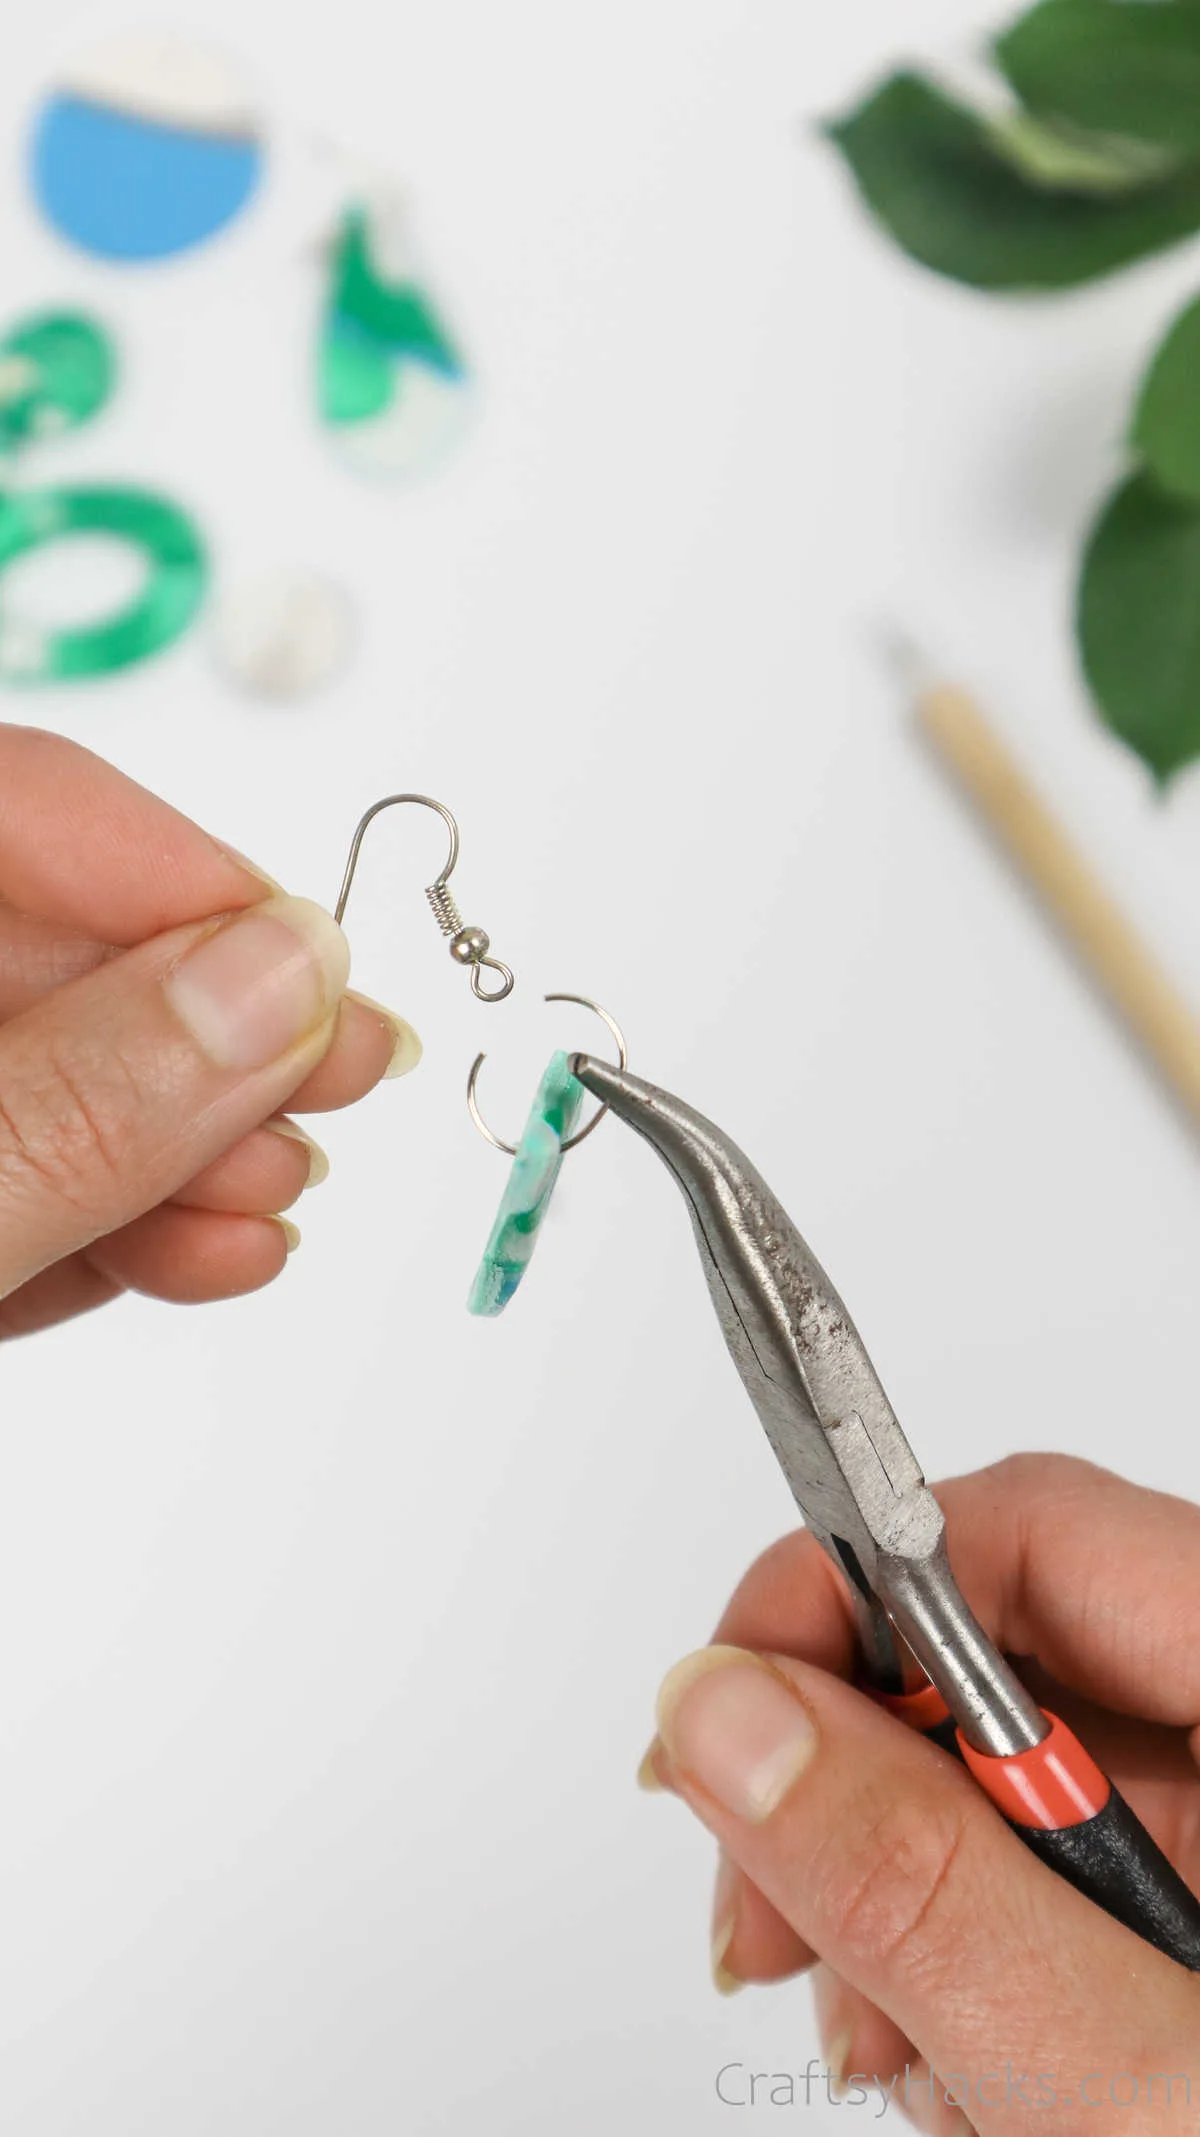
For those earrings that you did poke holes into, attach the hooks and jump rings with a pair of pliers.
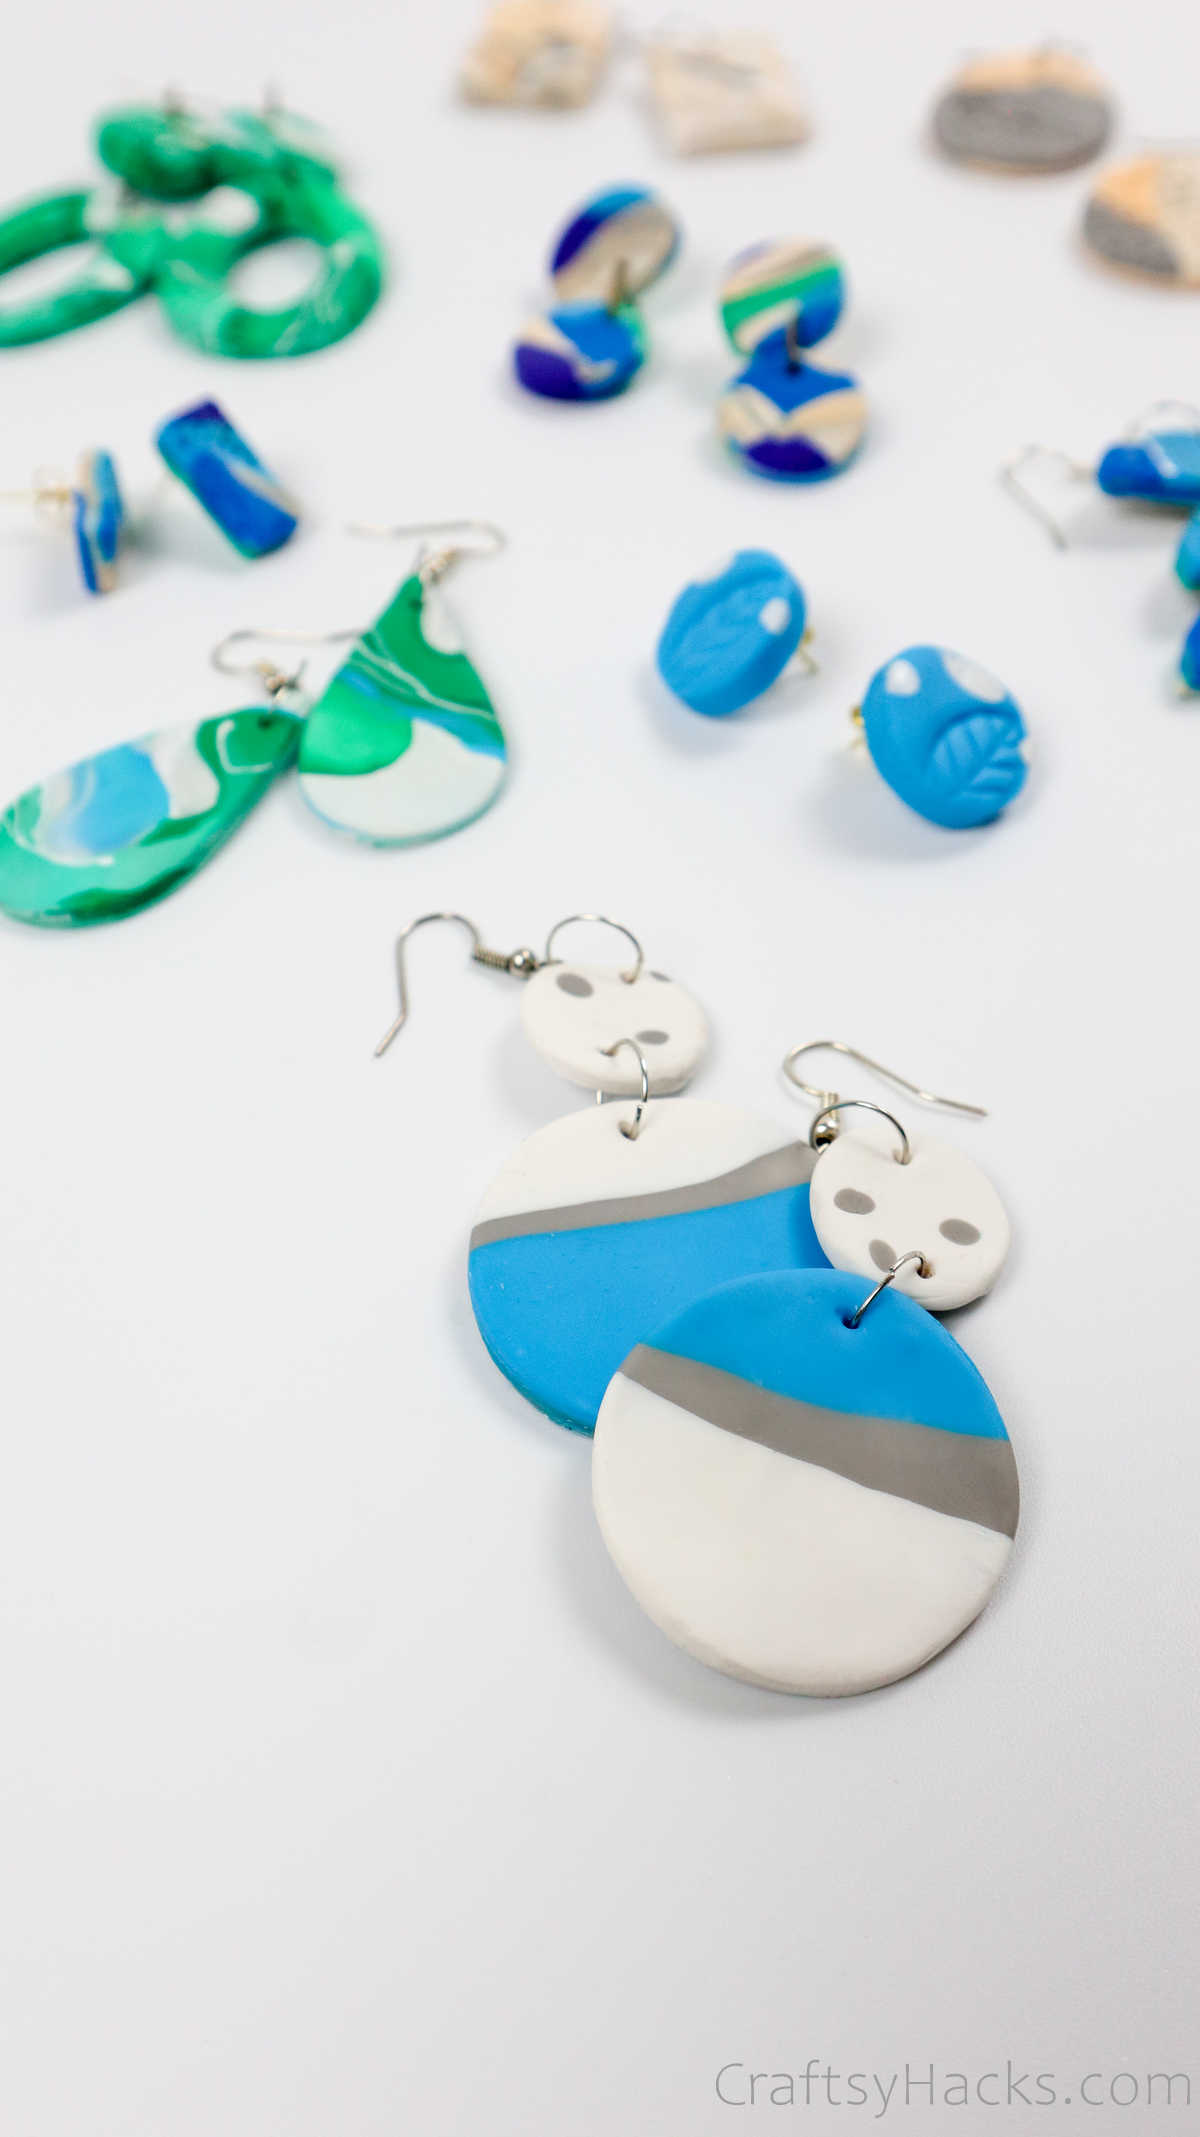
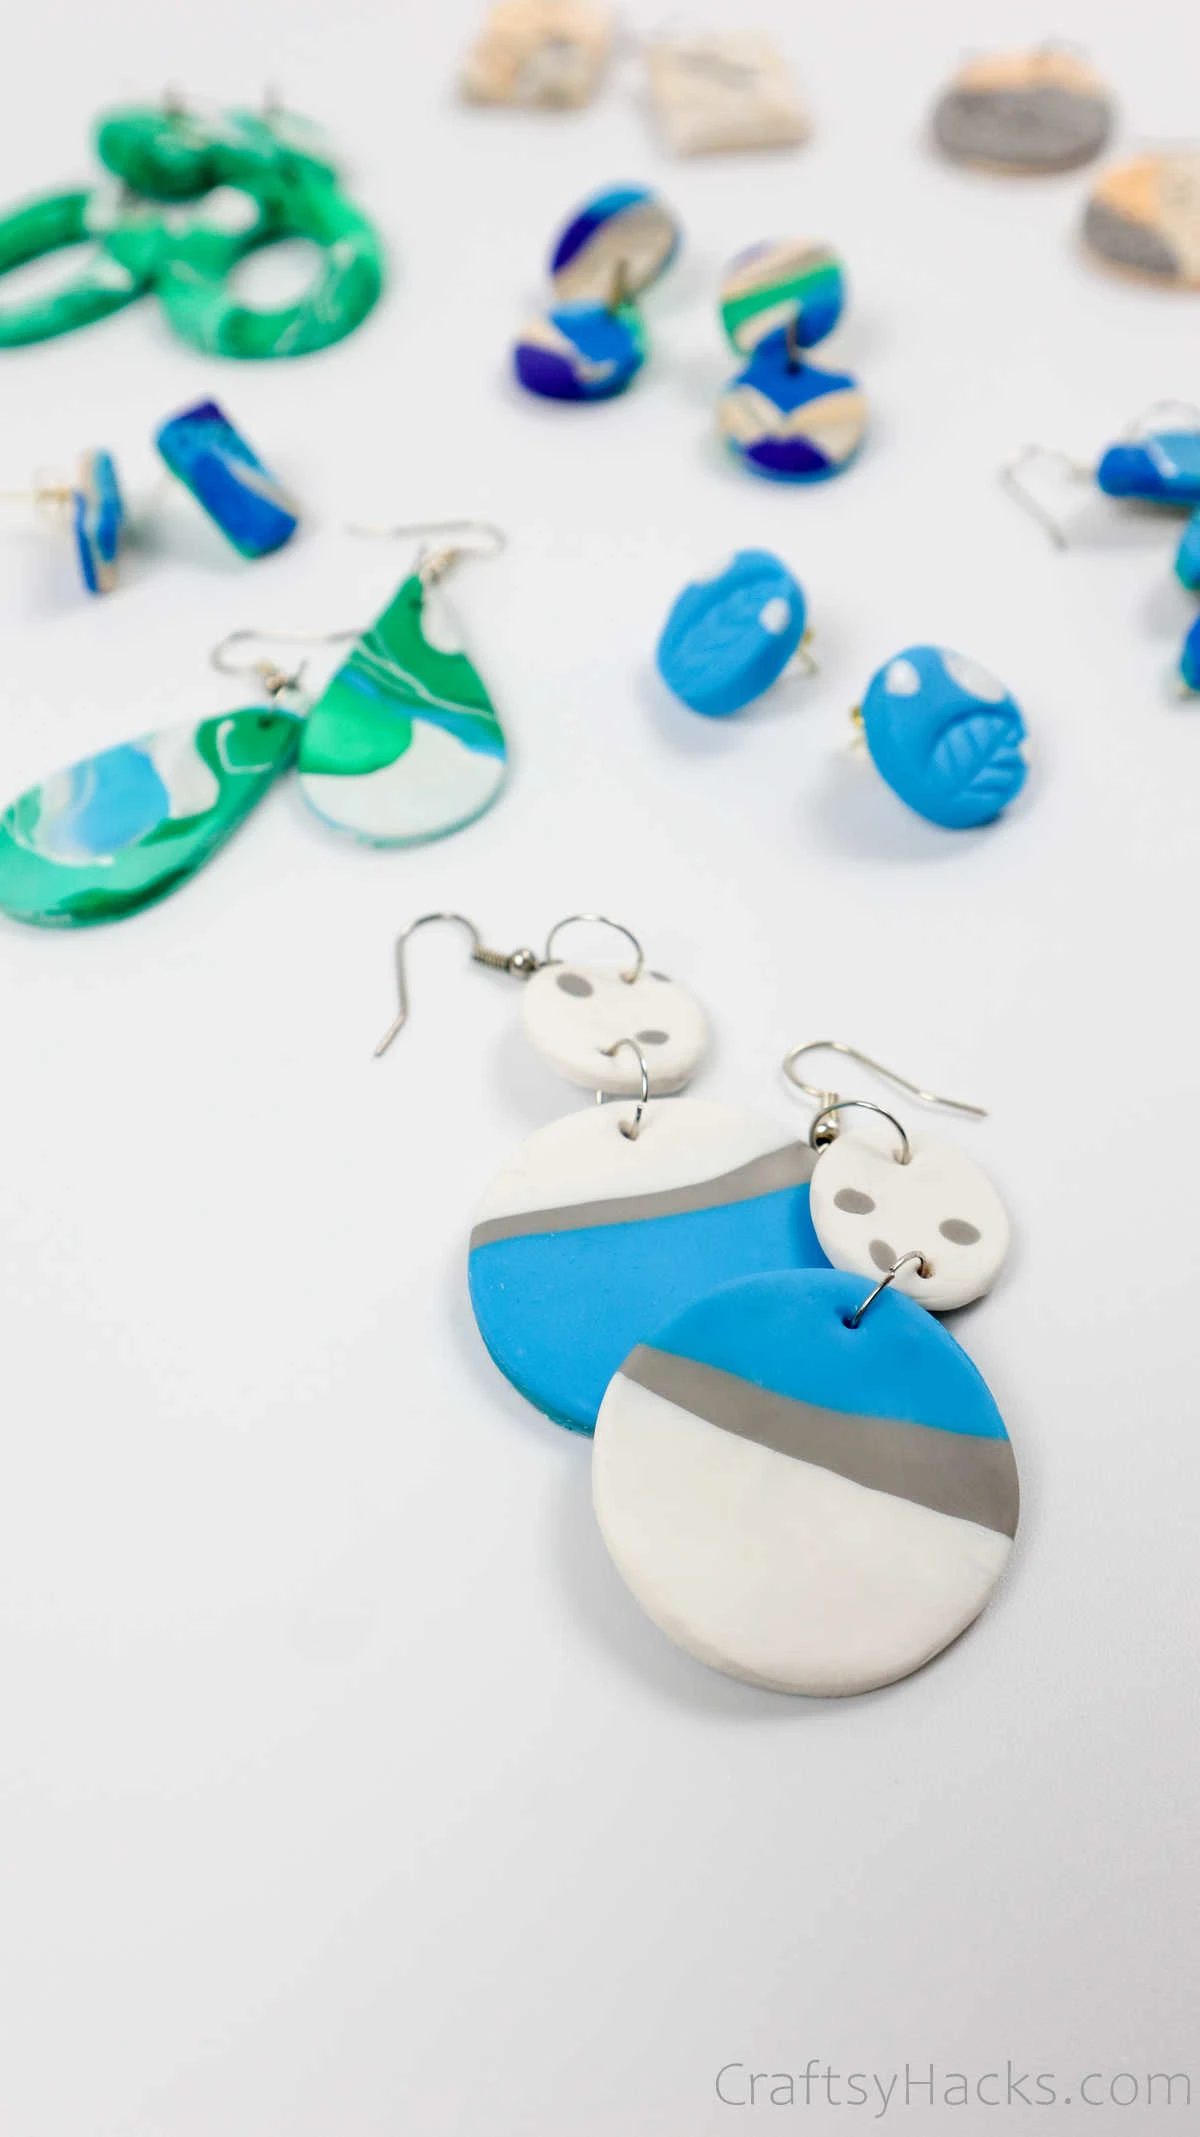
And there you go; your DIY polymer clay earrings are all set and ready to be worn! They make amazing little gifts, too, don’t you think?

Watch Video: How to Make Polymer Clay Earrings
You can make multiple earrings from a little bit of polymer clay. Check the full tutorial on video.
How Do You Seal Polymer Clay Earrings?
It’s important that you seal the polymer clay earring once you’ve made them. Sealing the clay won’t just protect the surface from scratches and cuts, it will also give it a wonderful finish.
After you sandpaper the earring, you can effectively just use your earring as is. You’ll find that polymer clay doesn’t change color when baked, so your colors will still be vibrant. But, you still need to protect the surface.
You can use either a gloss or matte finish varnish spray to seal the polymer clay. While acrylic clay is also often used, it’s not as long-term as you’d want it to be.
Other Craft Ideas for You
- 30 Wood Crafts
- 37 Resin Crafts
- Cute Crafts for Girls
- 27 DIY Rings
- DIY Wire Rings
- DIY Macrame Earrings
How Long Should I Bake Polymer Clay Earrings?
A little word of advice for baking your earring: it all comes down to the temperature and time you bake them at. If the temperature is too low, the polymer will not fuse adequately, and if it’s too high, it will burn.
The same rule applies to the amount of time you bake your earrings. If you bake the earring for too short a period, your clay will not set and will crumble. Too long, and you’ll find that the clay cracks into hard pieces.
This project calls for 30 minutes of baking in the oven at 230F (110C). I highly suggest to check the instructions on the packaging of the clay to make sure you’re using the right setting to bake your crafts.
Another word of advice: preheat your oven!

How Thick Should My Polymer Clay Earrings Be?
A rule of thumb is that your clay earrings should ideally be 5mm thick. Too thin, and the clay will simply snap or be too brittle. If the earrings are too thick, they’ll not bake properly and might end up being chunky and heavy on your ears(ouch!).
How to Make Polymer Clay Earrings (Step-by-Step)

Make your very own DIY jewelry with polymer clay. It's a fun DIY accessory project for adults and teens! Super cute and can be used to make multiple DIY gifts.
Materials
- Polymer clay
- Jump rings
- Earring hooks
- Earrings posts + backs
- Glue E6000
Tools
- Dotting pen
- Filling knife (or any cutting blade)
- Rubber stamps
- Cookie cutters
- Fine sandpaper
- Pliers
- Rolling pin
- Cardboard piece
- Parchment paper
- Sellotape
- Scissors
Instructions
- Assemble all your materials to get started on this project.
- Prepare your work surface by lining a sheet of cardboard with parchment paper and taping it in place.
- Next, choose the different colors of clay you wish to use and pinch off the required amount.
- Use the warmth of your hands to smoothen the clay and roll each piece into cylinders. Line up each roll and press them together before rolling them into a flat sheet that’s around 5mm thick. Keep alternating between folding, twisting, and rolling your clay to get the desired pattern or effect on your clay.
- You can also experiment with different colors. Additionally, you can line up different colored rolls of clay, cut off half-inch pieces, lay them next to each other, and finally, roll them all together, too!
- Feel free to add some designs to your clay, too. You can speckle the clay with little clay dots, press a stencil to etch a design, and use craft tools to poke holes, score lines, and other designs onto the clay.
- There’s no limit to the varying combinations of colors, textures, and designs you can experiment with.
- When you’re happy with the way your clay looks, grab different shapes of cookie cutters and press them into the clay to get any number of shapes you desire. You can also make two-piece earrings with danglers, or stick to studs, too.
- Peel away the excess clay, and feel free to reuse them to make more earrings, as well!
- Don’t forget to poke holes into the clay for the jump hooks to go through later.
- Transfer all the different pairs onto a baking tray lined with parchment paper. While you’re doing this, preheat your oven.
- Bake the earrings for around 30 minutes at 230F (110C) (or as suggested on the packaging instructions) and then cover them with aluminum foil so they don’t crack after they’re baked.
- Once the earrings have cooled down, you can use sandpaper to scrub off any excess clay shavings and also to smoothen the earrings. You can also set the clay with a coat of clear glossy or matte-finish varnish specifically designed for polymer clay.
- Then, attach the hooks or the studs to the earrings, and voila, your earrings are ready!