

Make your very own magnetic organizer. You can use it to organize all sorts of small items, beauty products, and more!

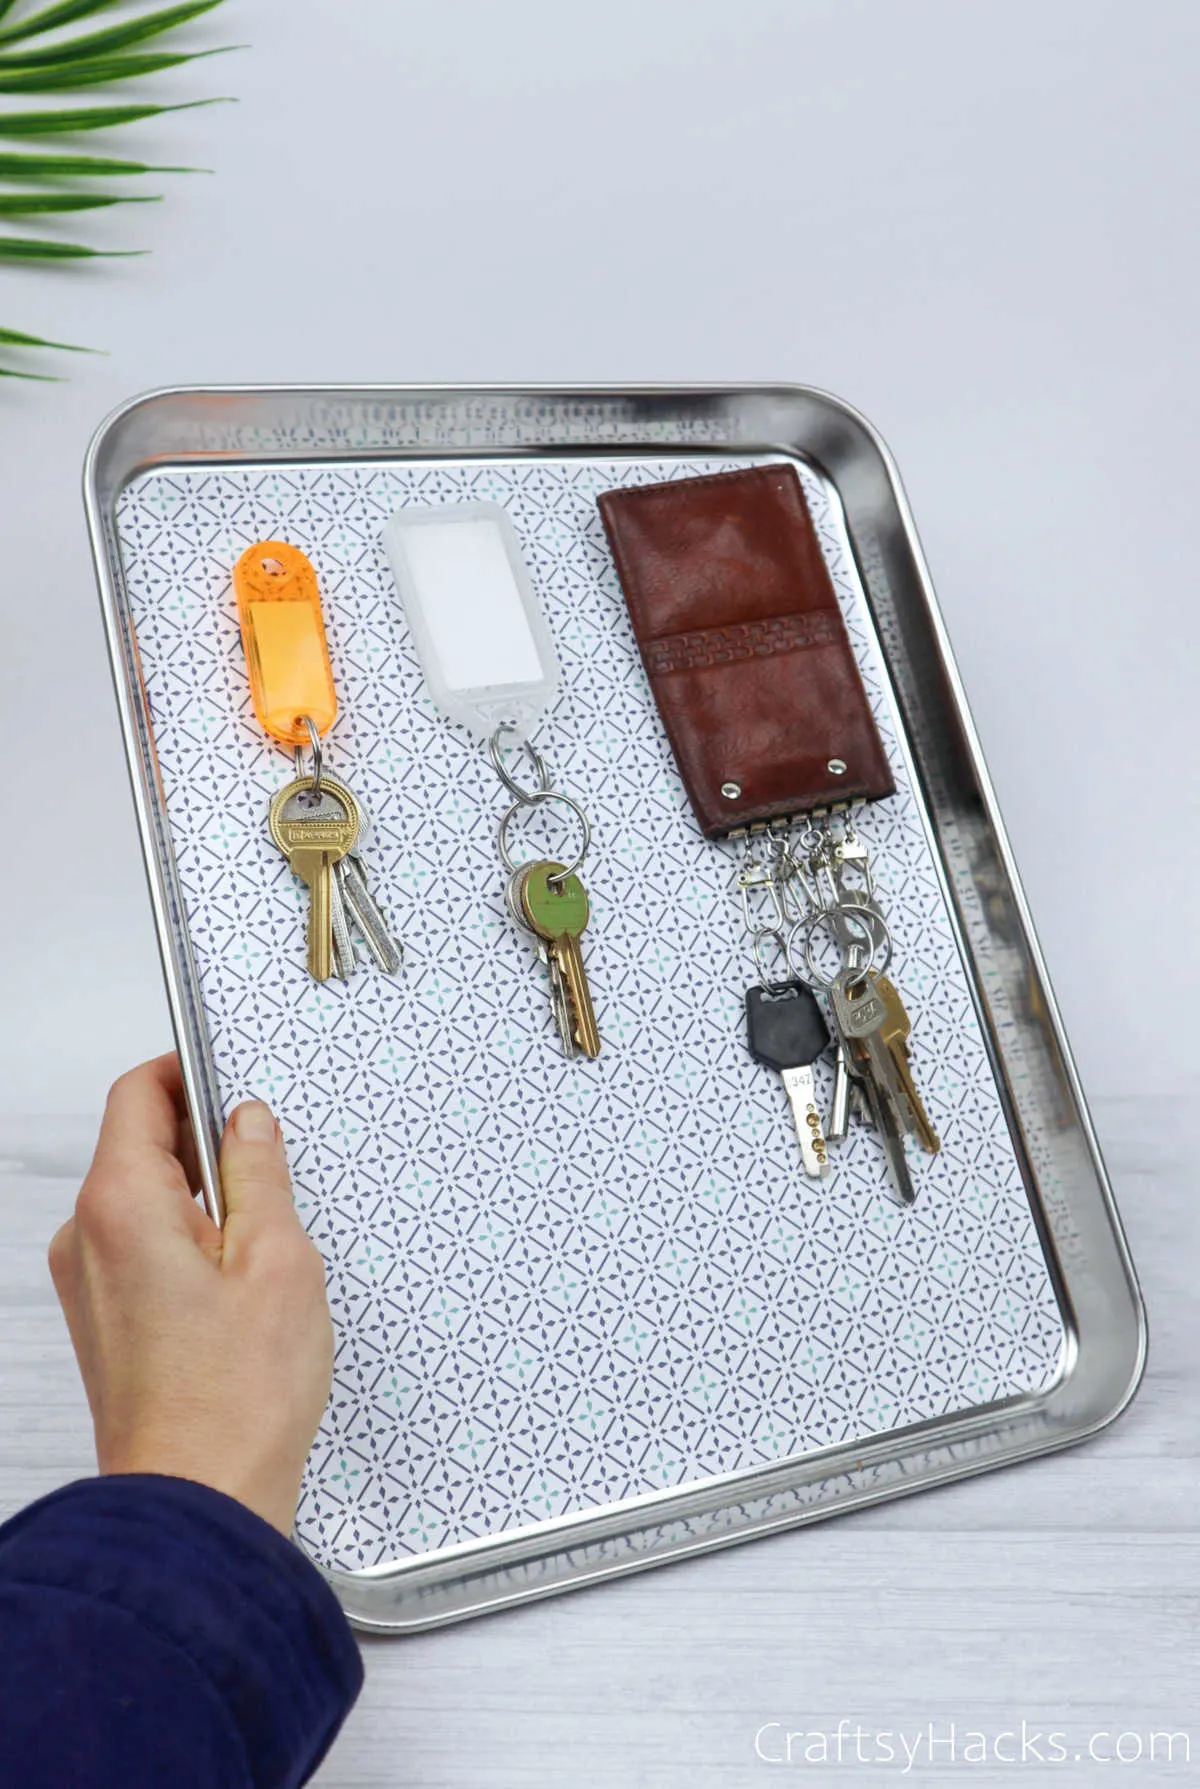
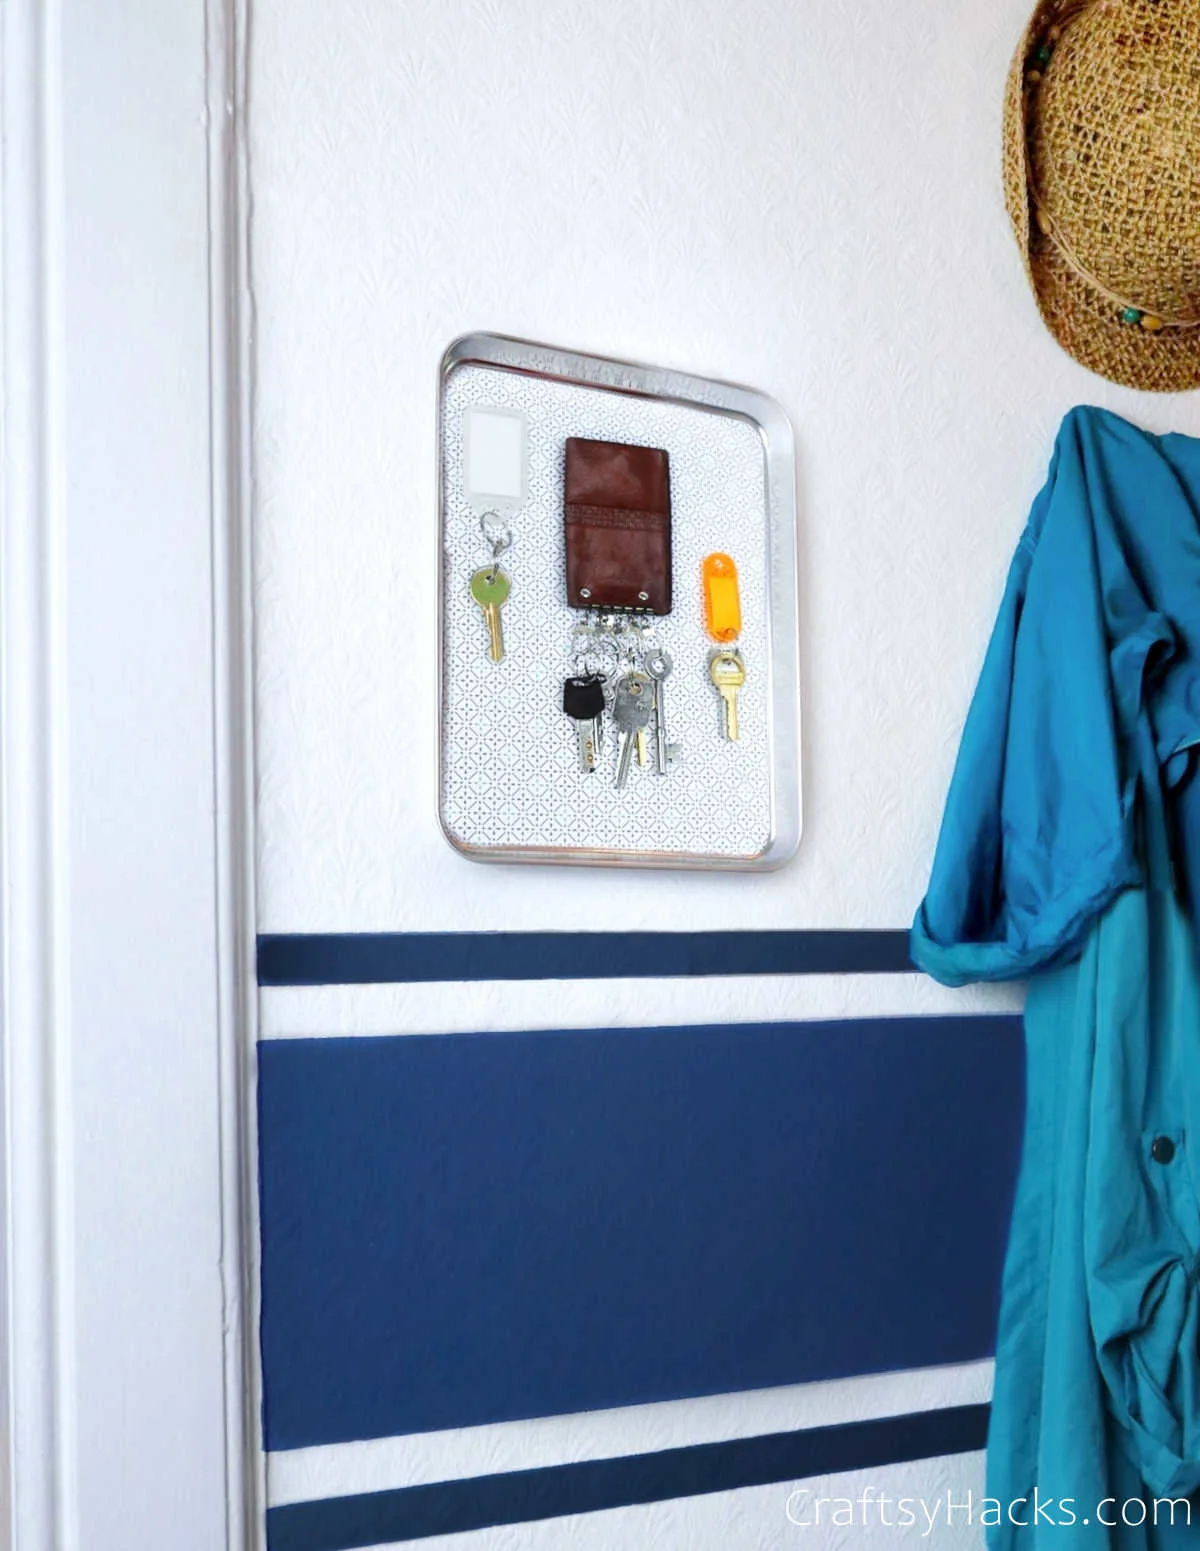
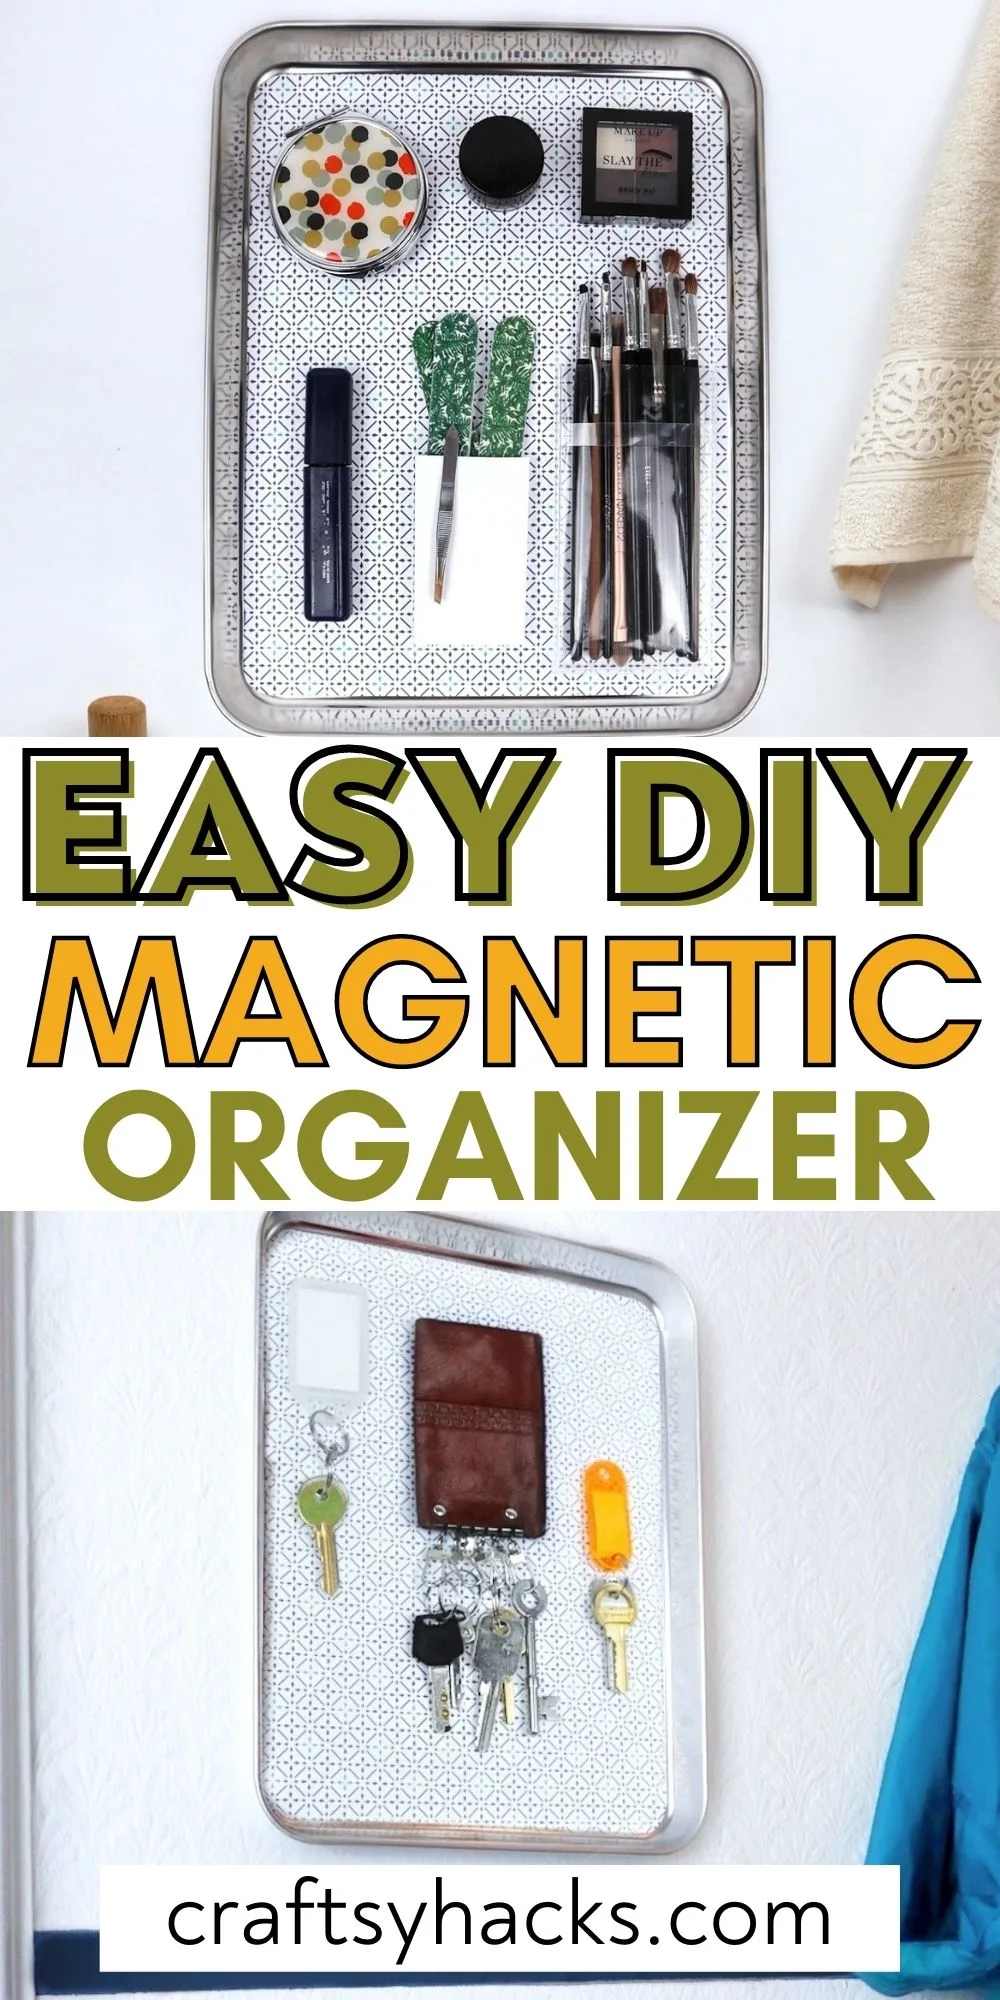
If you’re constantly misplacing things—keys, spare change, your makeup—then you know how hard it can be to keep track of them. Sure, you can dump the contents of your pocket into a bowl and call it a day.
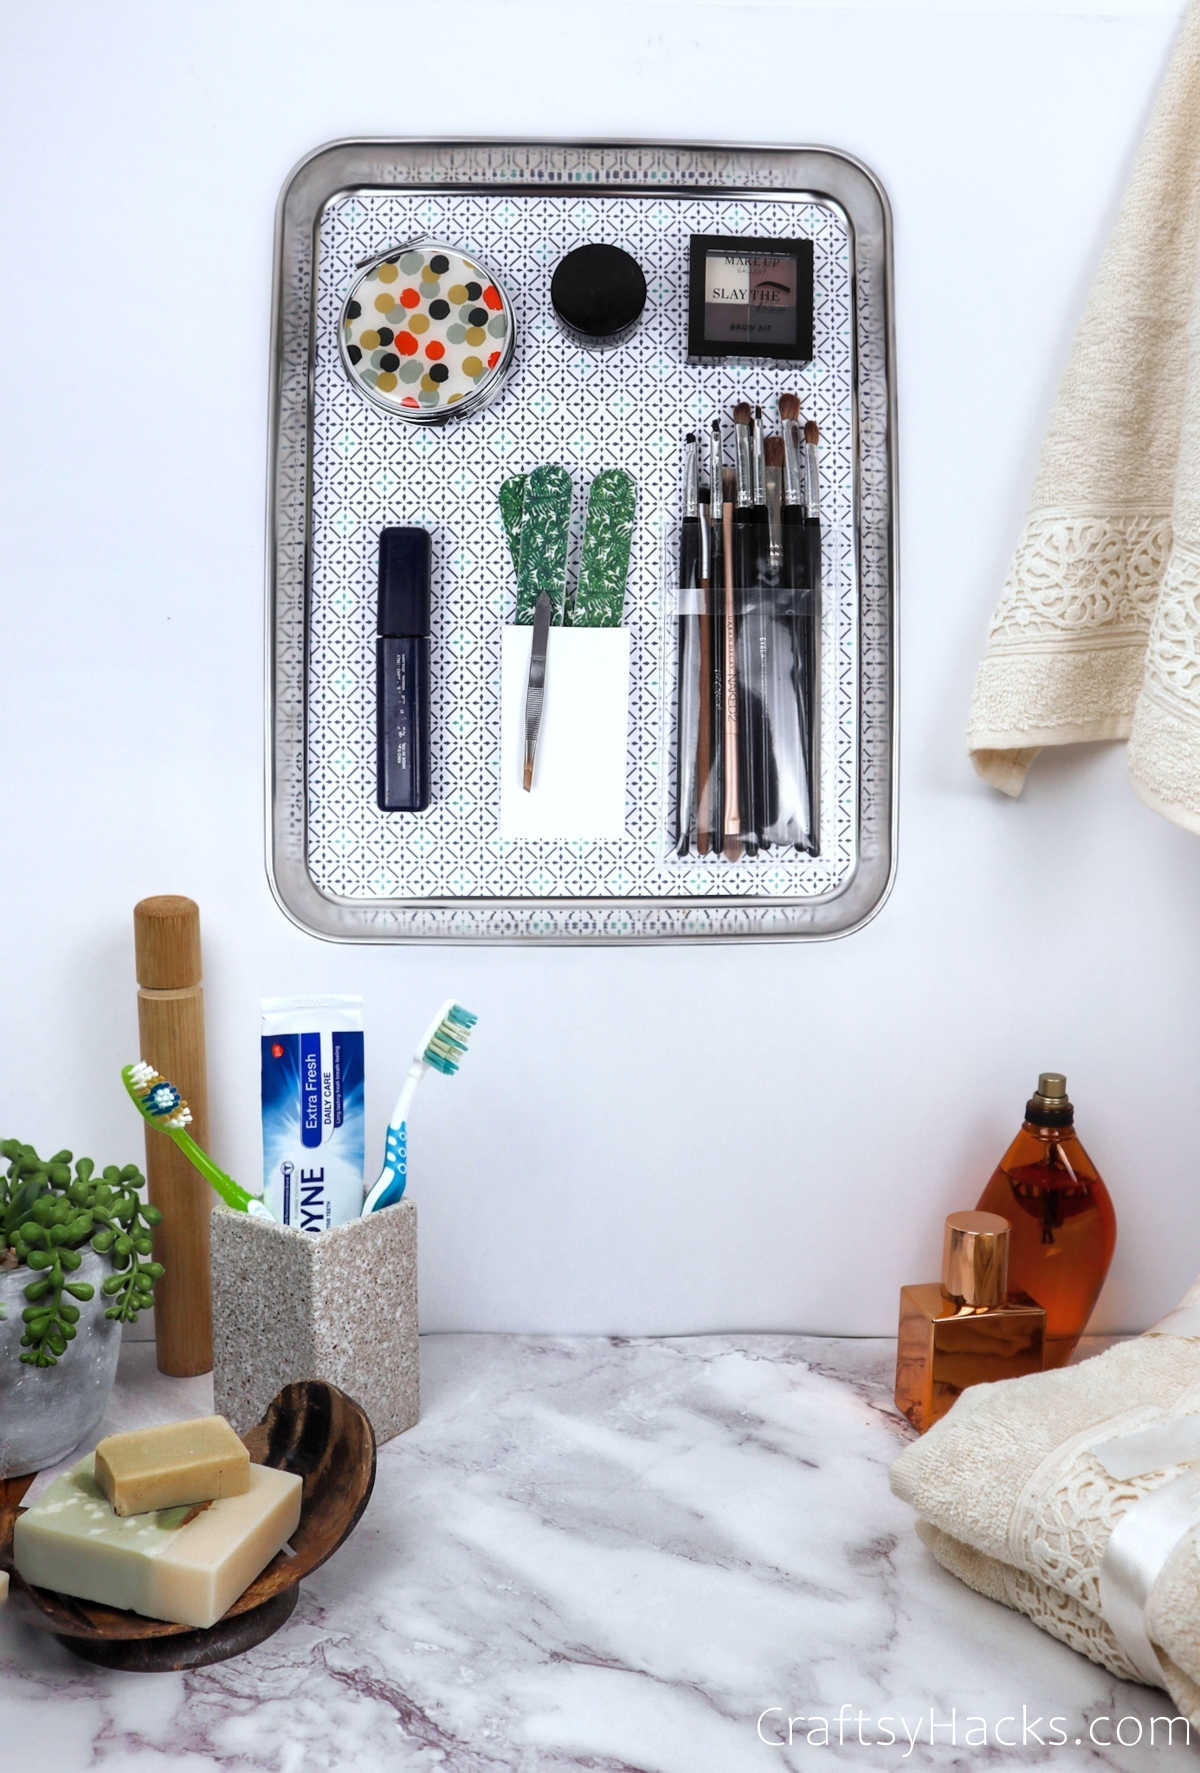
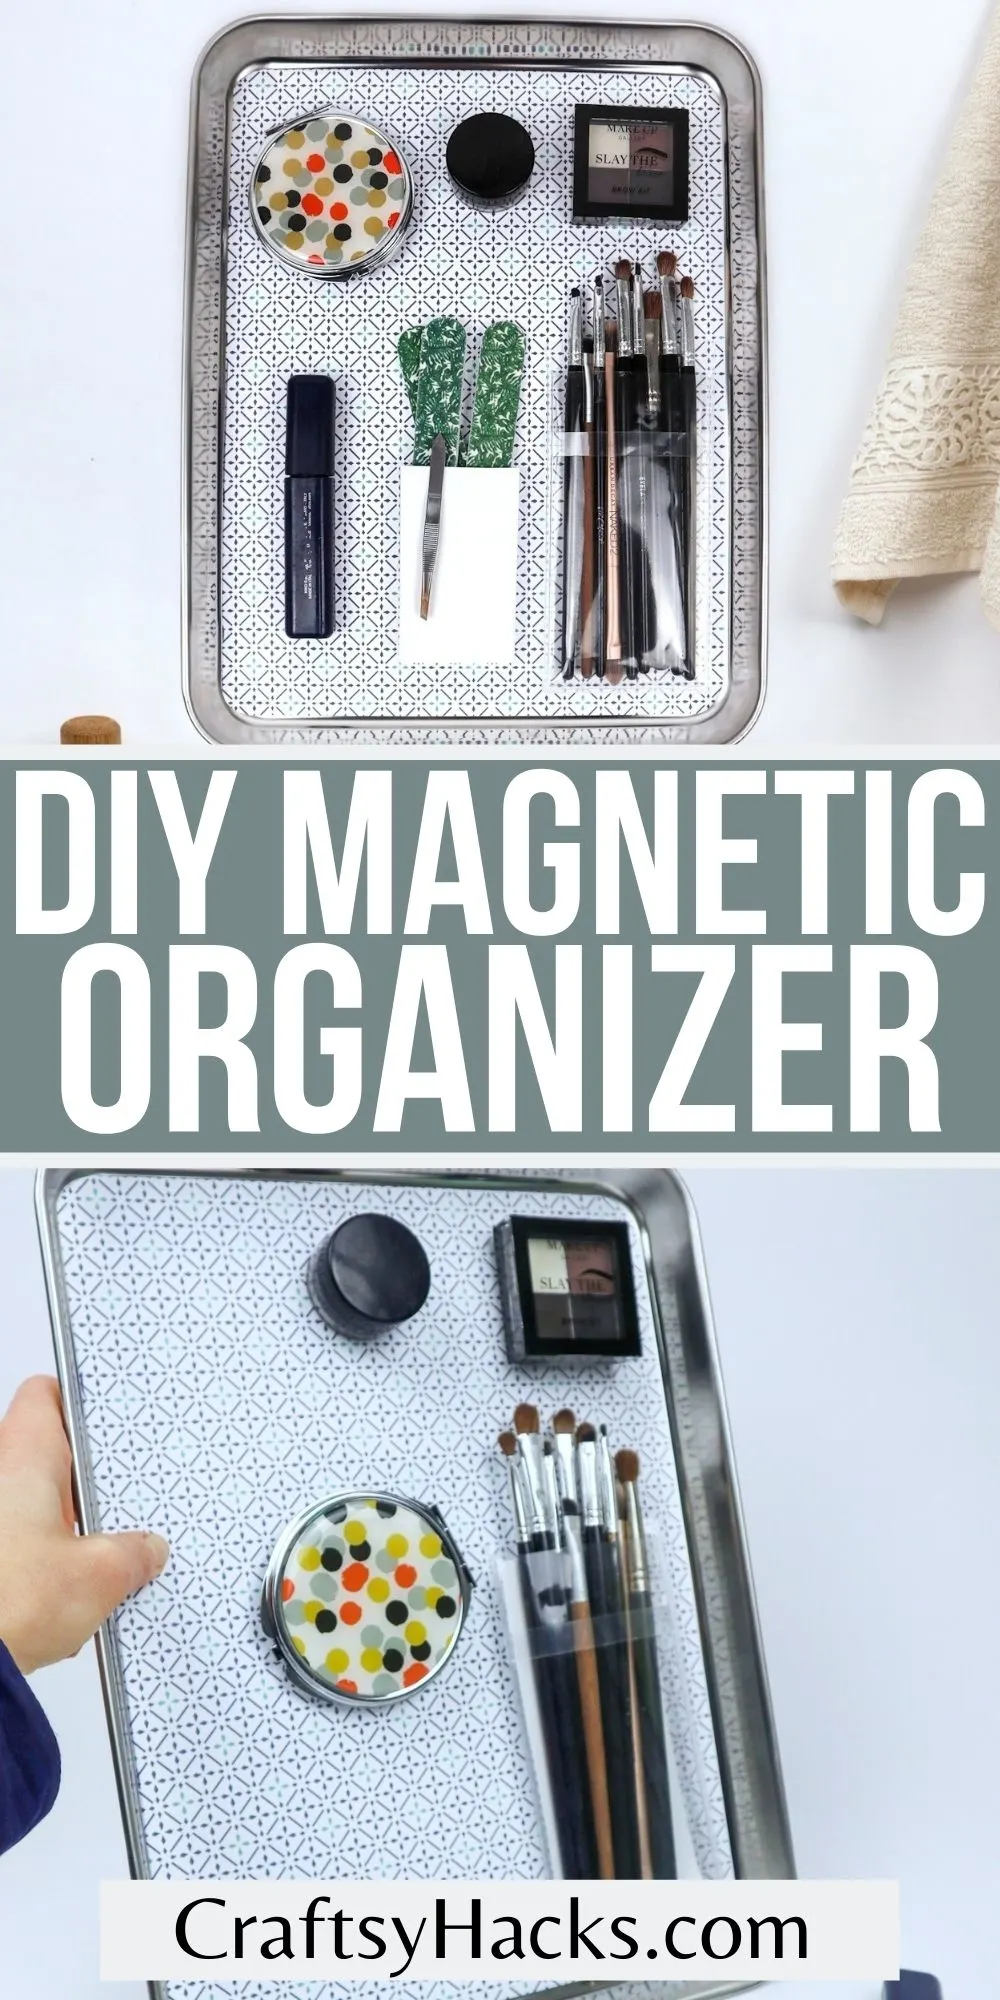
Or, you can check out this super cool DIY magnet organizer. It’s mountable, which means you can actually see what’s in there rather than digging and pawing through a messy bowl.


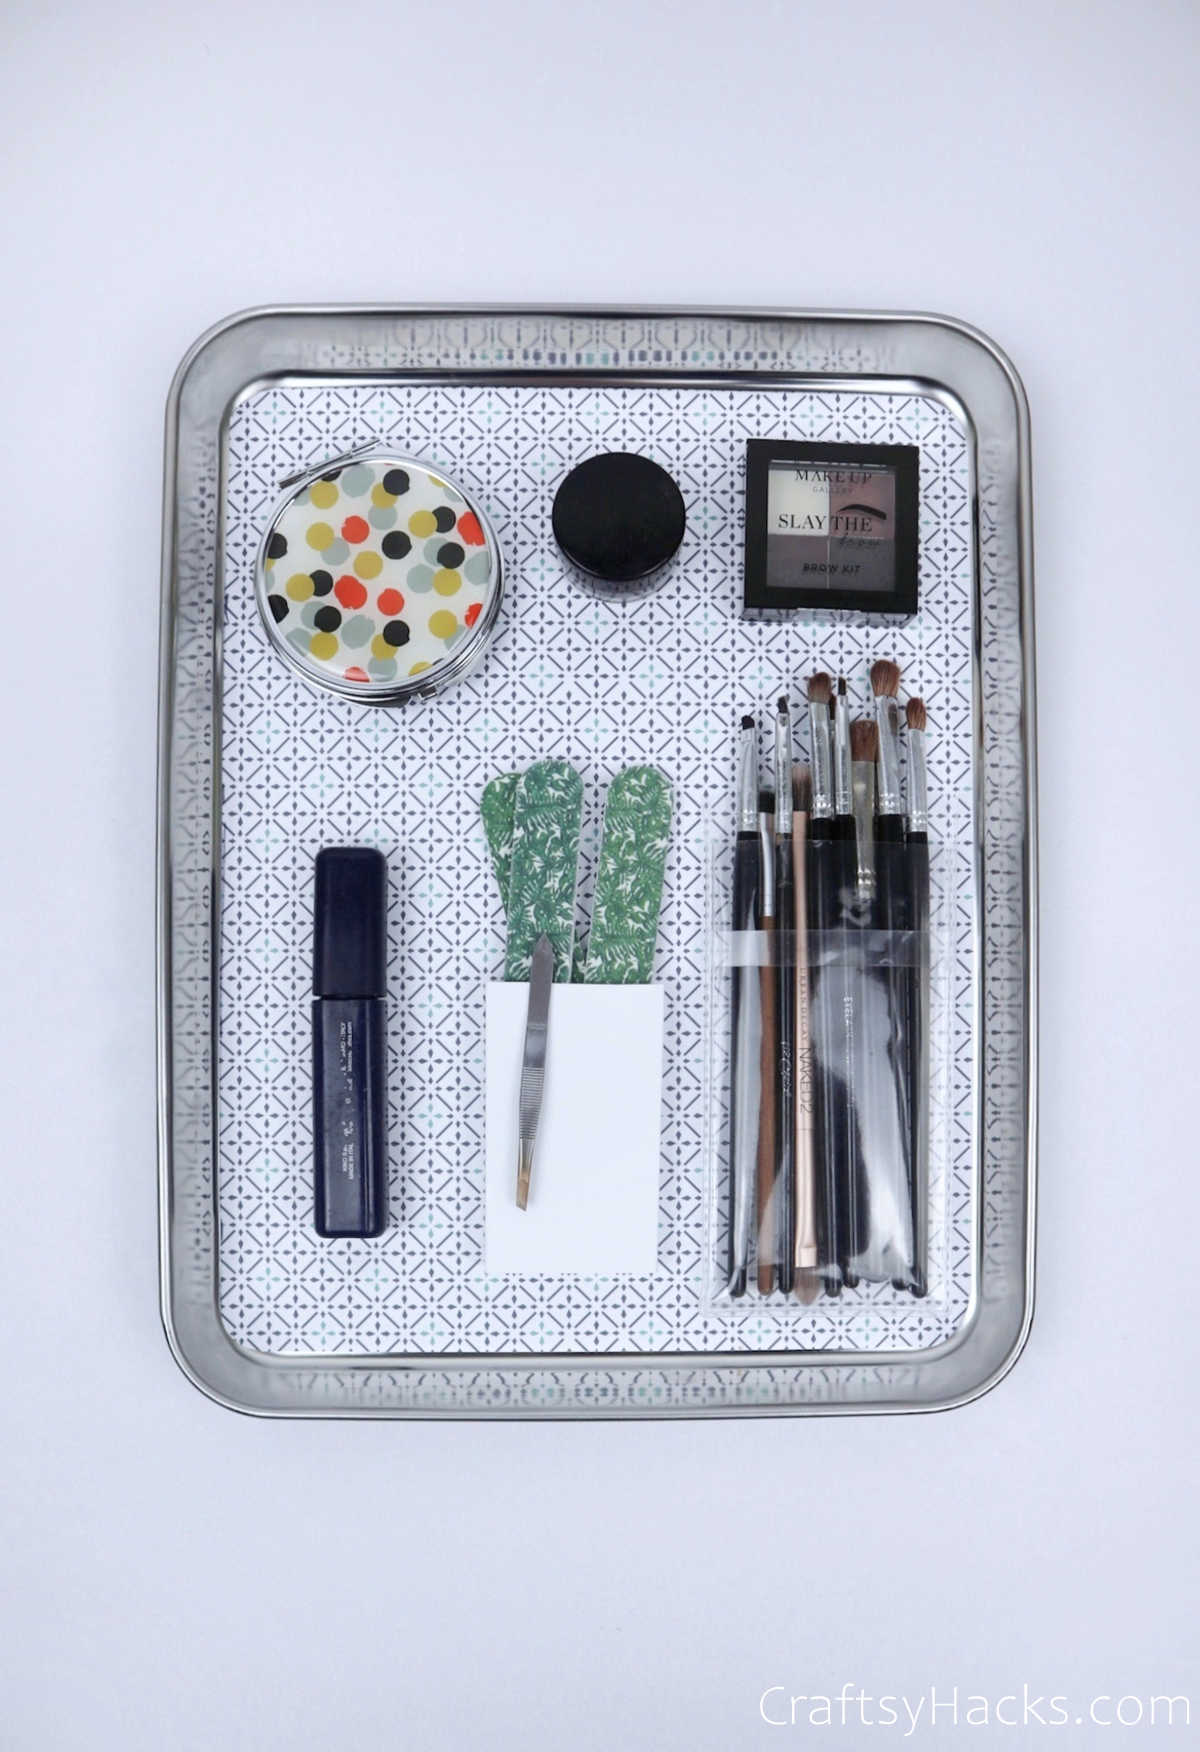
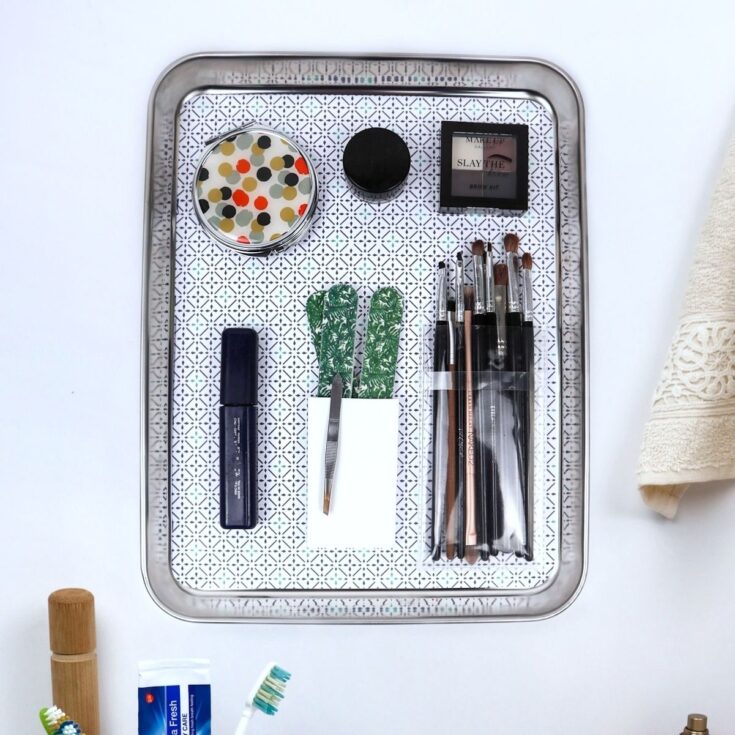
Doesn’t it look clutter-free and organized? You can have this organizer, too, and you can make it right at home with just a few easy-to-find materials.
Let’s get started!

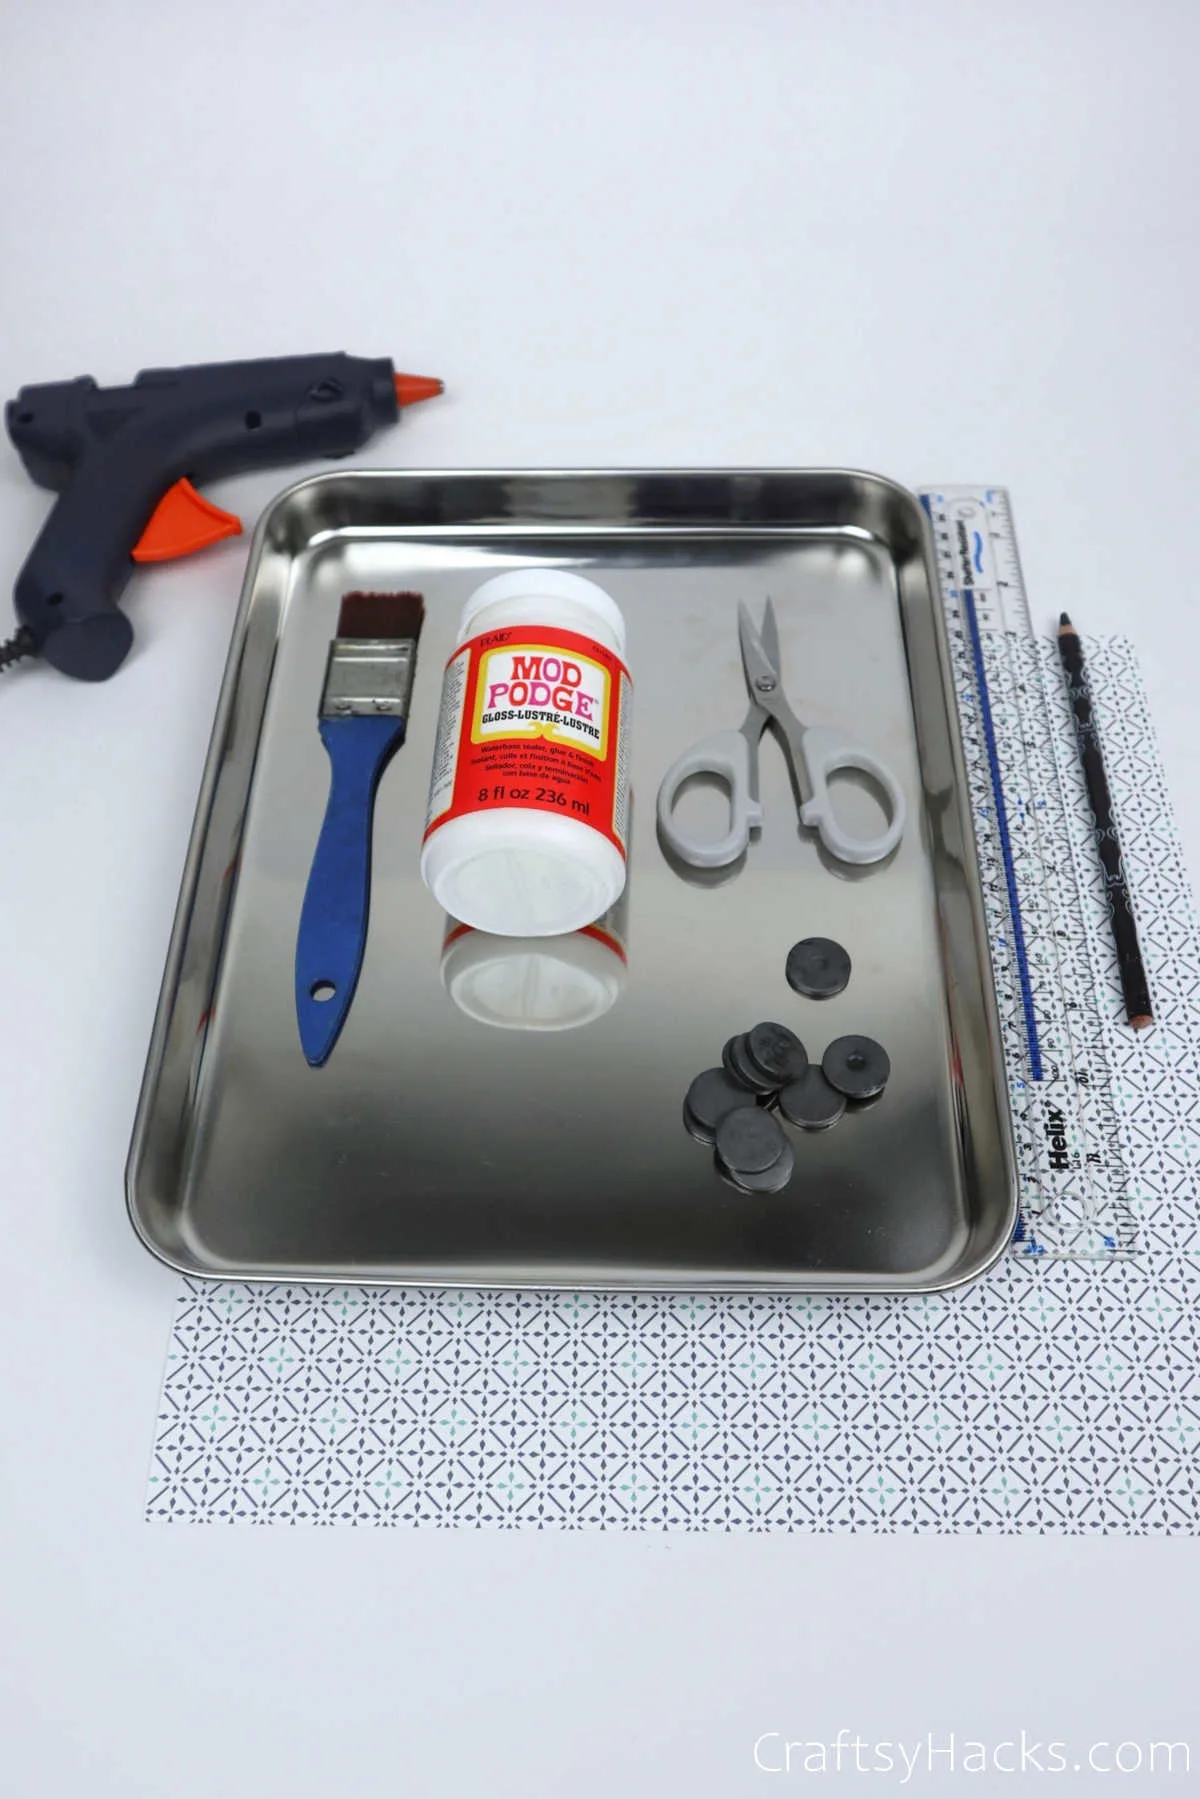
Supplies for the Organizer
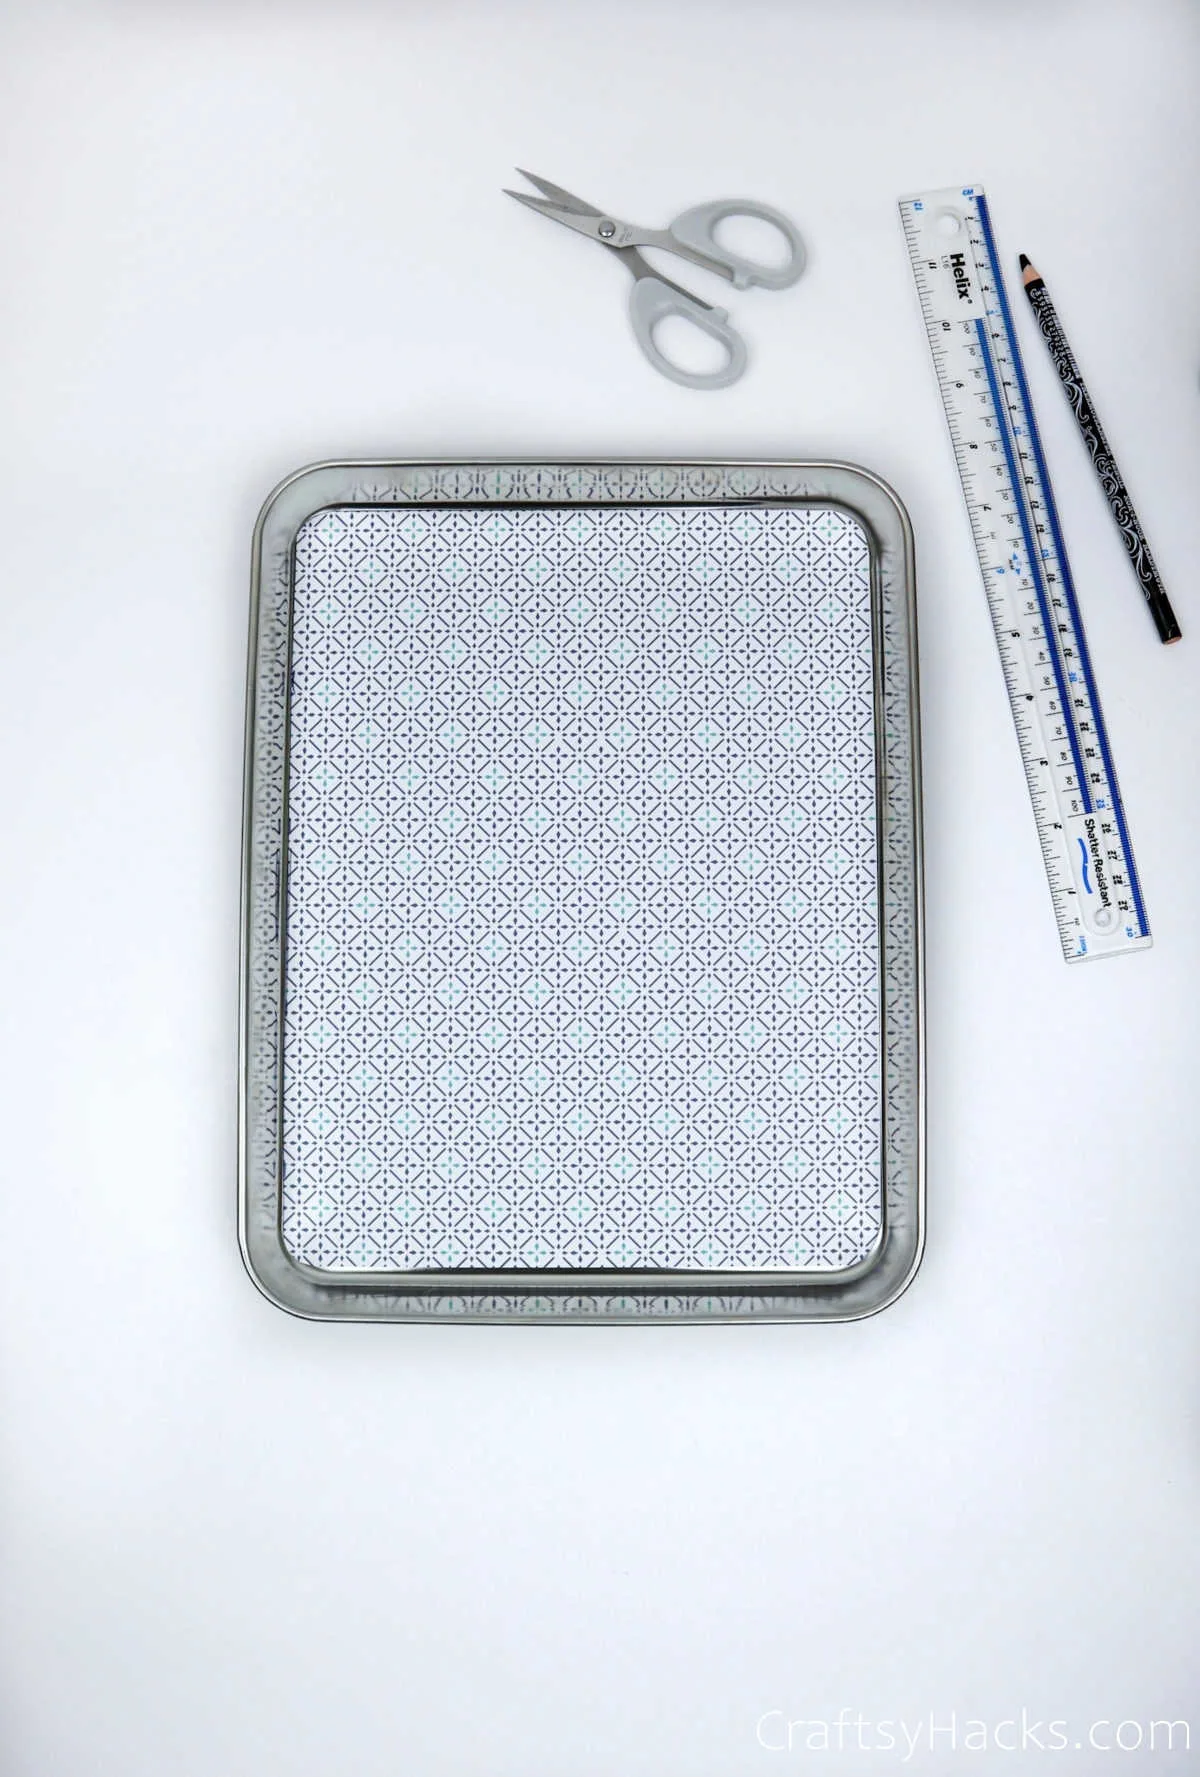
Here’s a list of everything you could possibly need to complete this DIY magnetic organizer:
- Stainless steel baking tray or metal cookie tray
- Scissors
- Decorative paper (thin)
- Magnets
- Ruler
- Pencil
- Hot glue gun
- Mod podge
- Painting brush

How to Make a Magnetic Organizer
As you can see, you really don’t need much to make this DIY magnetic organizer. What you do need, however, is a good quality stainless steel serving tray or baking tray.
If you’ve got one with stainless-steel handles, then that should do the trick!
Step 1
Measure the length, height, and width of the tray using a ruler or measuring tape.


Step 2
Using the measurements you just took, draw an outline on your decorative paper of choice.
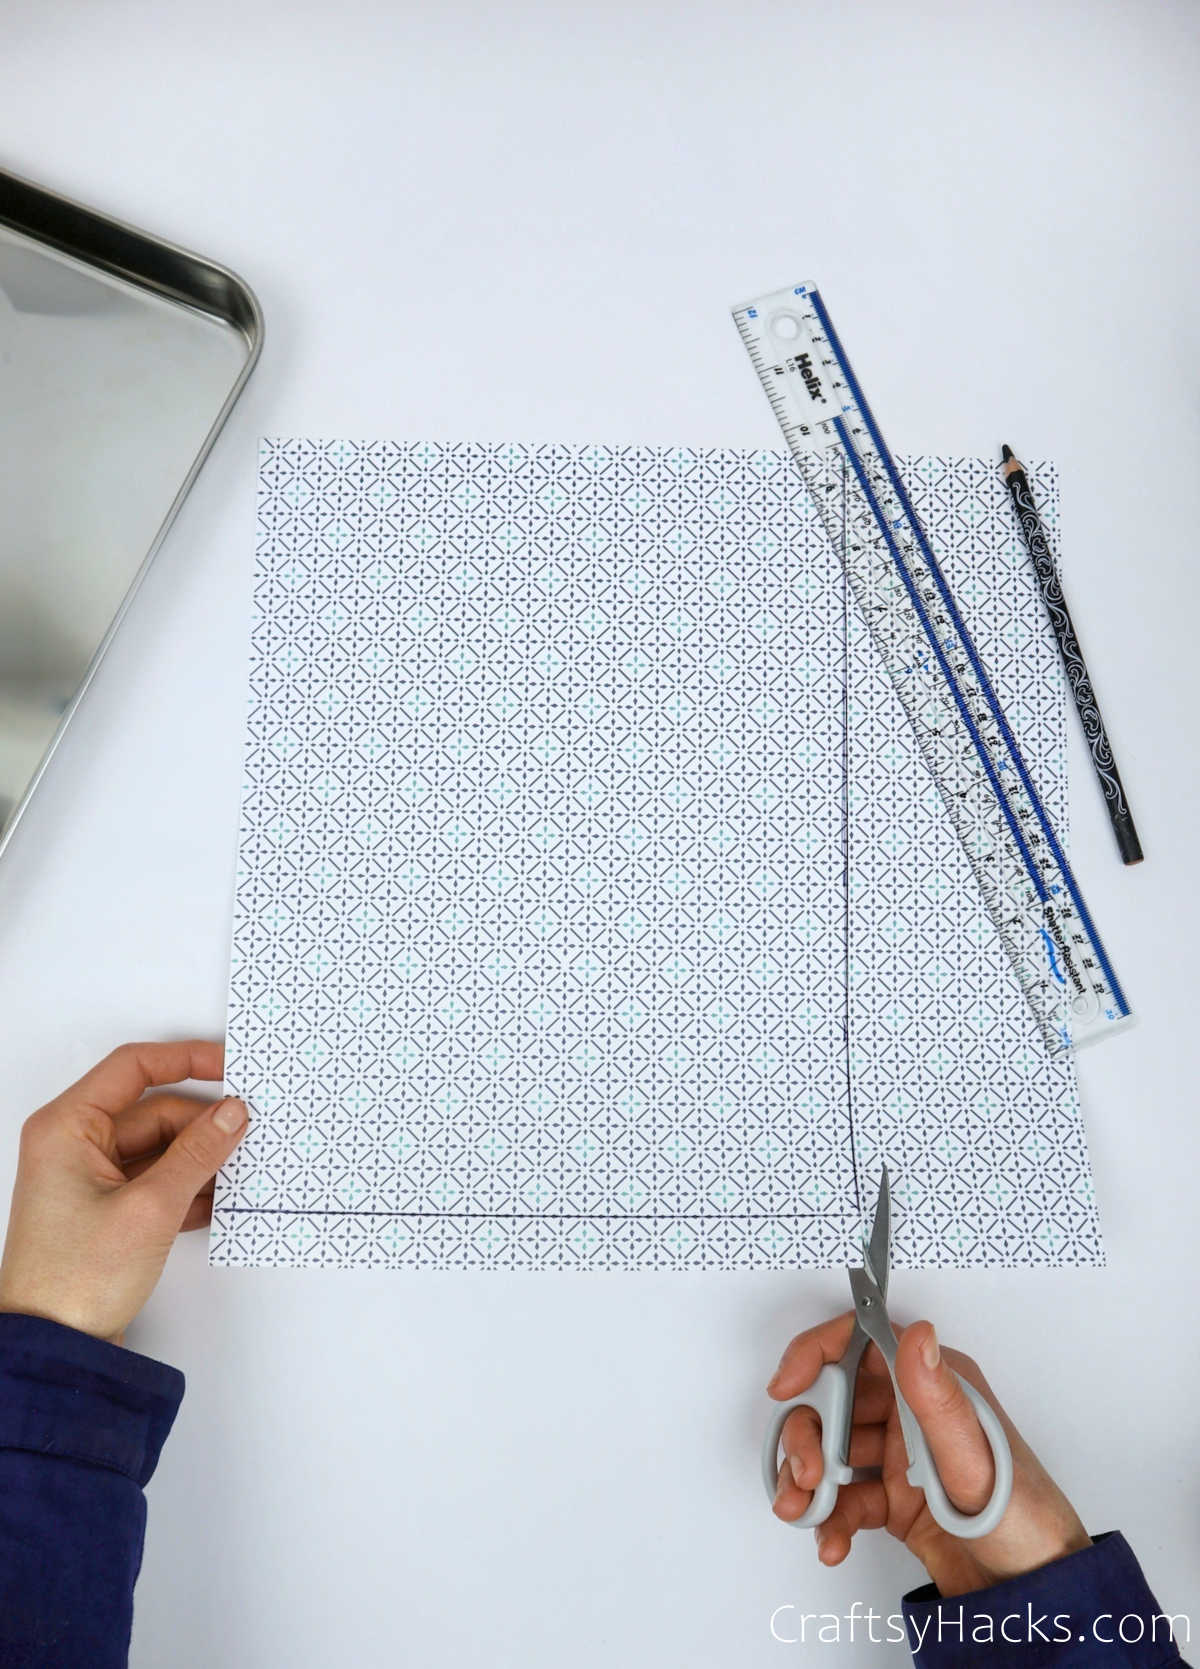
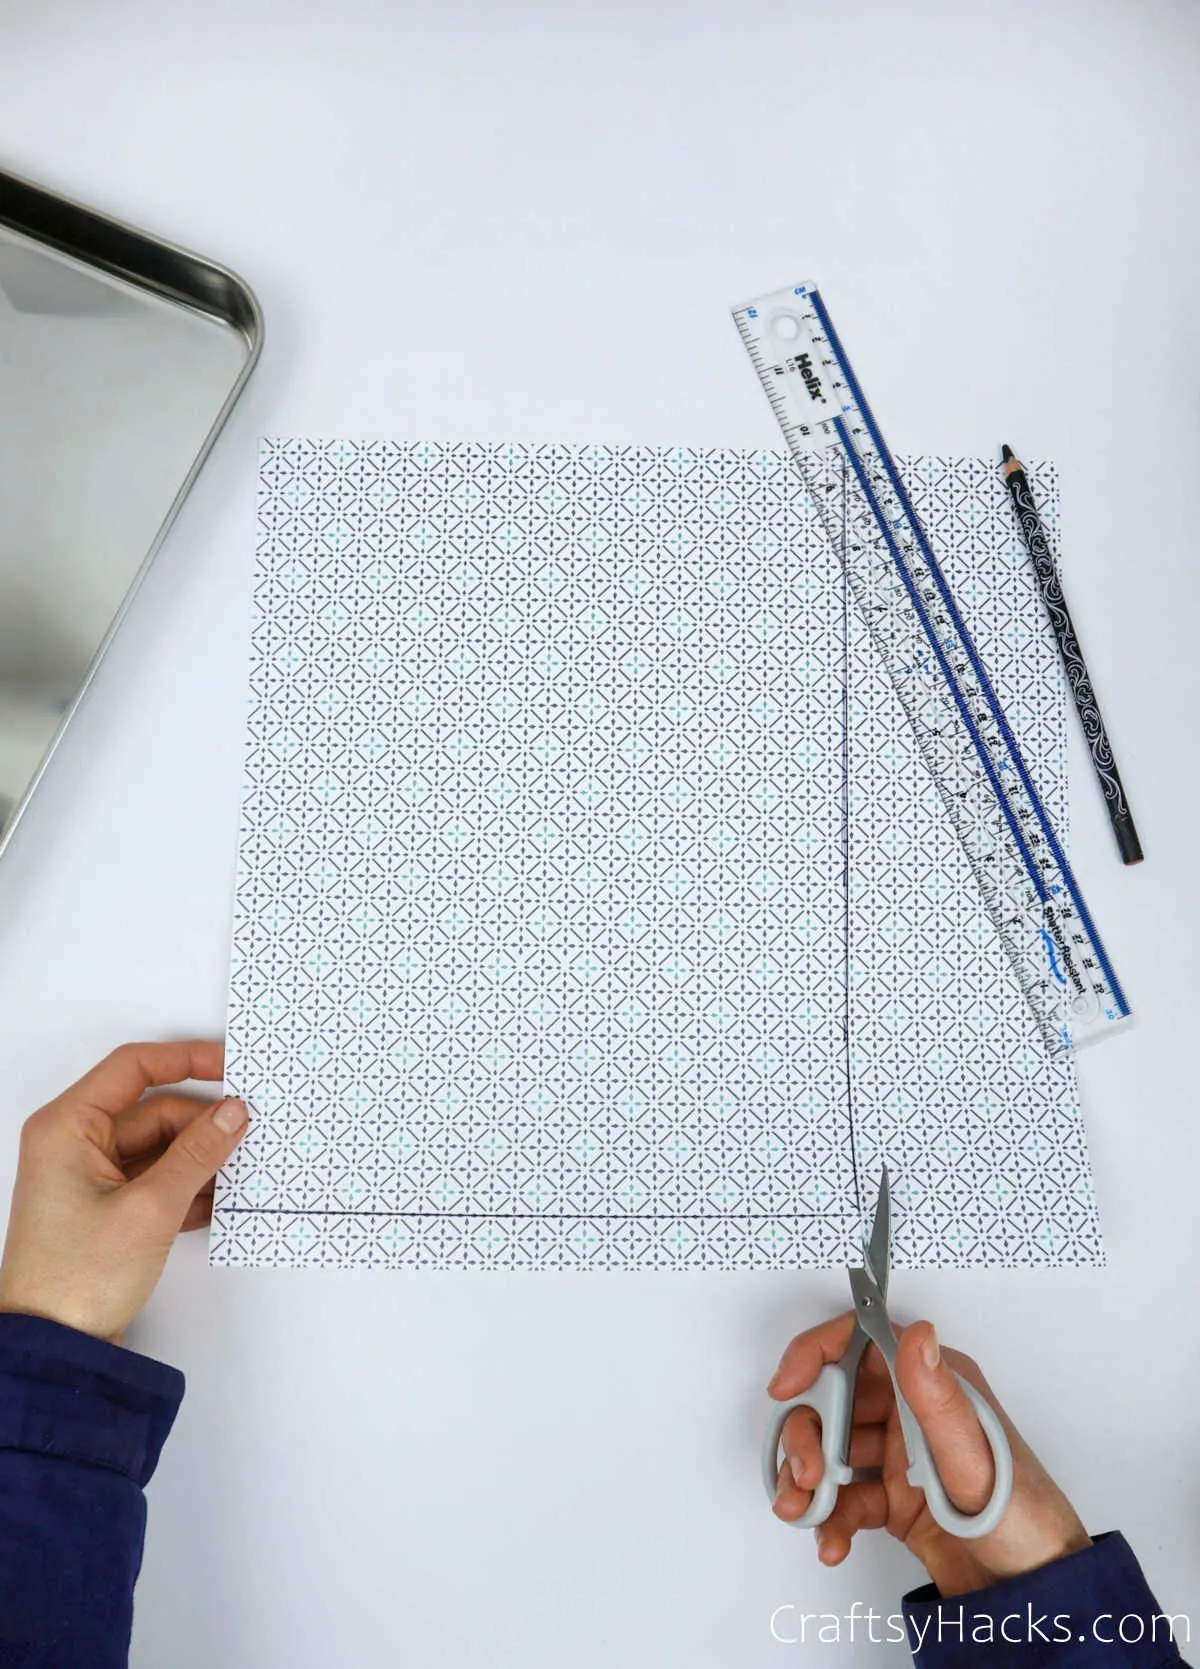
Step 3
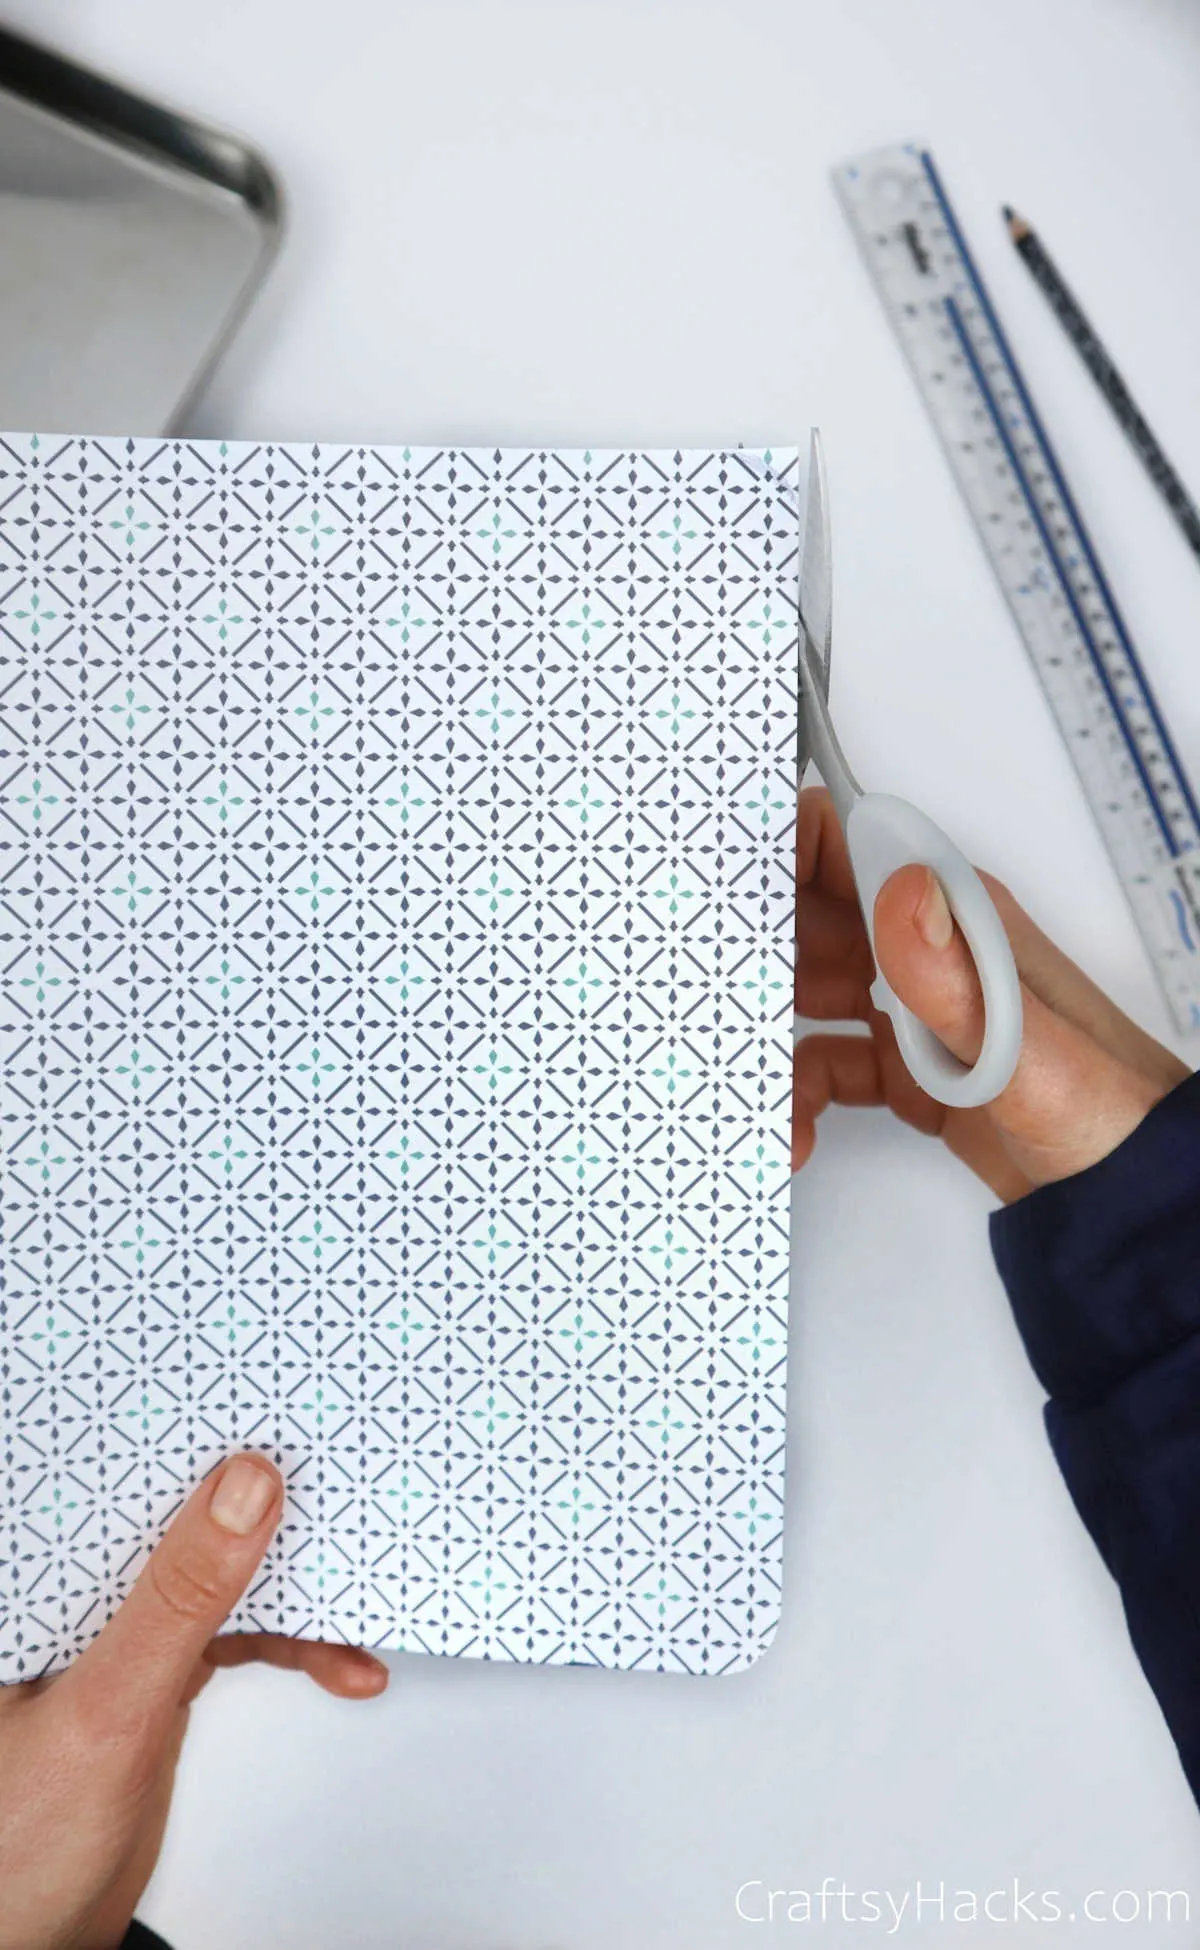
Next, cut out the appropriate dimensions out of your decorative paper.

Step 4
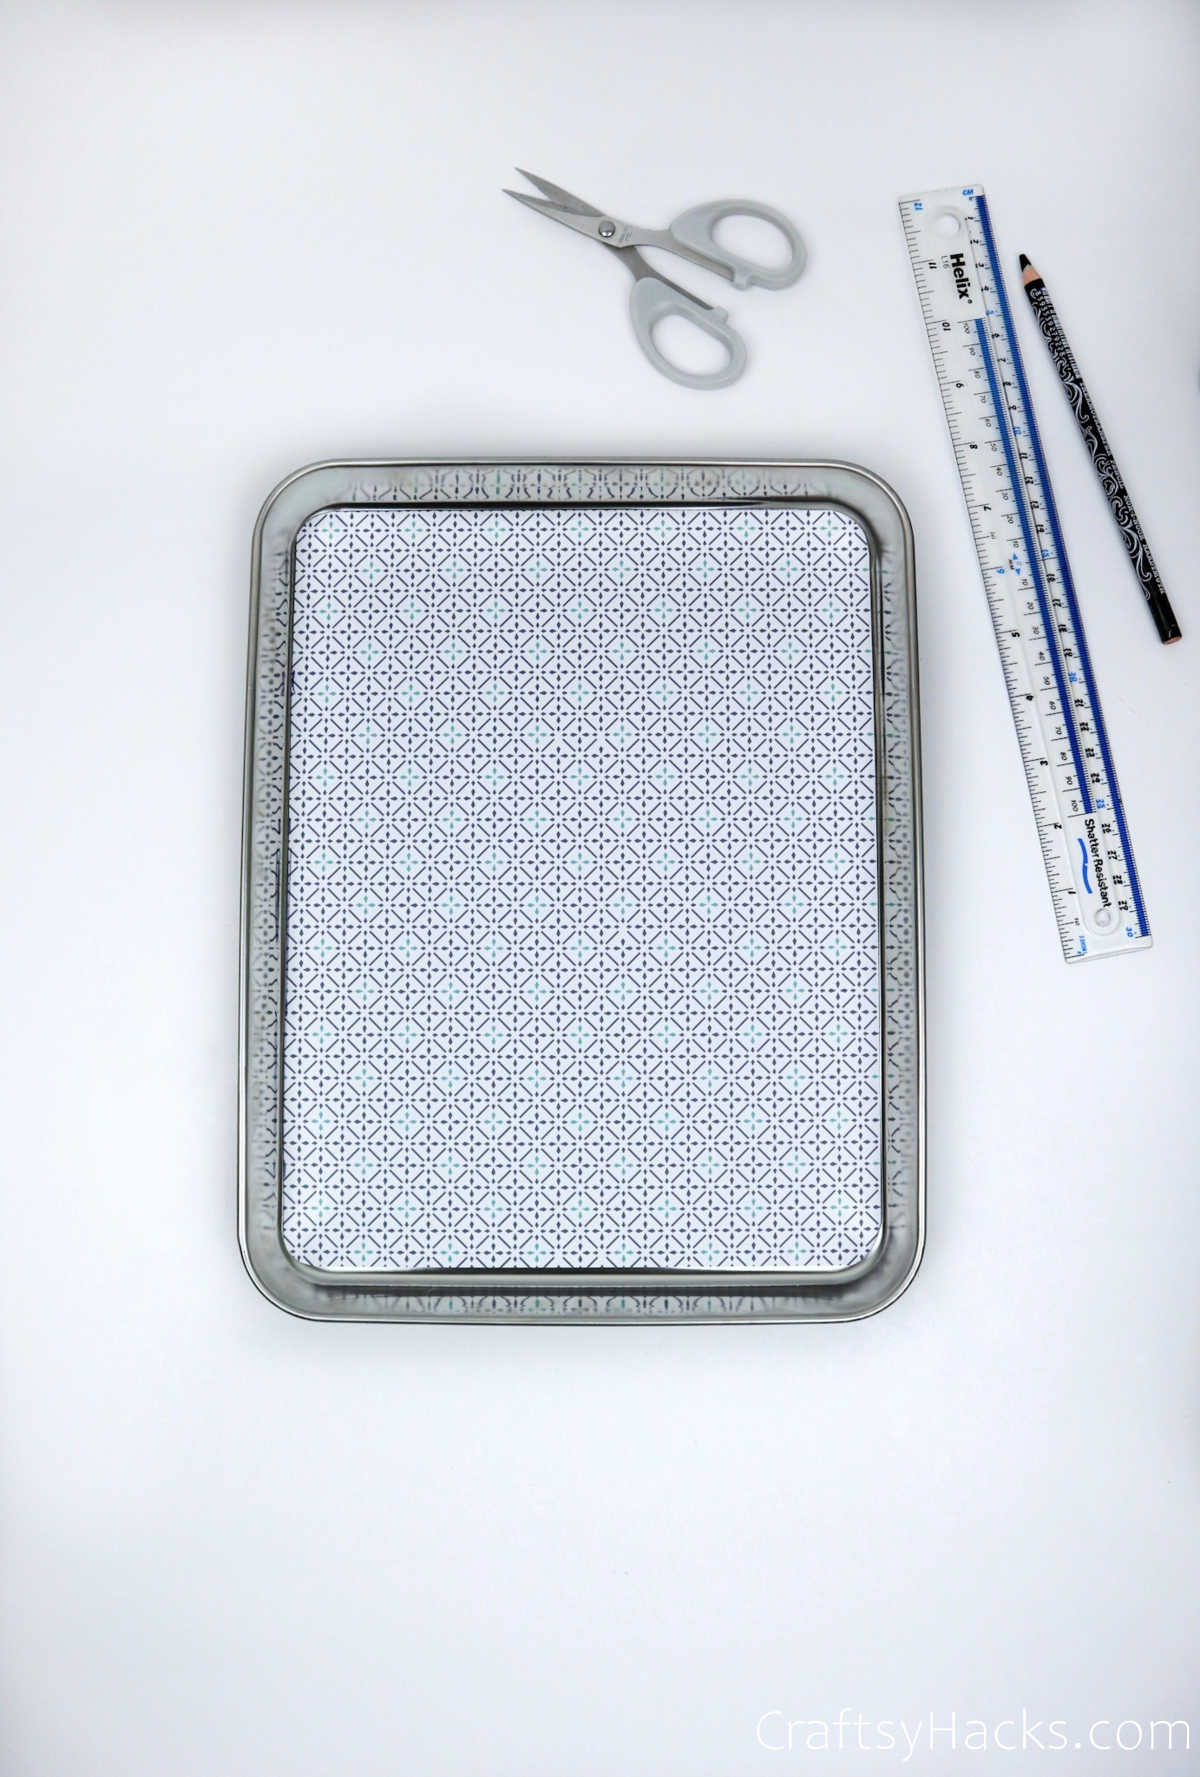
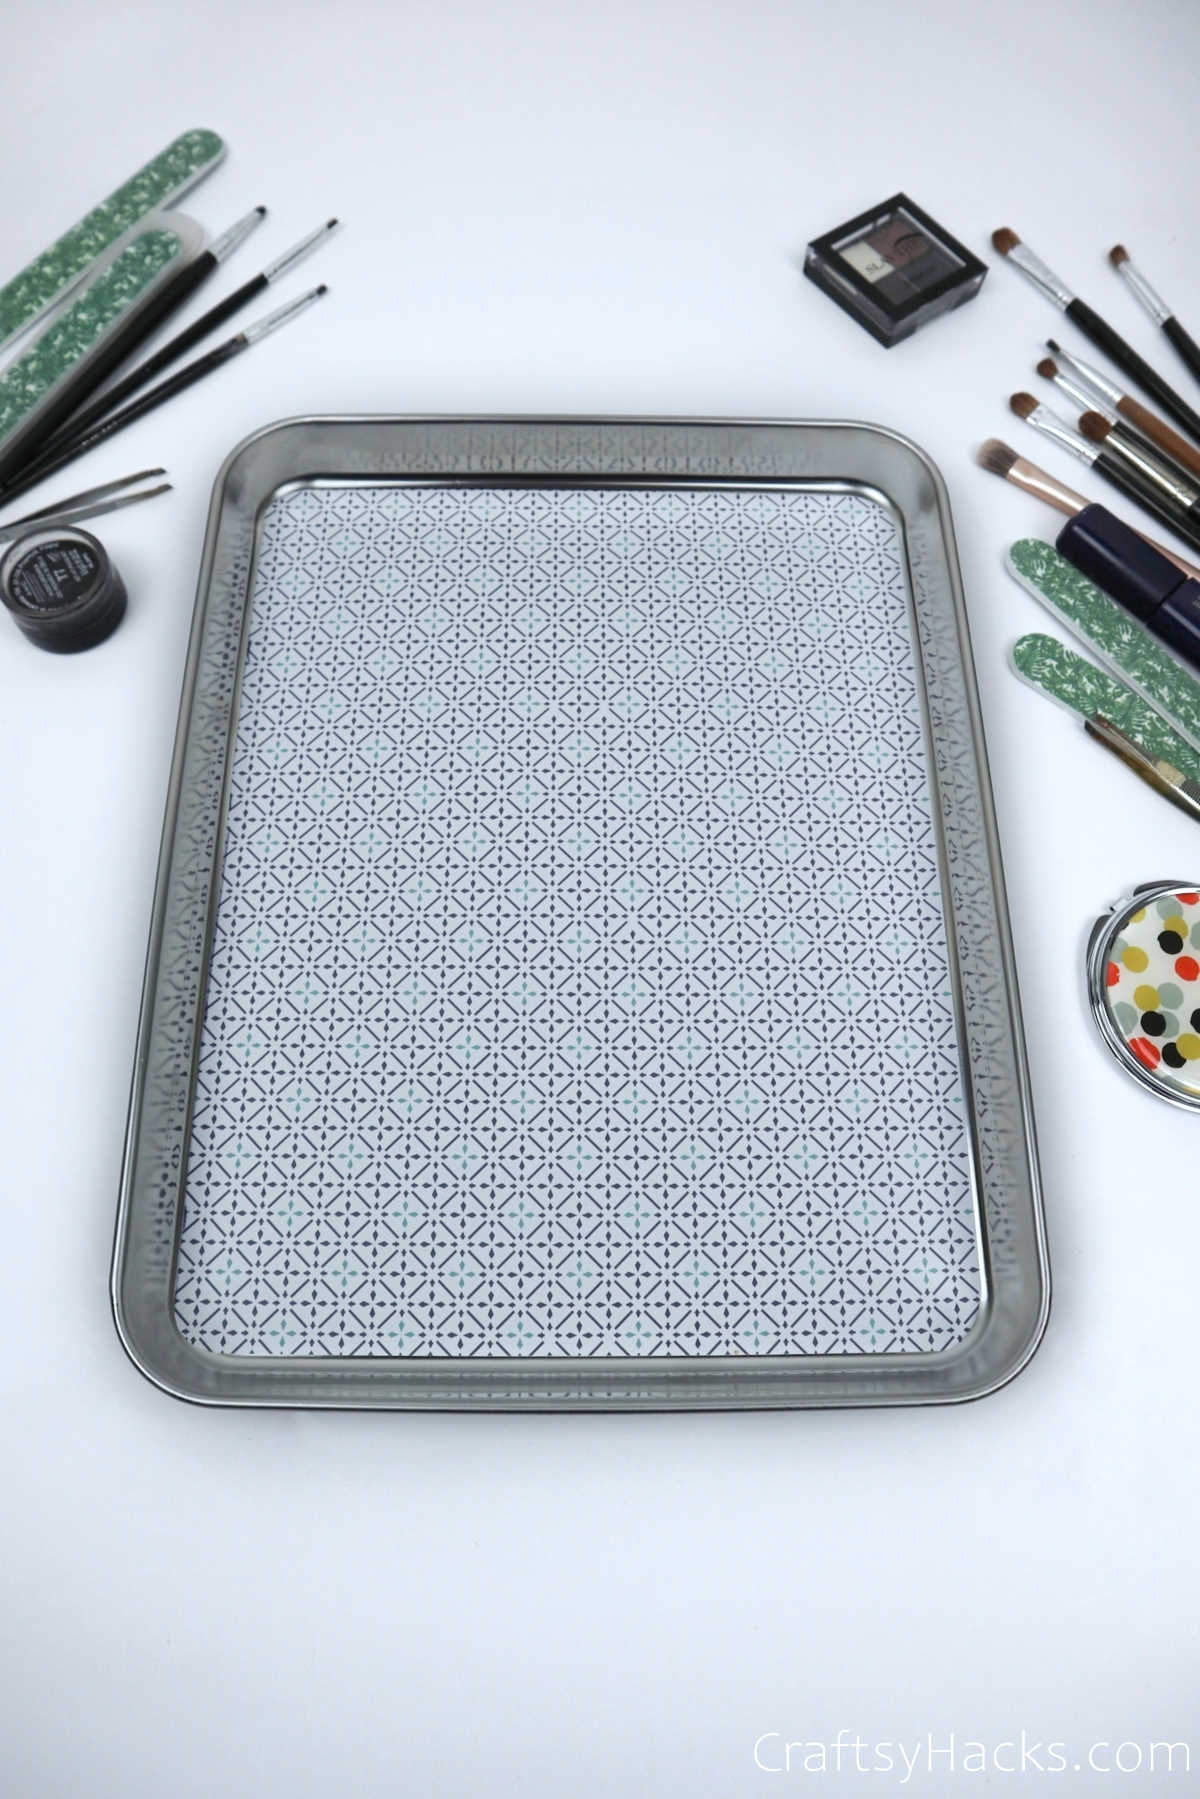
When you have cut out your paper, place it on the surface of the tray to check if it sits well. The edges and the corners may need to be trimmed to accommodate the tray’s dimensions.
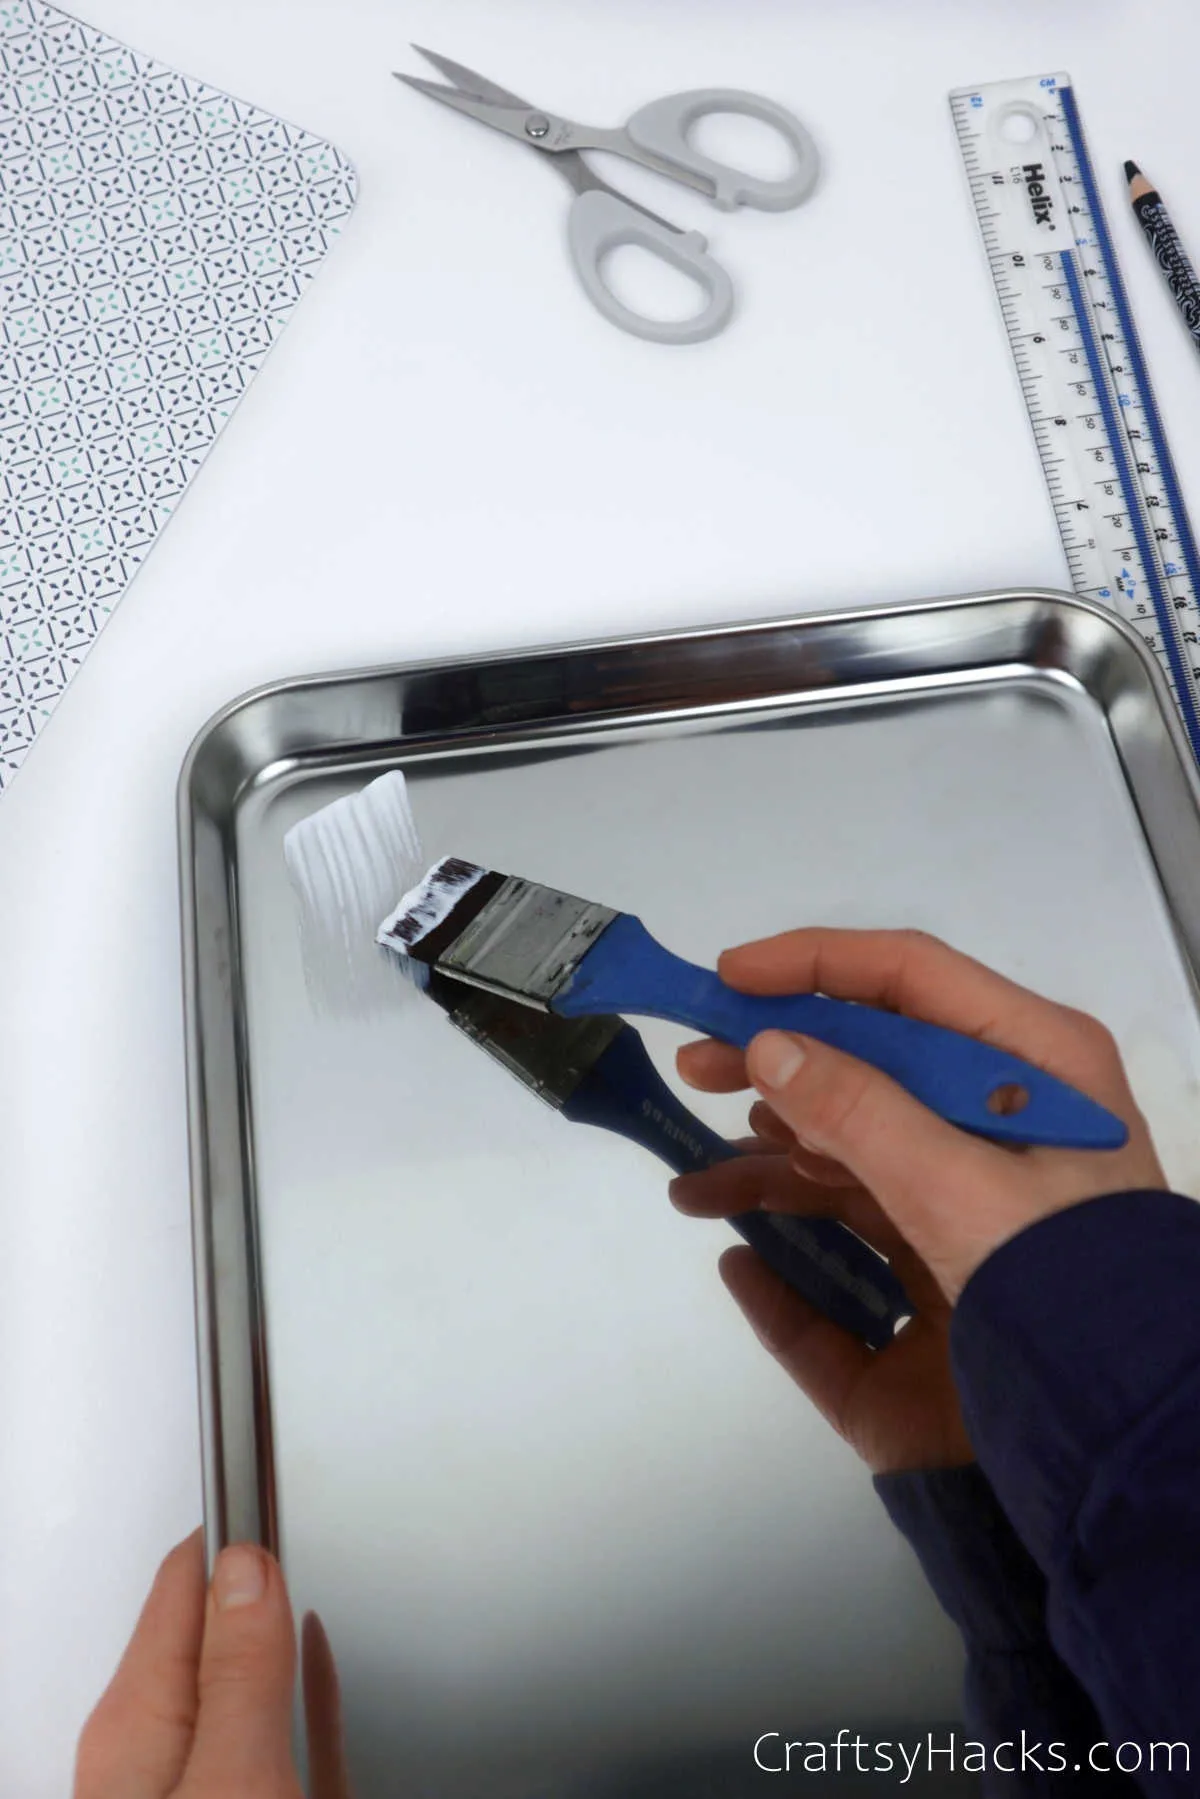
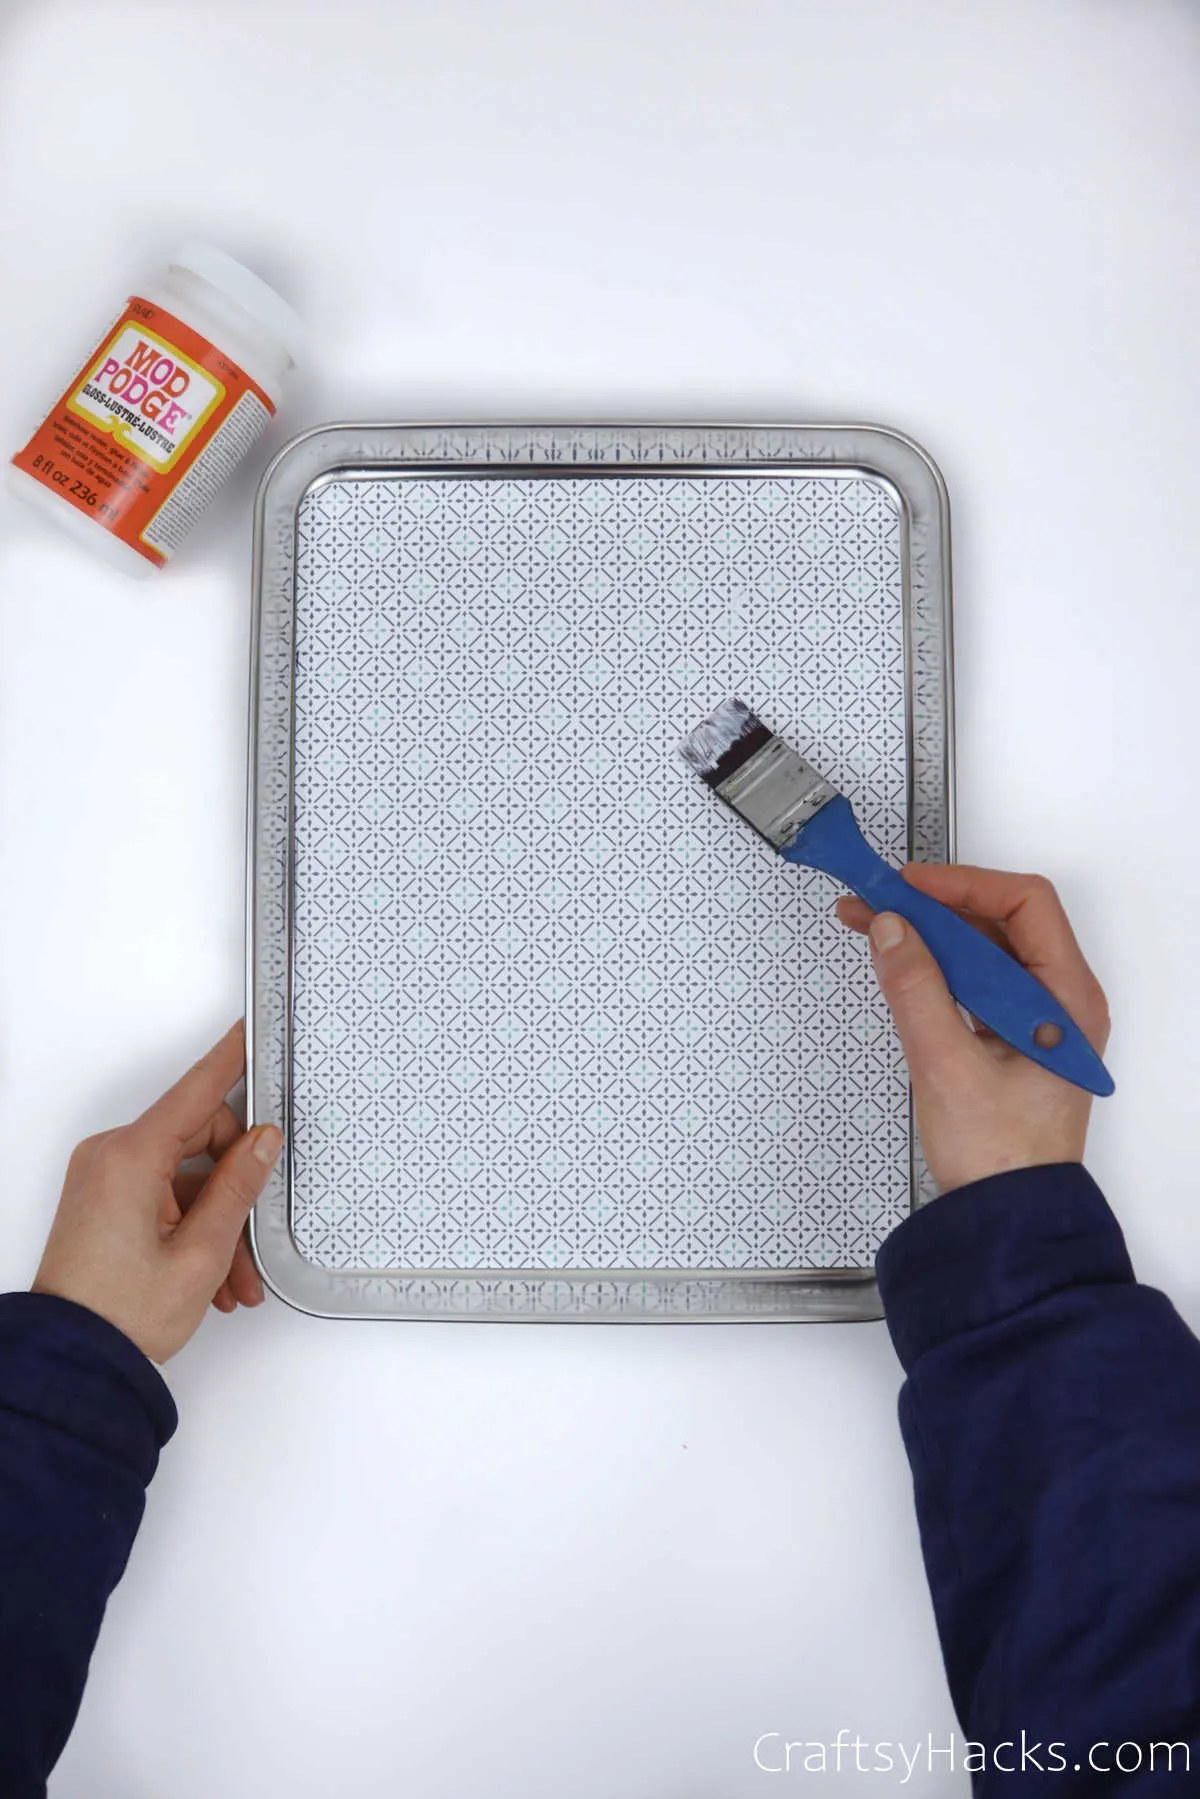
Step 5
With a flathead brush, apply a layer of craft glue or Modge Podge over the stainless-steel tray. Make certain to coat the entire surface, and be extra careful around the corners.

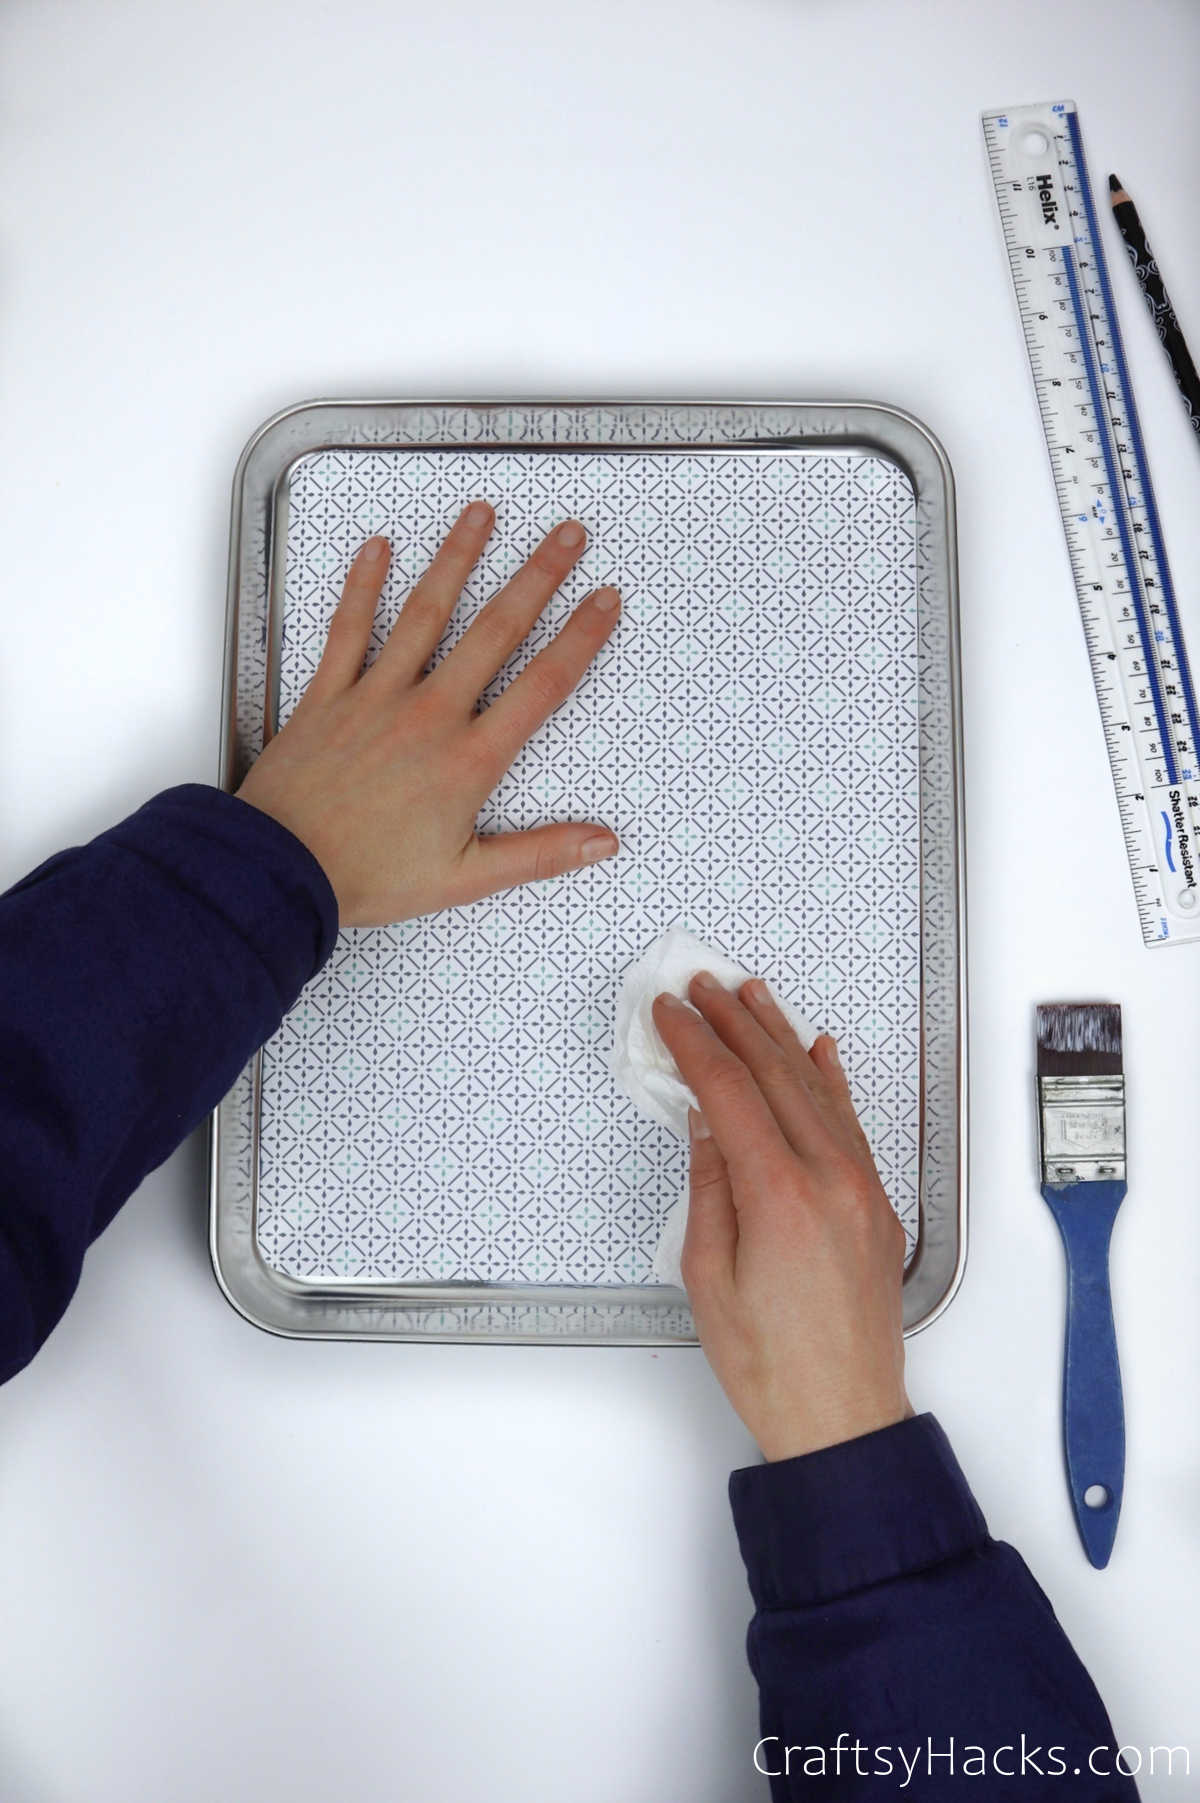
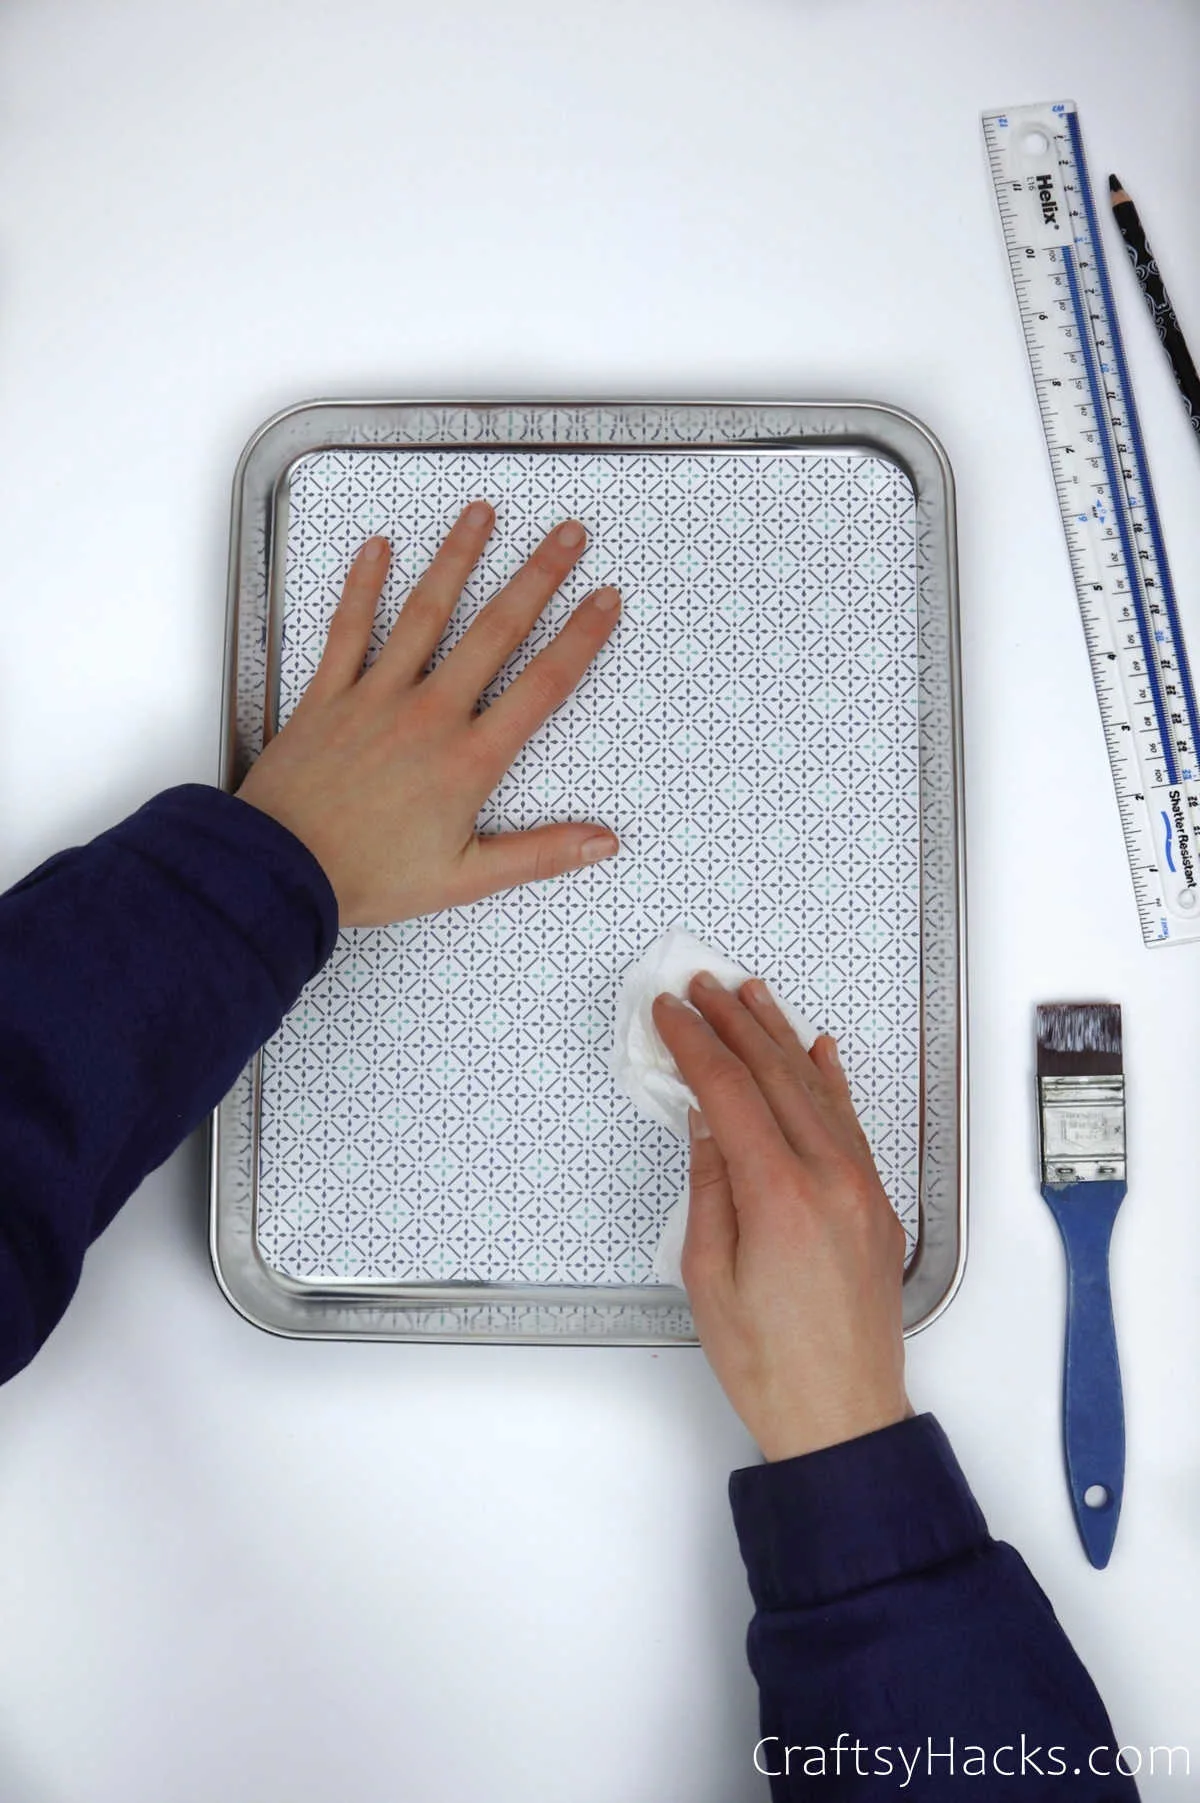
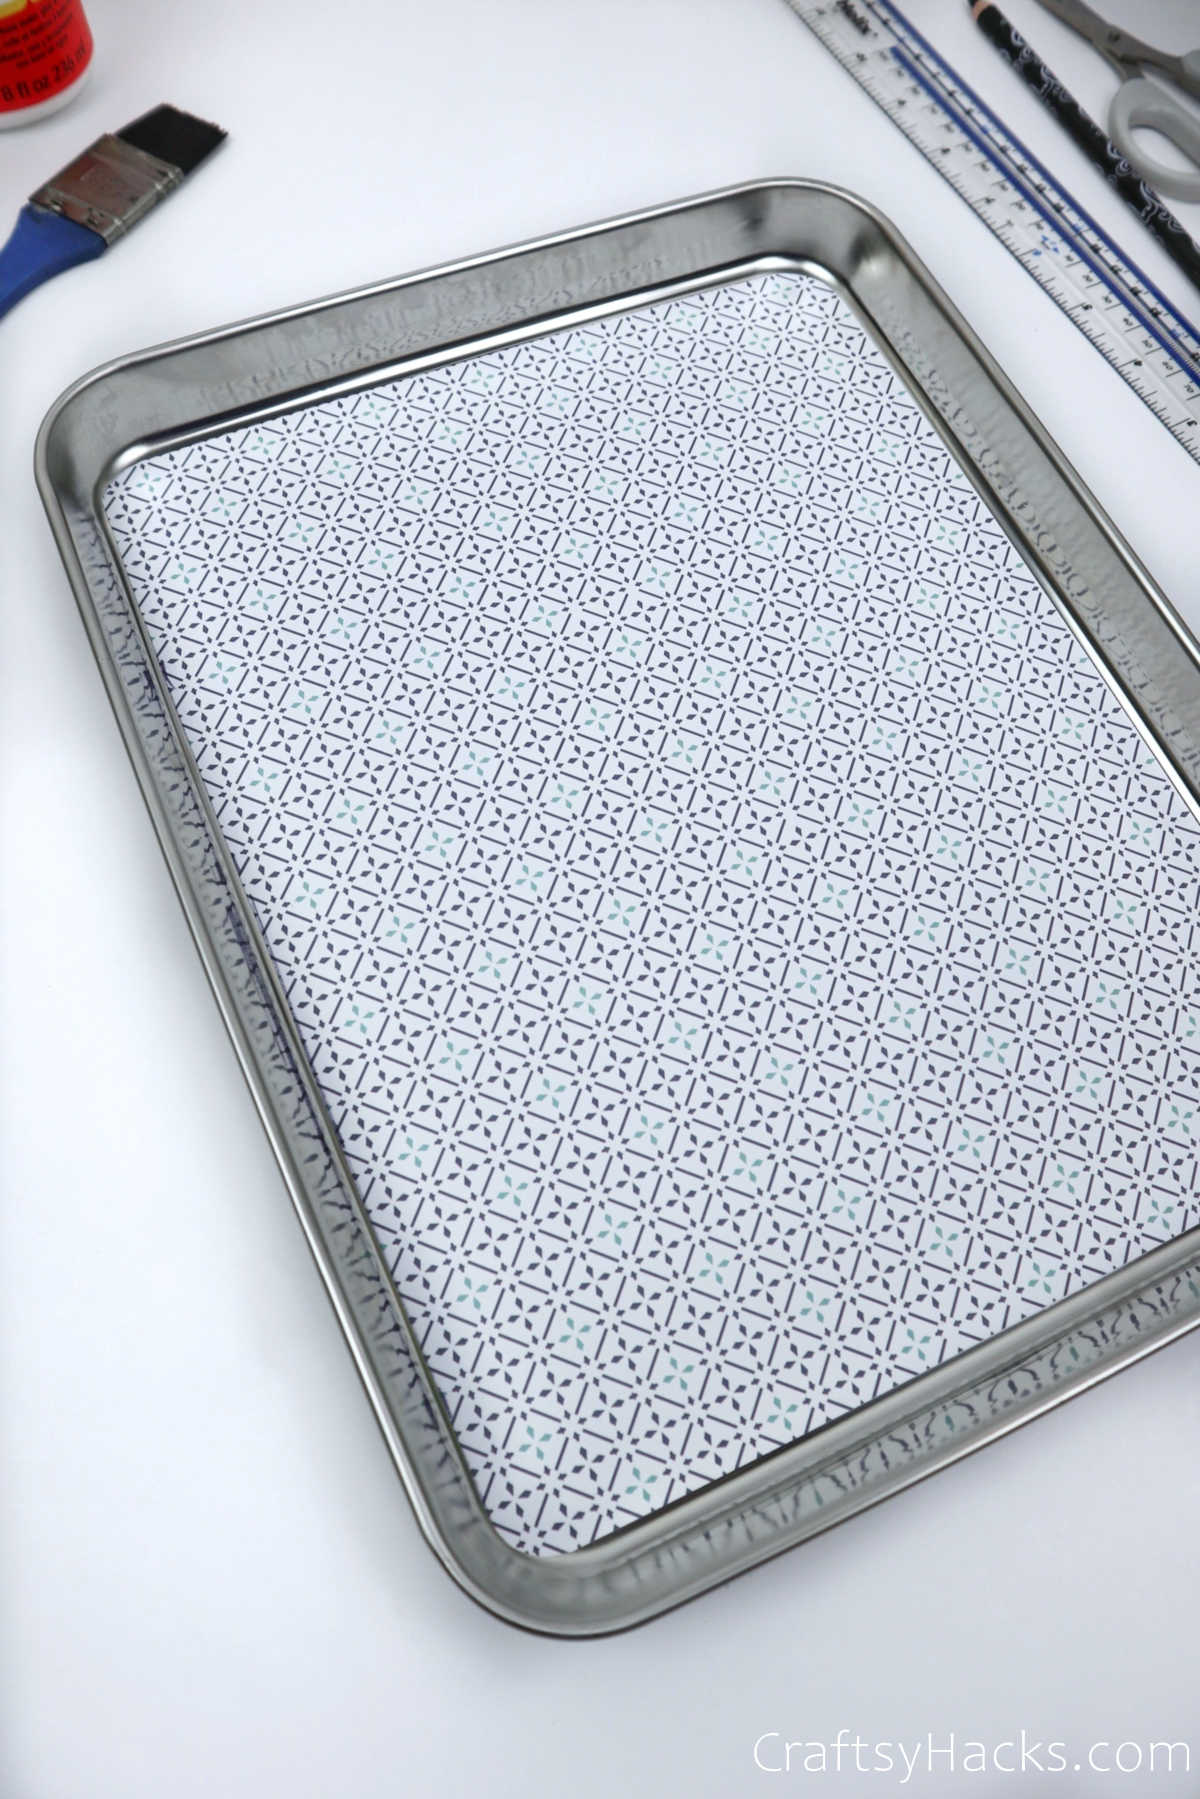
Step 6
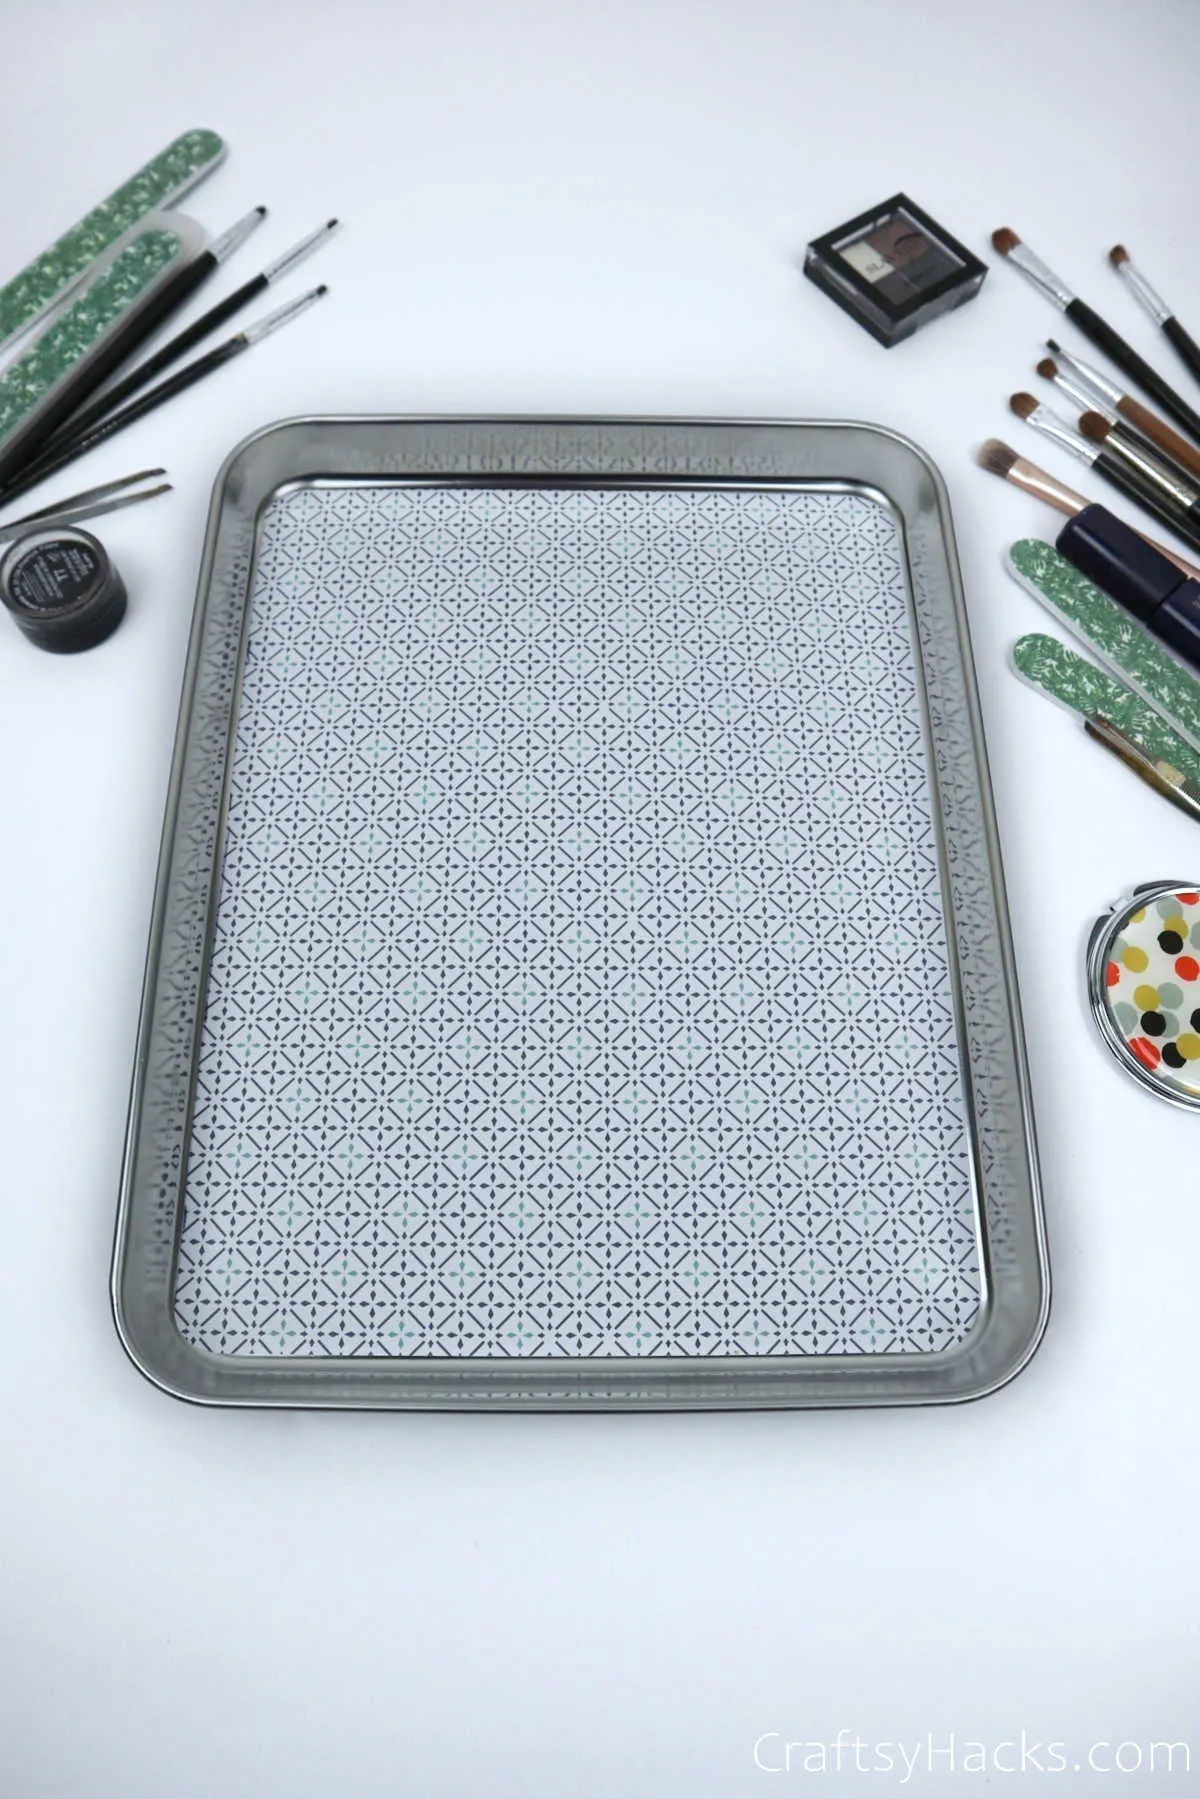
Gently place the decorative paper over the tray and stick it in place. You can use a piece of cloth to smoothen out any crinkles that may appear.
Step 7
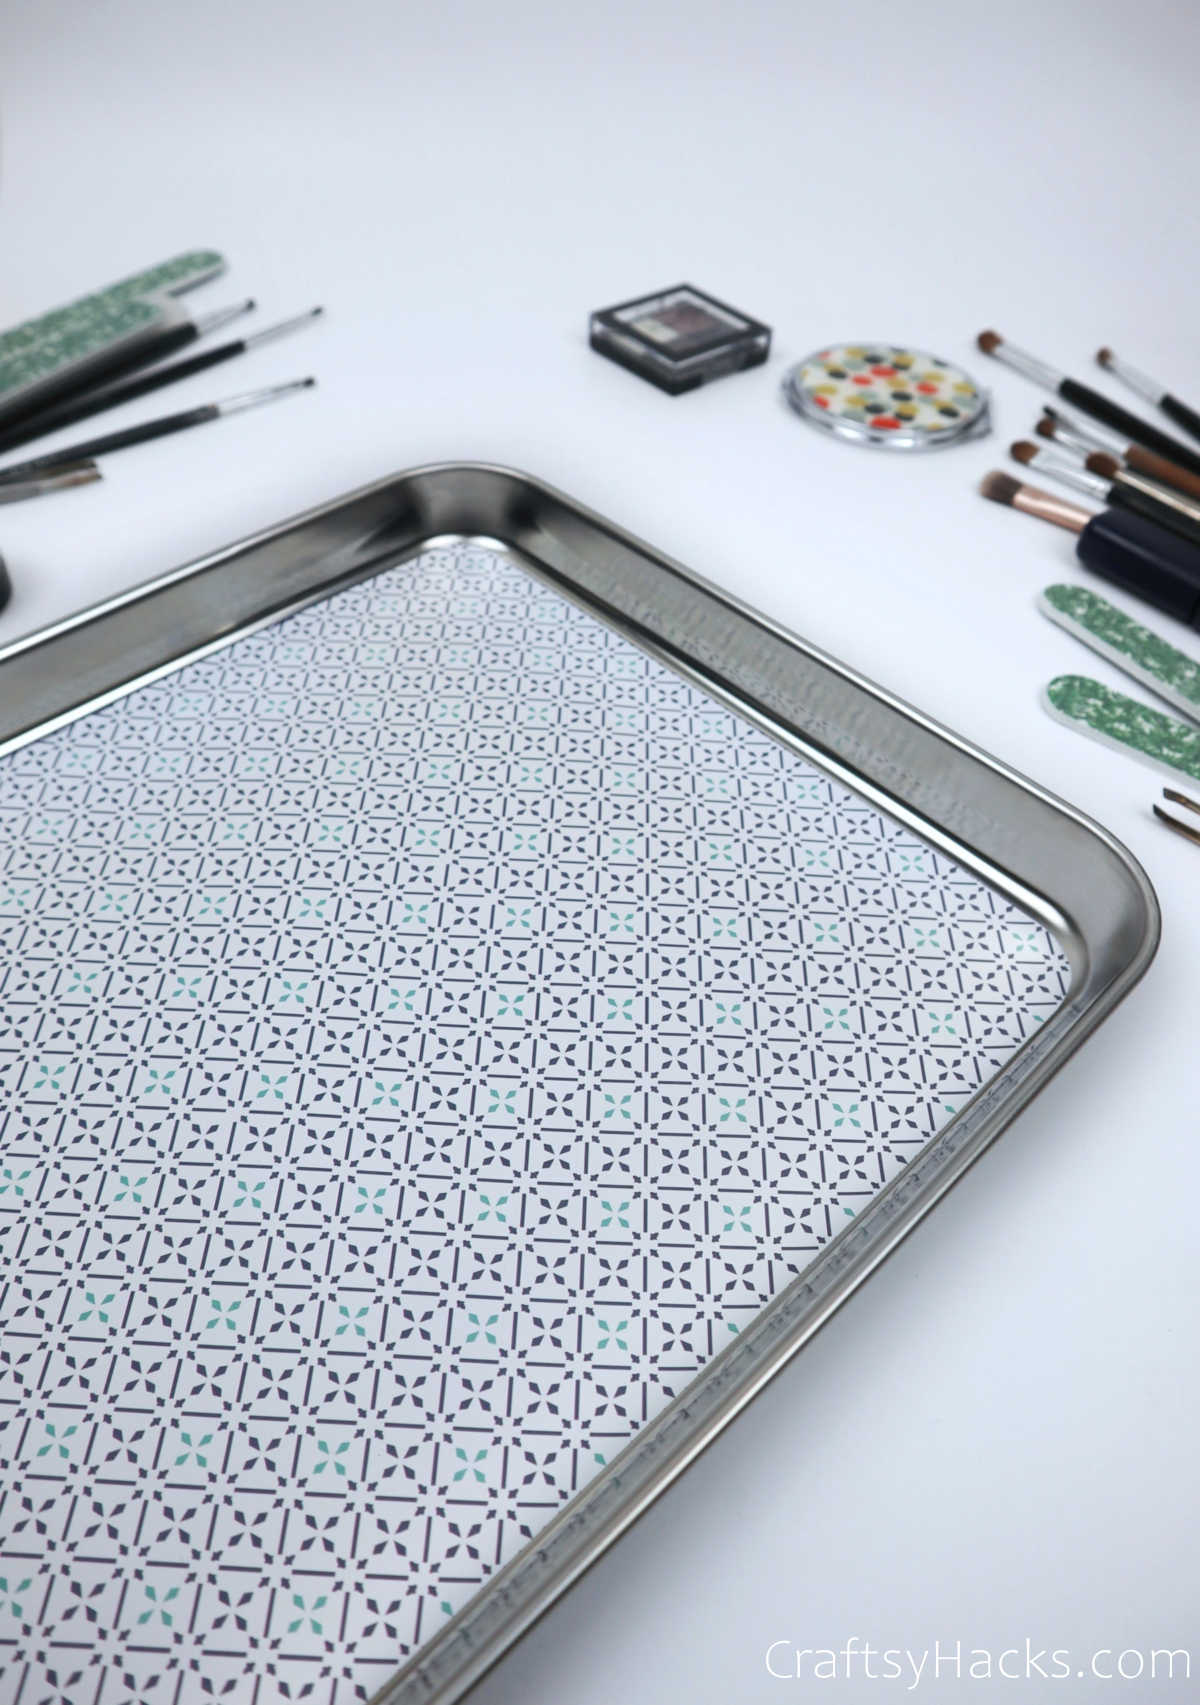
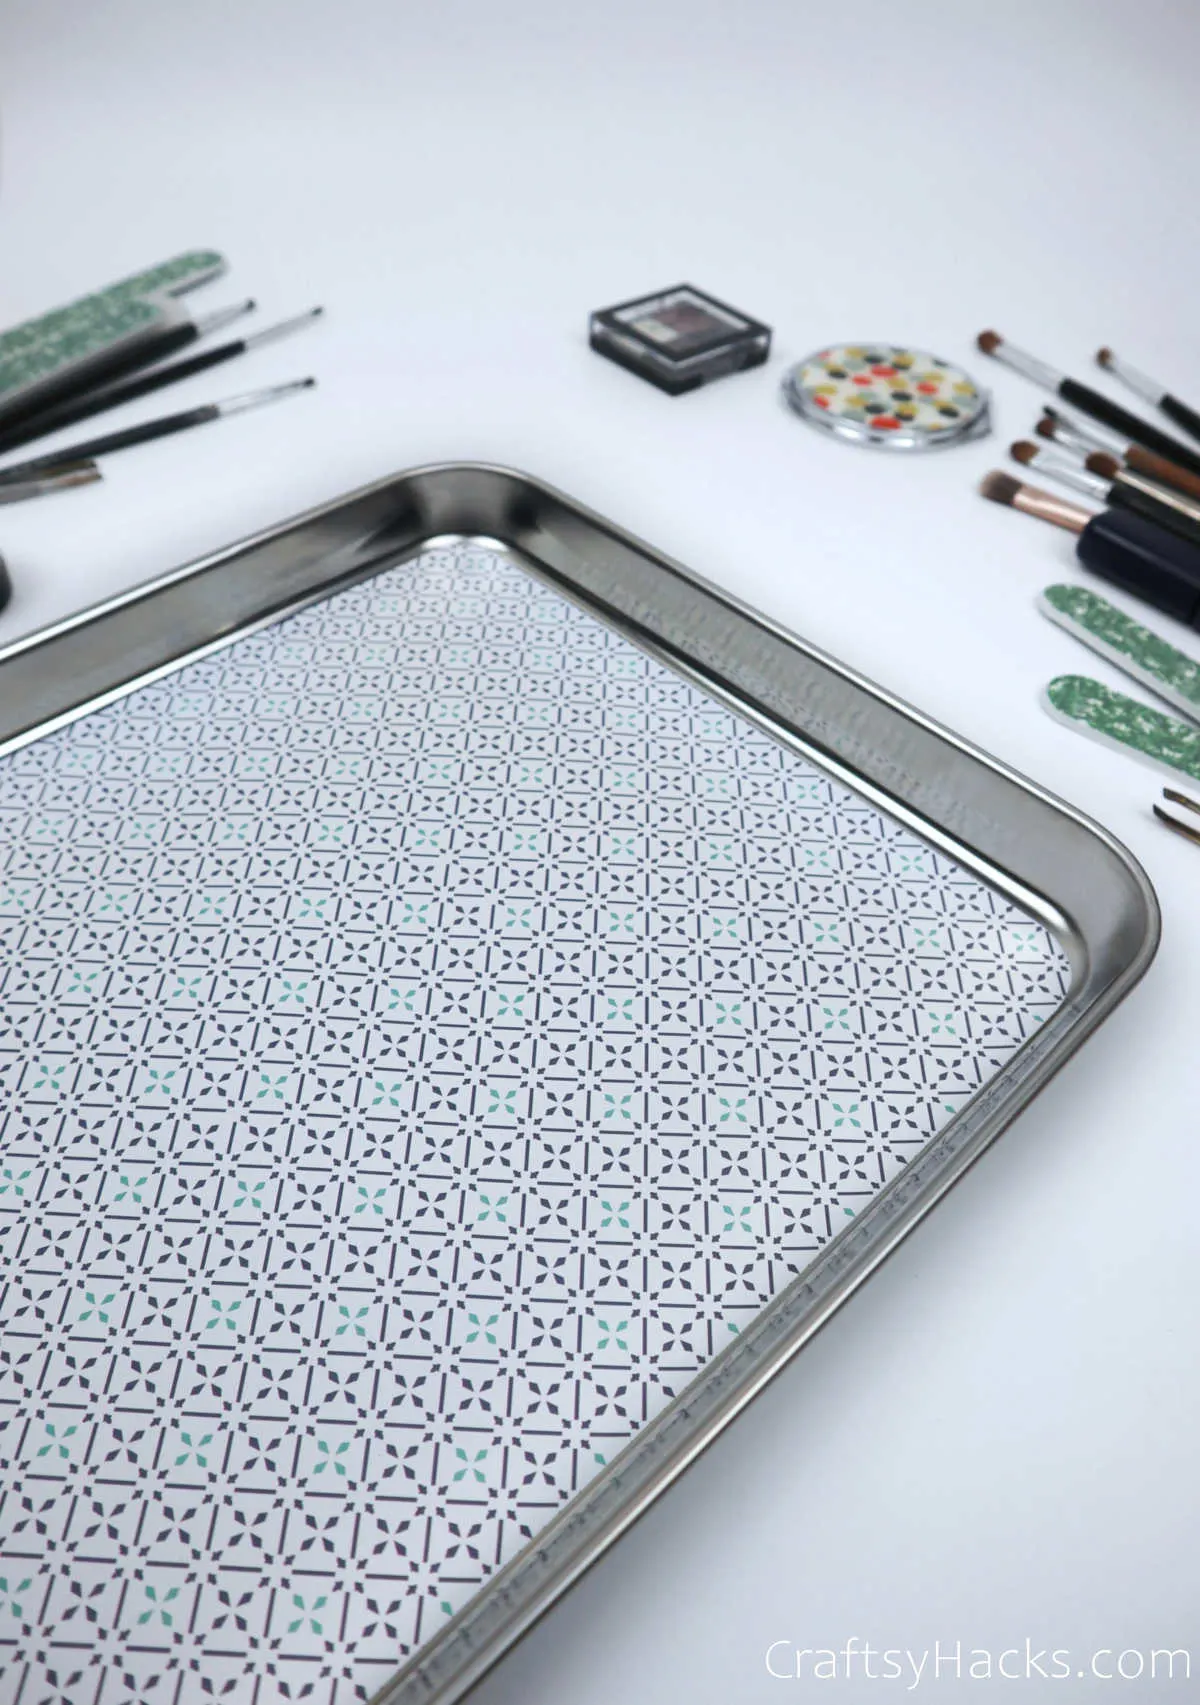
Once you are happy with the way the paper has been attached, let it dry a while before applying yet another layer of Modge podge over the paper.
Don’t apply more than the bare minimum amount of mod podge, lest the paper turns soggy.

Allow it to completely dry.

Step 8
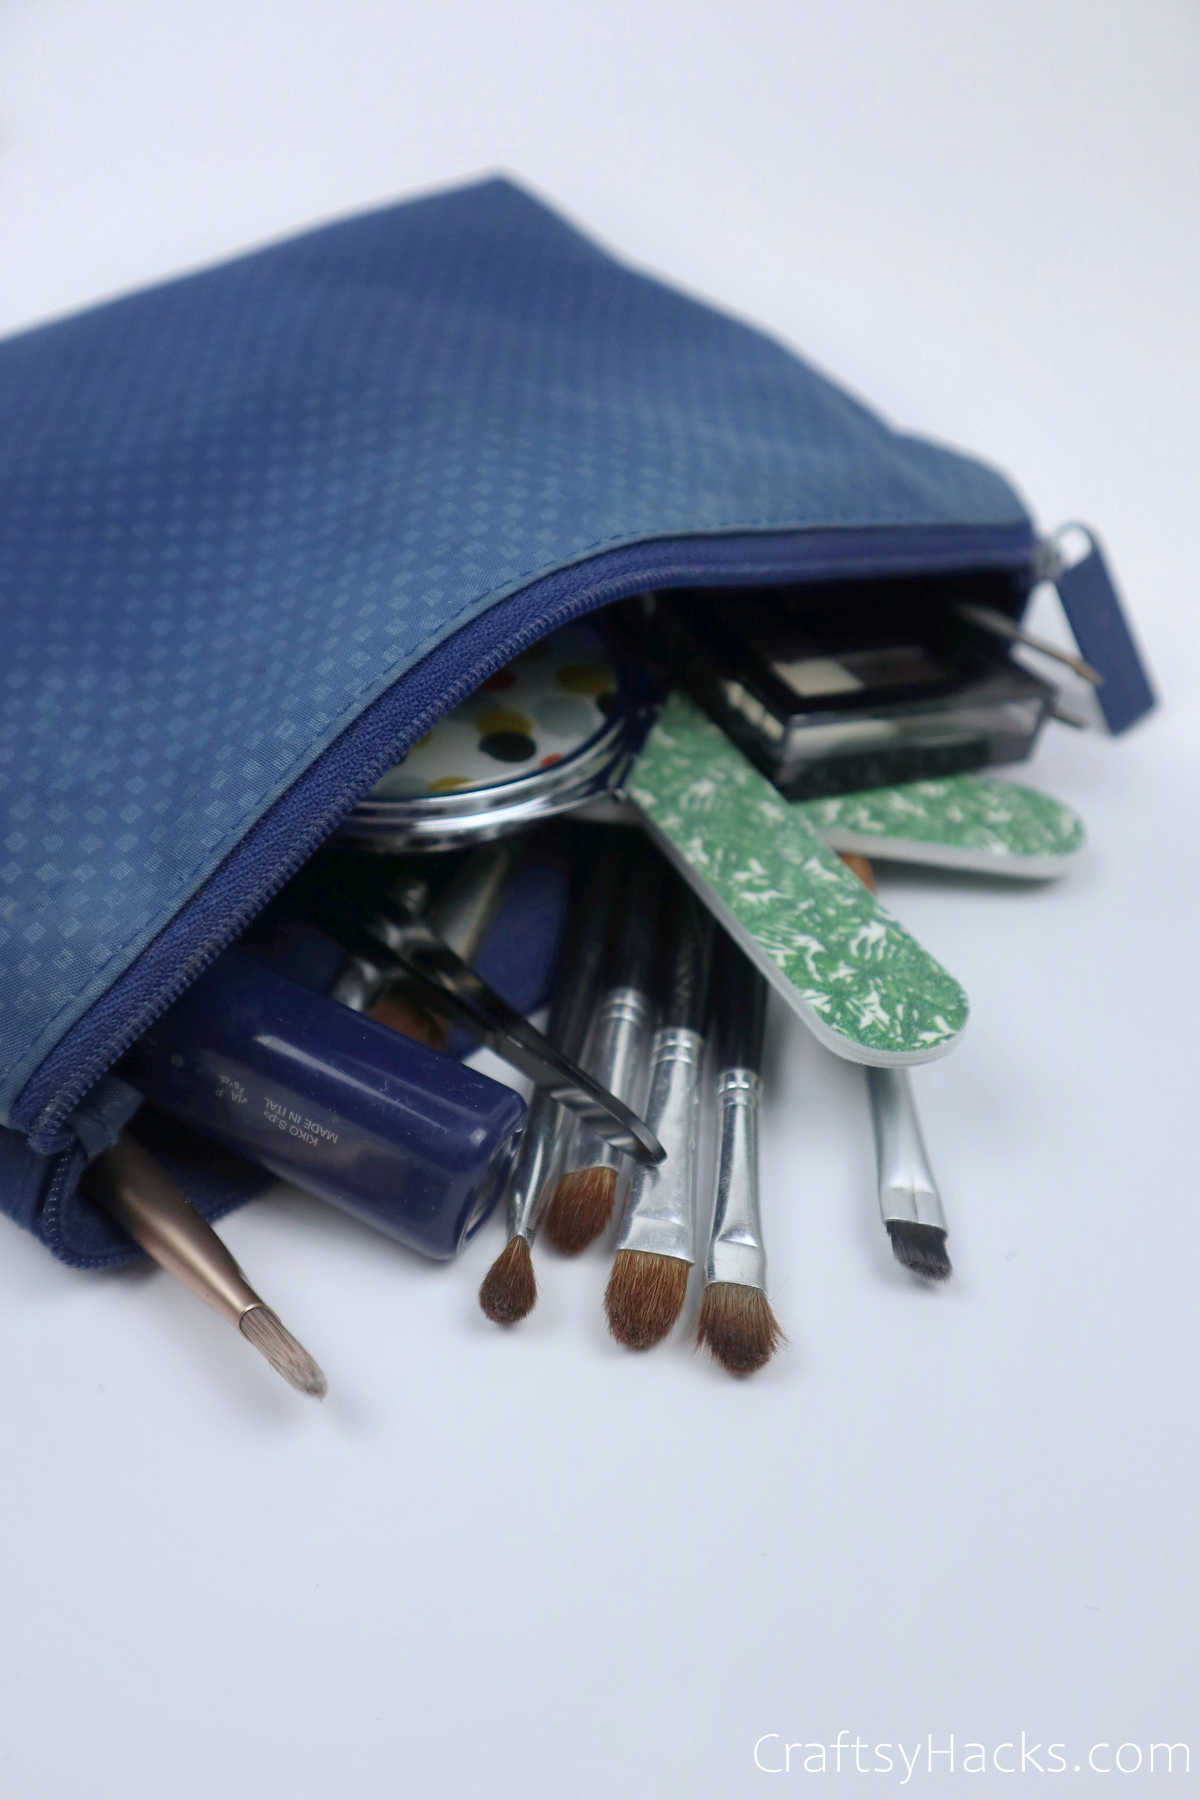
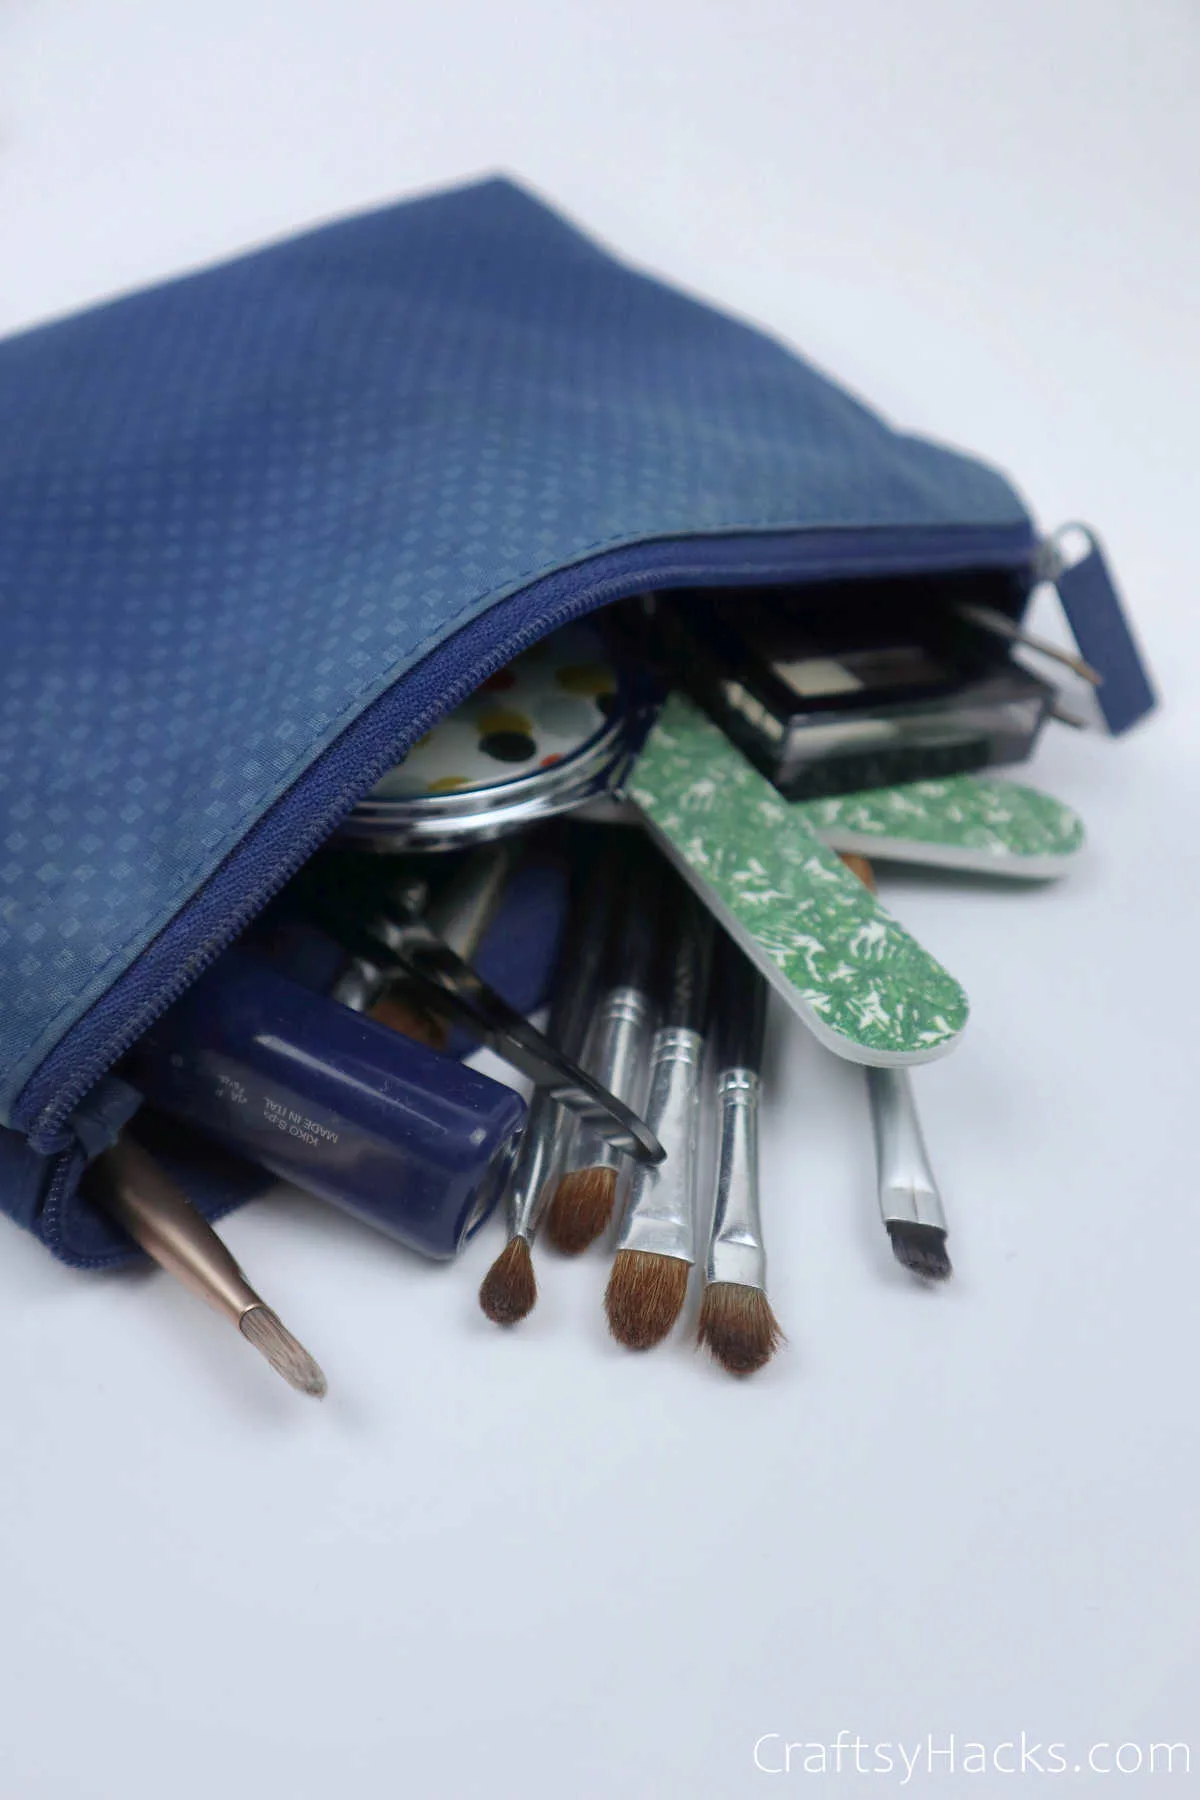
If you’re using your magnet tray to organize your makeup, as this particular project calls for, go ahead and pick out all the cosmetics you wish to organize.
Step 9
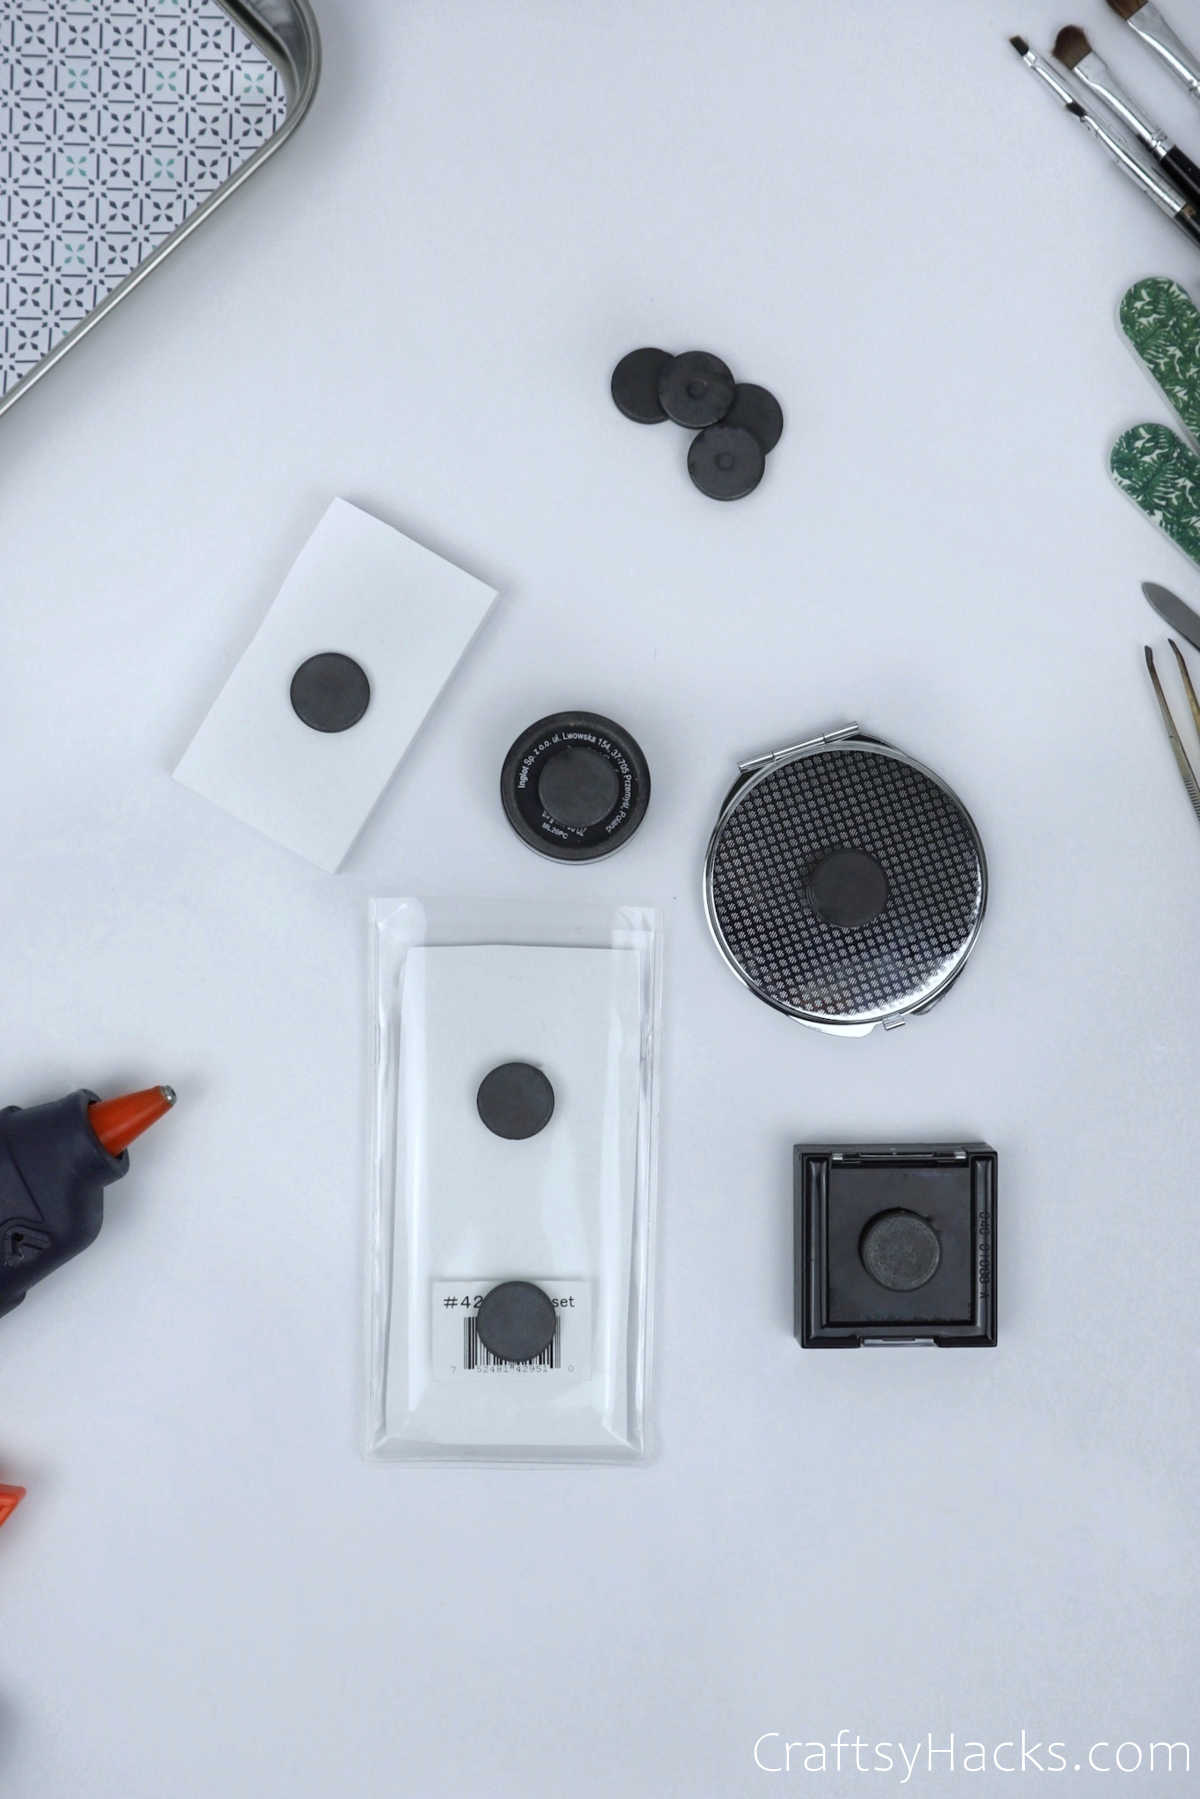
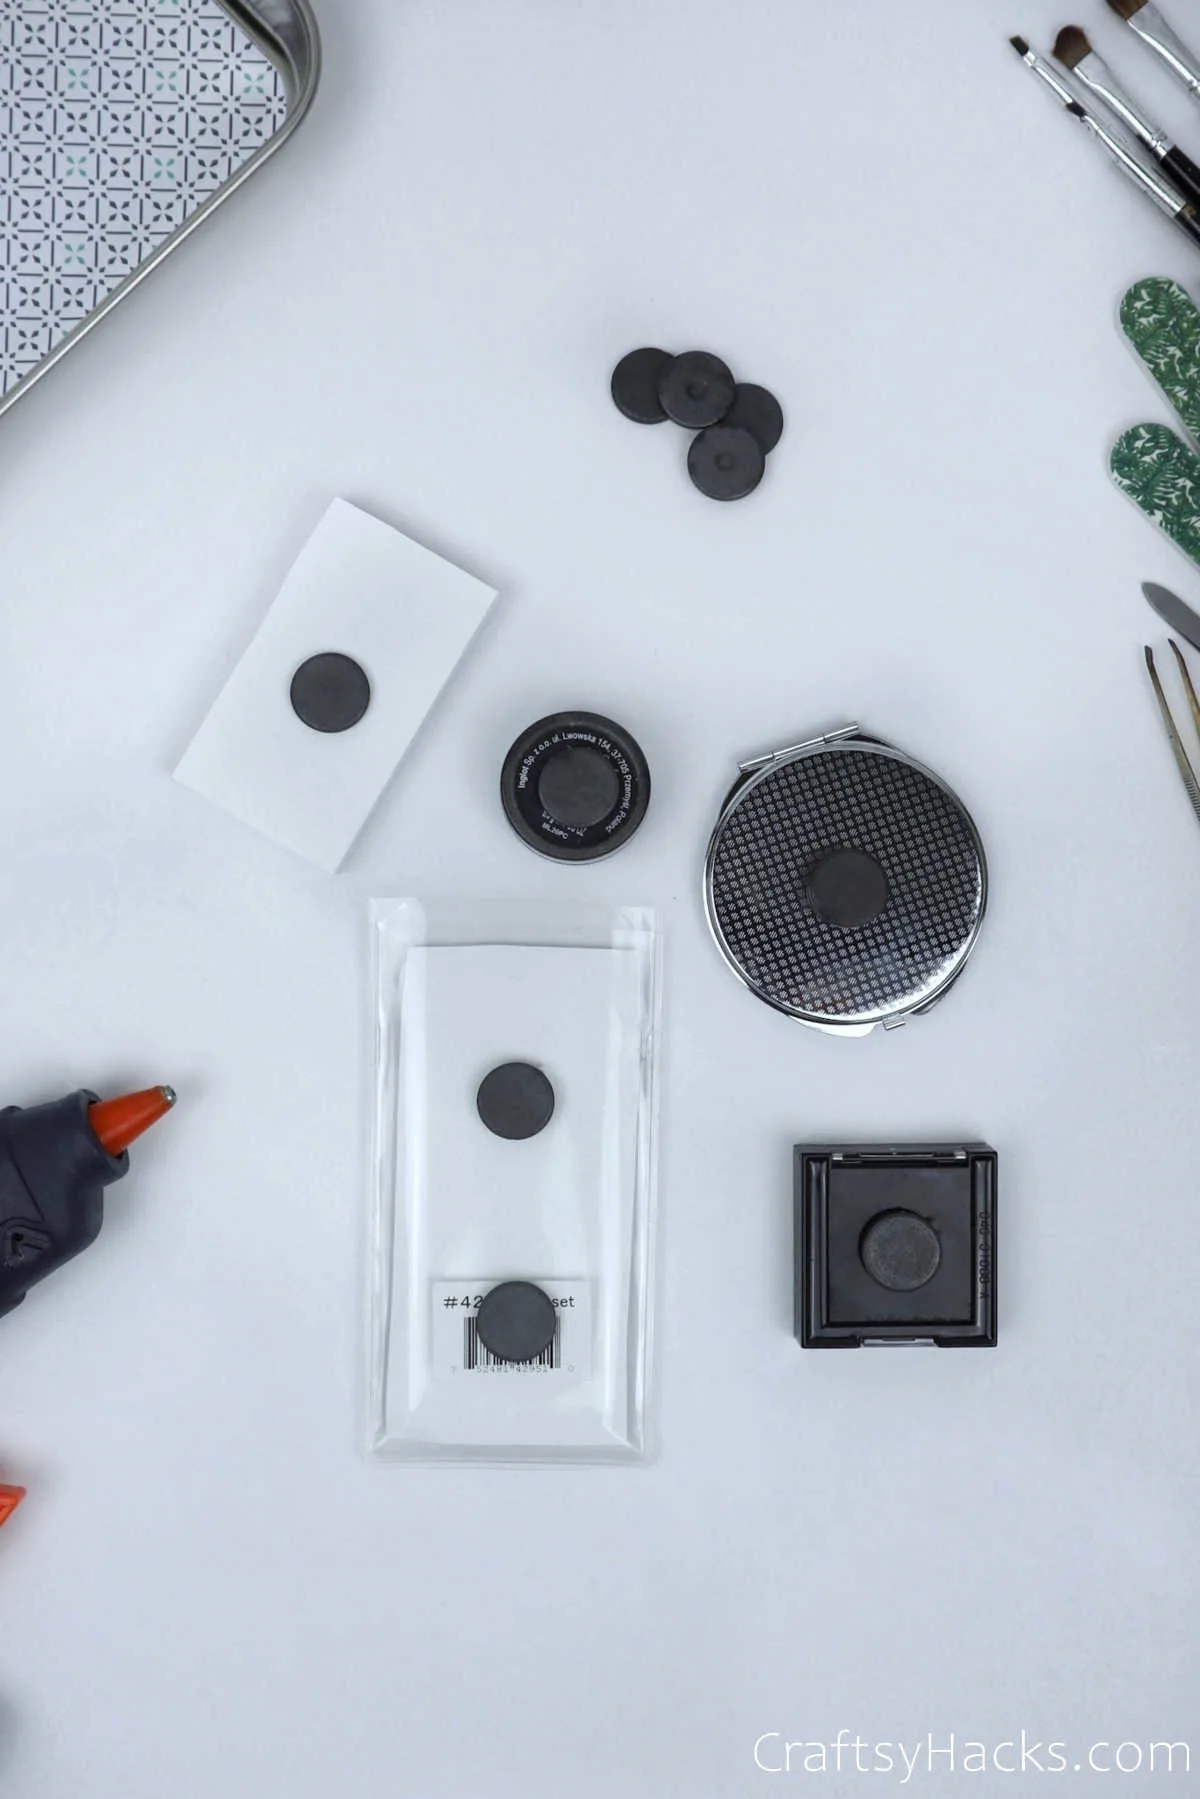
Grab your hot glue gun and apply a dollop of hot glue to the back of your cosmetics—compact, mascara, rouge, etc.

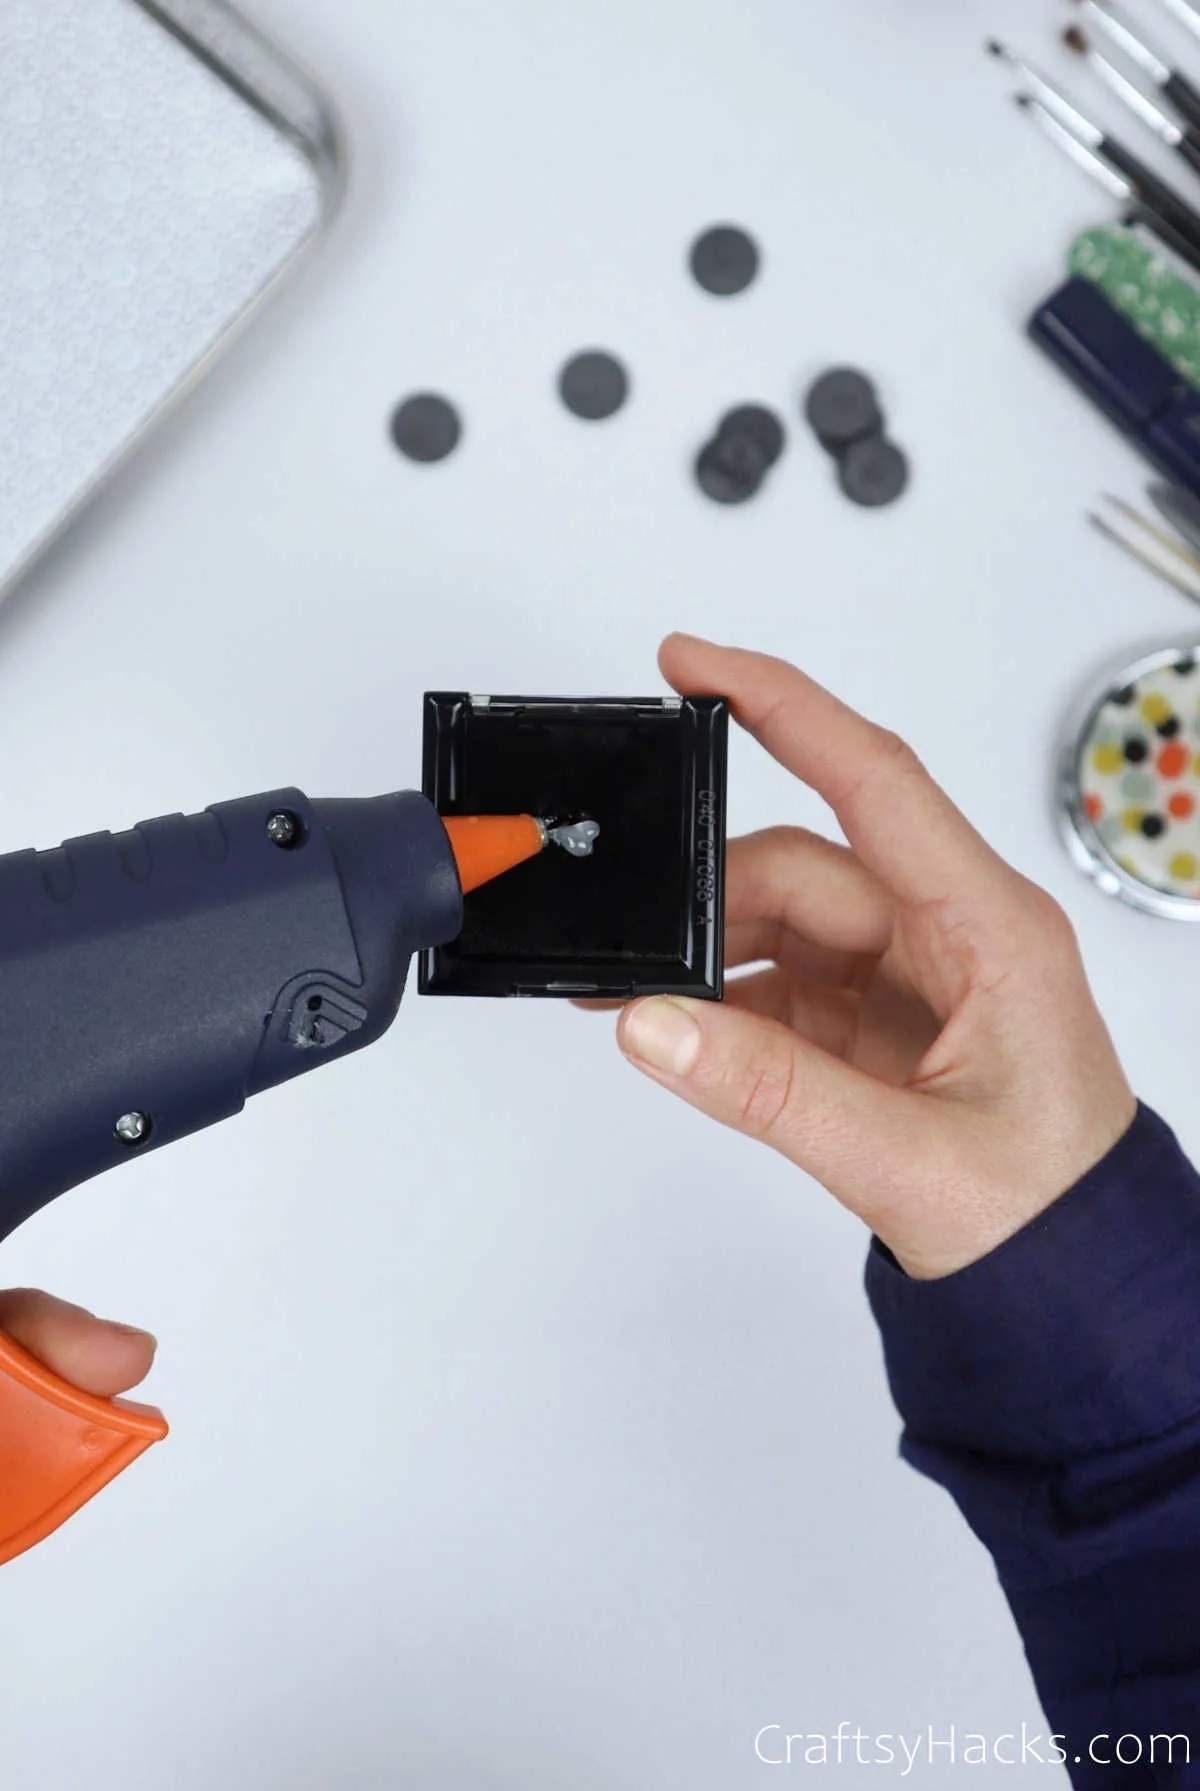
Step 10
Next, attach the little magnetic button, and stick it on the back of these cosmetics. Go ahead and hot glue your entire lot, and proceed to stick magnets onto each product.
Step 11
That’s pretty much it, to be honest. Just place the magnets onto the tray and enjoy that little click! You hear as it clips onto the tray, attracted by the metal.
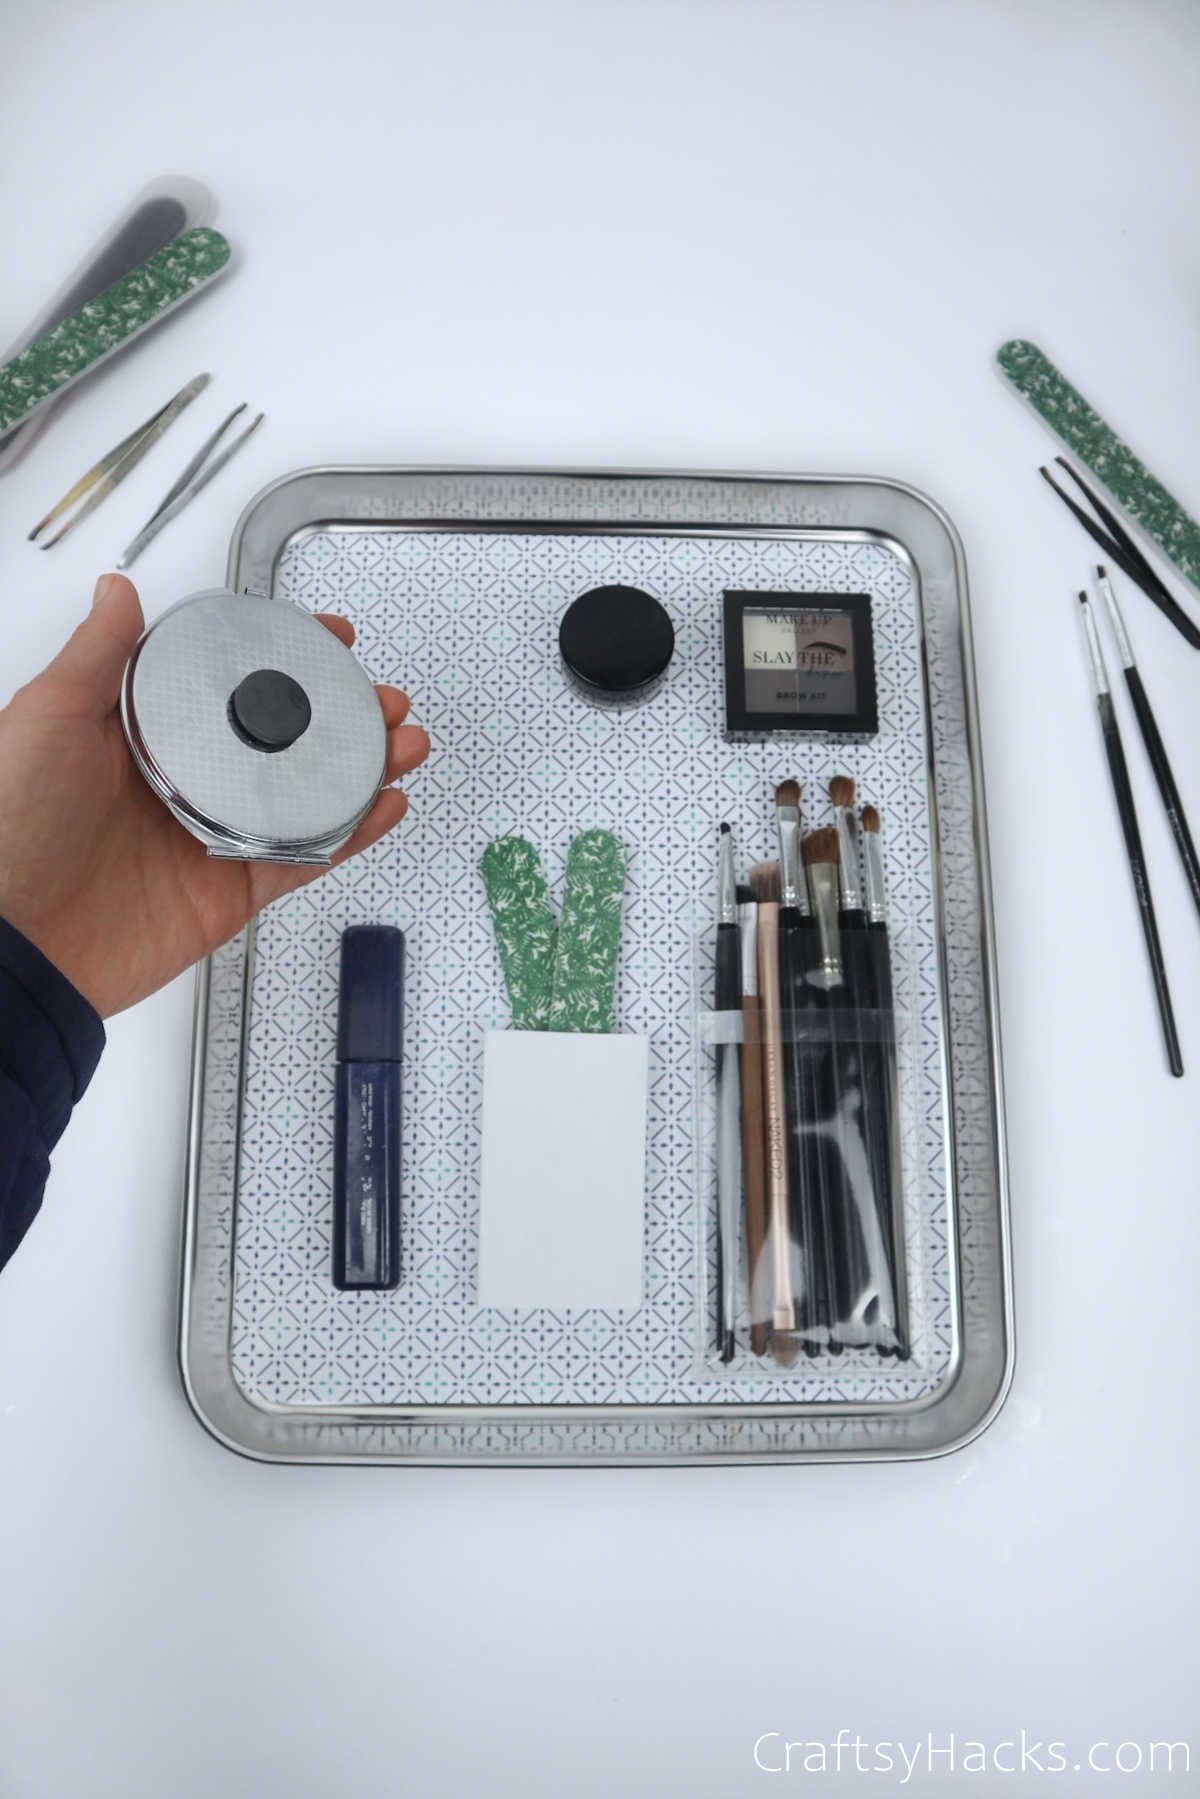

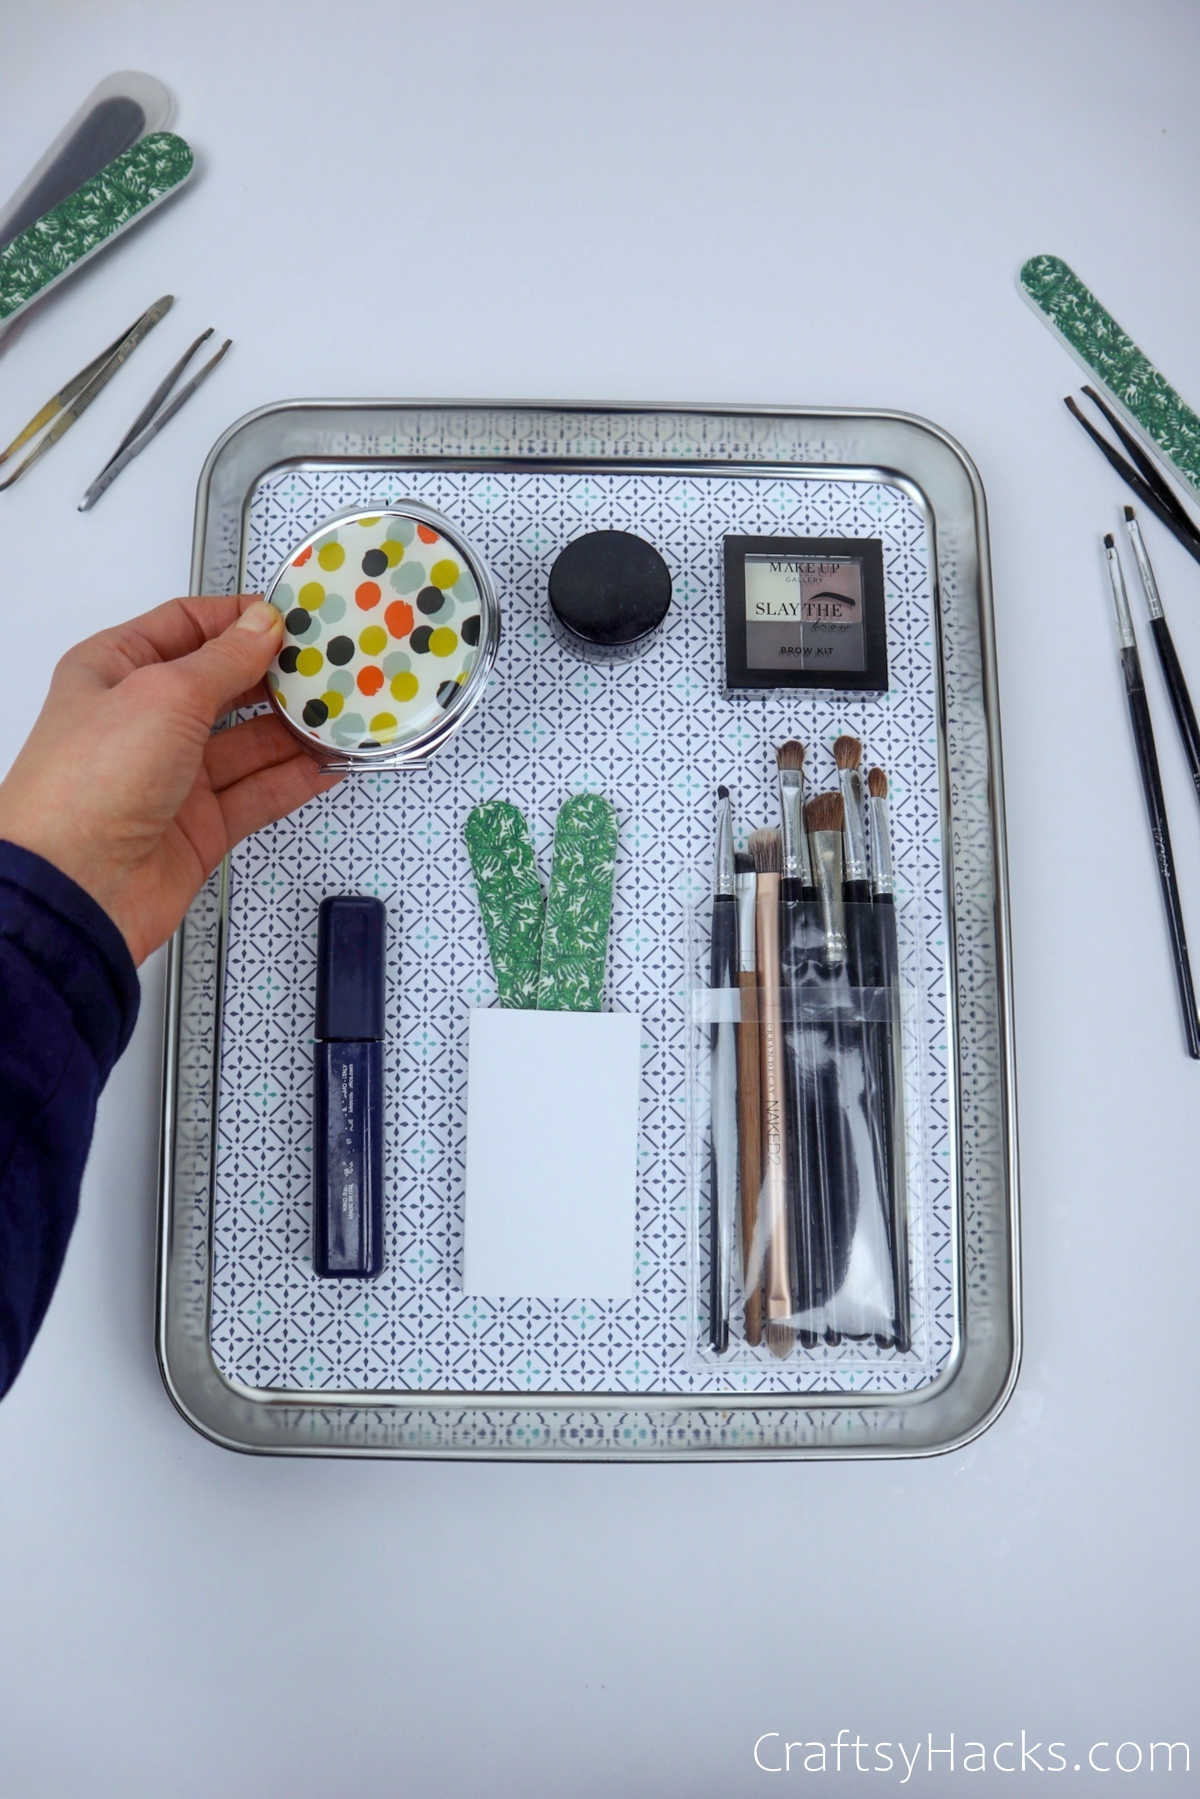

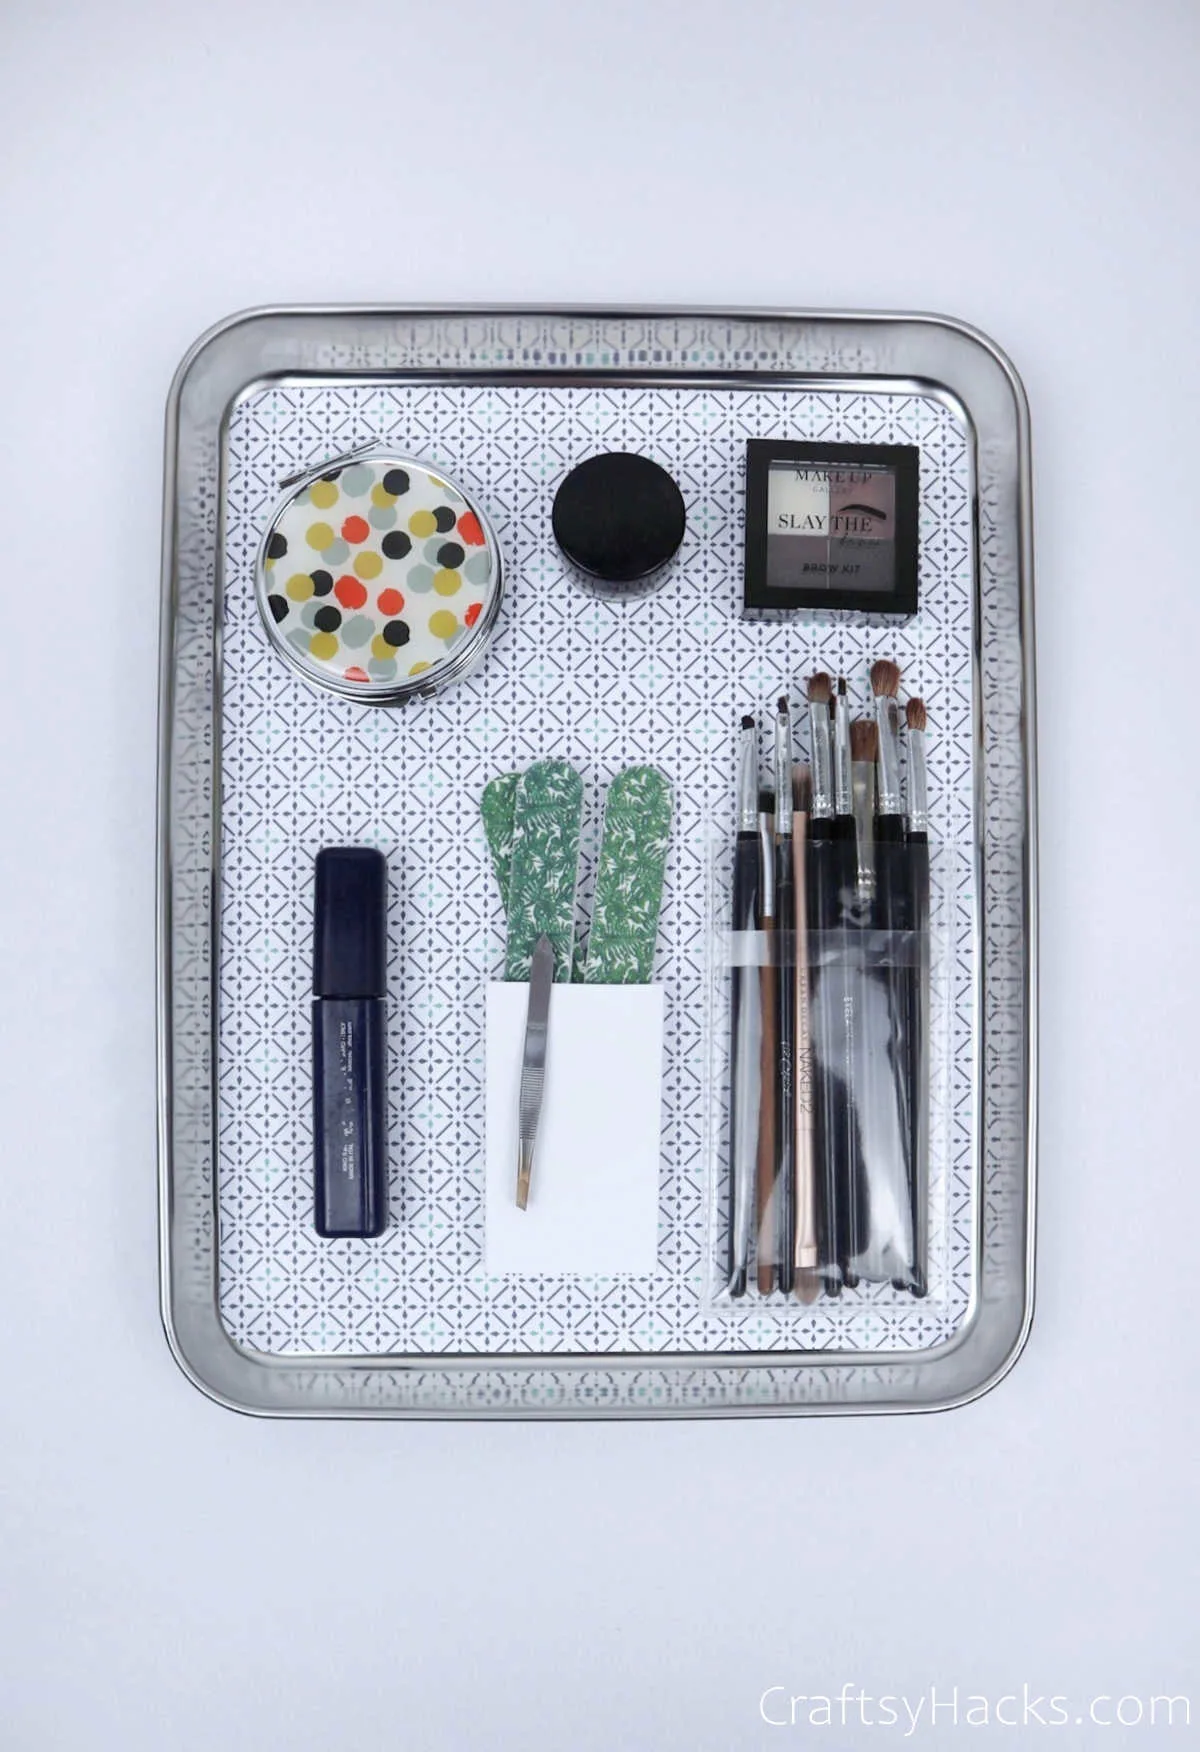
Doesn’t it look absolutely stunning? And clutter-free, too!
Just hang the tray on the wall, or have it mounted and used as a desk stand. For more inspiration on organizing cosmetics, check out these 13 genius beauty product organization ideas!

Other Organization Ideas
- 47 Organization Tips
- DIY Hanging Organizer
- 21 Dollar Tree Storage Ideas
- DIY Drawer Dividers
- Office Organization Ideas
- DIY Rope Organizers
- Organize Small Items
- Craft Room Organization Ideas
- Organization Ideas


DIY Magnetic Organizer

Make your very own magnetic organizer! It will give you a chance to organize your makeup products and more! An easy project for anyone!
Materials
- Stainless steel baking tray or metal cookie tray
- Decorative paper (thin)
- Magnets
- Hot glue gun
- Mod podge
Tools
- Scissors
- Ruler
- Pencil
- Painting brush
Instructions
- Prepare your work area and gather your supplies.
- Measure the dimensions of your stainless-steel tray.
- Cut out your decorative paper as per those measurements.
- Coat an adequate amount of mod podge over the tray using a flathead paintbrush.
- Carefully stick the paper over the mod podge and smoothen out any wrinkles. Allow it to dry.
- Apply another layer of Mod podge over the paper to set it.
- Next, go ahead and grab your cosmetics.
- Use your hot glue gun to add a blob of glue to the back of your makeup container.
- Firmly press the magnetic pellets in and hold them down until you’ve secured them to the back of your cosmetics.
- Now all that’s left to do is tag the magnet onto the tray, and you’ve successfully completed this DIY project!