

Love jewelry but can’t necessarily have the budget for many different items? No worries–you’ve come to the right place–keep reading to see how to make your own beaded bracelets!

Endlessly customizable, beaded bracelets are the perfect place to start or continue to practice jewelry making! These pieces make wonderful gifts and aren’t too time-consuming.
I have a straightforward bracelet in this post for those looking to start. But, for those that are interested in trying a few accessories, scroll further down, and you’ll find the bonus material!

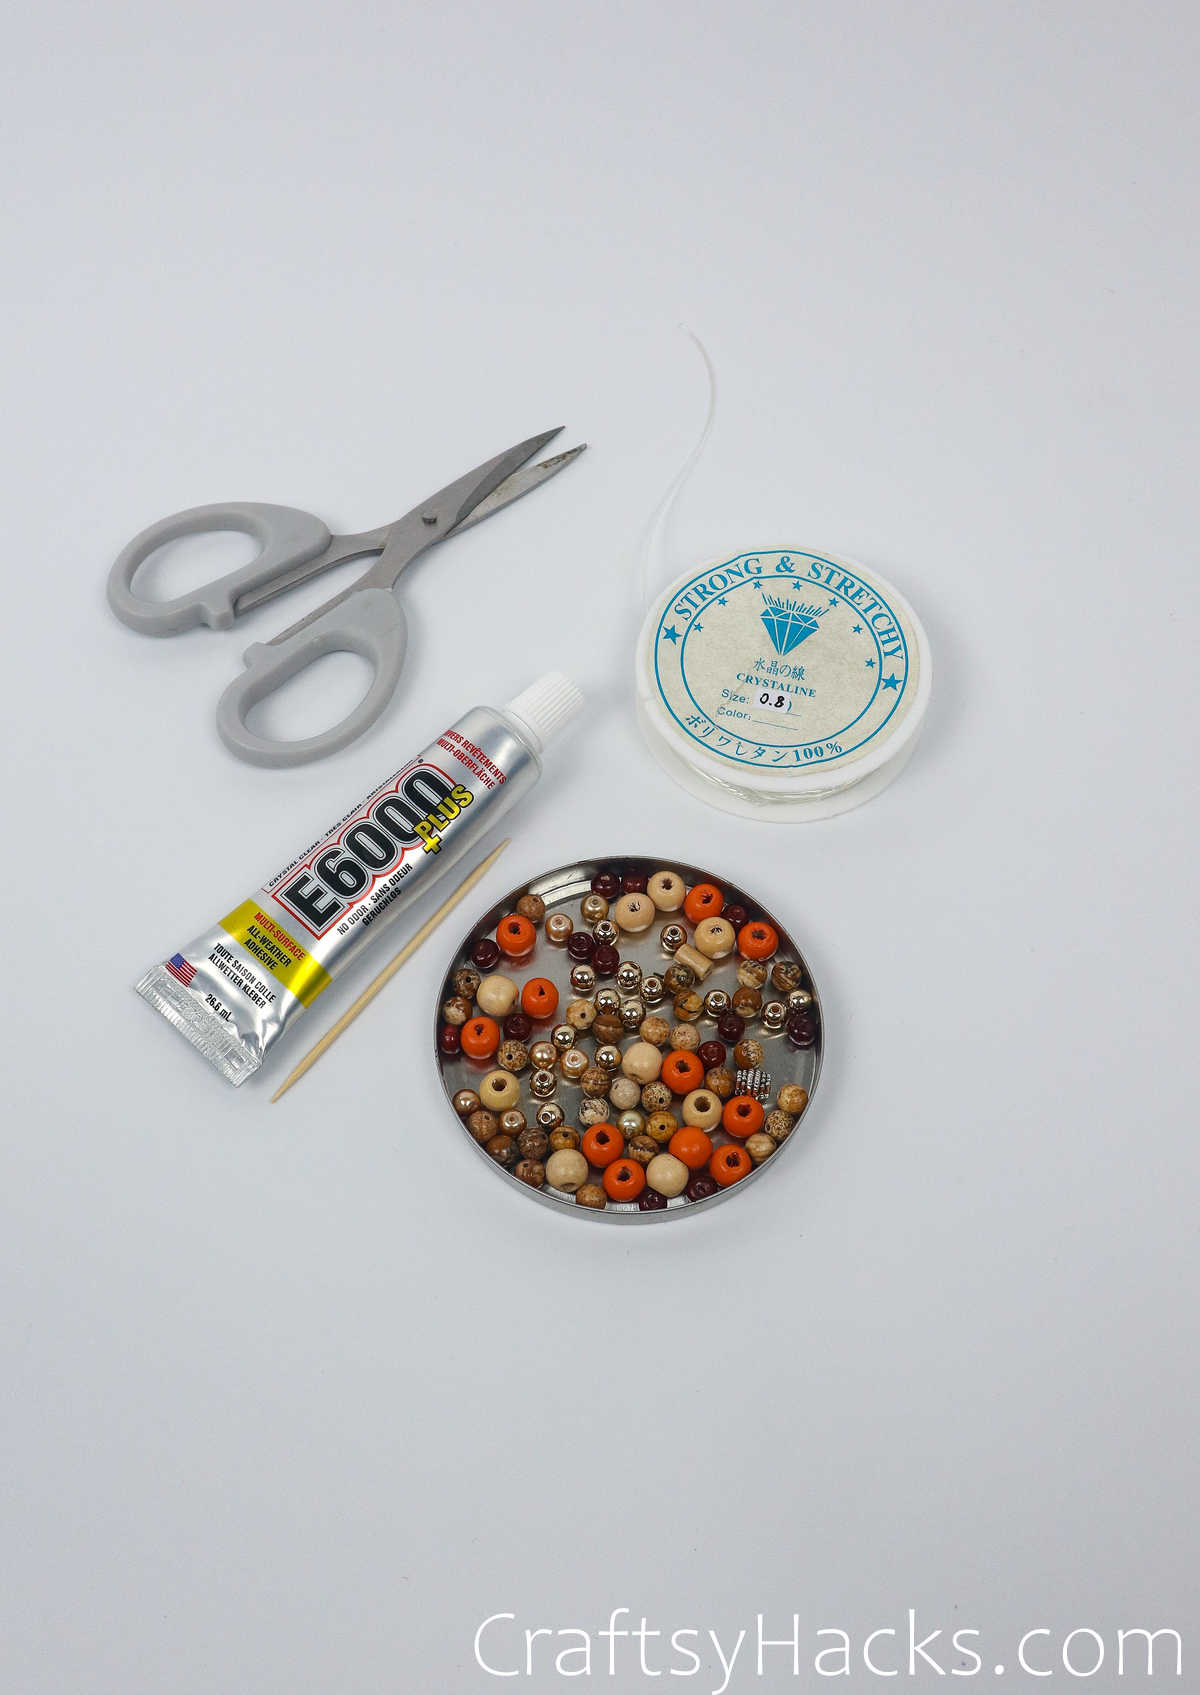
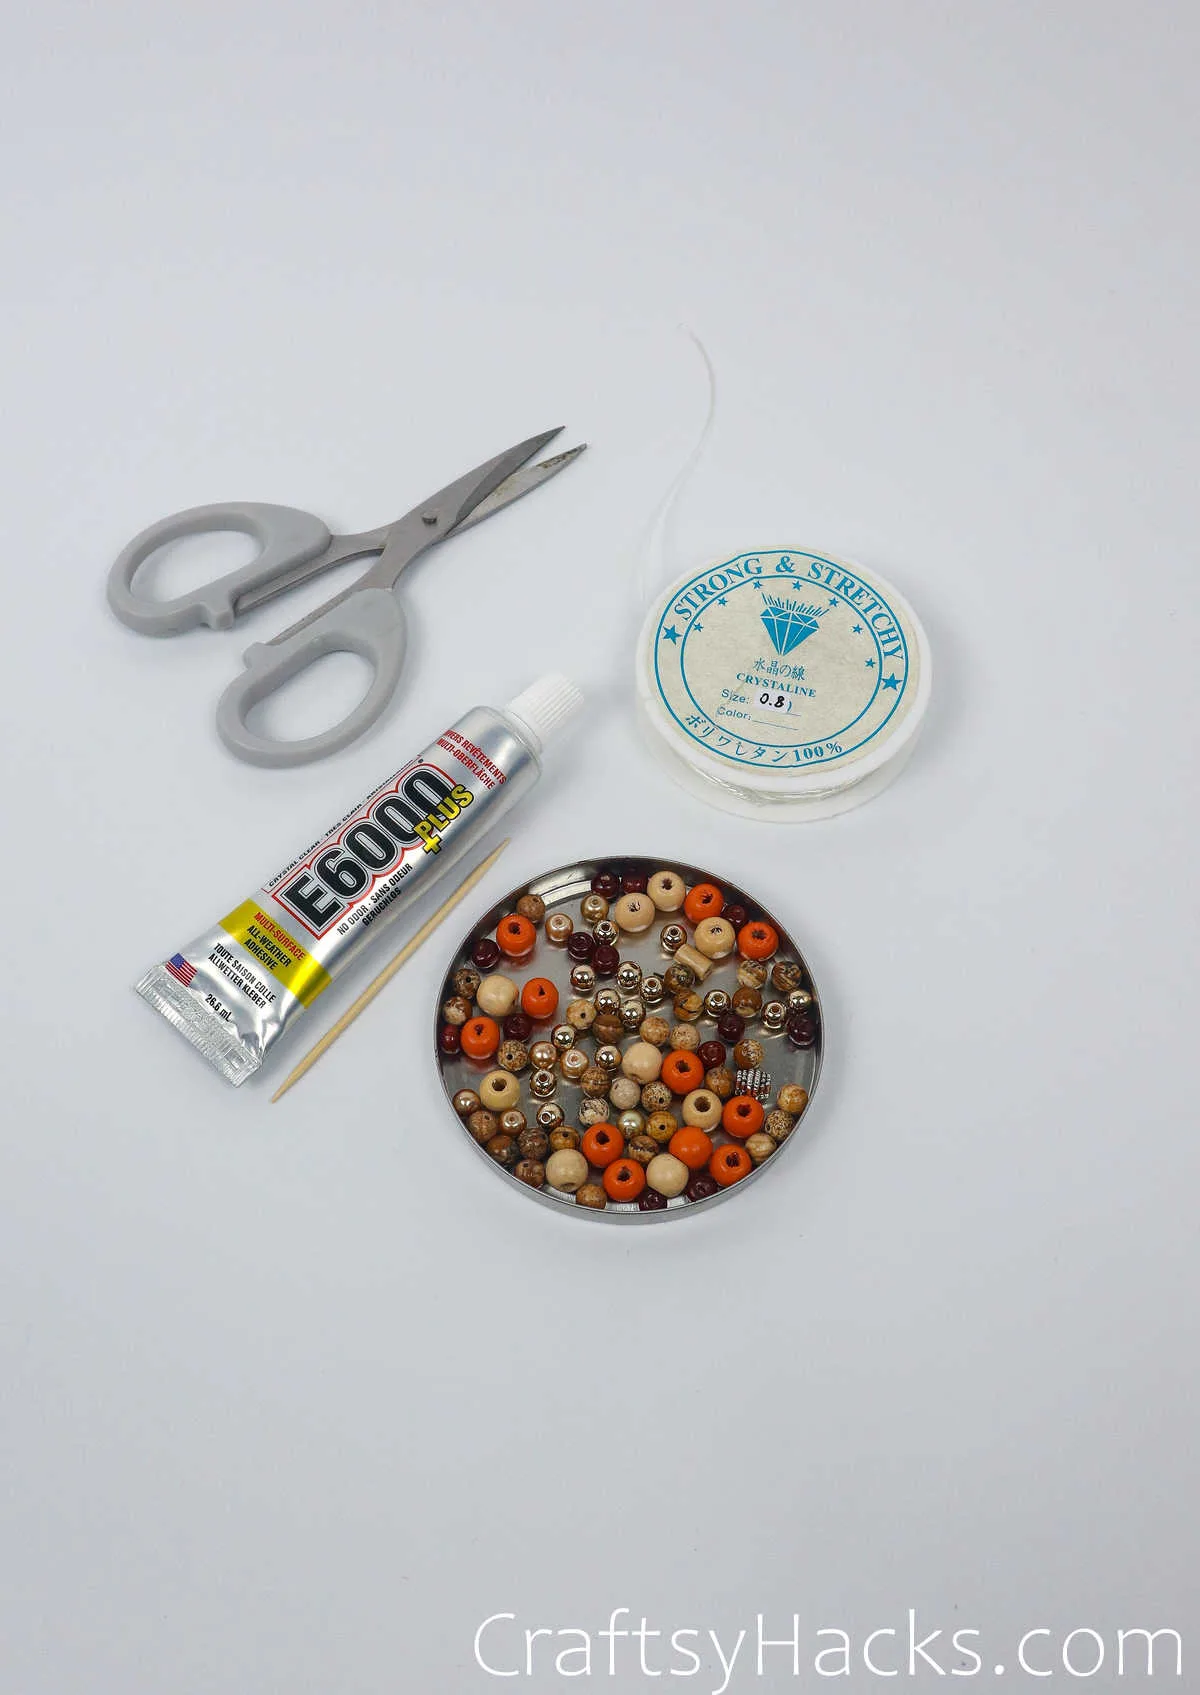
Supplies You’ll Need
- Different-sized beads with > 1mm hole
- 0.8mm elastic cord
- E6000 glue
- Toothpick
- Scissors
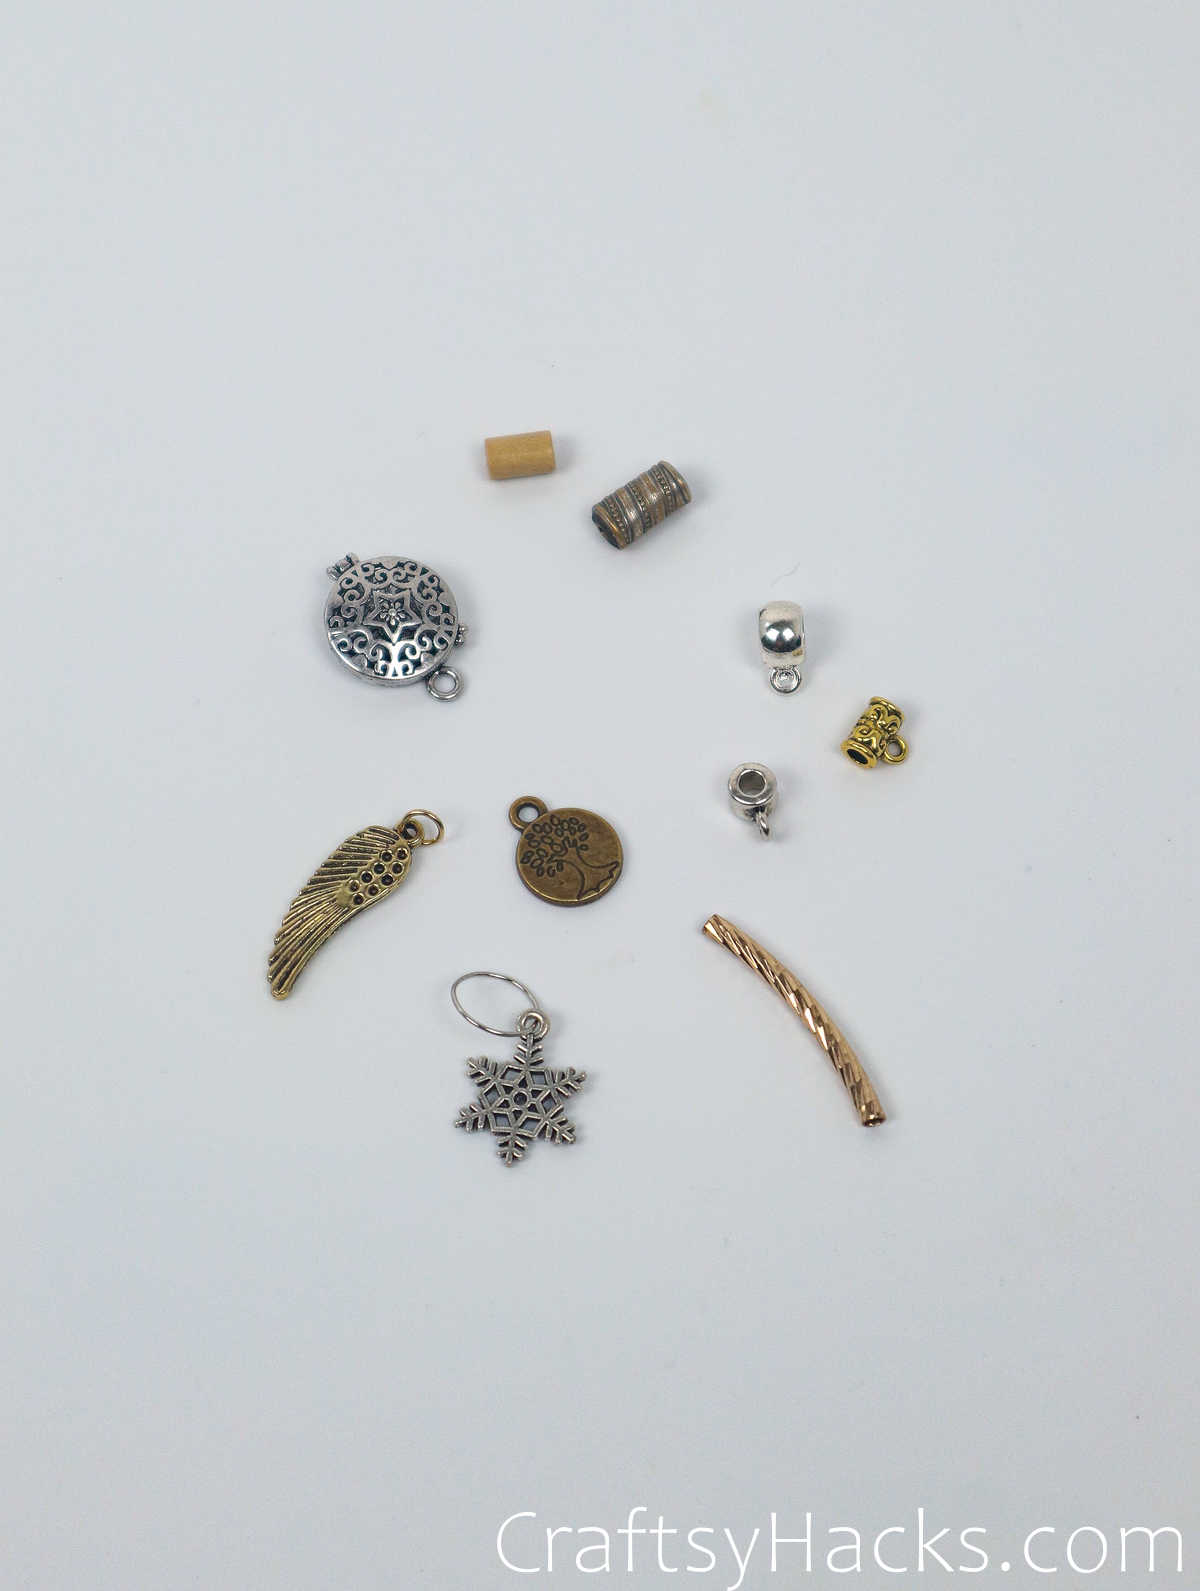
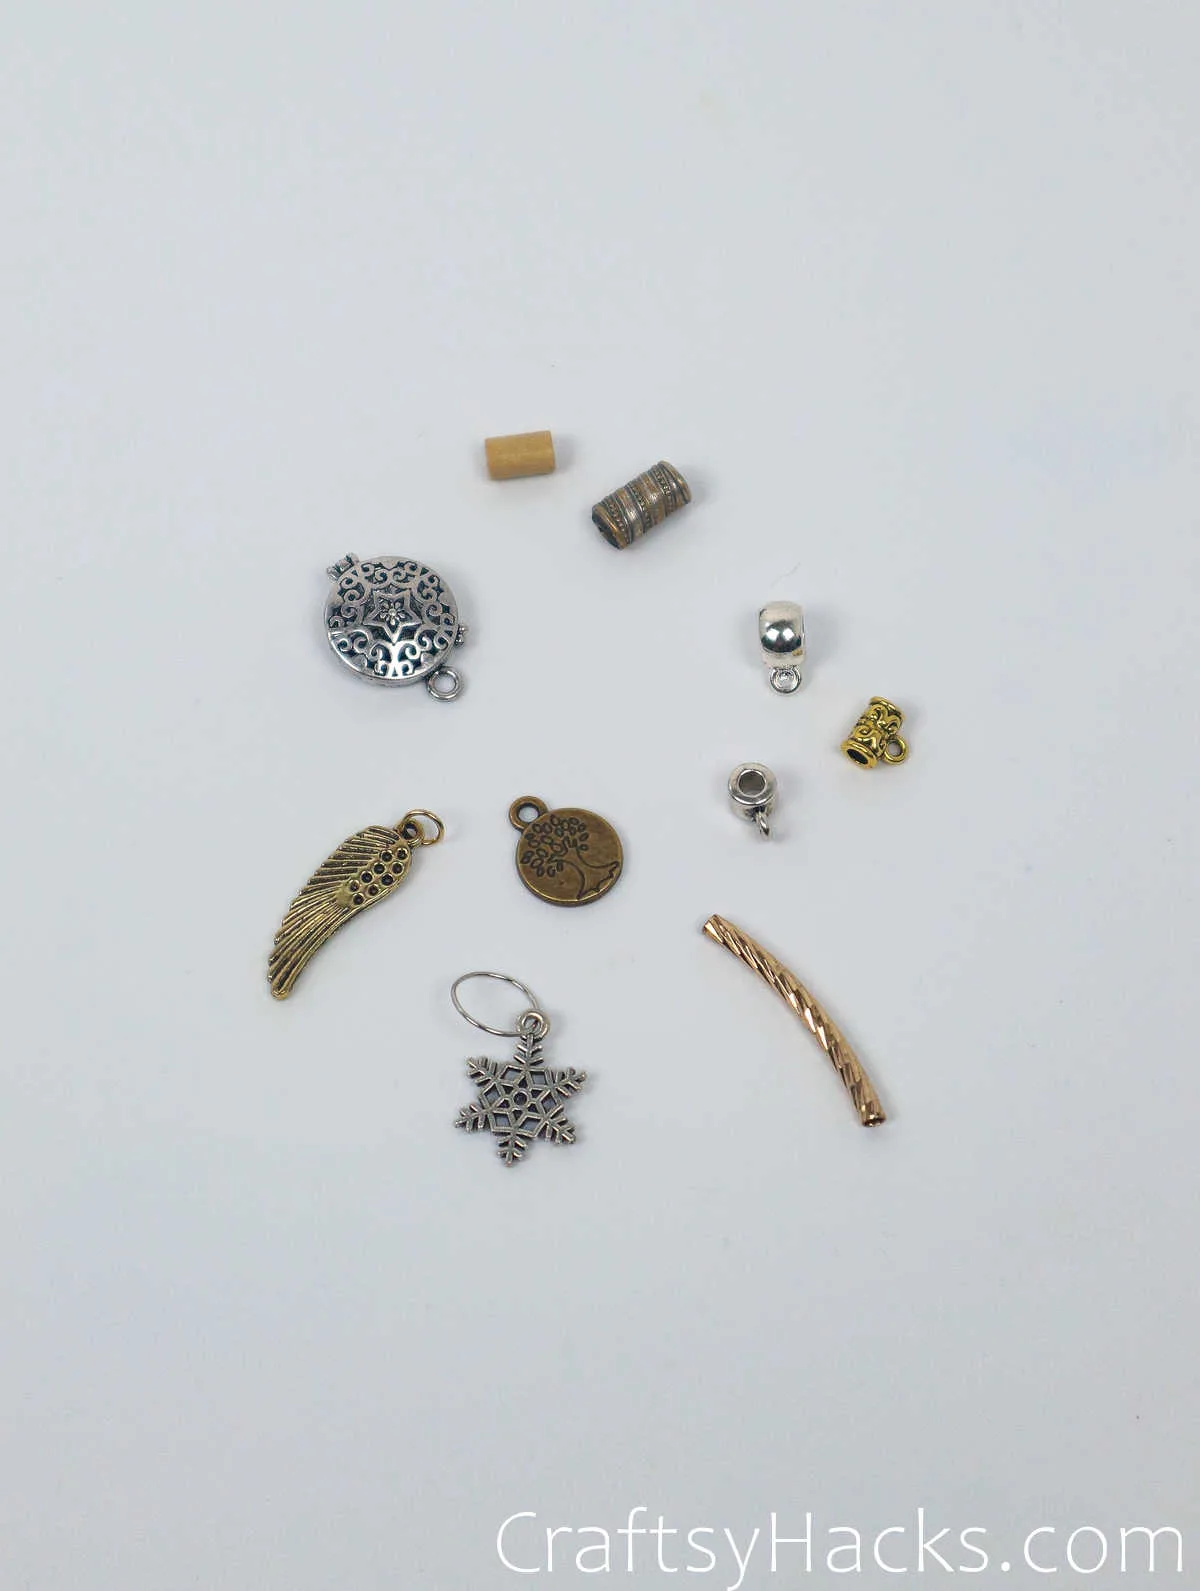
Optionally
- Bail beads
- Charms
- Curved tube beads
- Tube bead
One last tip before we dive in! For some, sketching out the bracelet and, more specifically, the bead pattern proves to be a helpful trick for some artisans!
With that, I hope you enjoy the post, but if you need a bit more guidance, check out my YouTube page, where I have my bracelet-making tutorial. It also shares various bead options.
How to Make Beaded Bracelet

Firstly, let’s talk about beads and string. The project will do best with at least a 1mm hole in diameter.
I’m using a 0.8 mm cord for this specific craft–a bit thinner than the hole will make for an easier project.
Don’t go too thin–a 0.5mm cord could be too fragile and not support the bracelet.
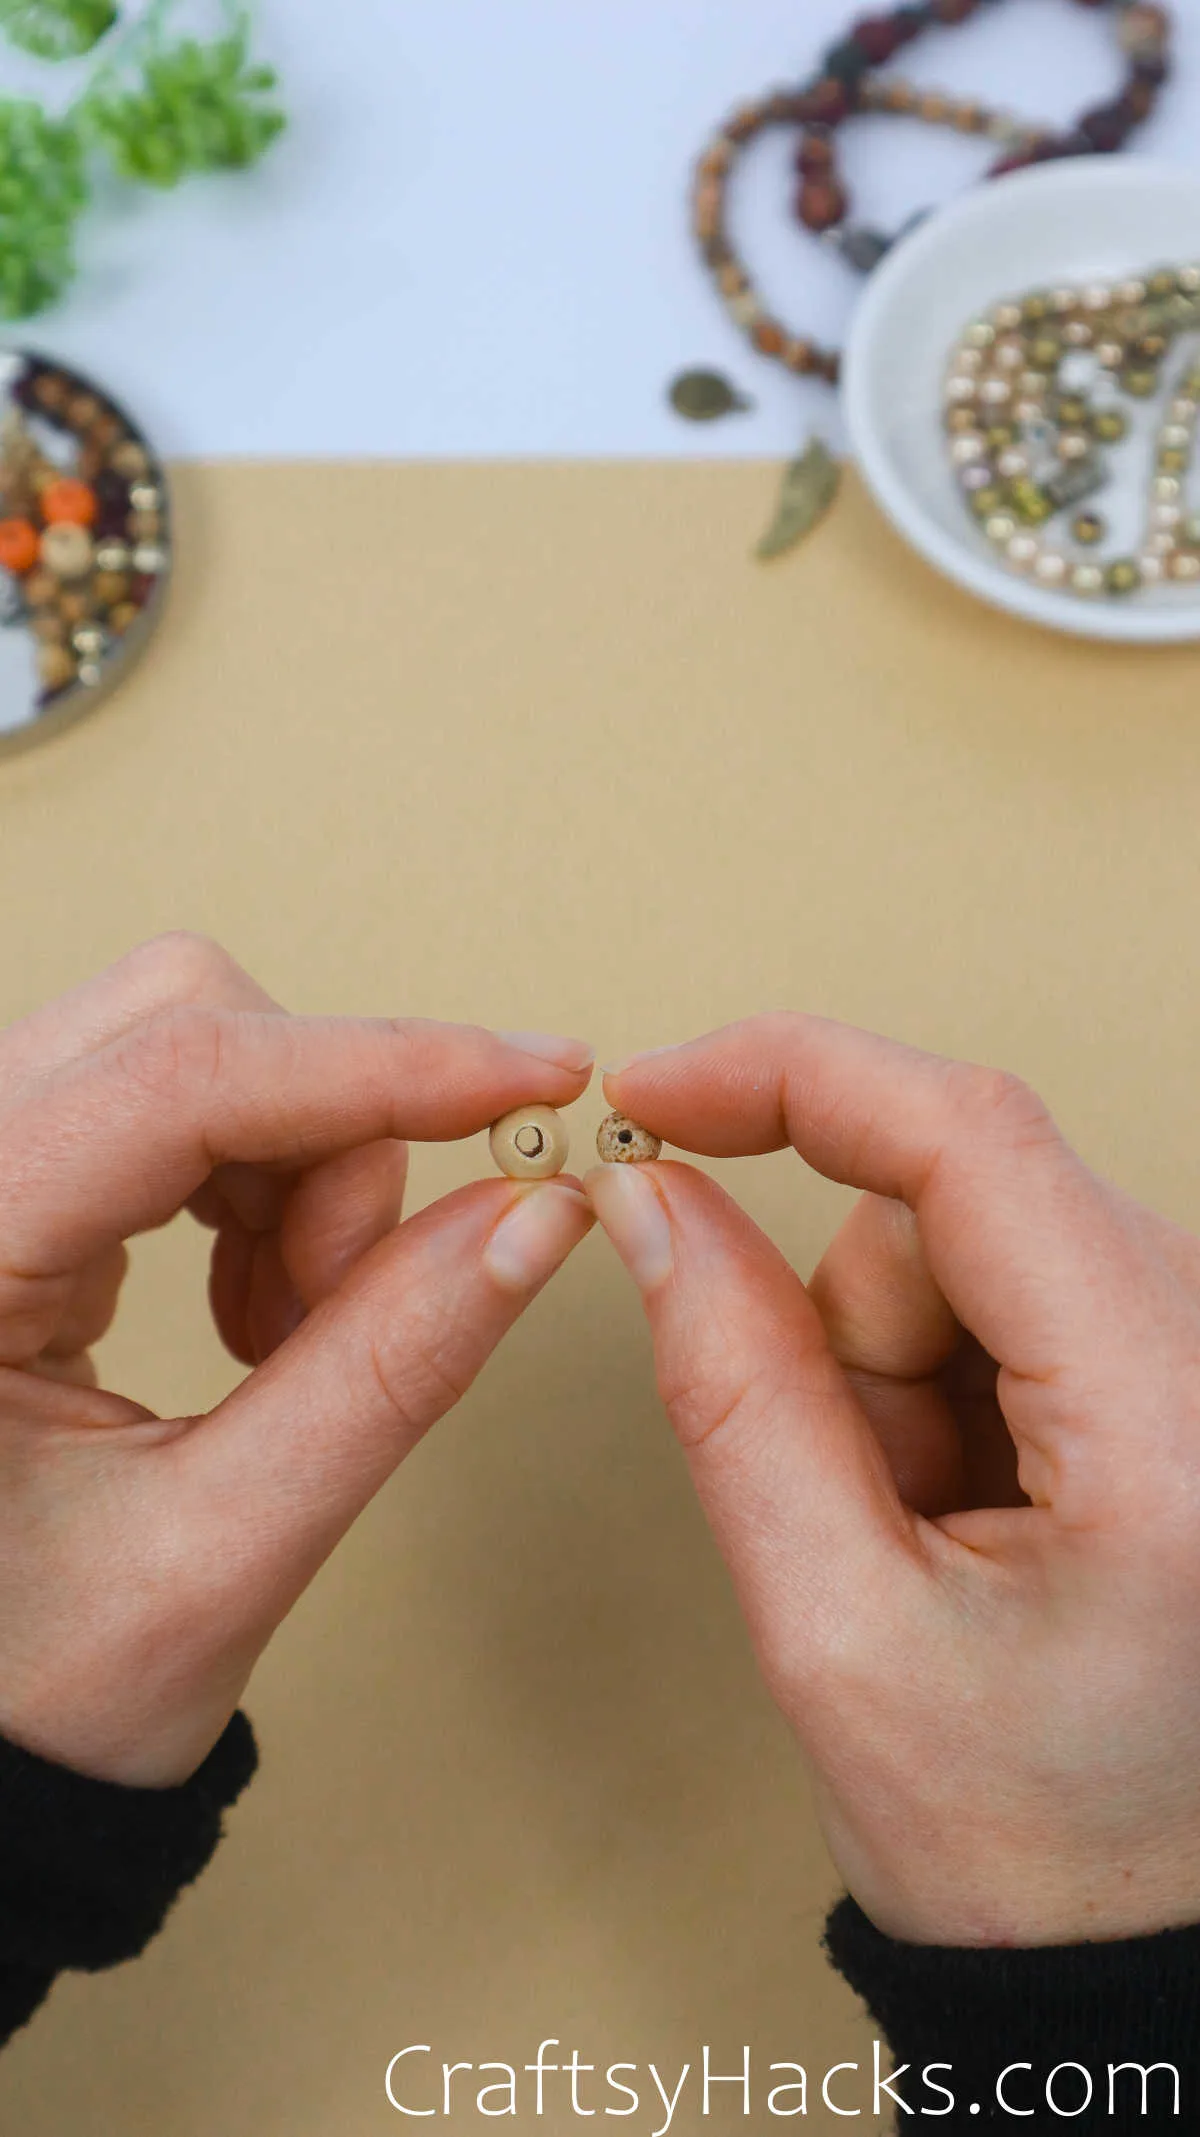
Step 1
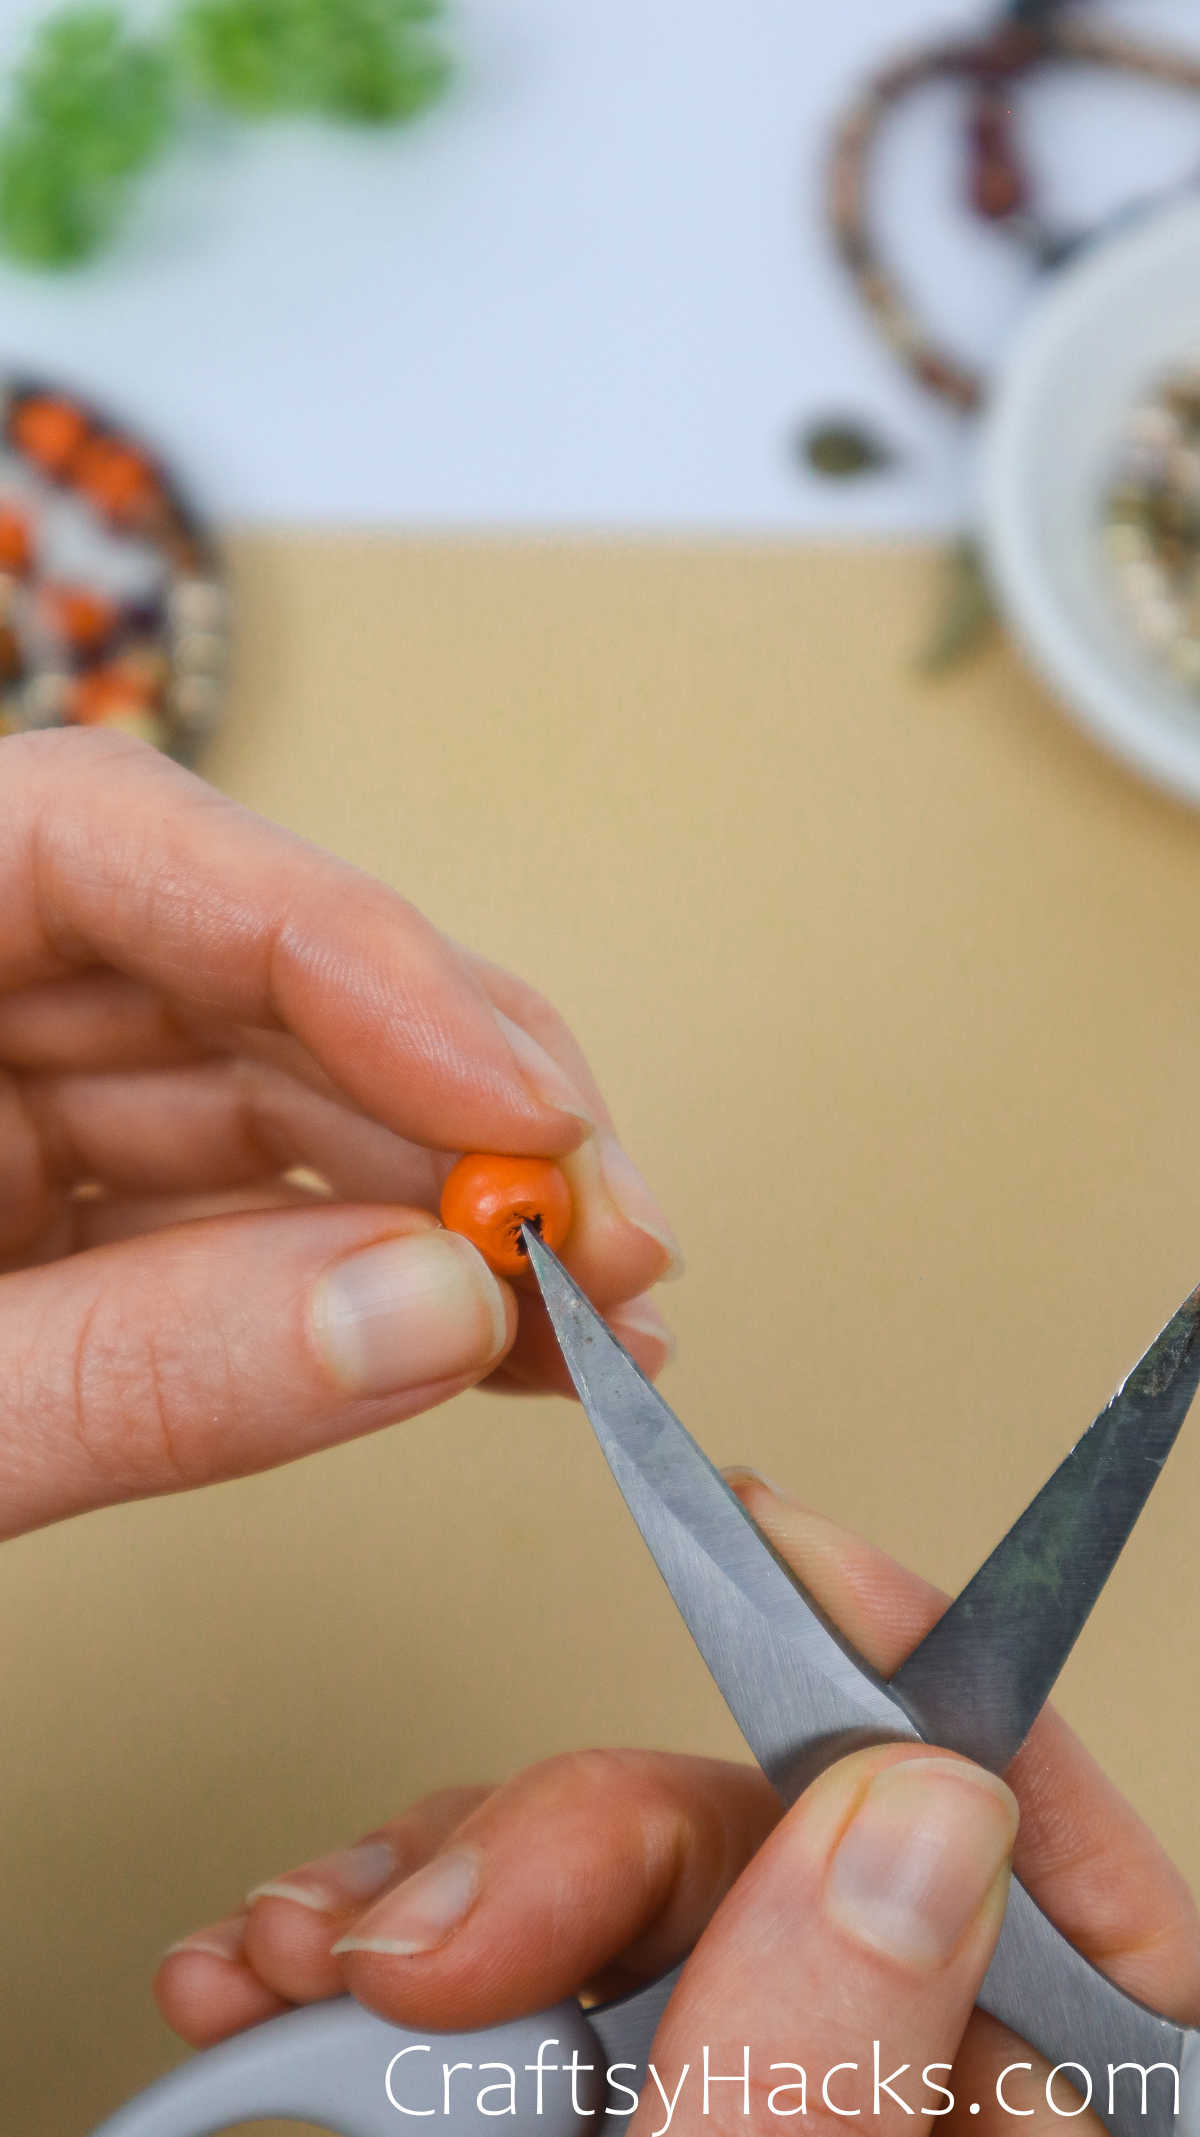
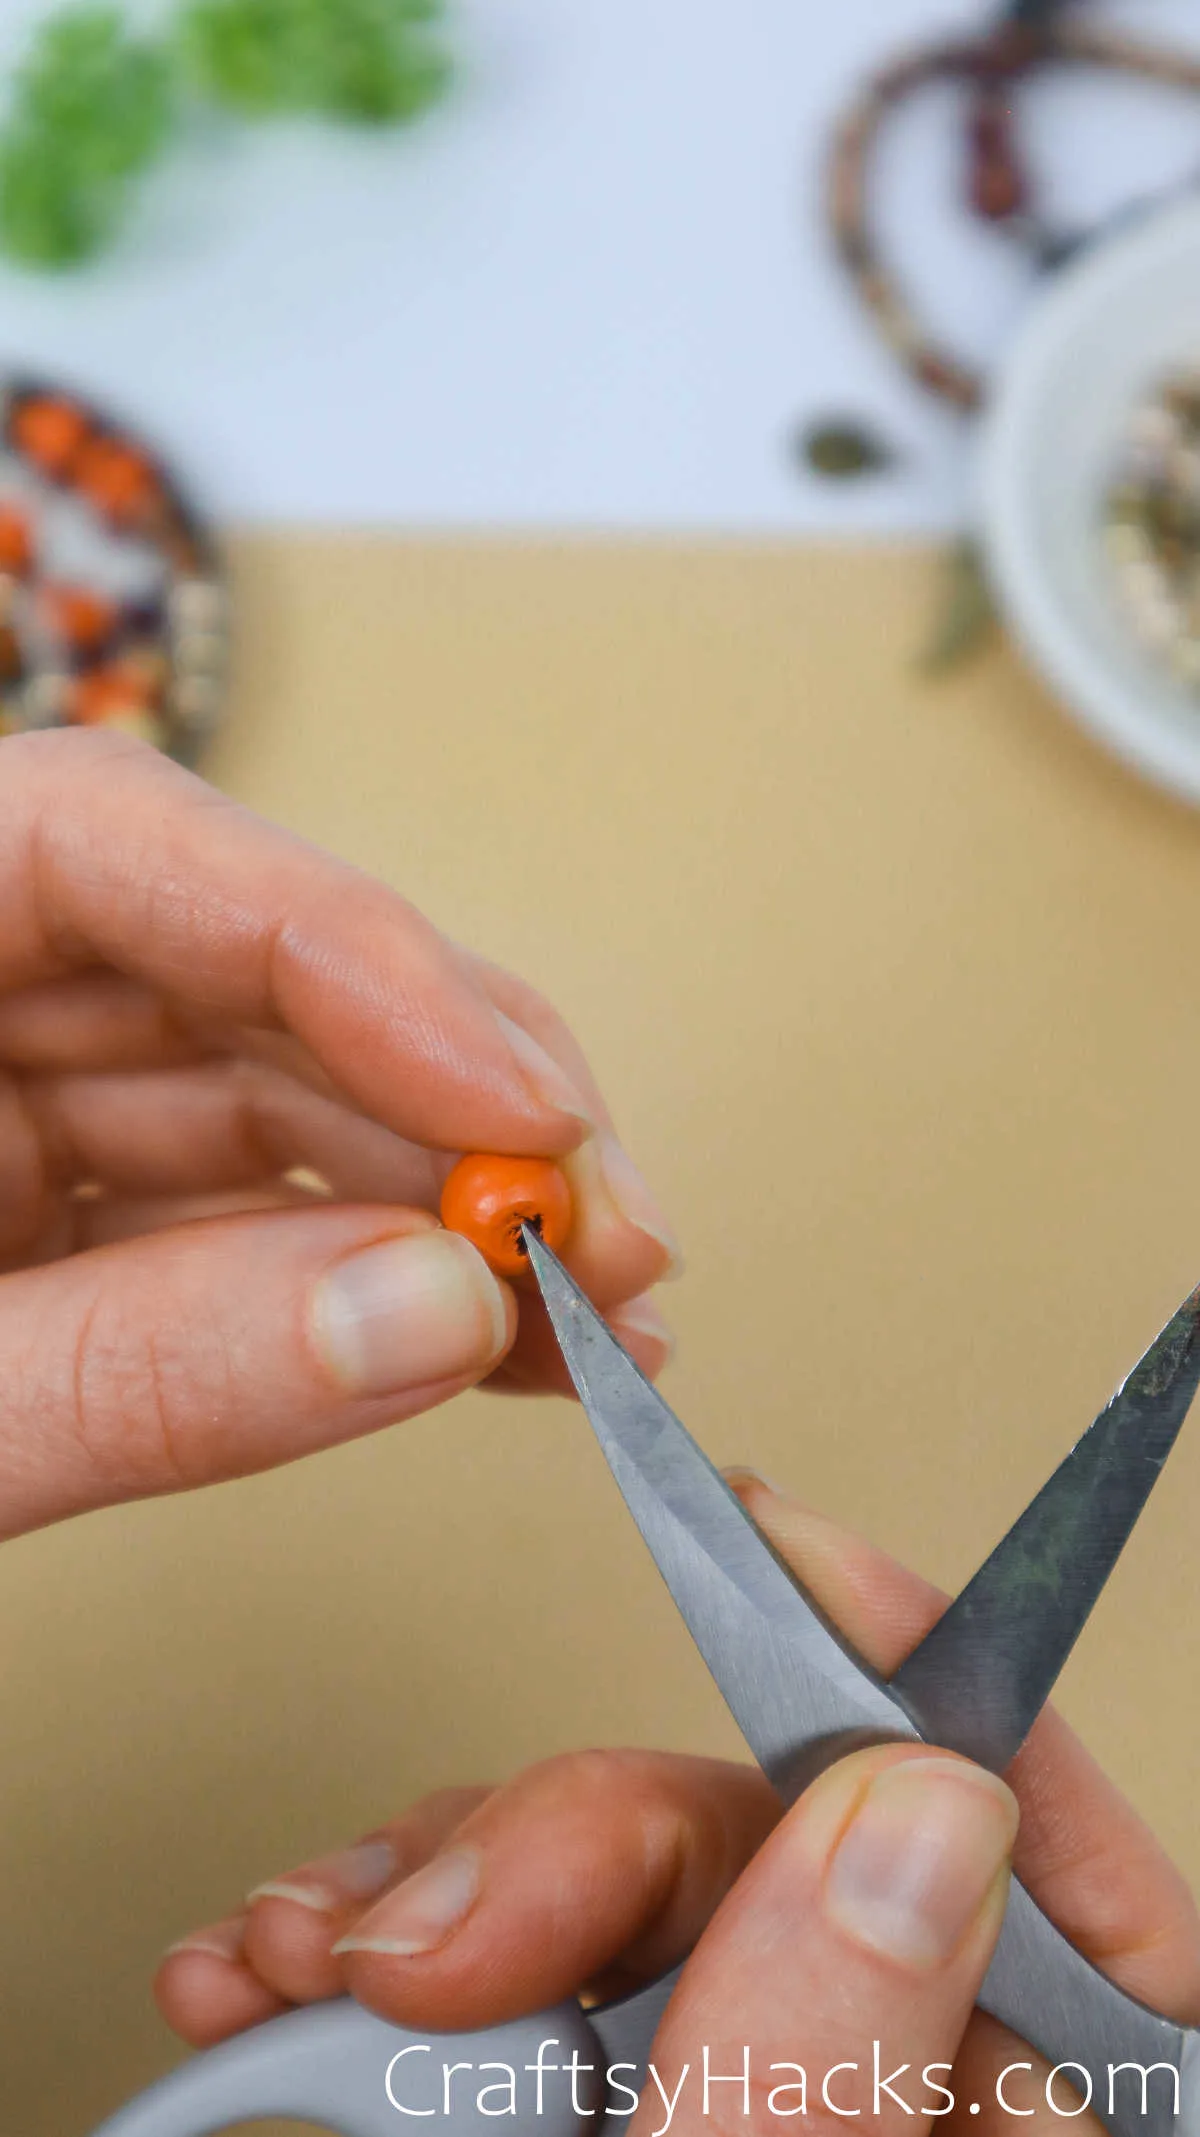
Feel free to widen the holes with scissors for wooden beads, but be careful!
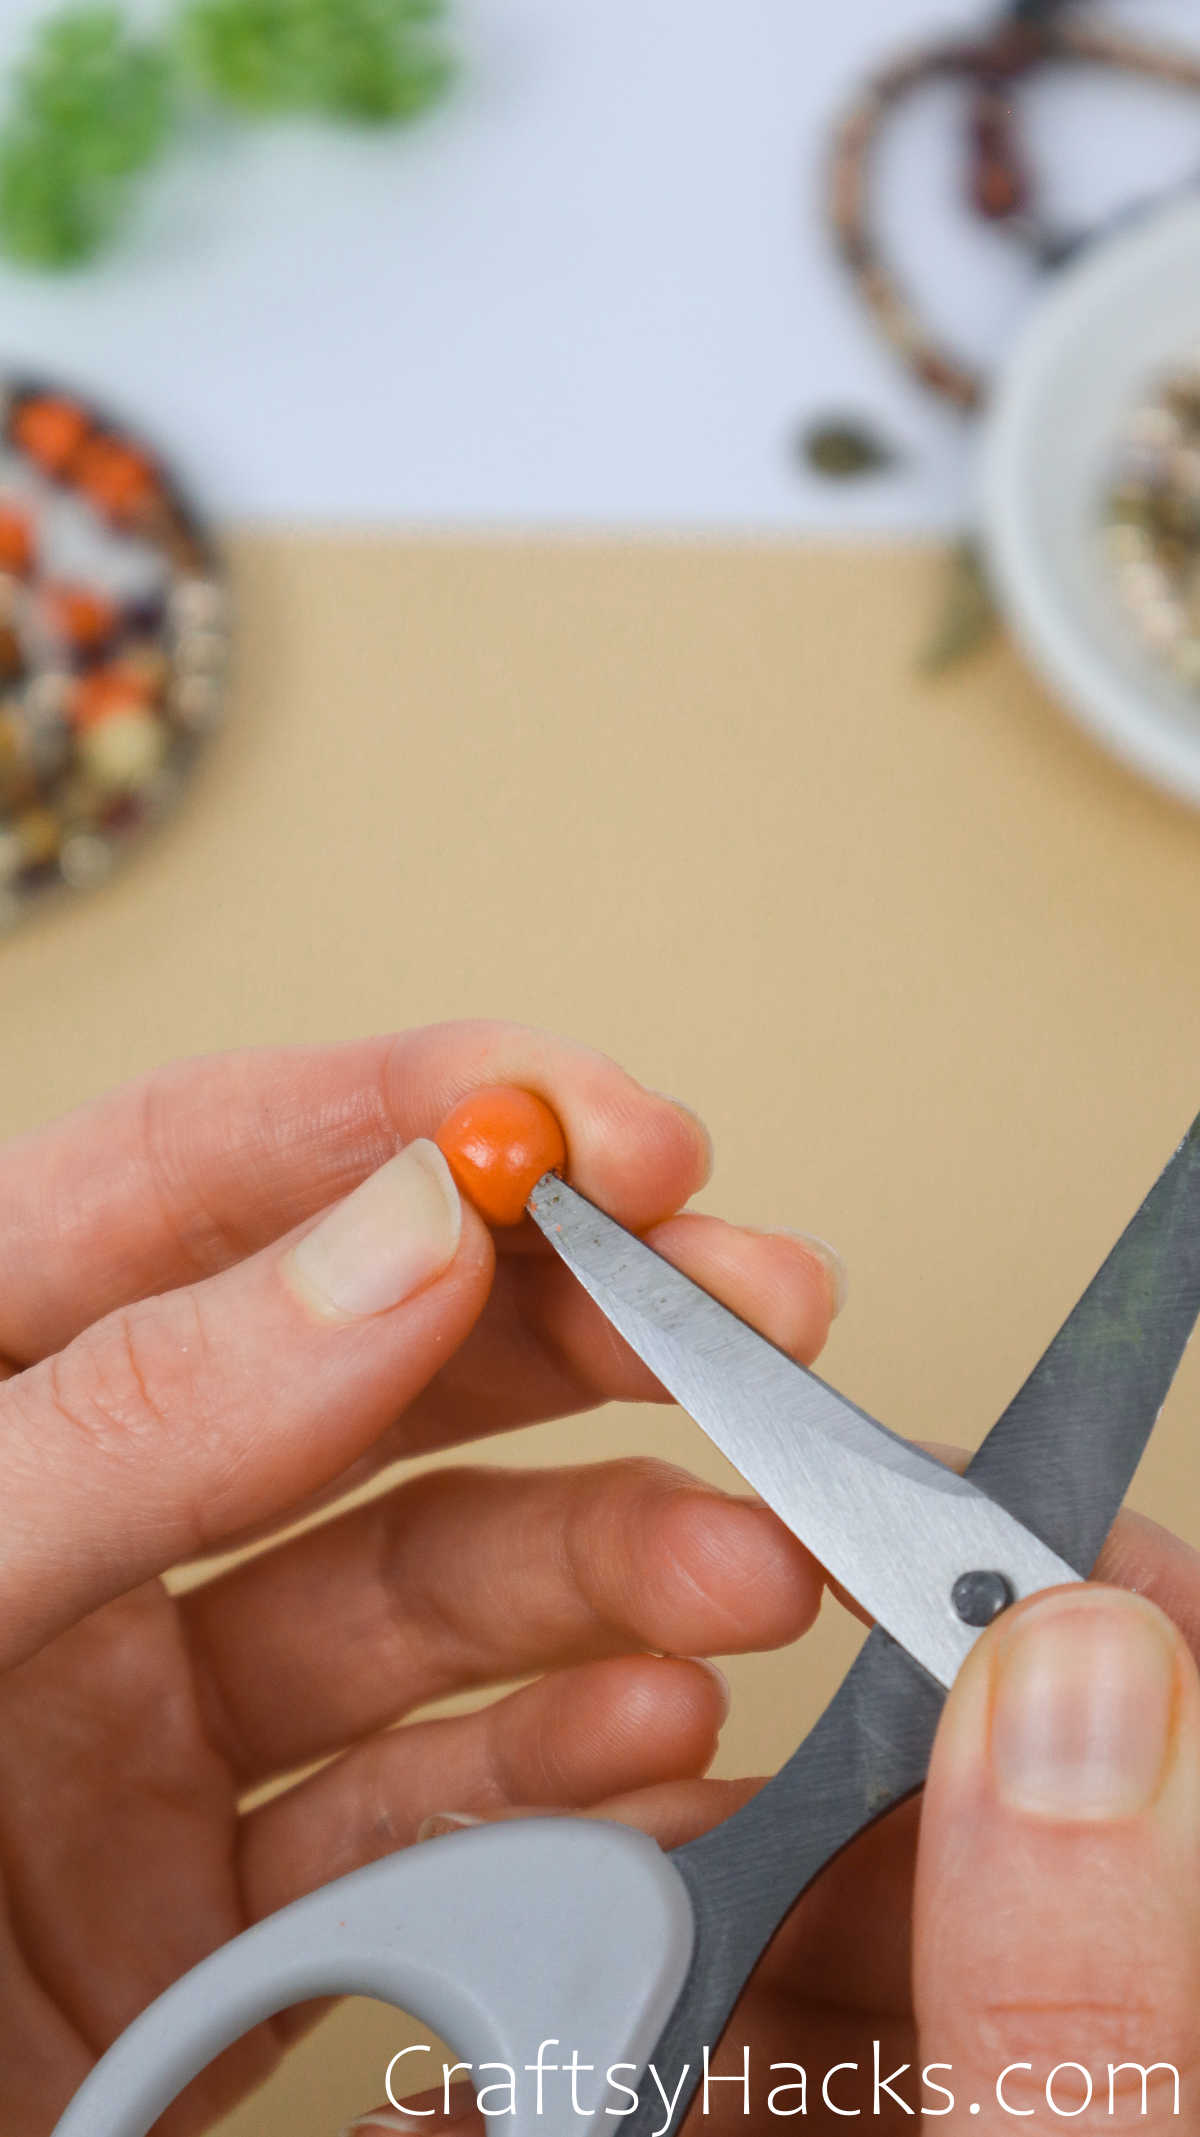

I gently work a point of the blade into the circumference and twist back and forth until happy with the space I’ve created for this step. Continue the process for any wooden beads.
Step 2
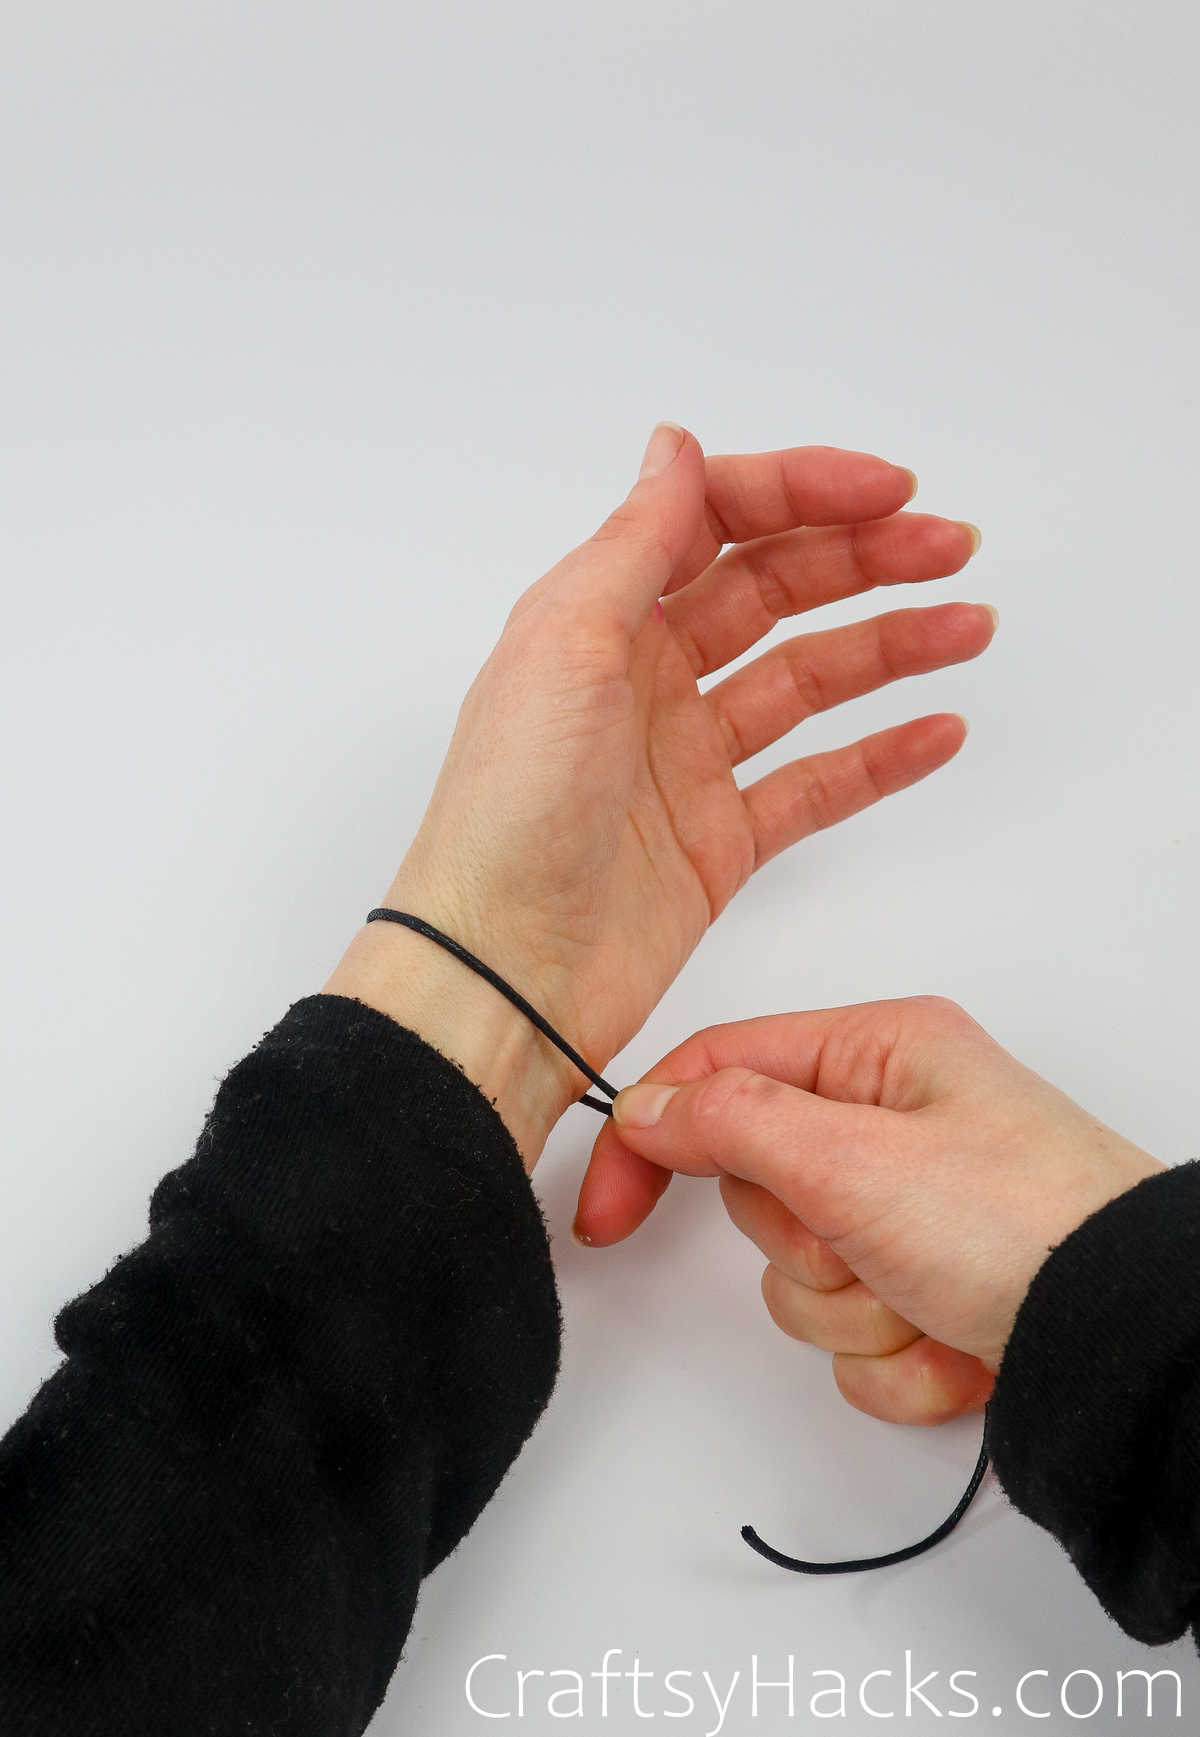

Next, grab any string and wrap it around your wrist for the length of the bracelet. Allow extra line for room to slip it on and off your hand–otherwise, the bracelet is more likely to break with time.


Once happy with the length, set it out flat and set it aside. The size can help map out your beadwork if you’re planning a pattern or specific design.
Step 3

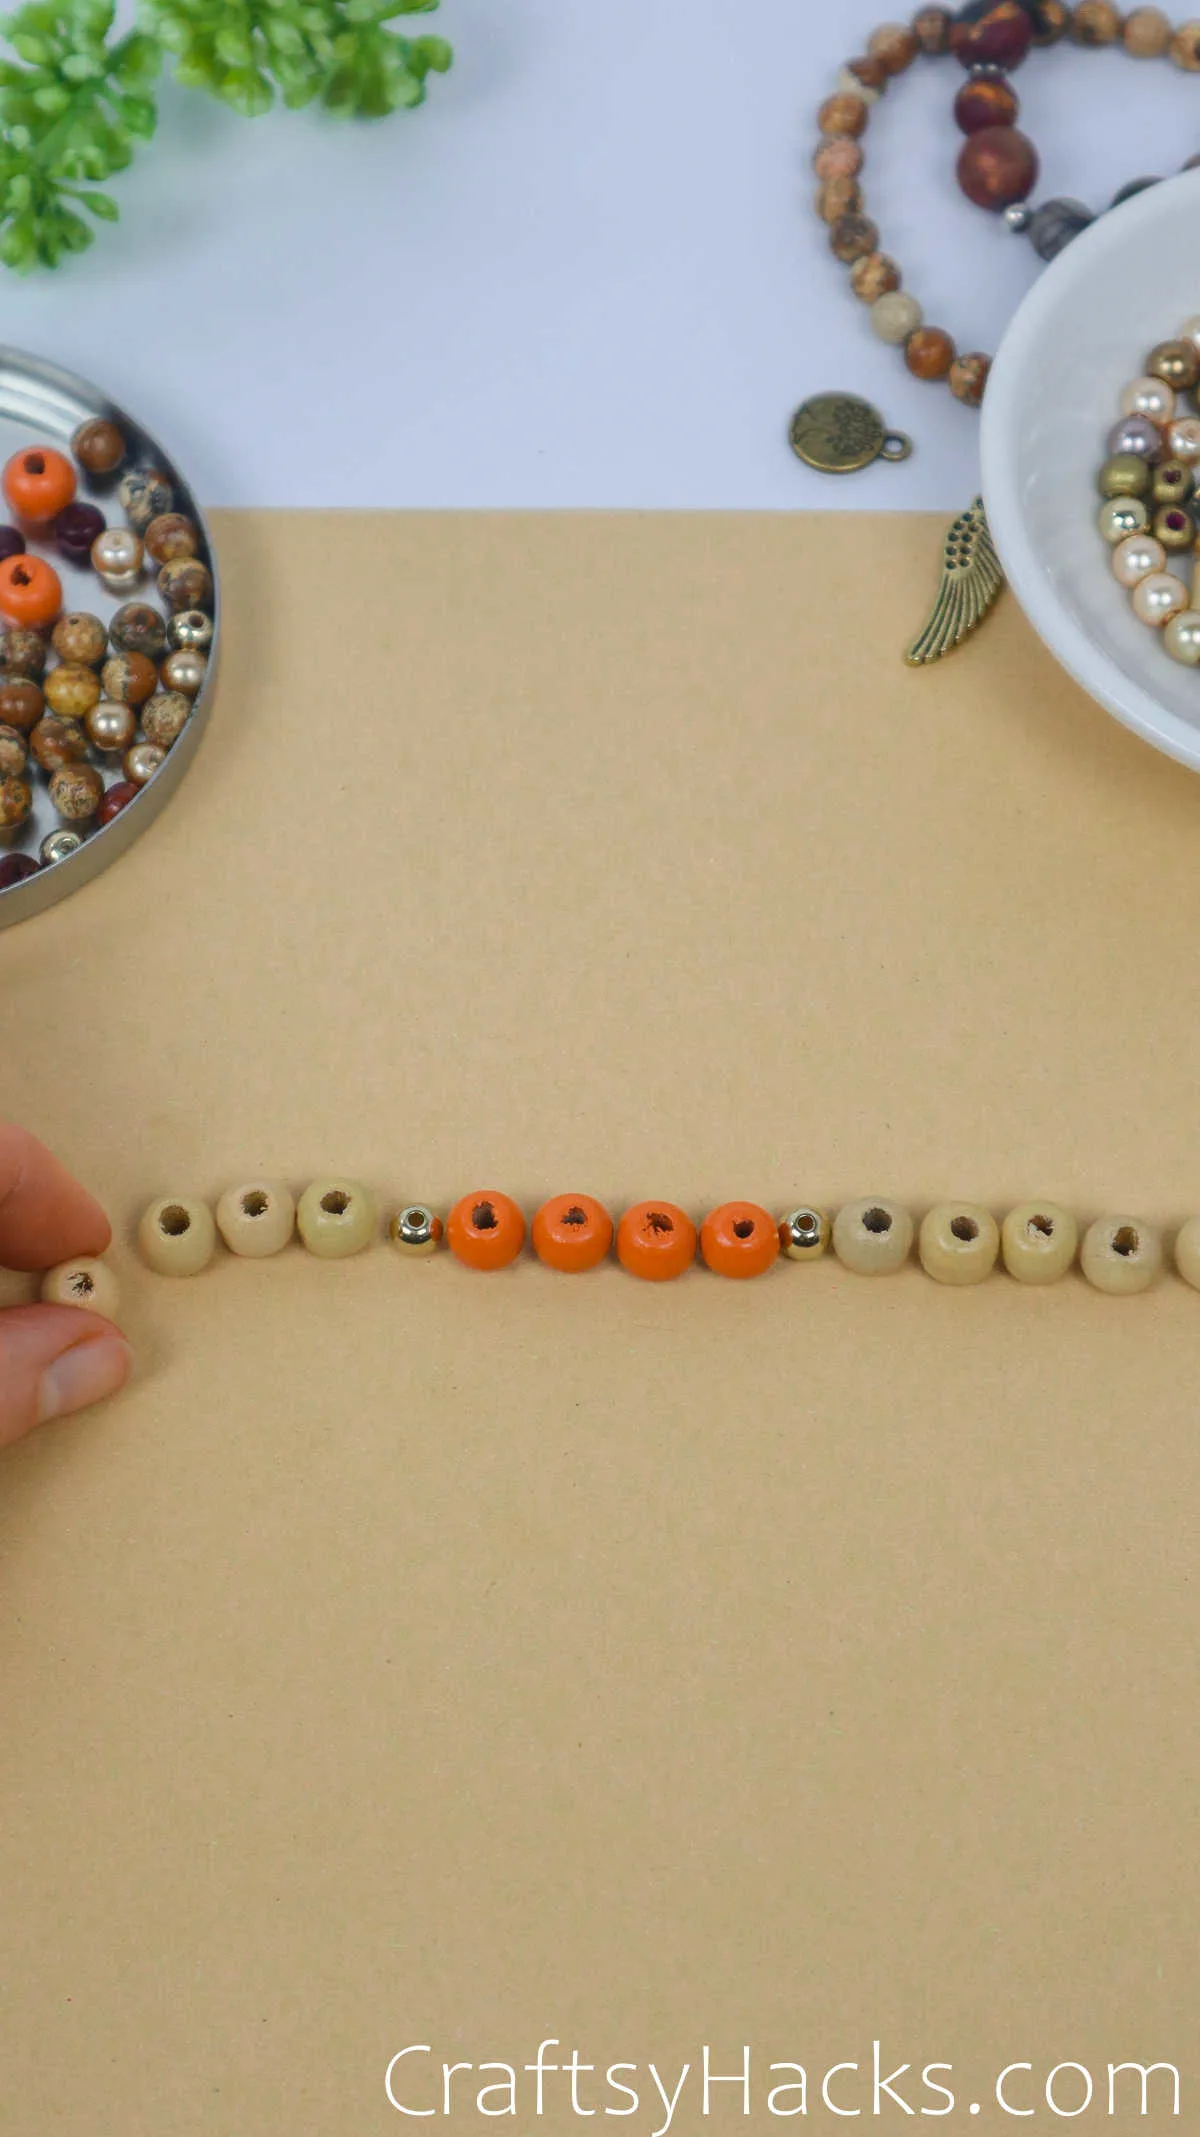
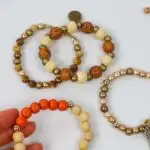
This step is the beginning of the fun! Gather any of the beads you plan on using and lay them out according to how you will string them onto your piece.
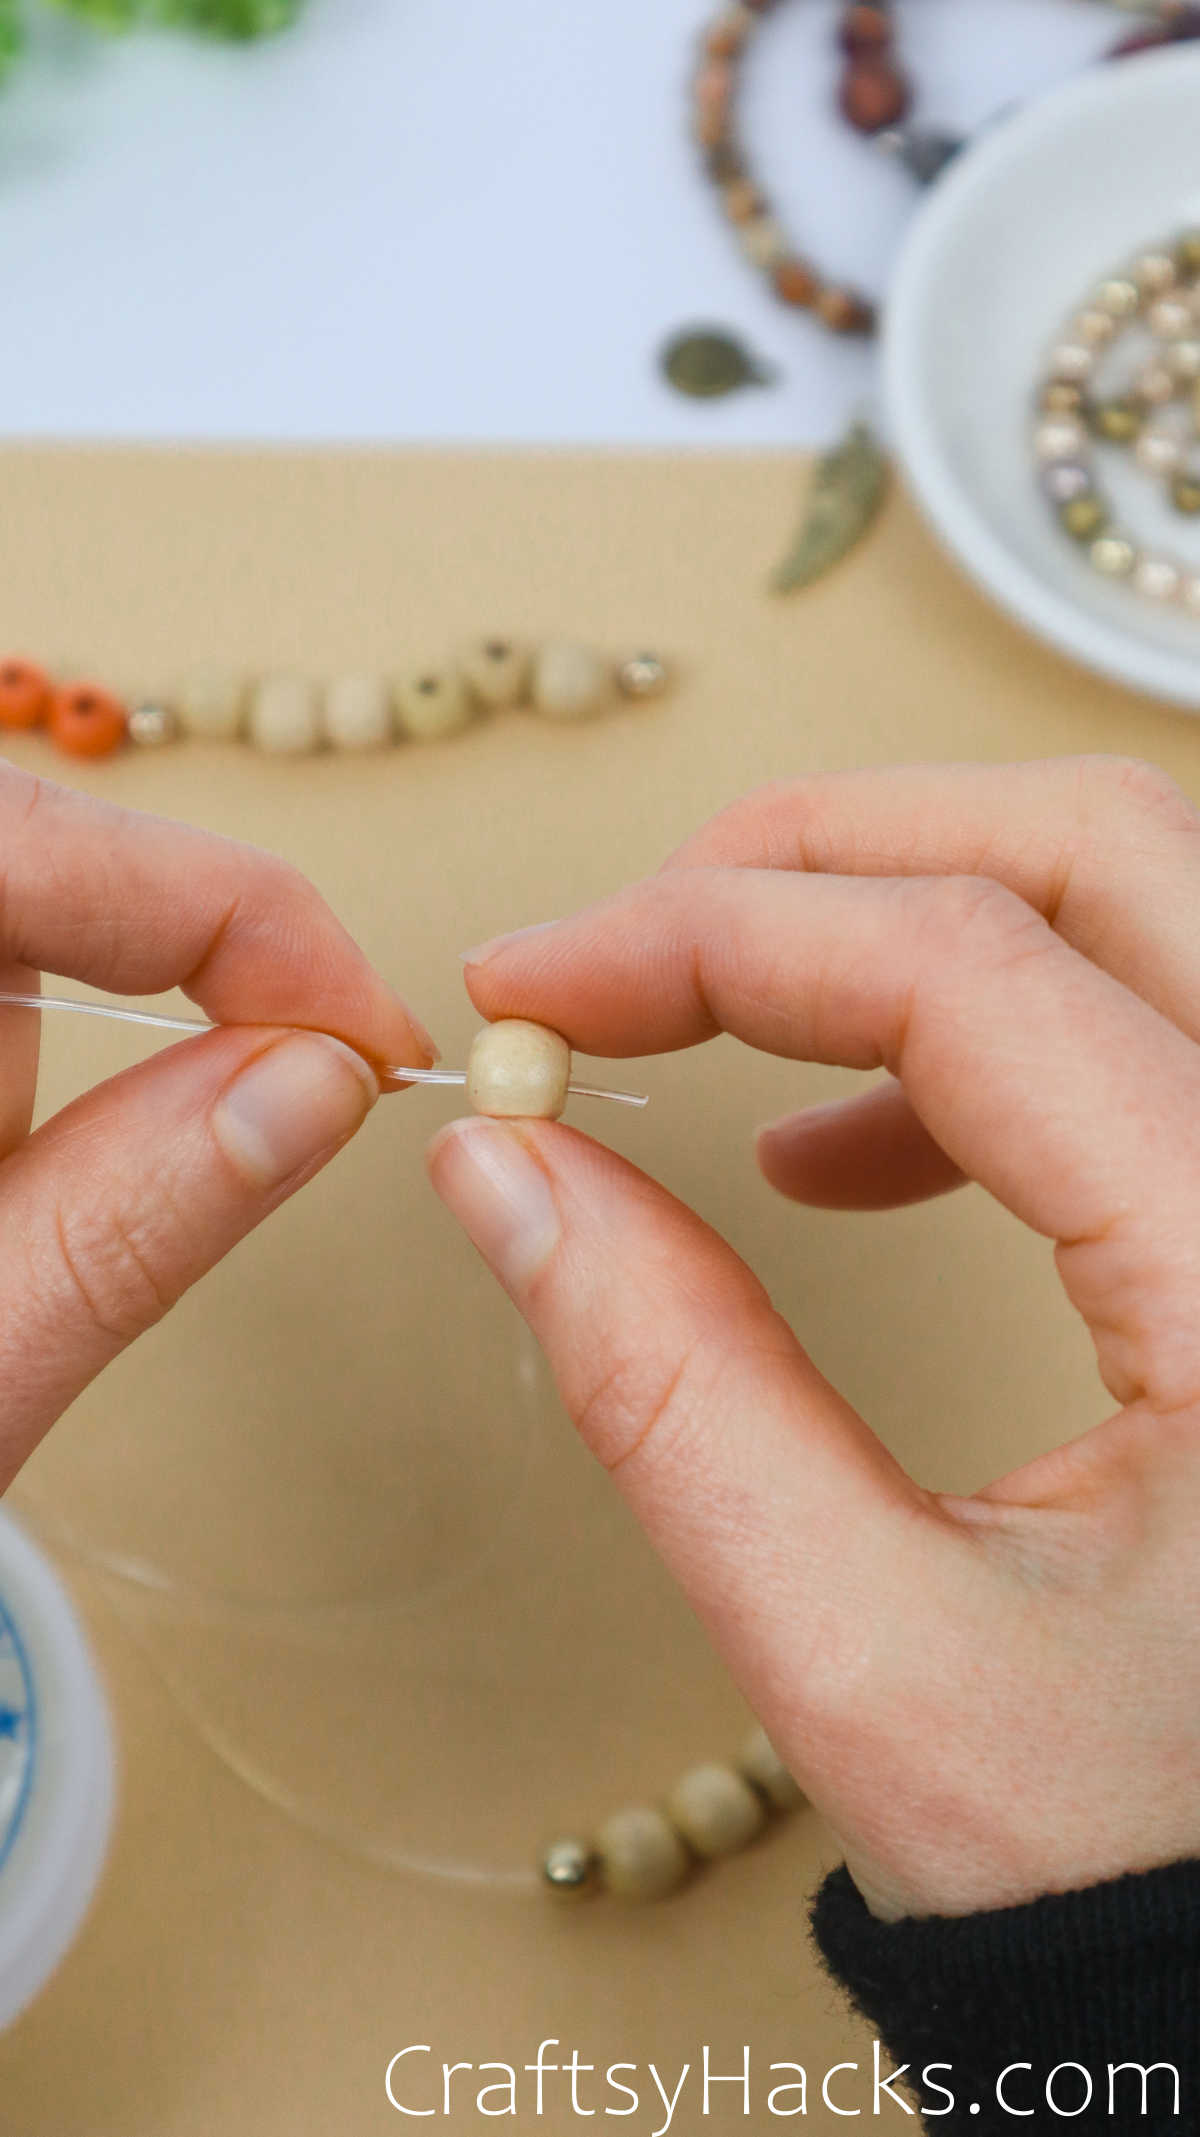
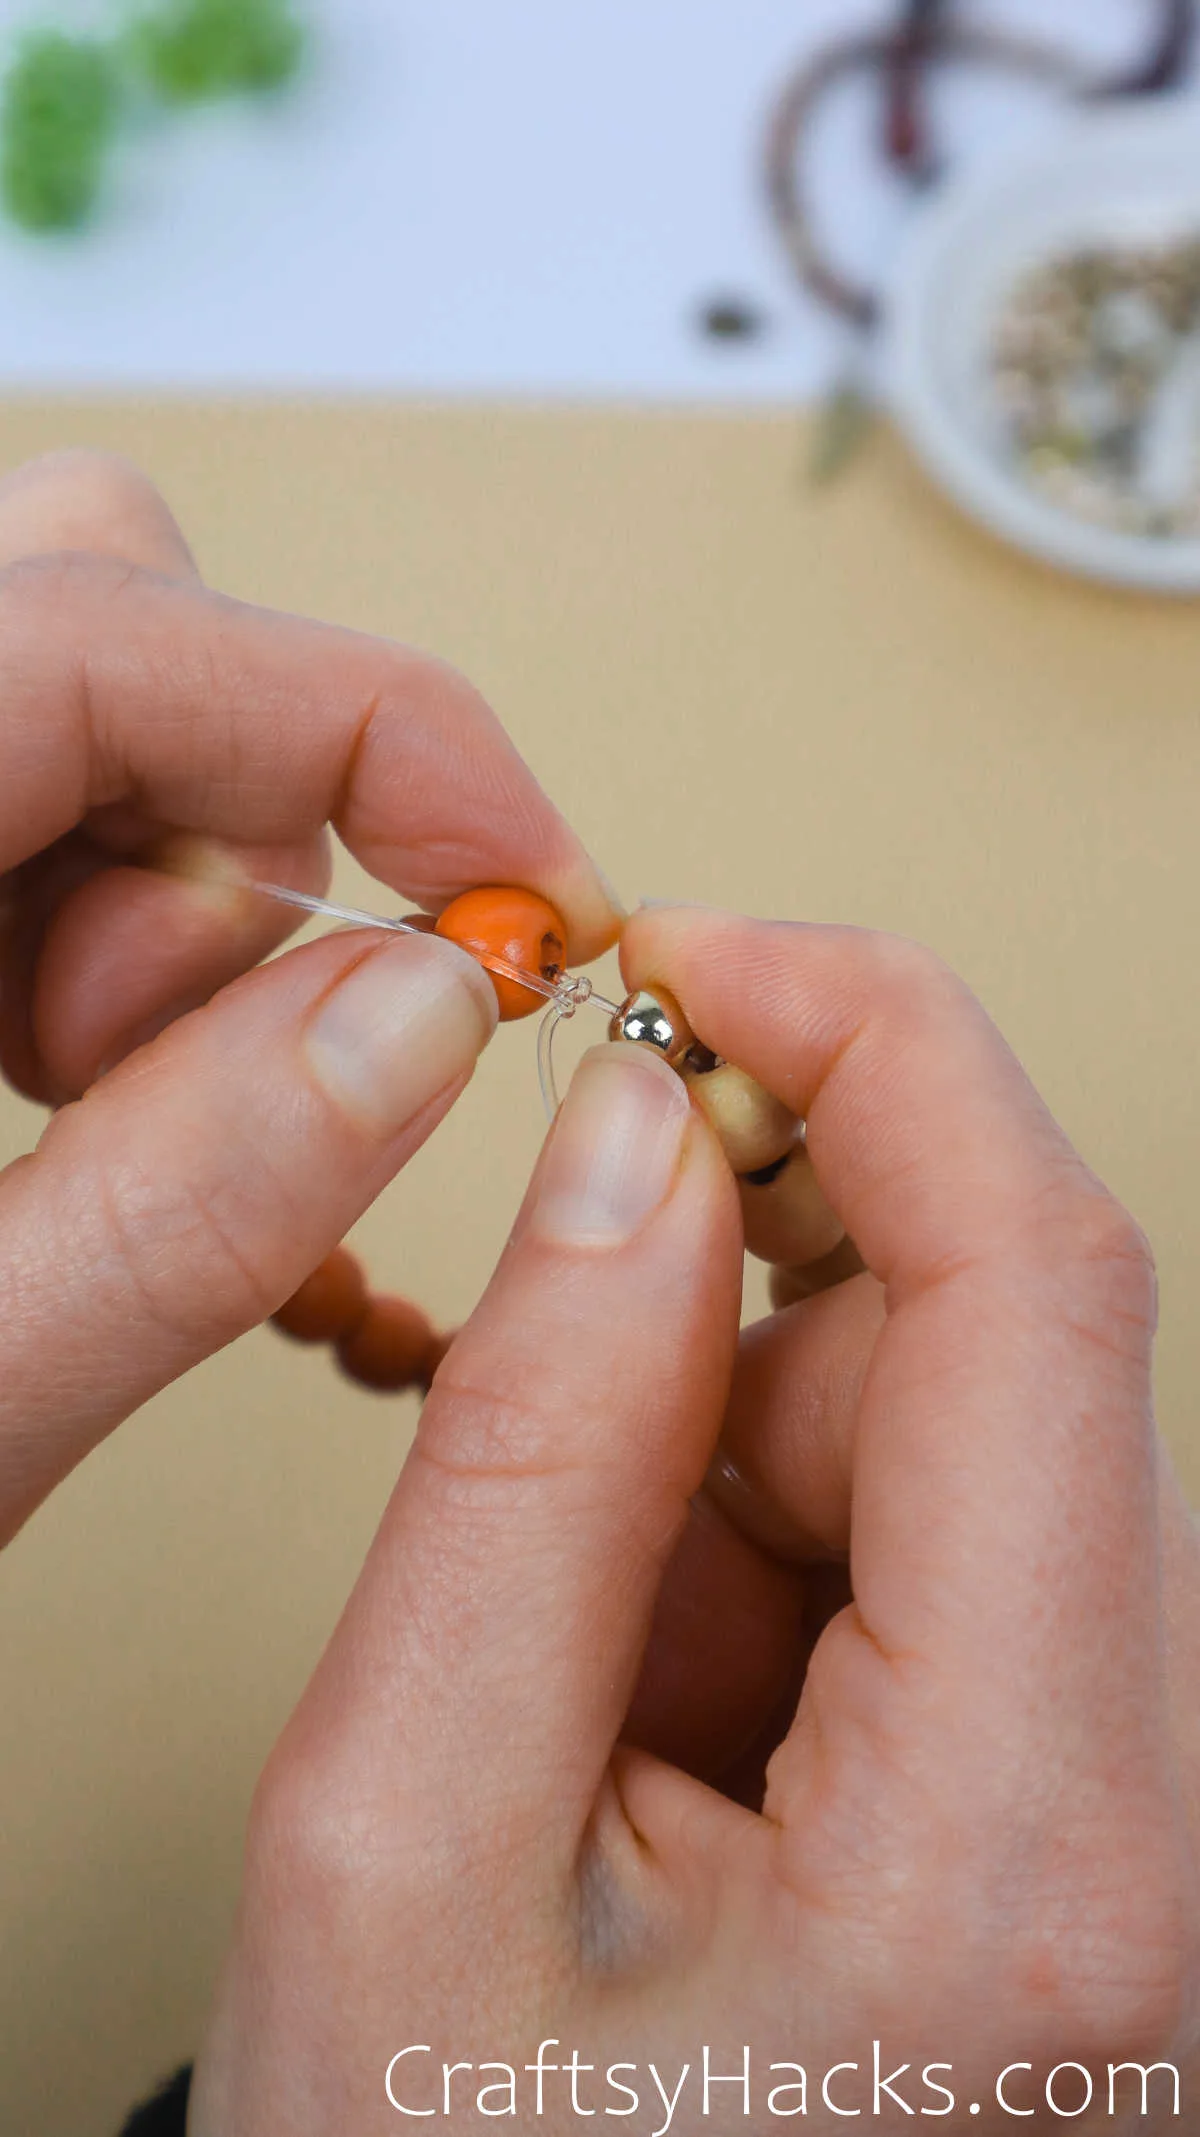
Step 4
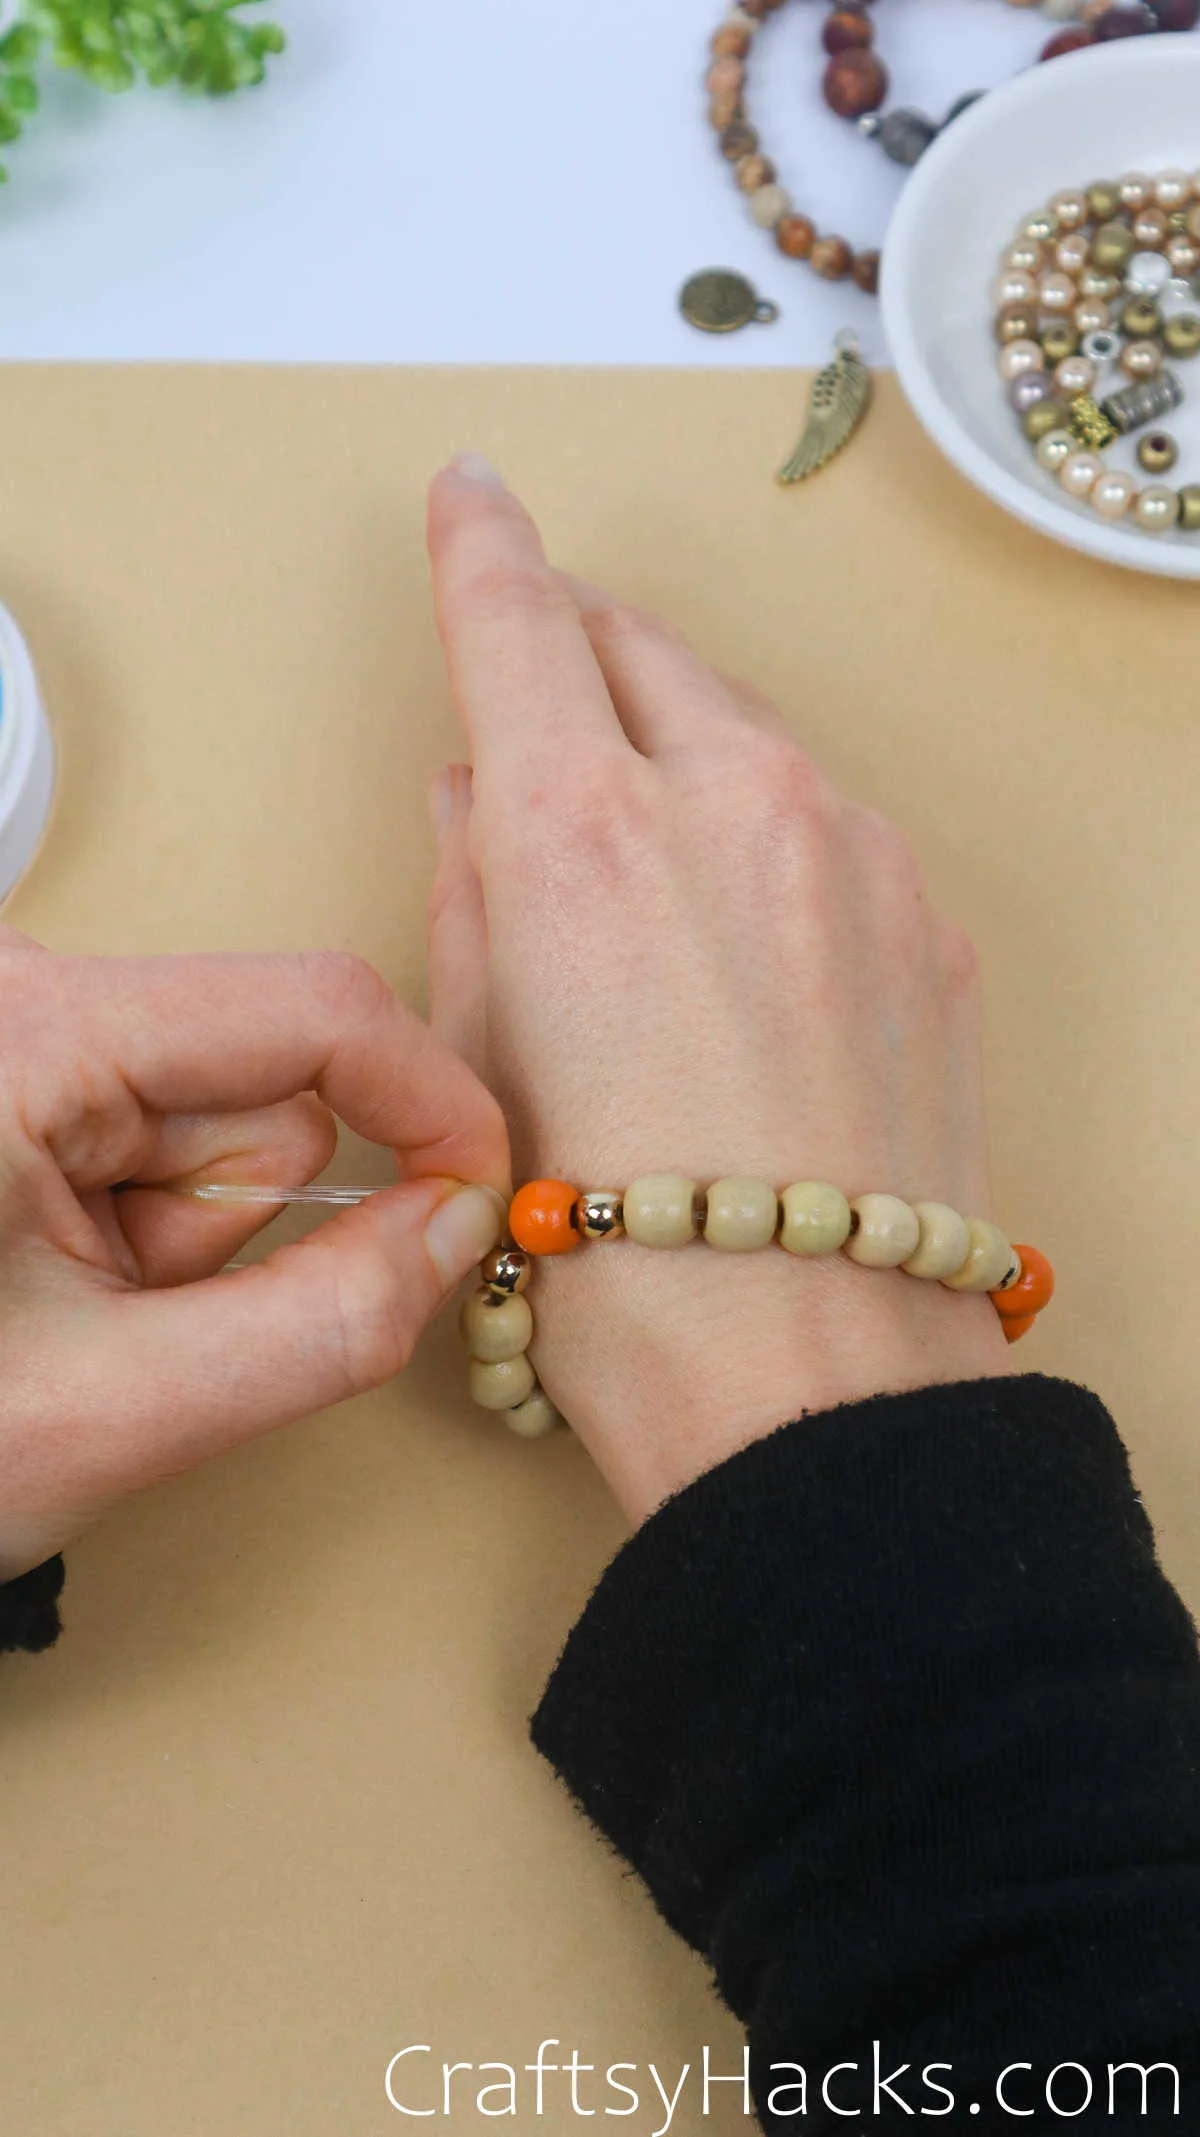
Prepare your space and start stringing! Wait to cut the bracelet from the rest of the string until the end–the base works as a great stopper while you work.
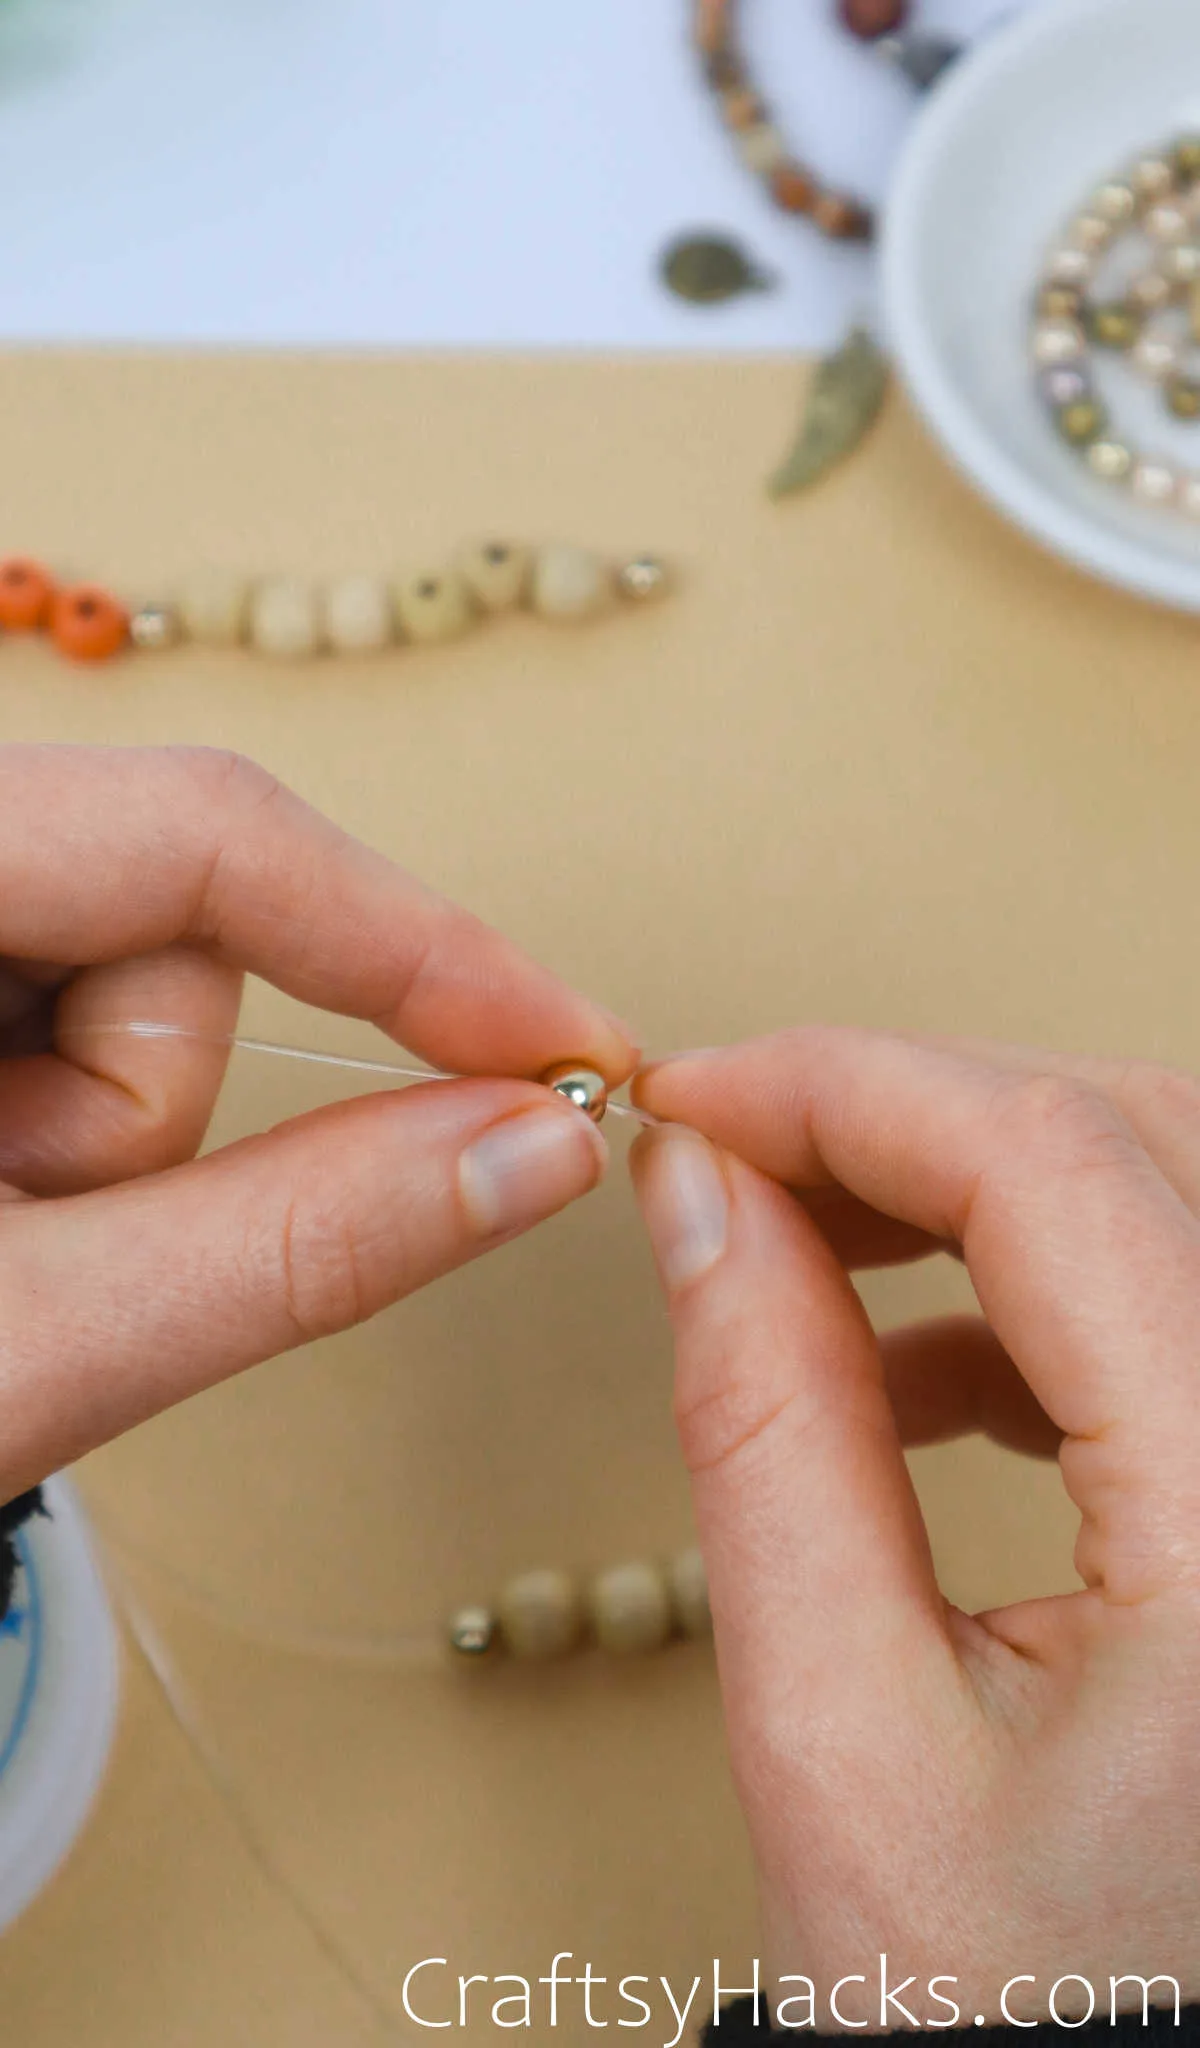
Follow the pattern or patterns that you’ve laid out for yourself. The prep work before stringing the bracelet really pays off here.
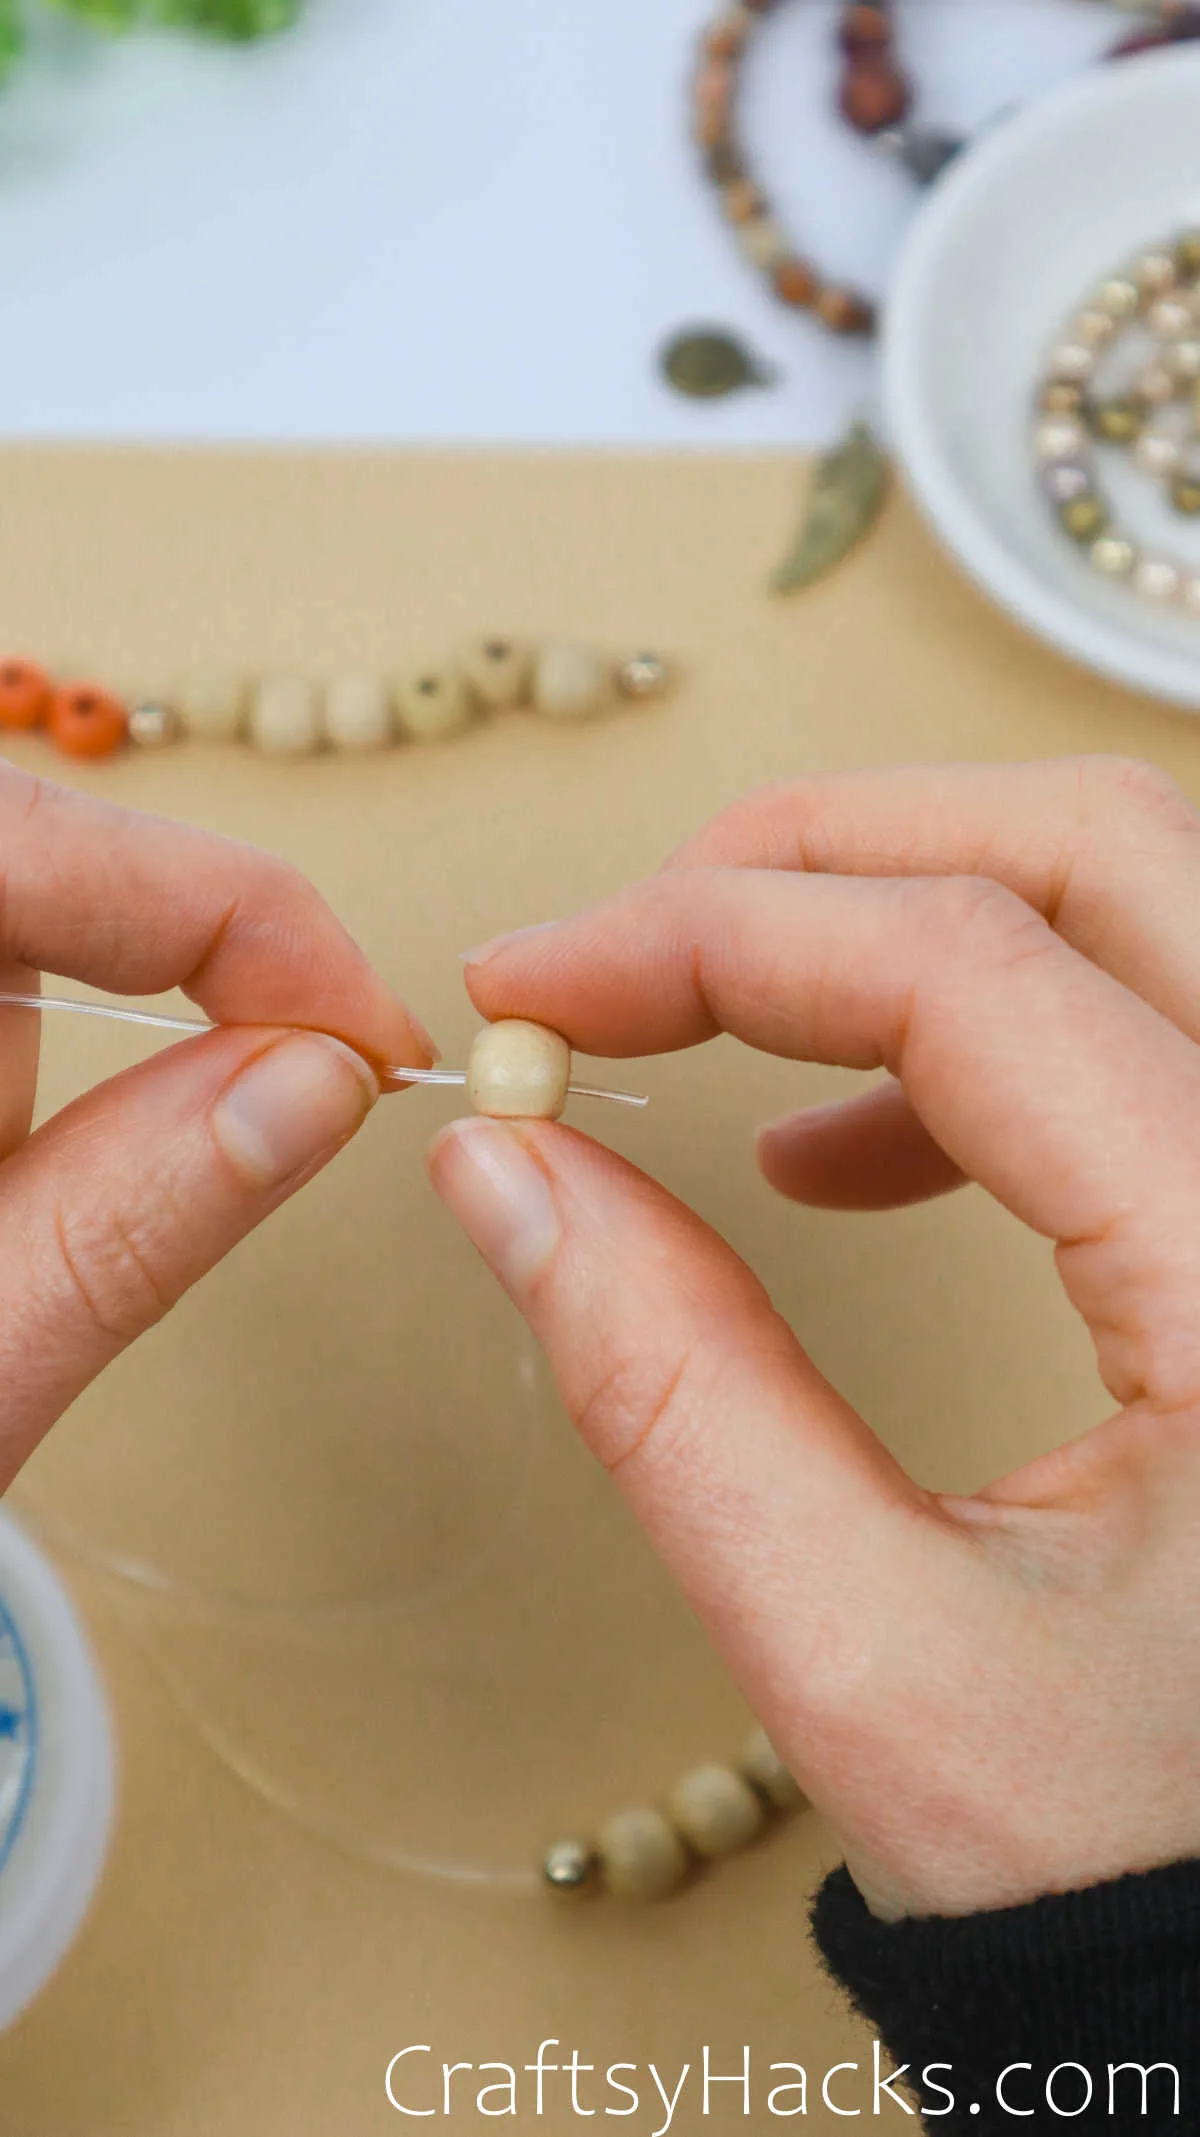
Step 5

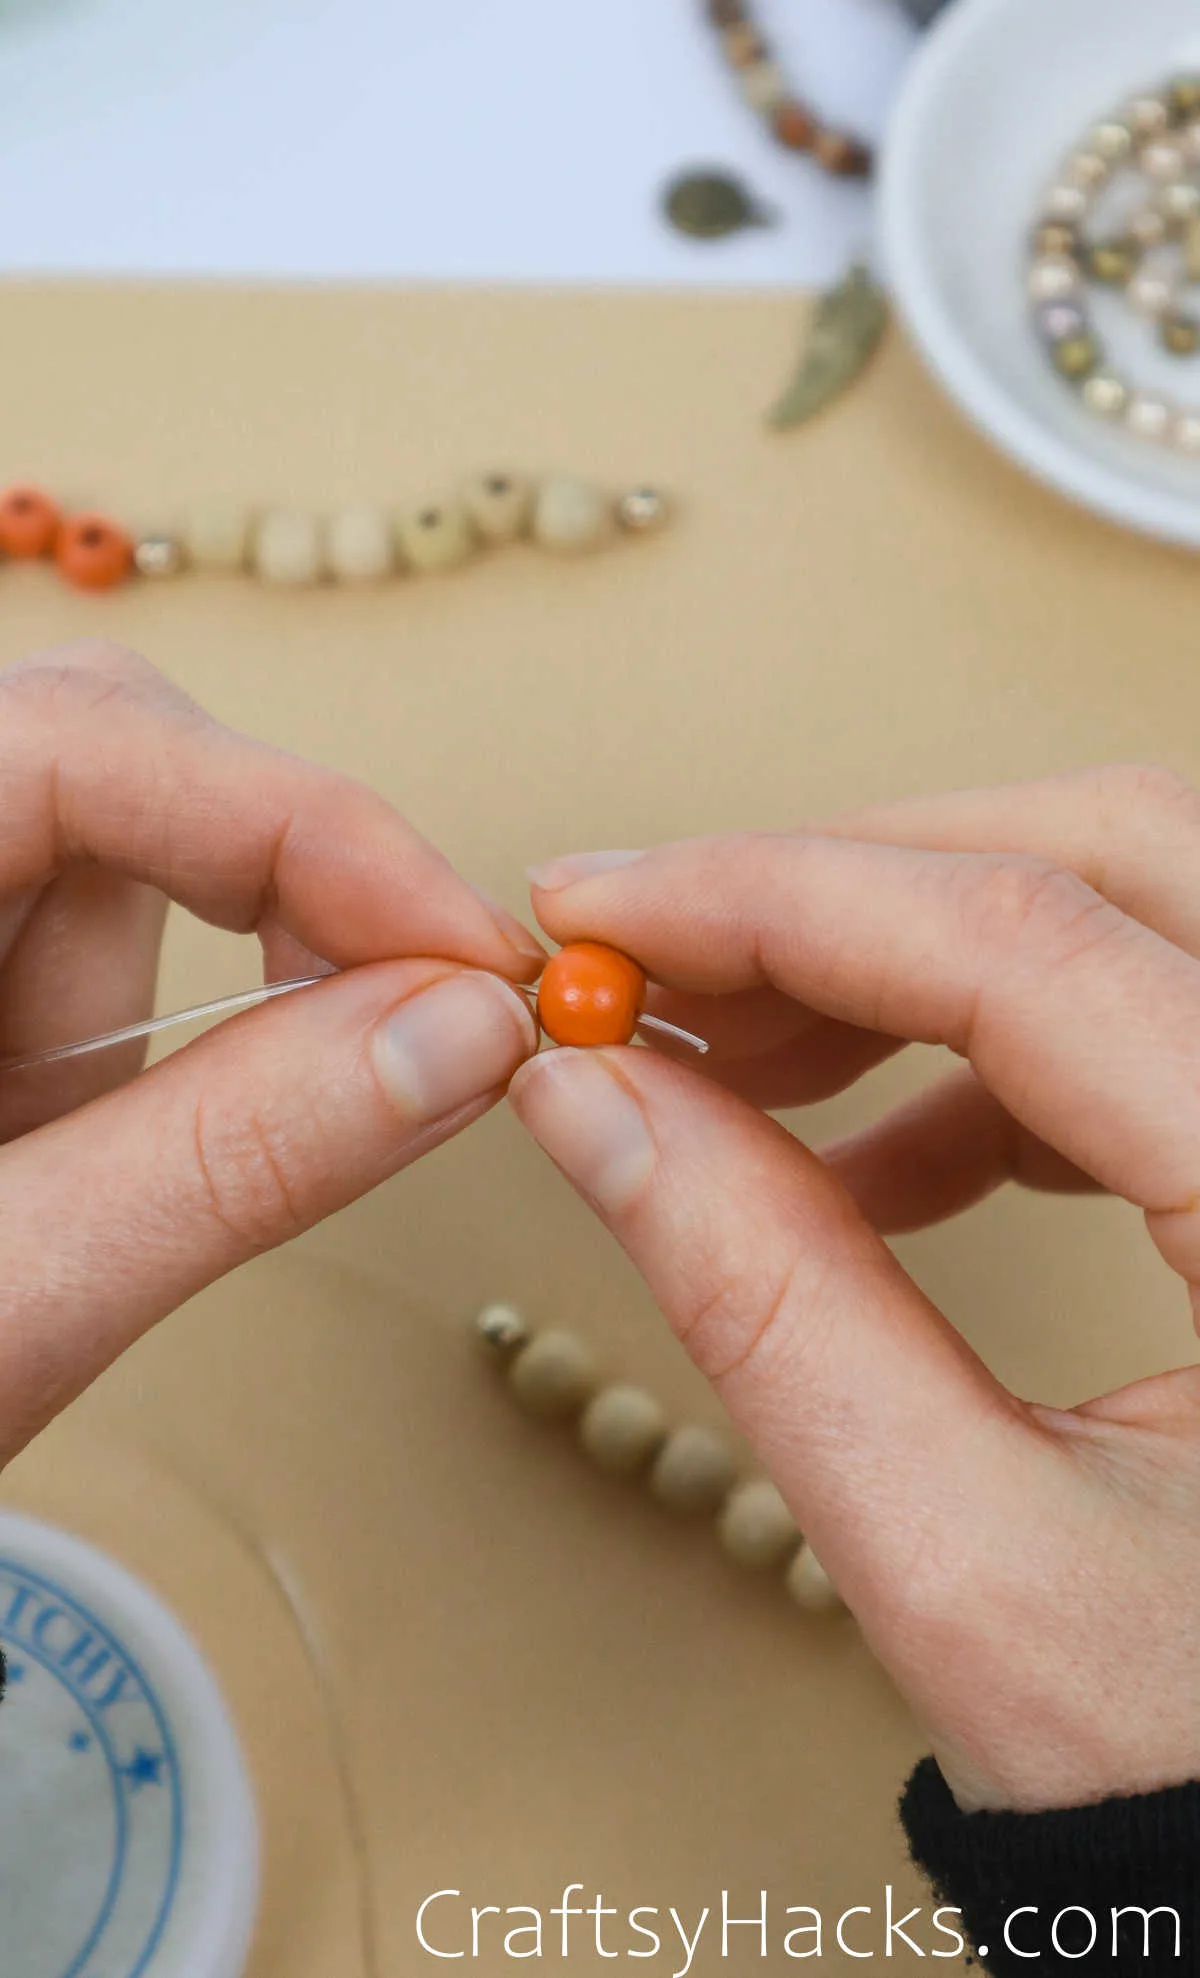
Continue to follow your pattern, and reference any sketches or notes you took prior to beginning the stringing process. These bracelets are really very simple once they get going.
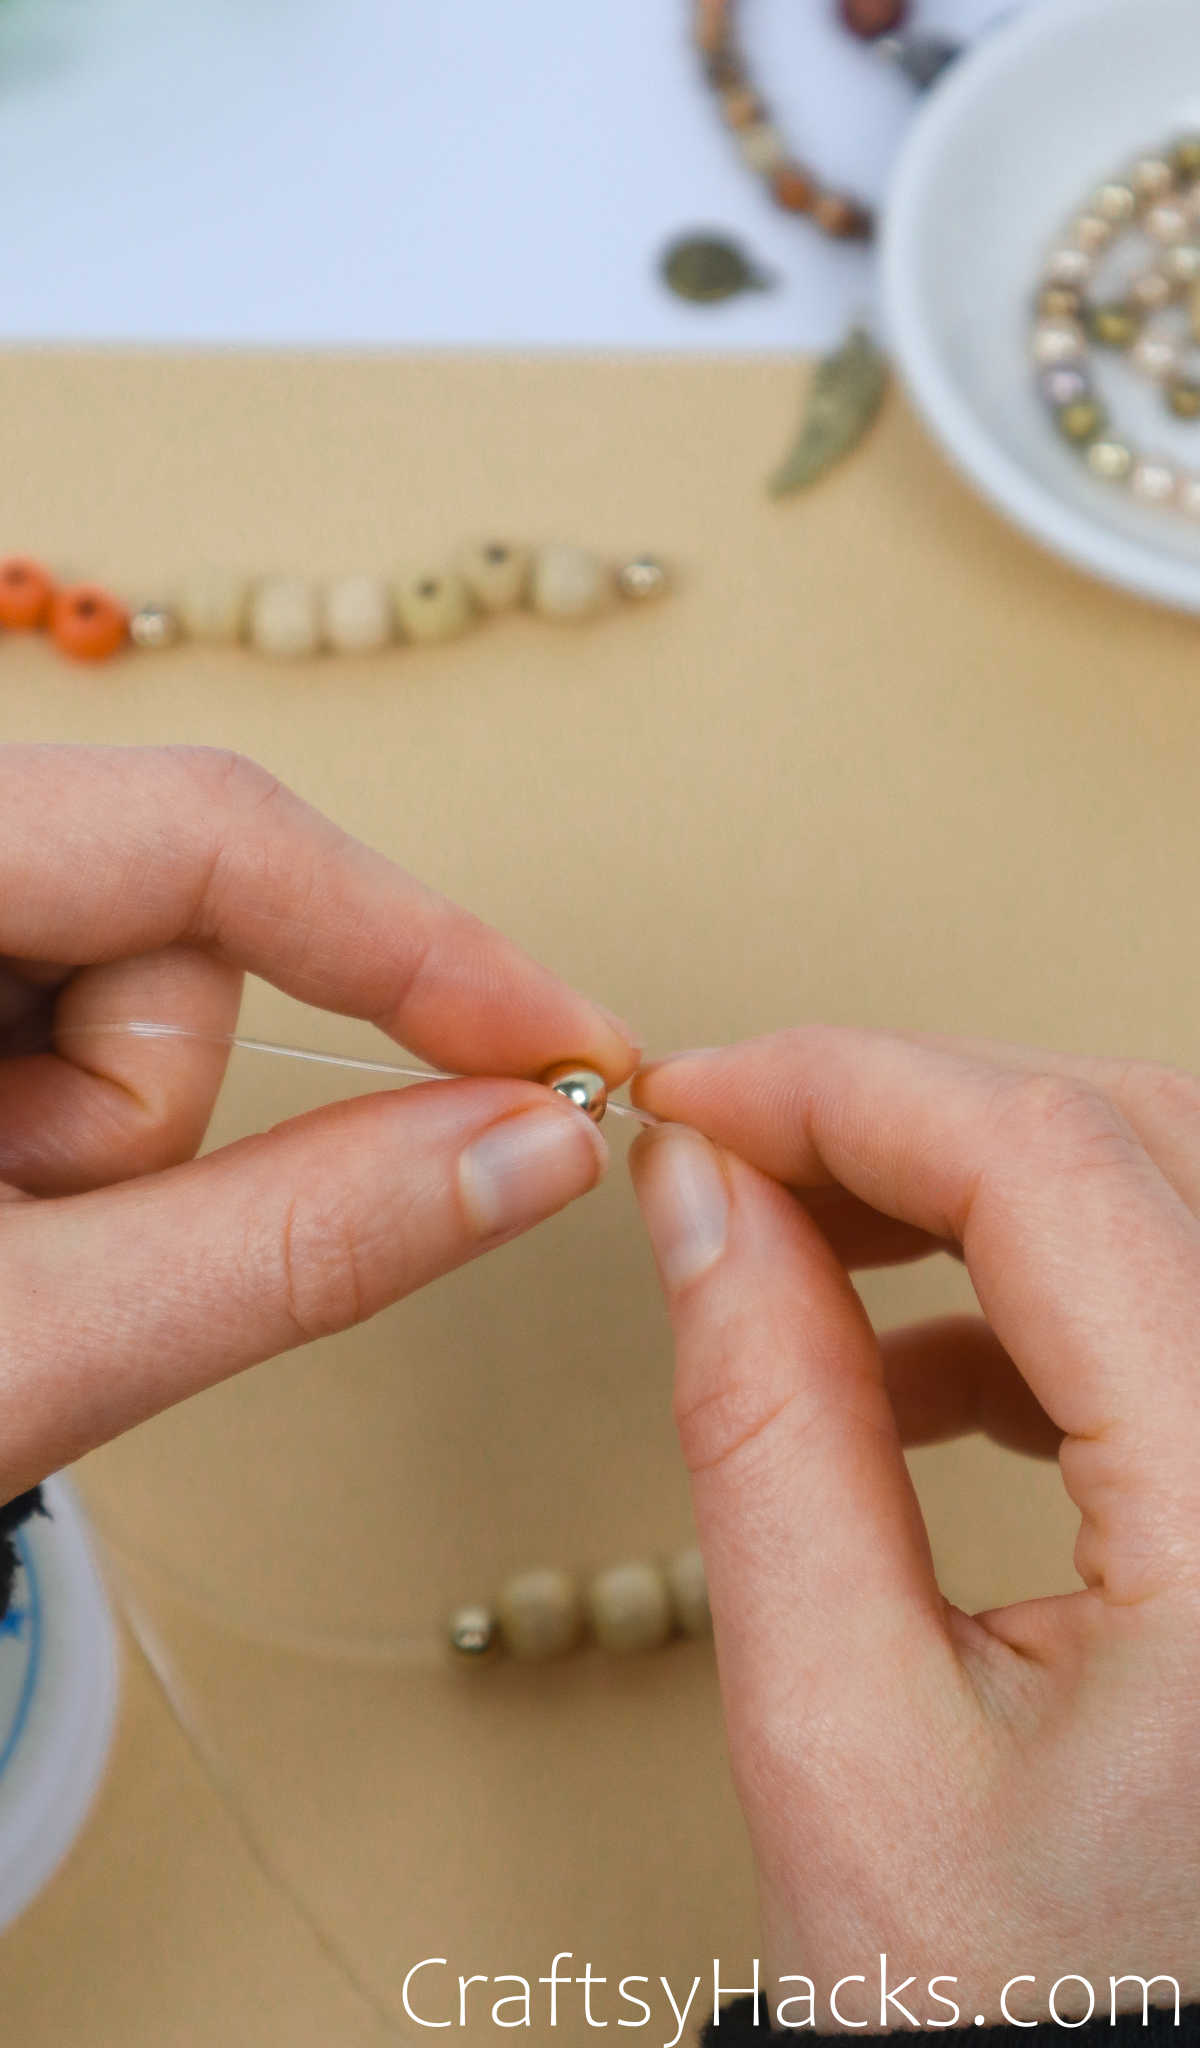
Step 6

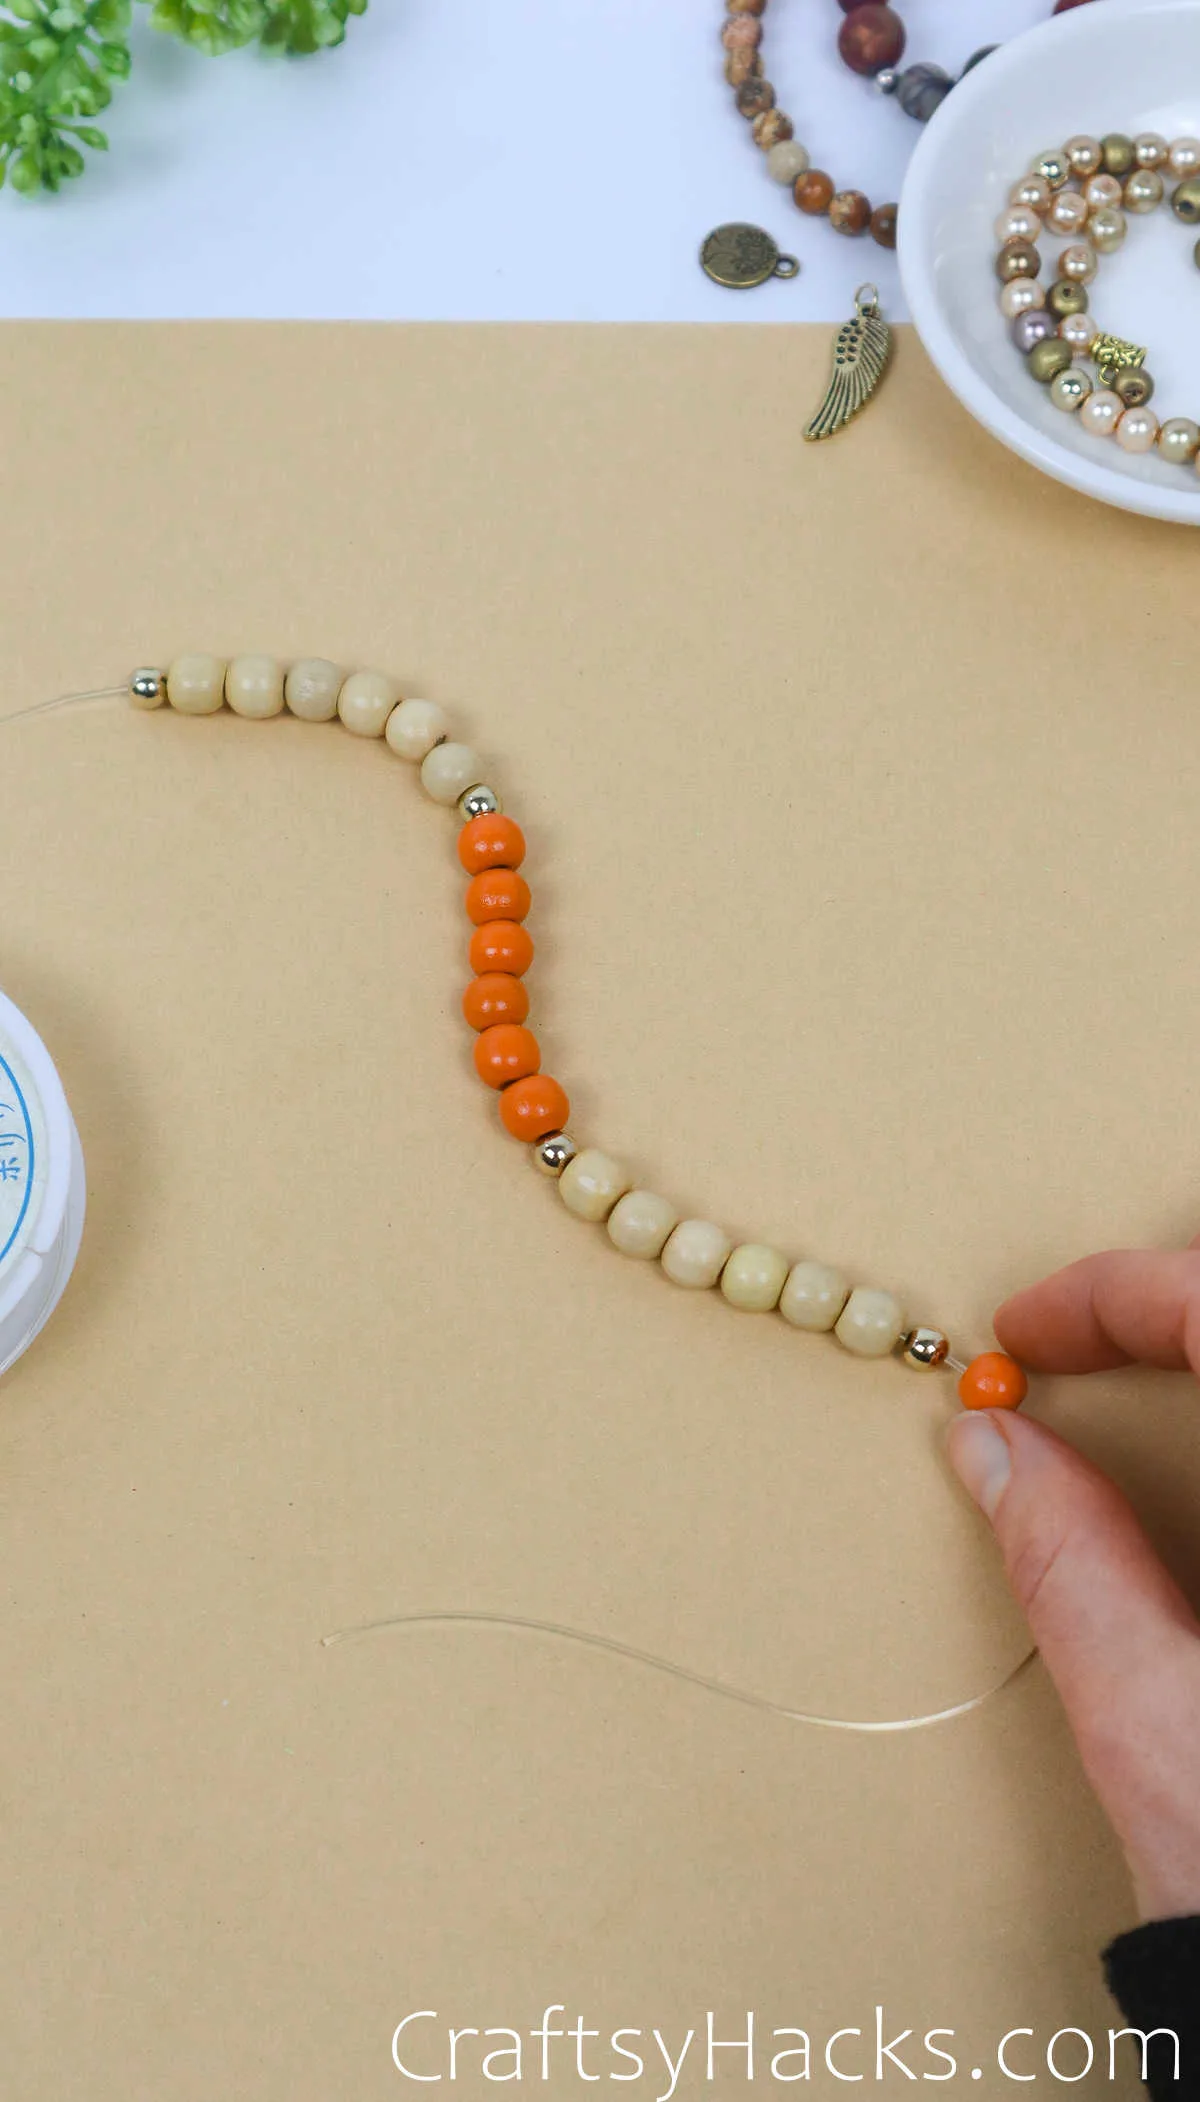
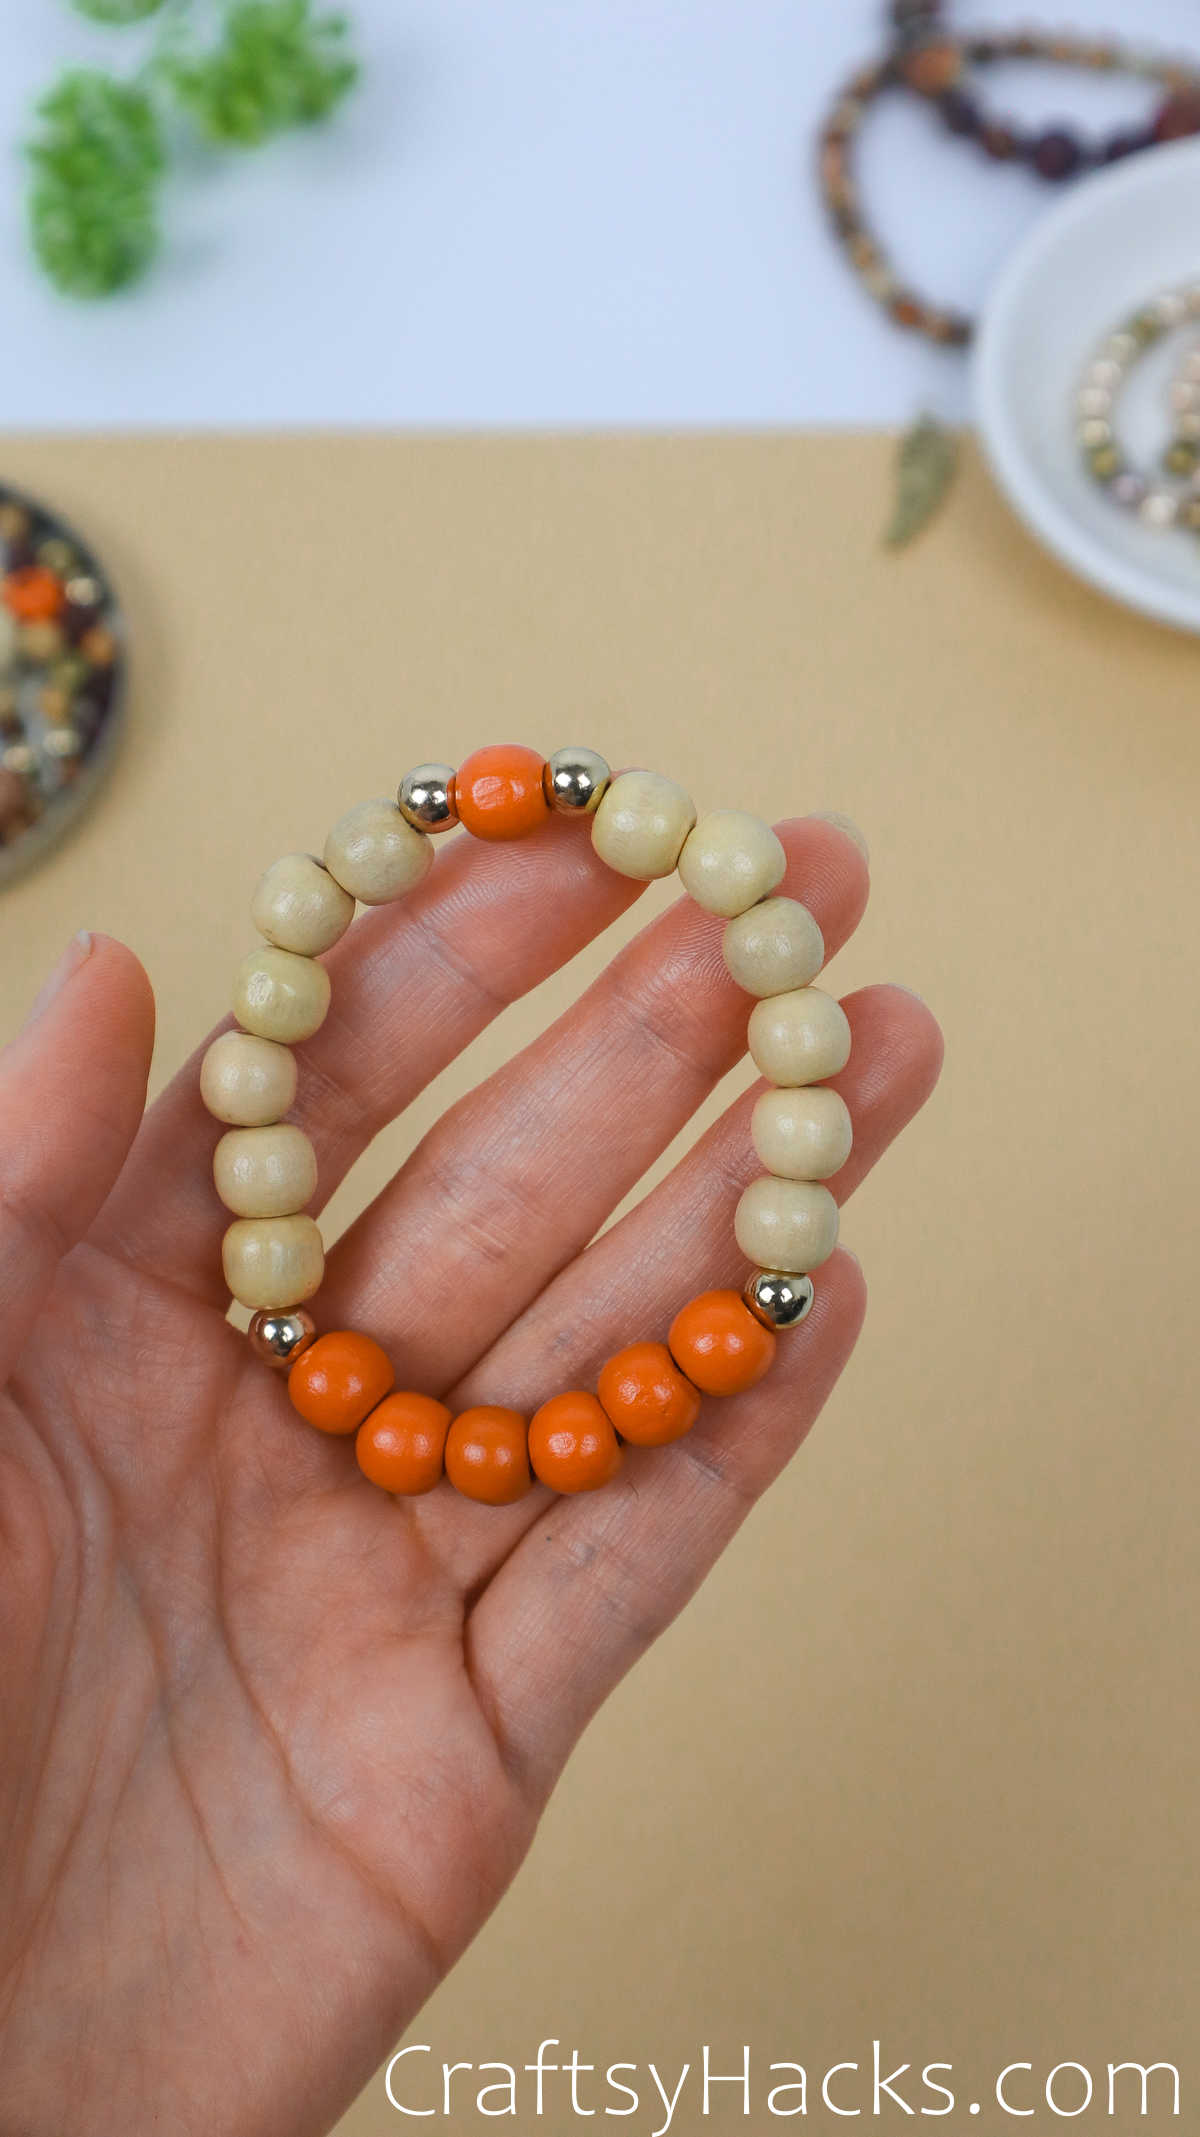
The last bead you put on your bracelet will have the job of covering the hole. So make sure it’s a bigger one that can get the job done.
Step 7


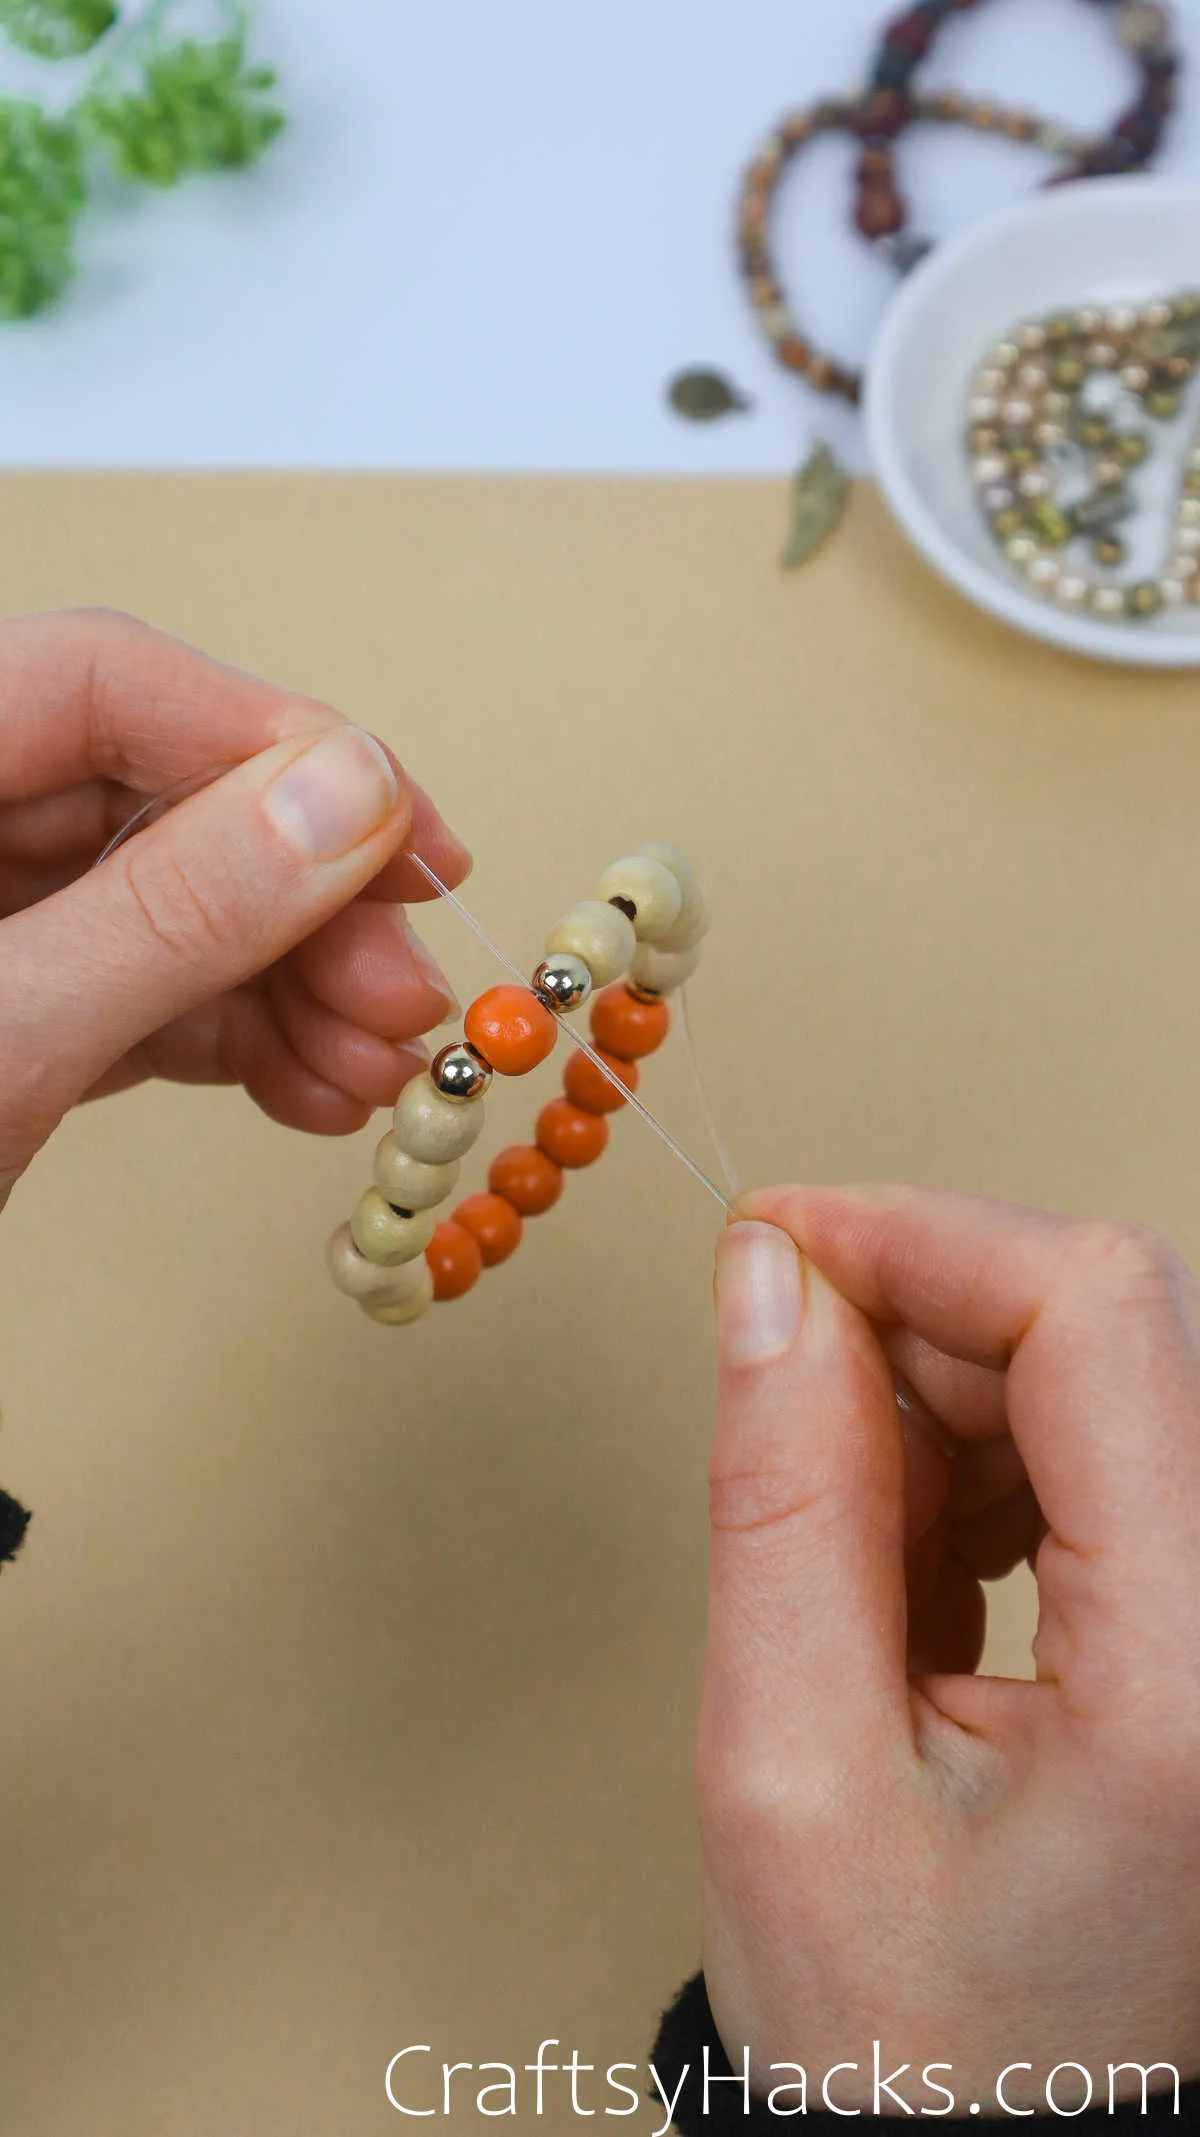
After every bead is on the line, we’ll cut the bracelet from the rest of the string. 4 inches on either side of the beads to give your bracelet sufficient flexibility.
Step 8
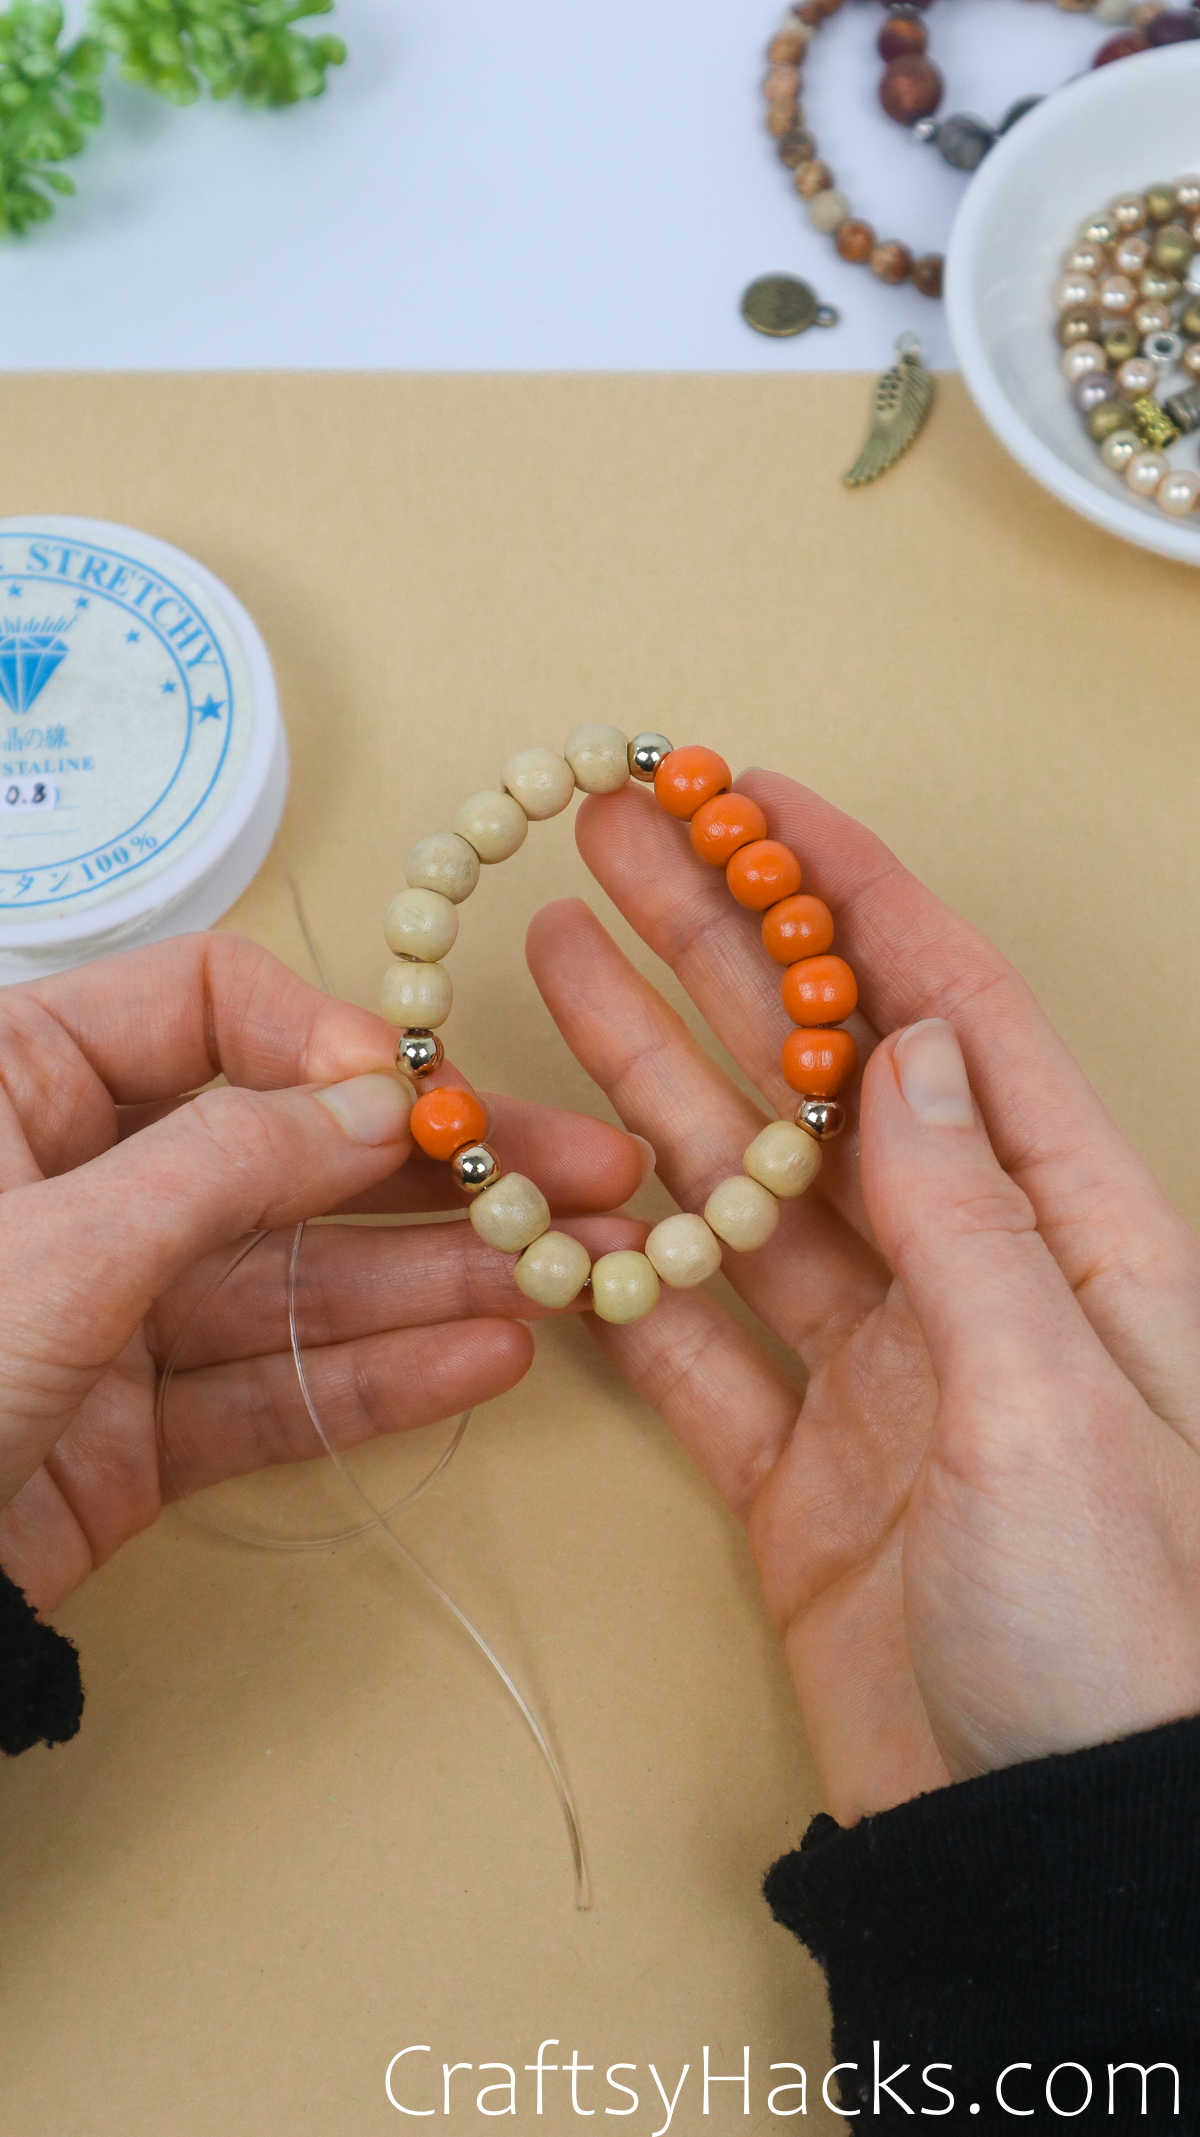

Before tying a knot into our piece, wrap it around your wrist to ensure it’s a good fit. Adjust the length accordingly if needed.

Wiggle around as much as you can to make sure everything feels comfortable.
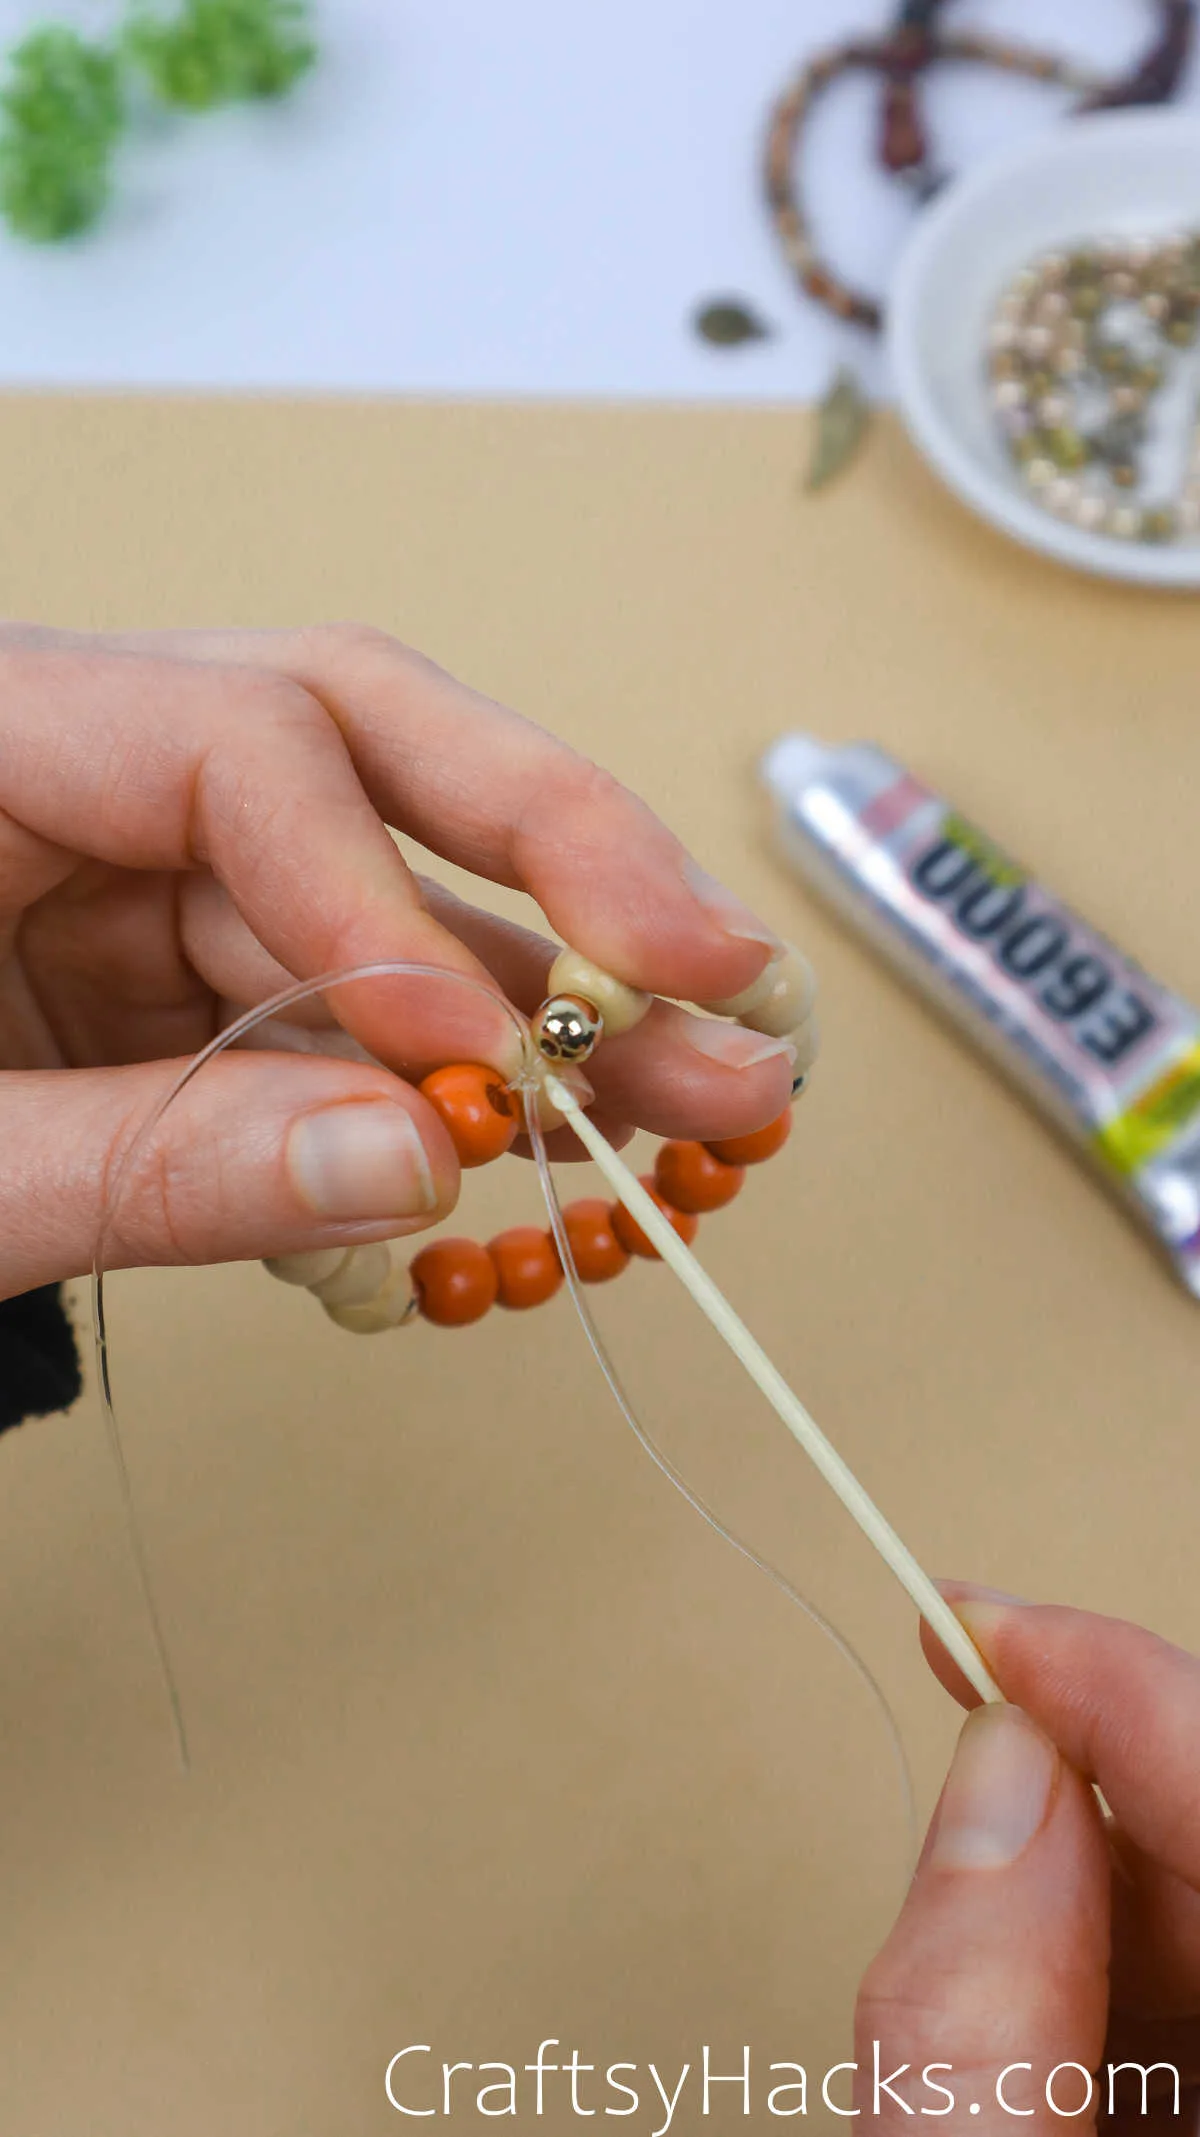
Step 9


Before officially knotting off the bracelet, prestretch the line for two reasons: to avoid breakage from too much tension and to avoid an eventual too-stretched-out bracelet.
Step 10

As you’re tying off the bracelet, pull the strings tight before knotting as you begin to tie. Make sure the beads aren’t crunching into each other; if so, give them another stretch.
Step 11

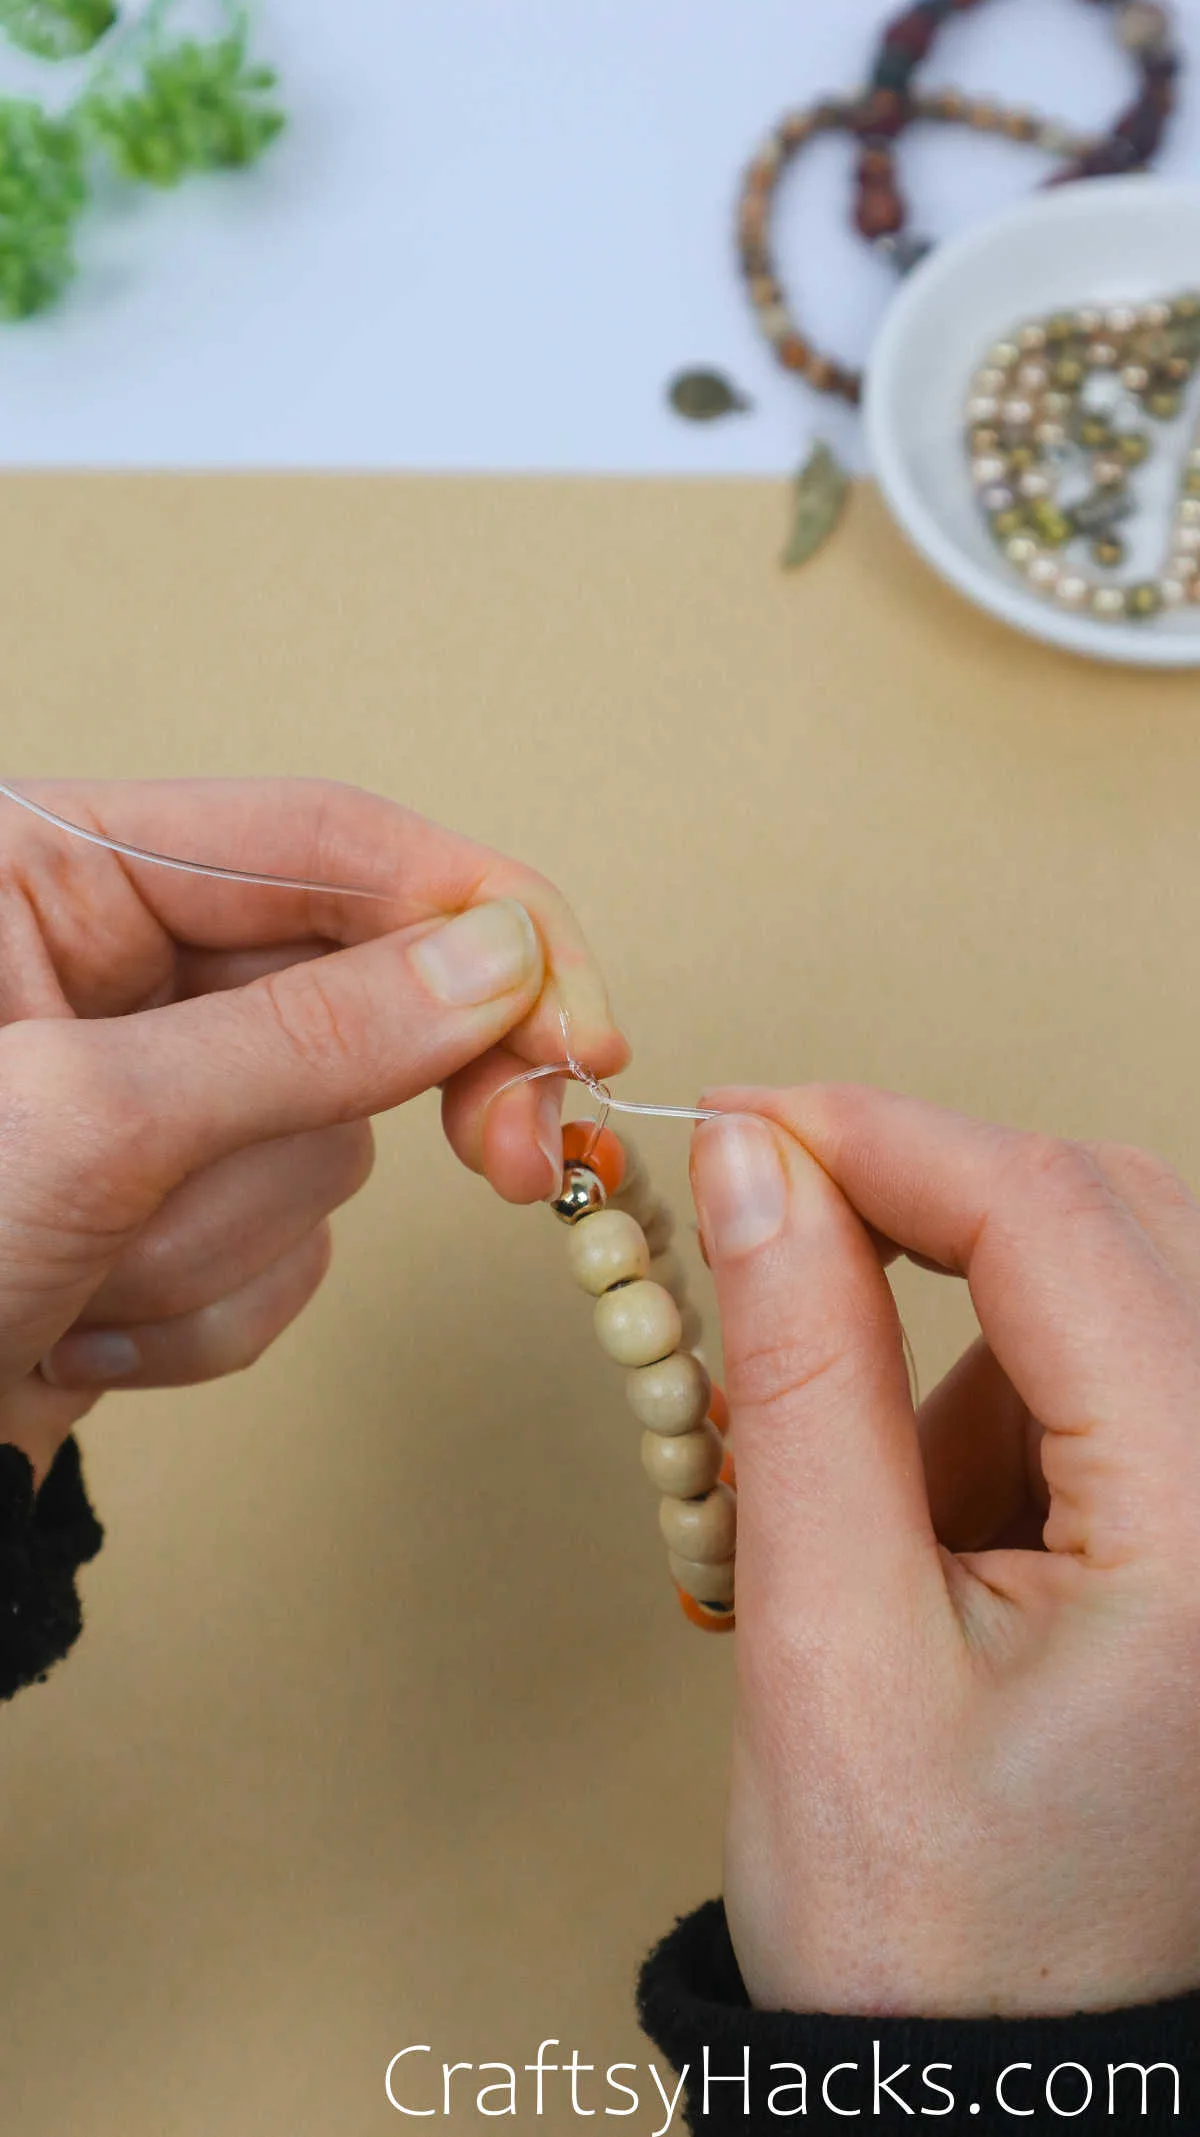
Tie two knots overhand to fasten the bracelet. Pull the ends after each knot to verify the security, and it won’t unravel.
Optionally, tie a third knot facing the underside of the first two. The third knot isn’t necessary unless you are extra precautious.
Step 12

Another optional but secure step I like to take is gluing the knot to our last big bead on the line. This step helps the piece look just a little more polished and professional.
Step 13
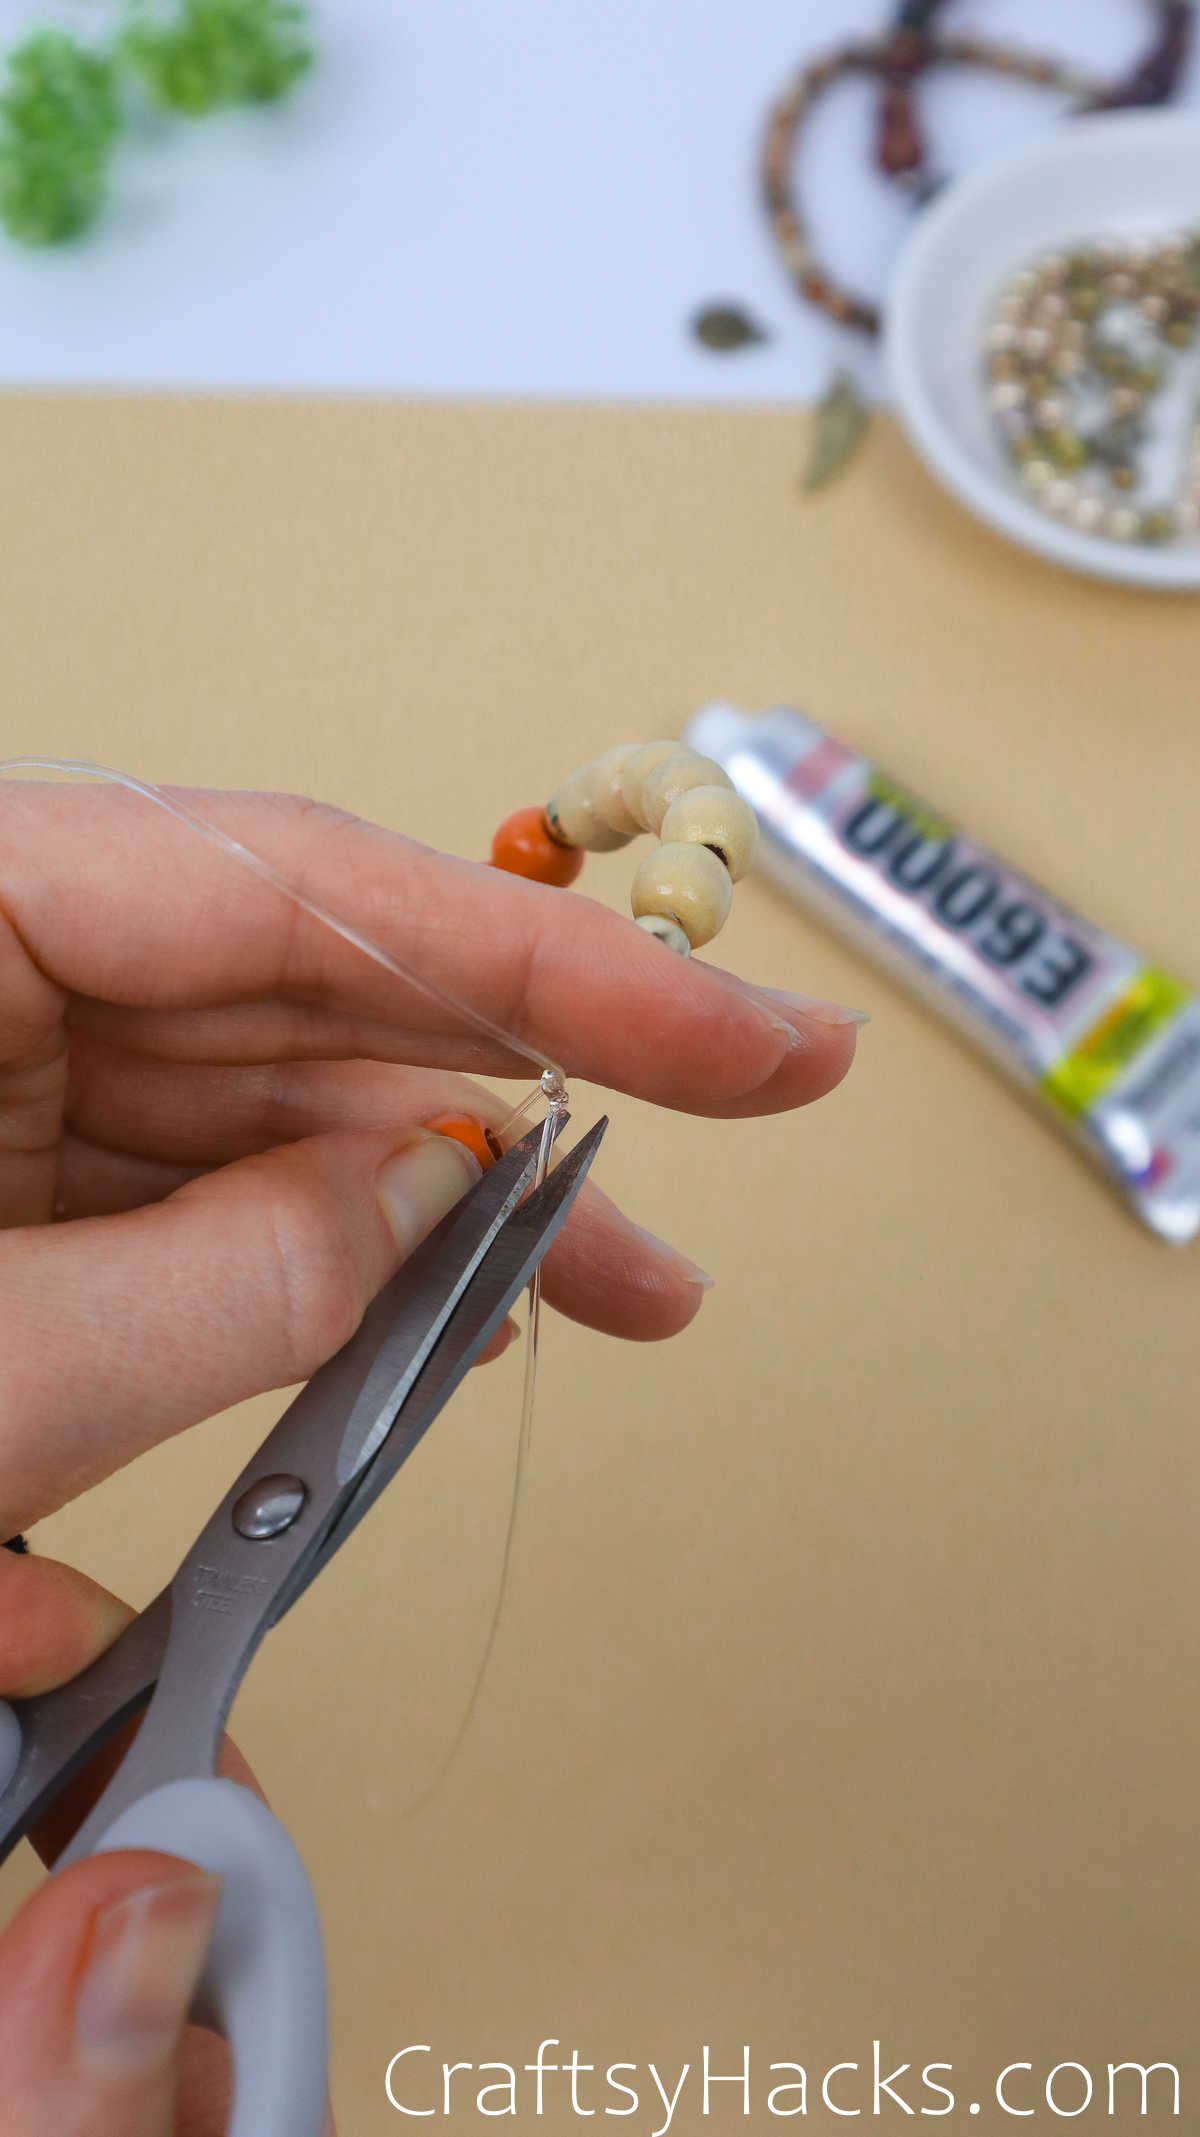
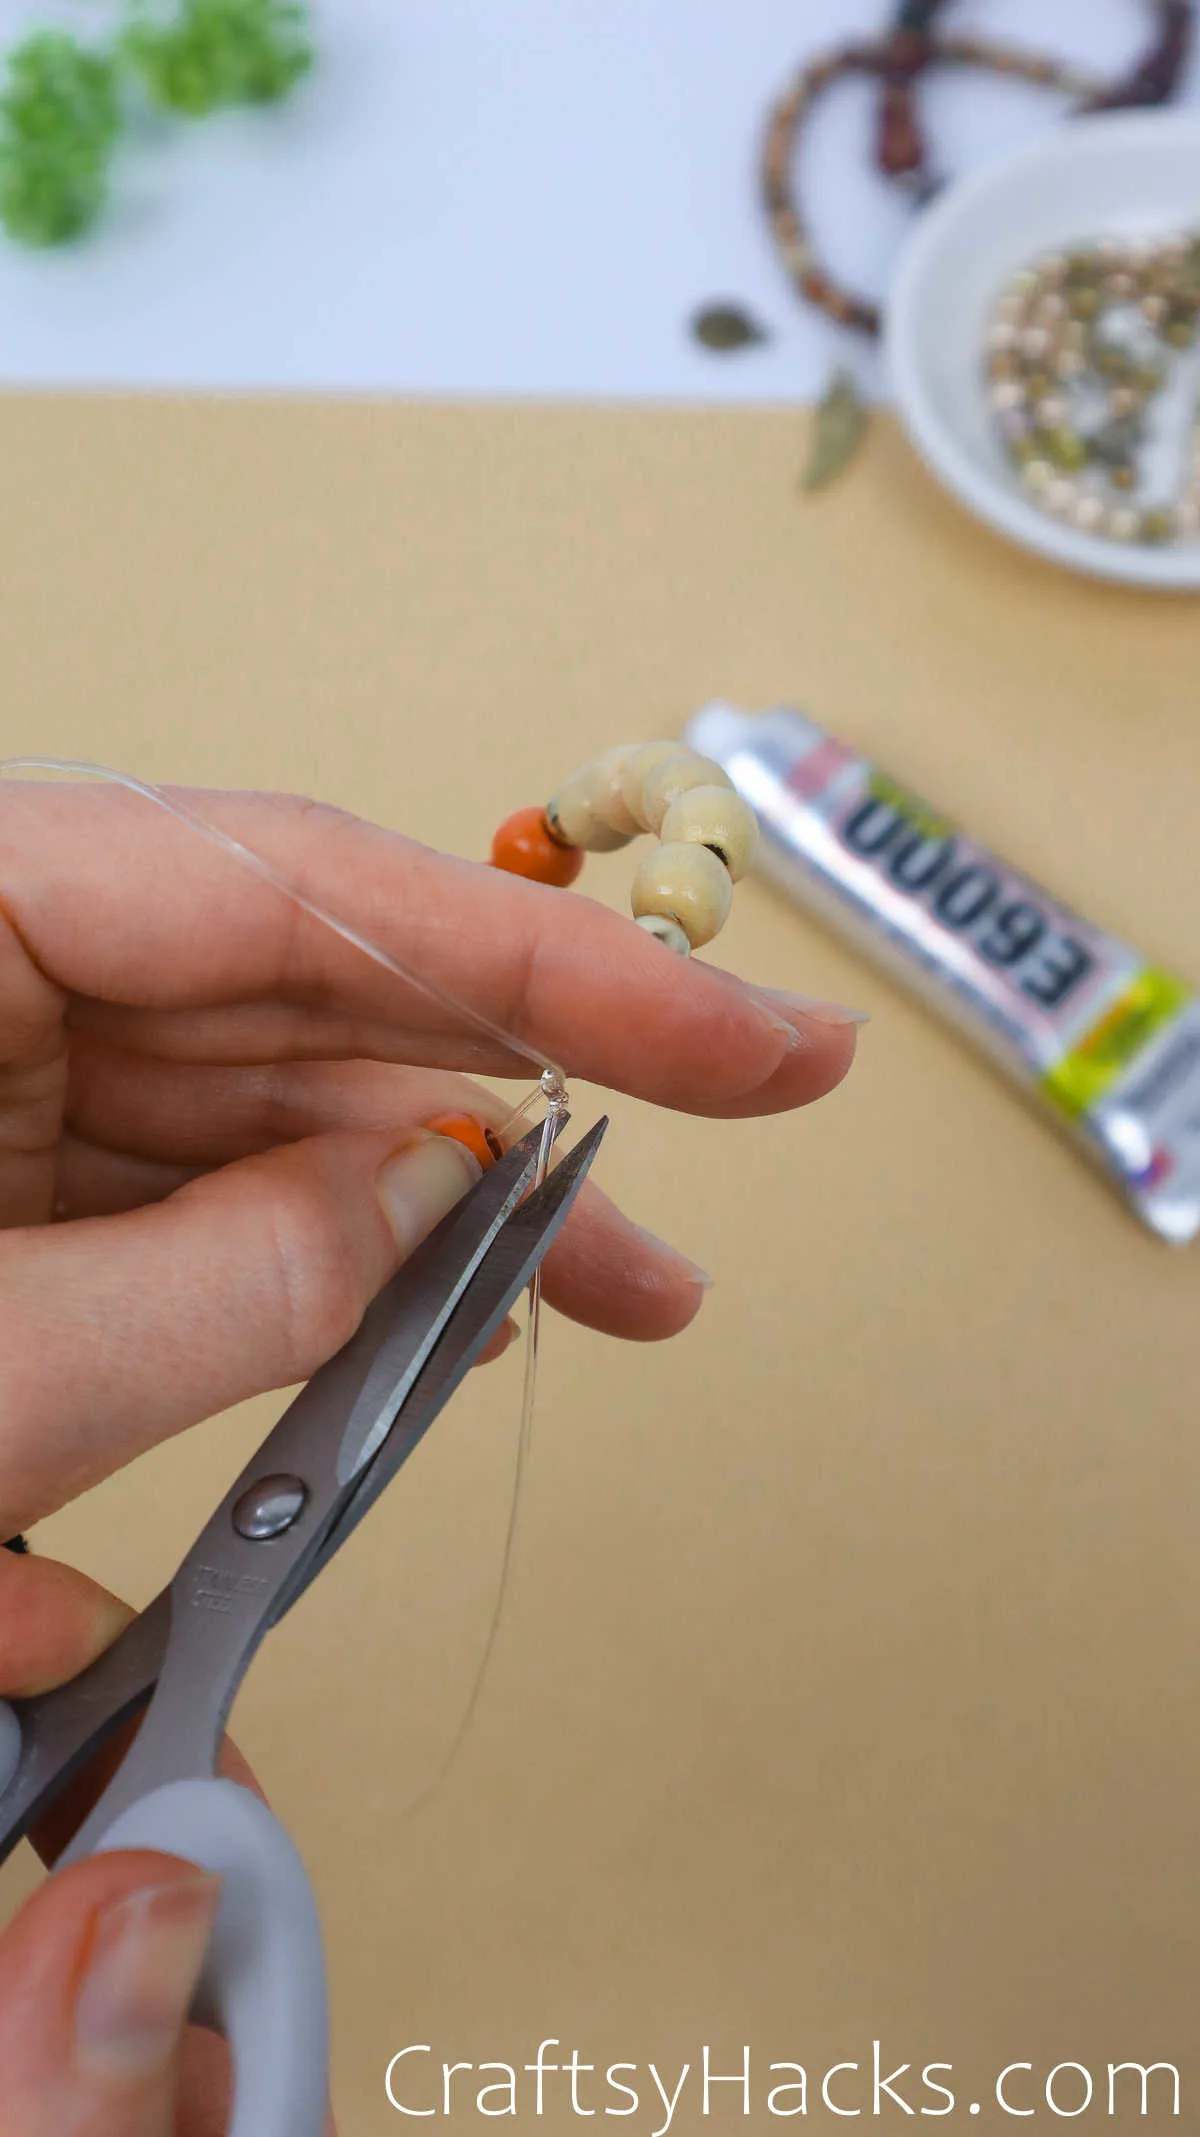
Before securing the knot to the inside of the last bead, trim the tails off. Cut closely to the knot, but not enough that it’ll unravel with time.
Step 14


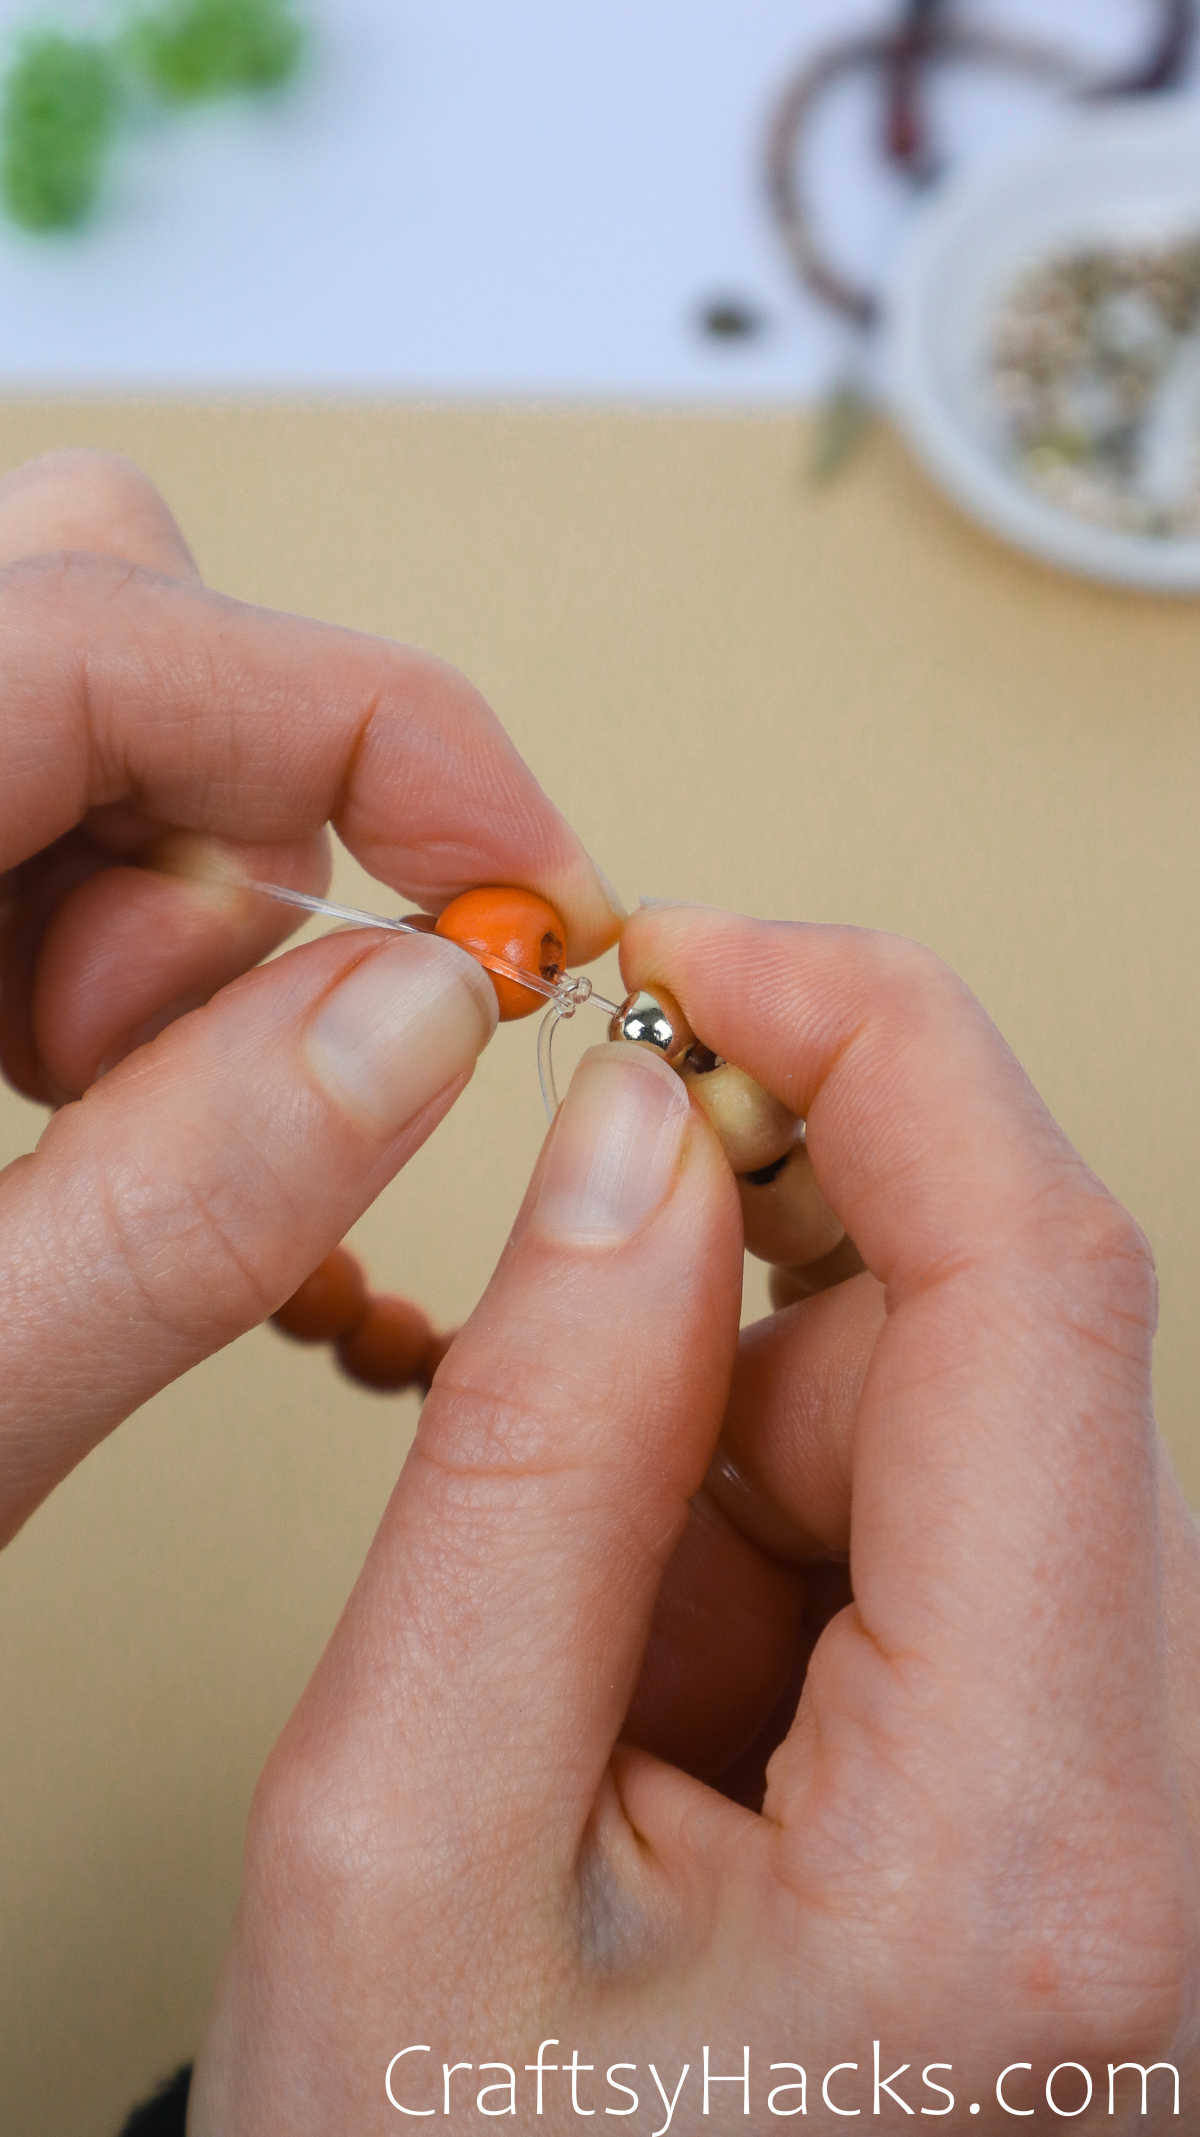
To hide the knot, I carefully hold the bead in my non-dominant hand while the knot is in my dominant.
I’ll slide the knot in and kind of press it upward until it gets connected with the inside surface.
Let the bracelet rest with the wet glue for several hours or overnight. Use a crimp bead to cover the spot if something isn’t matching right and you can’t get the knot in.

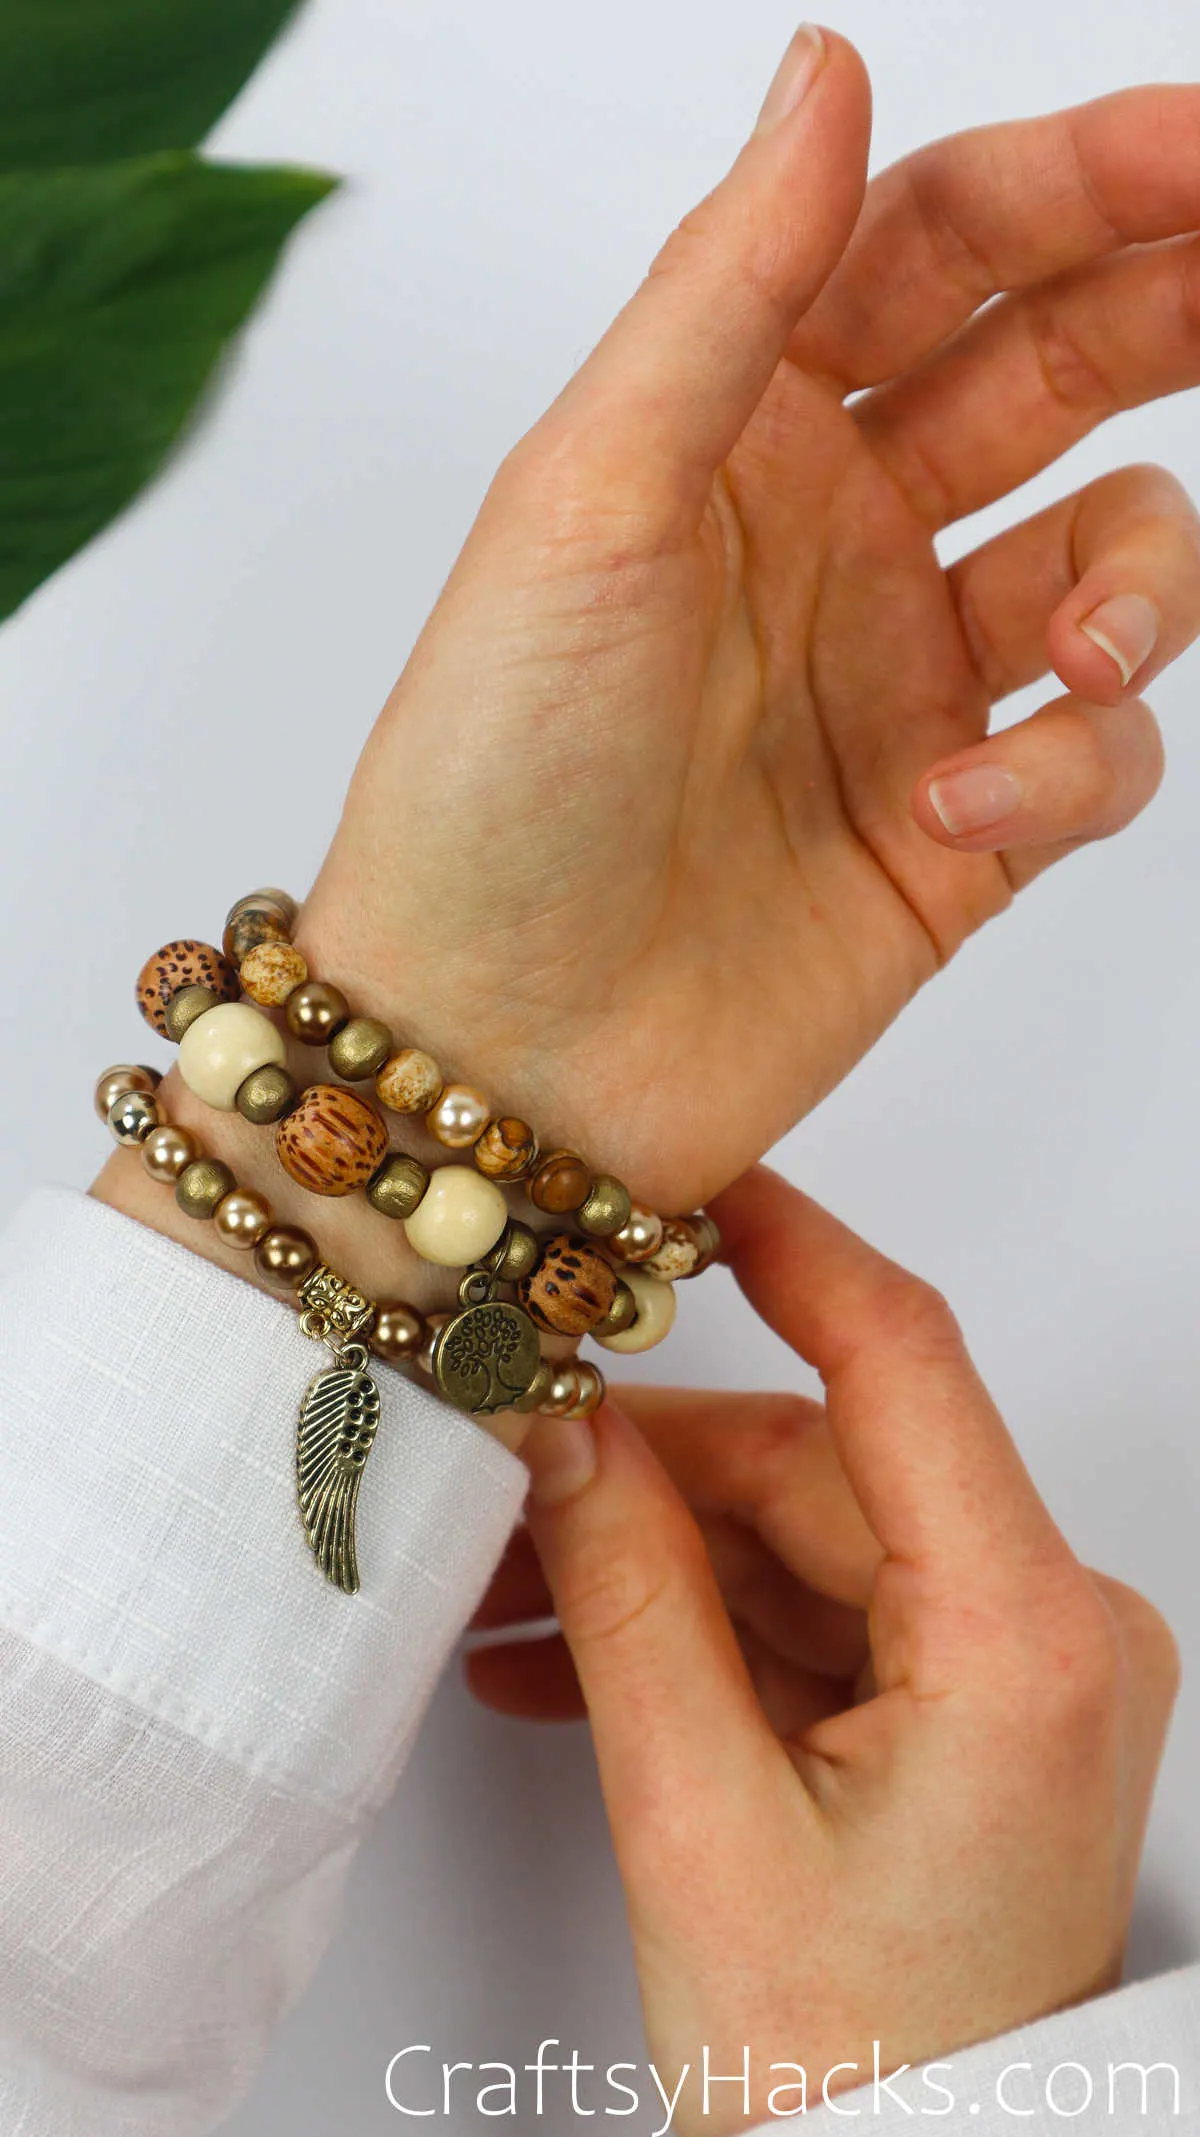
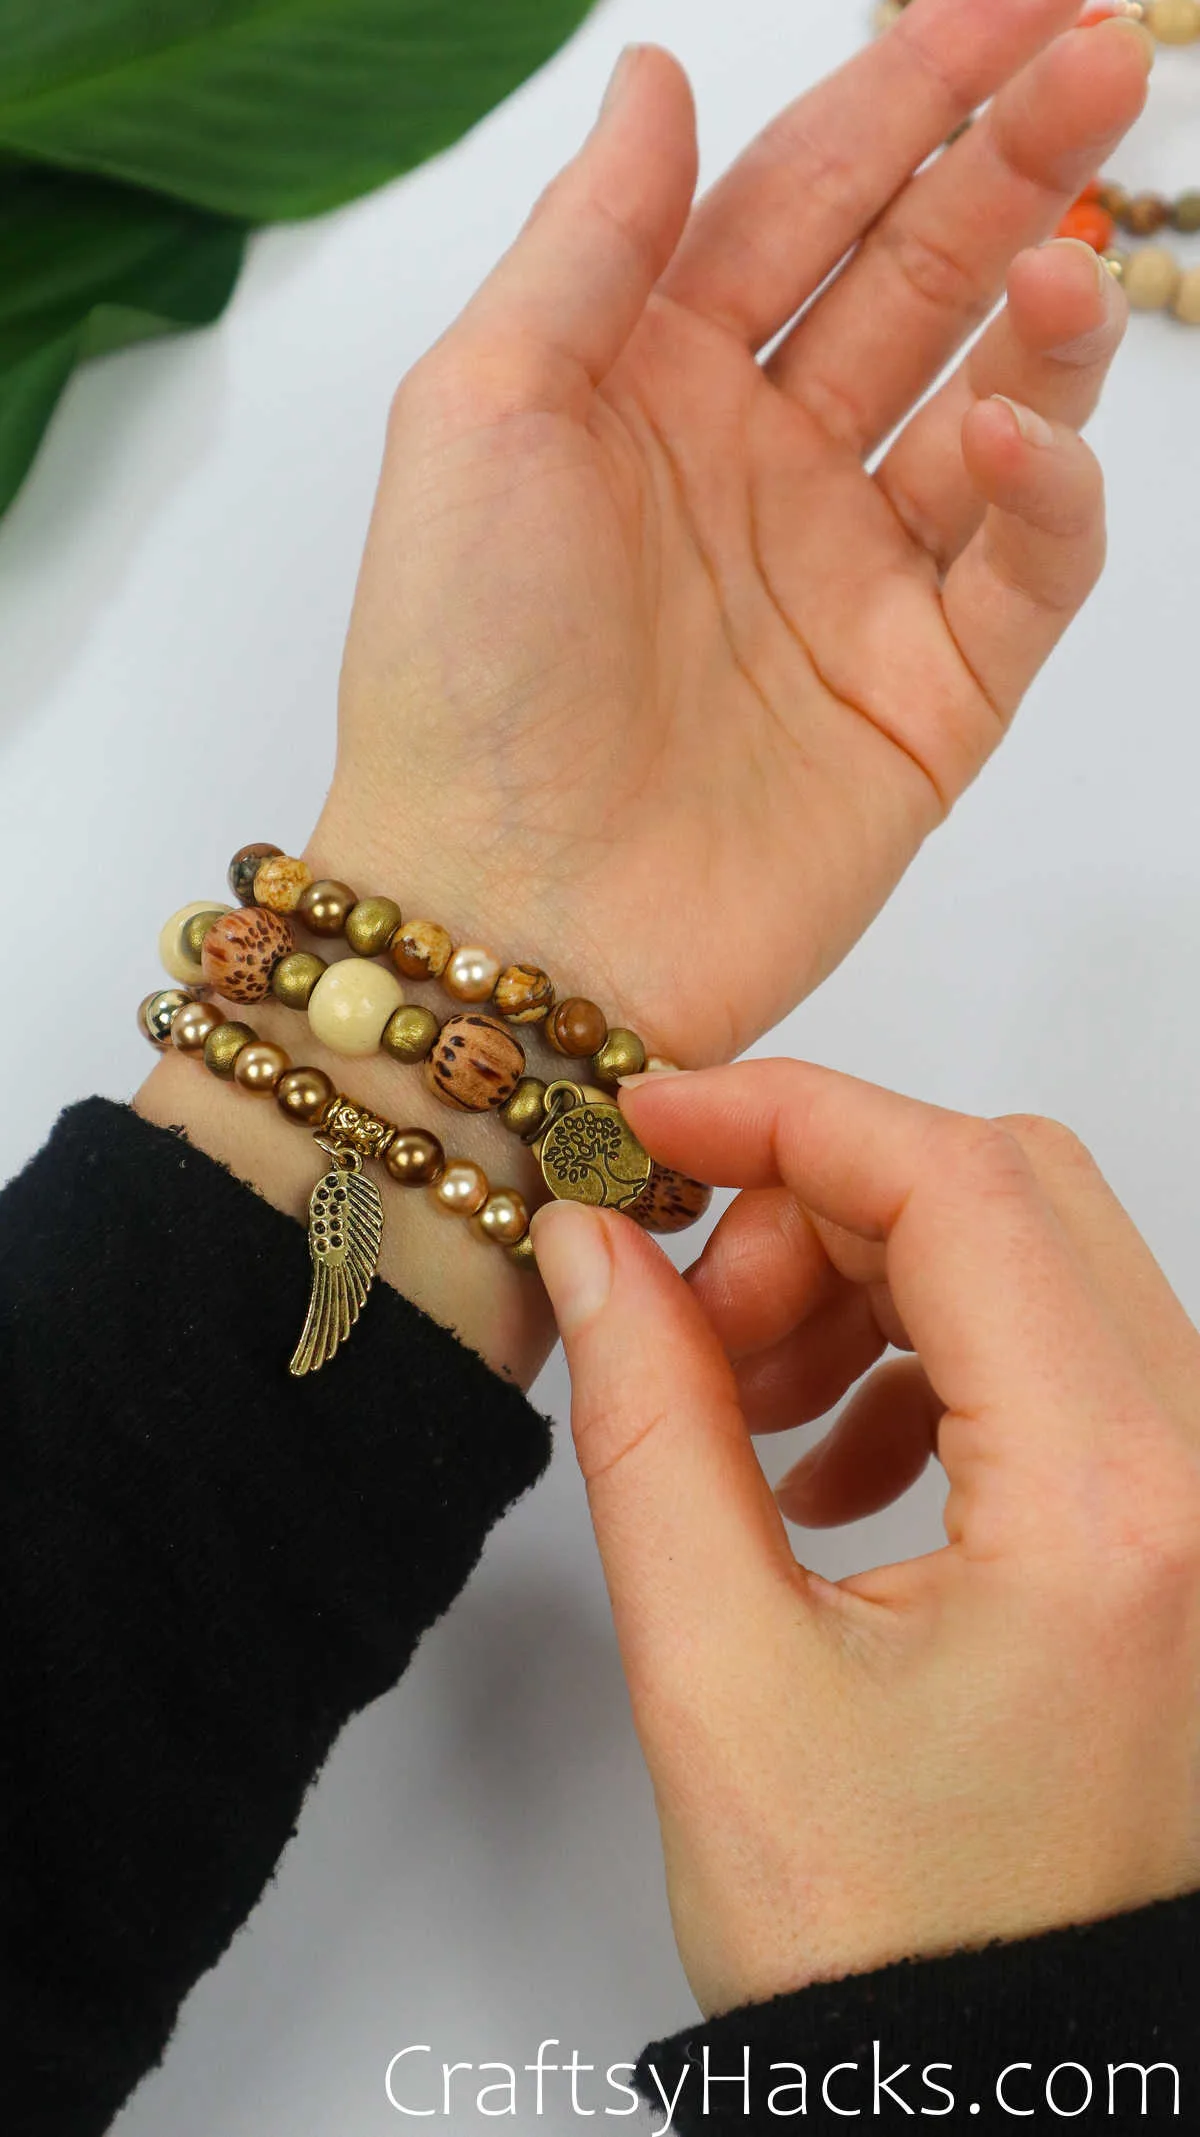
After the rest period, your jewelry will be ready to wear!


Don’t be afraid to use different types of beads, either! The more interesting, the better the piece, I think!
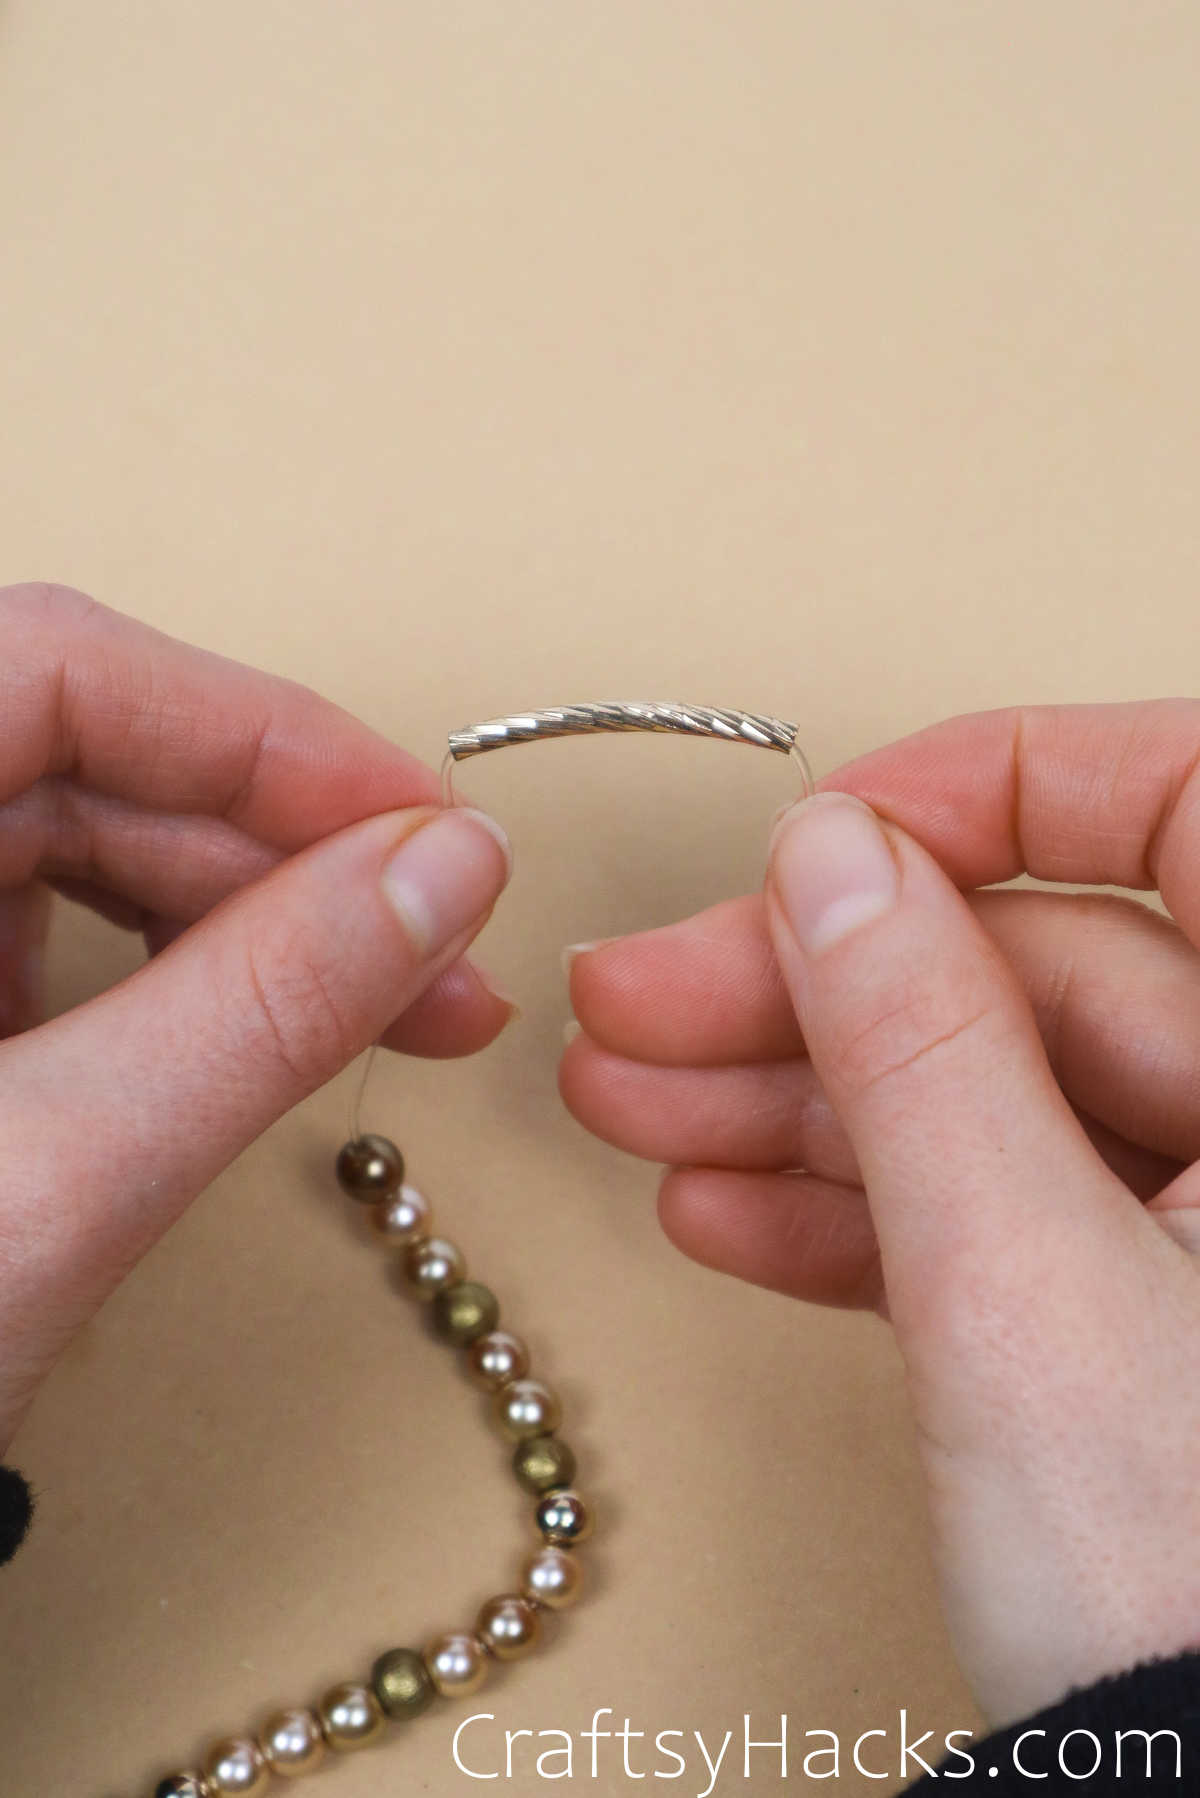
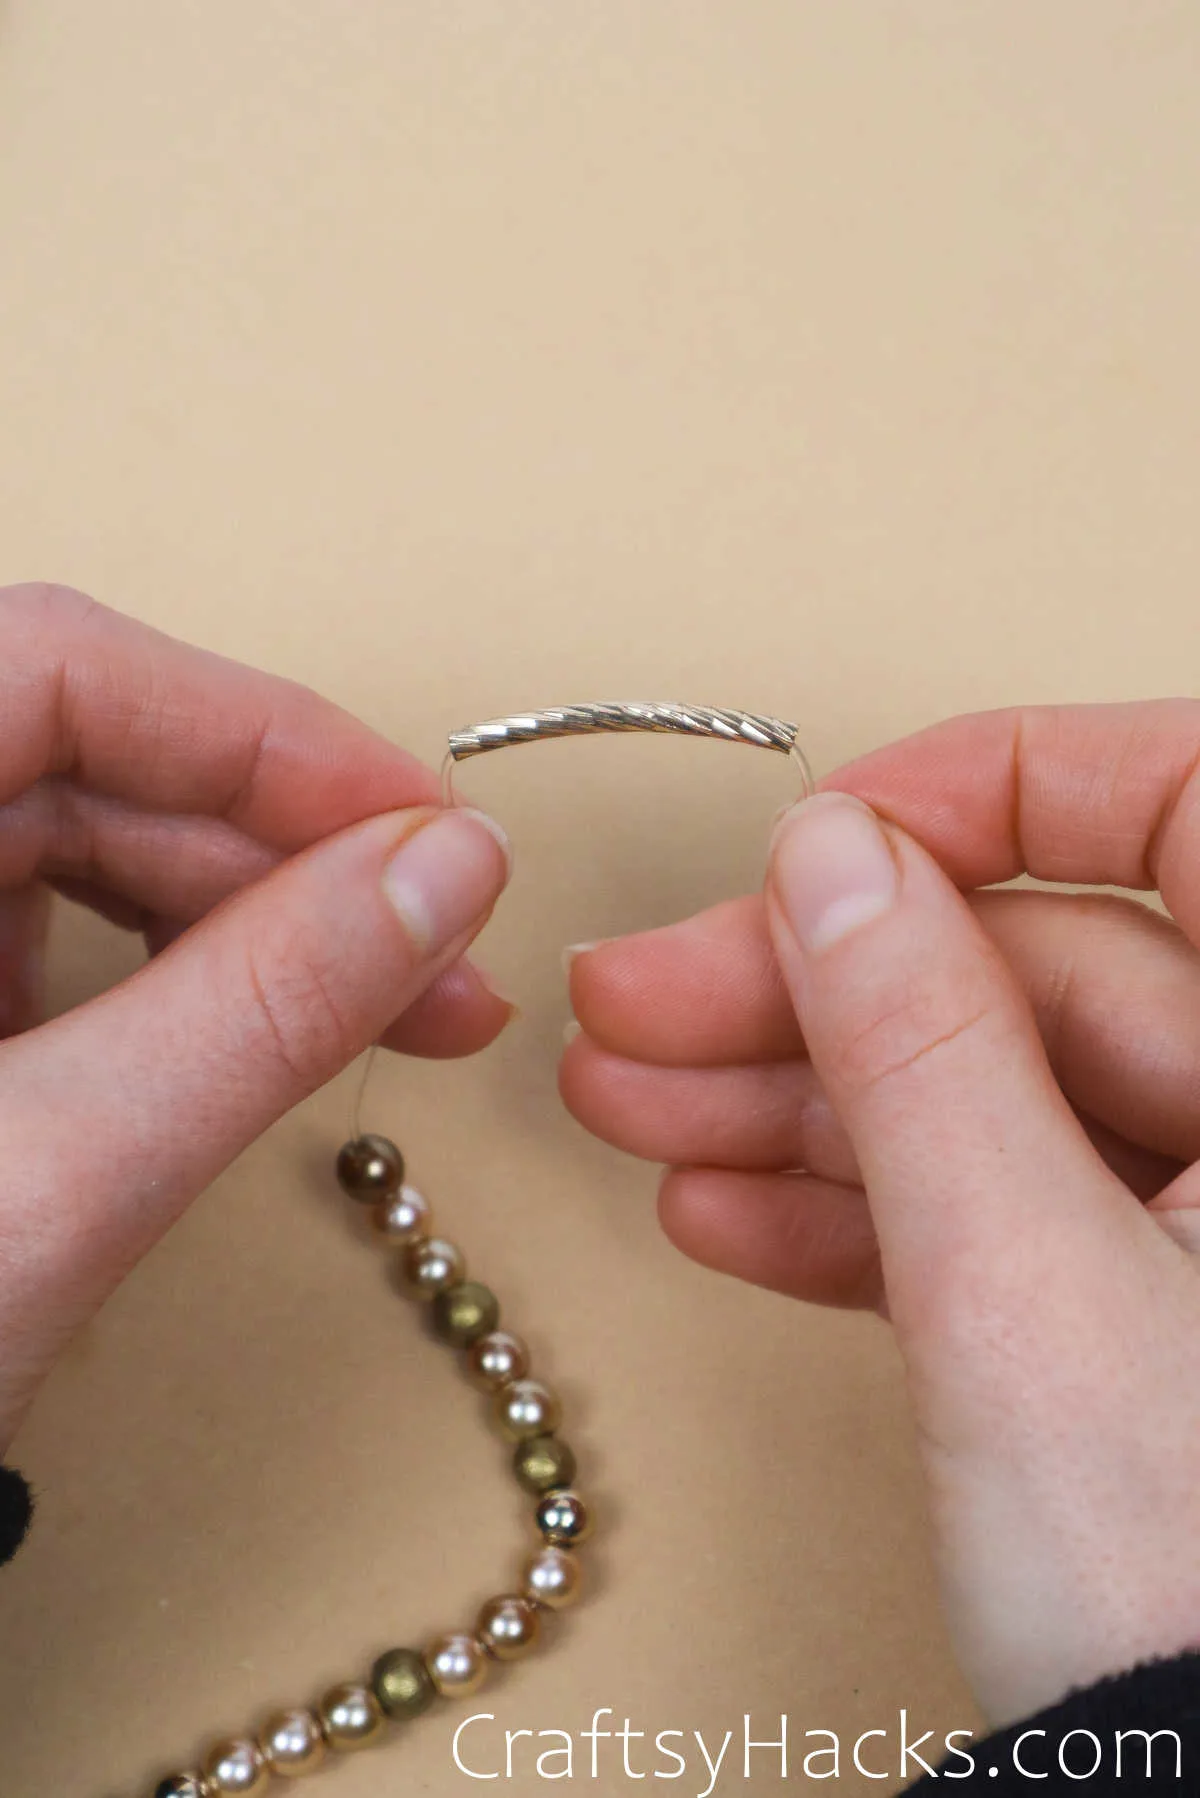
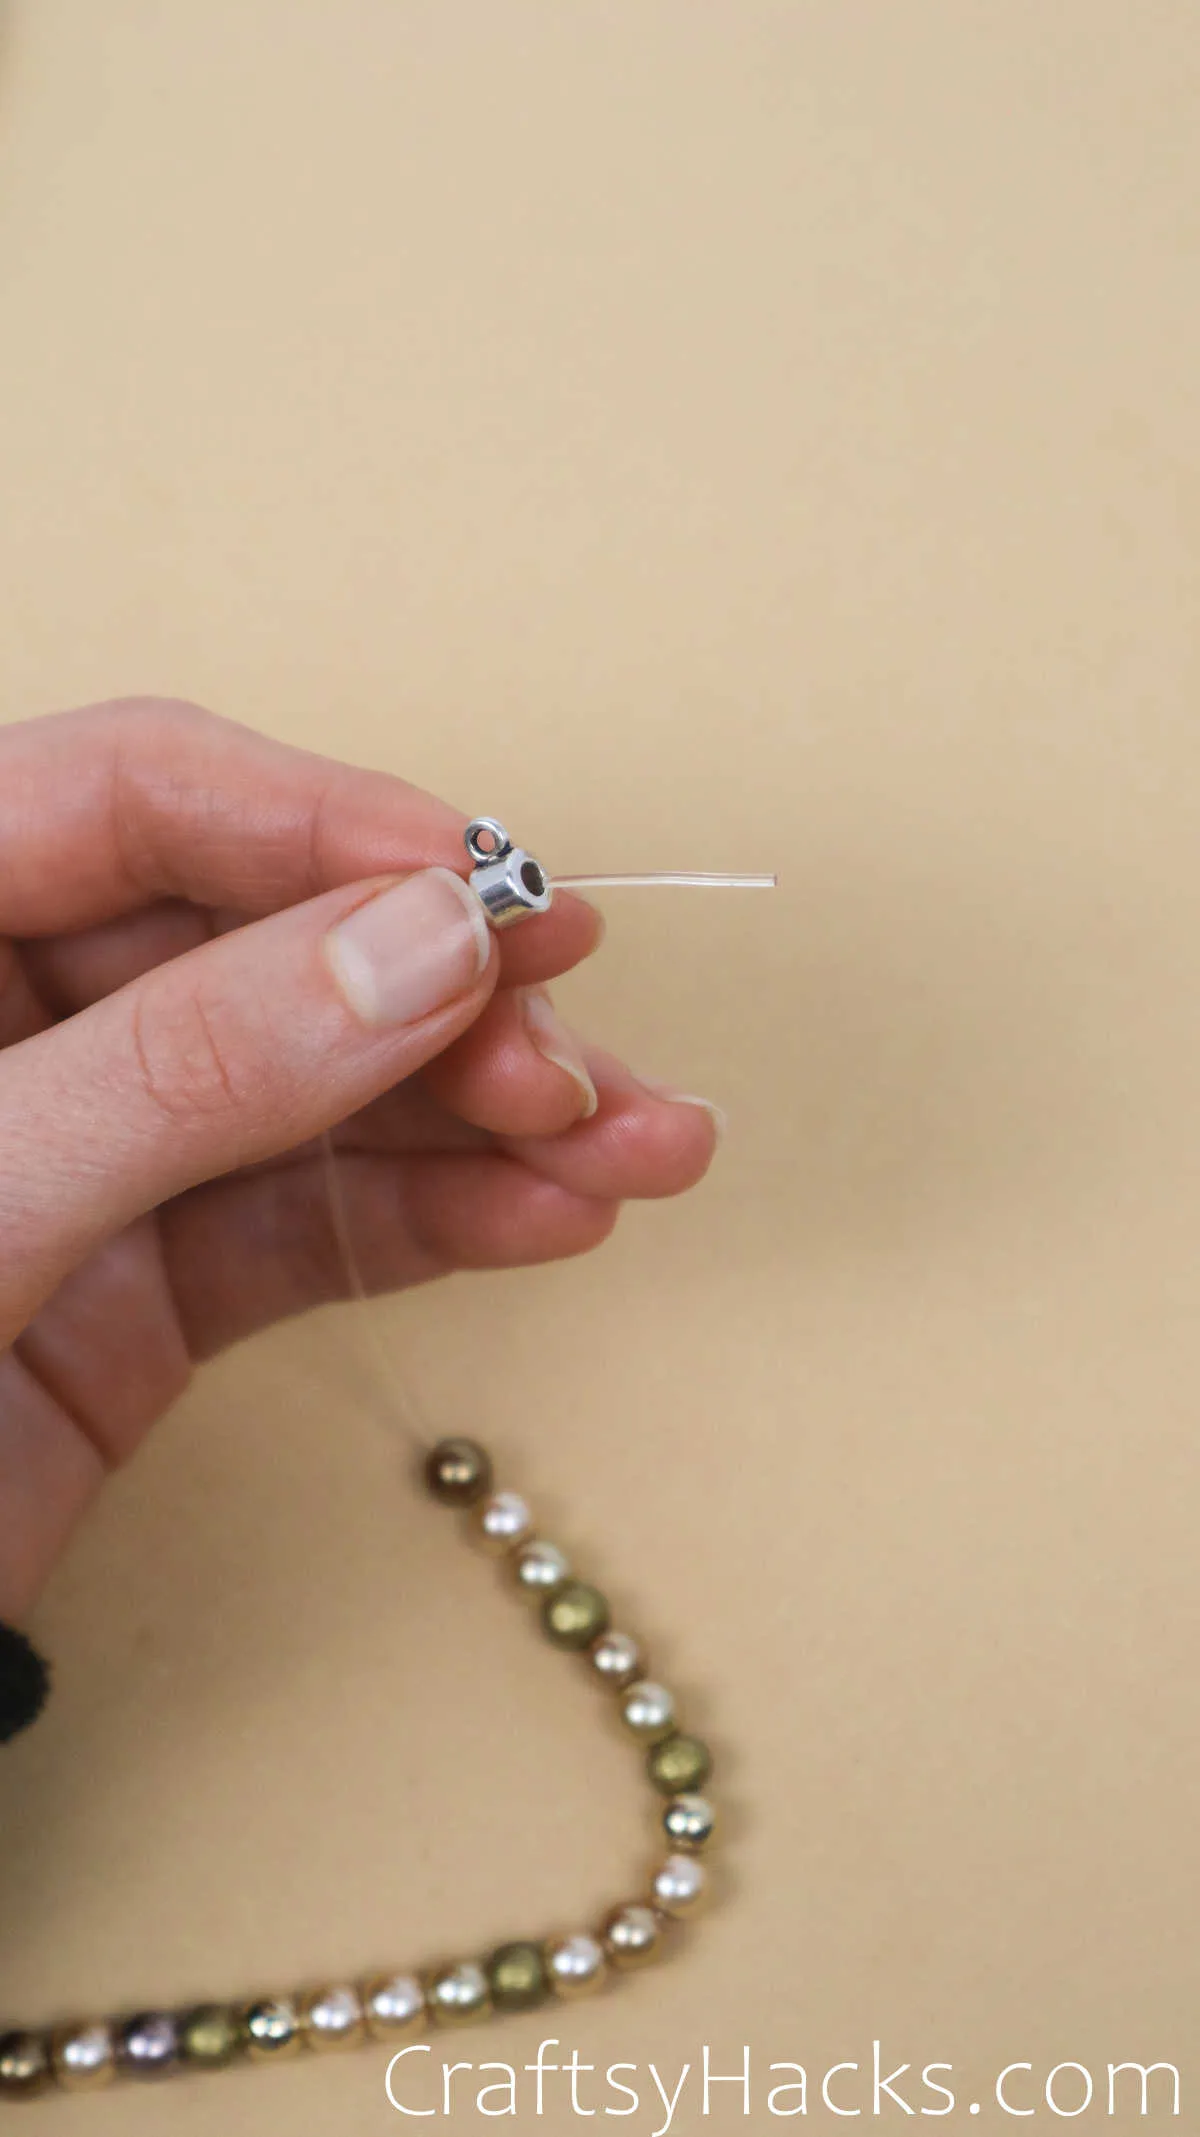
Tube beads are a great option to cover the knot, but make sure that you account for the length in your original blueprint. They take up a lot more space than the average bead.

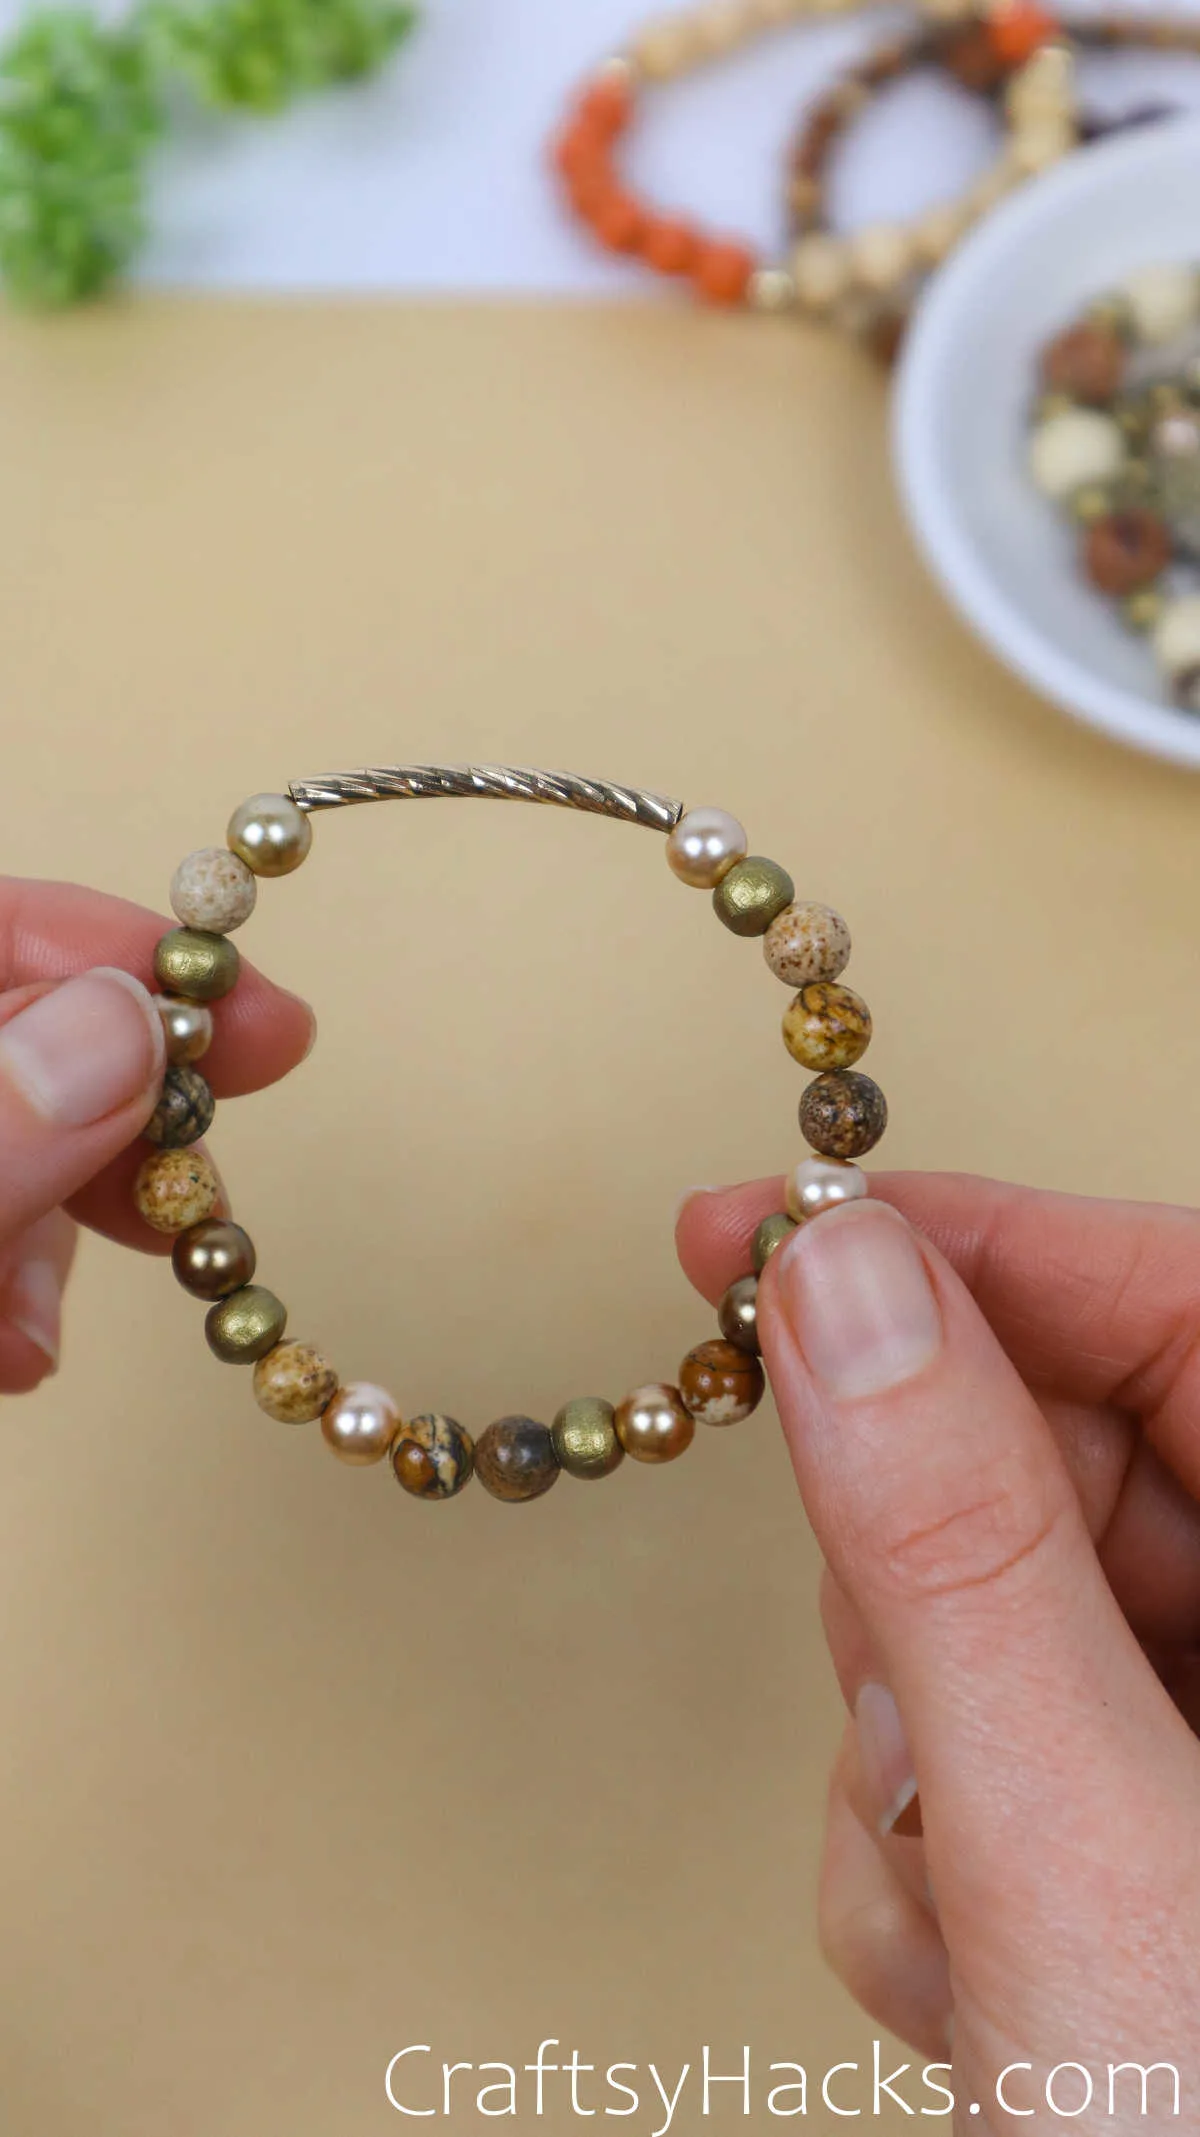
Take the same action plan in tying off your bracelet. Again though, if using a tube bead, make sure the knot is small enough to be accepted into the hole.
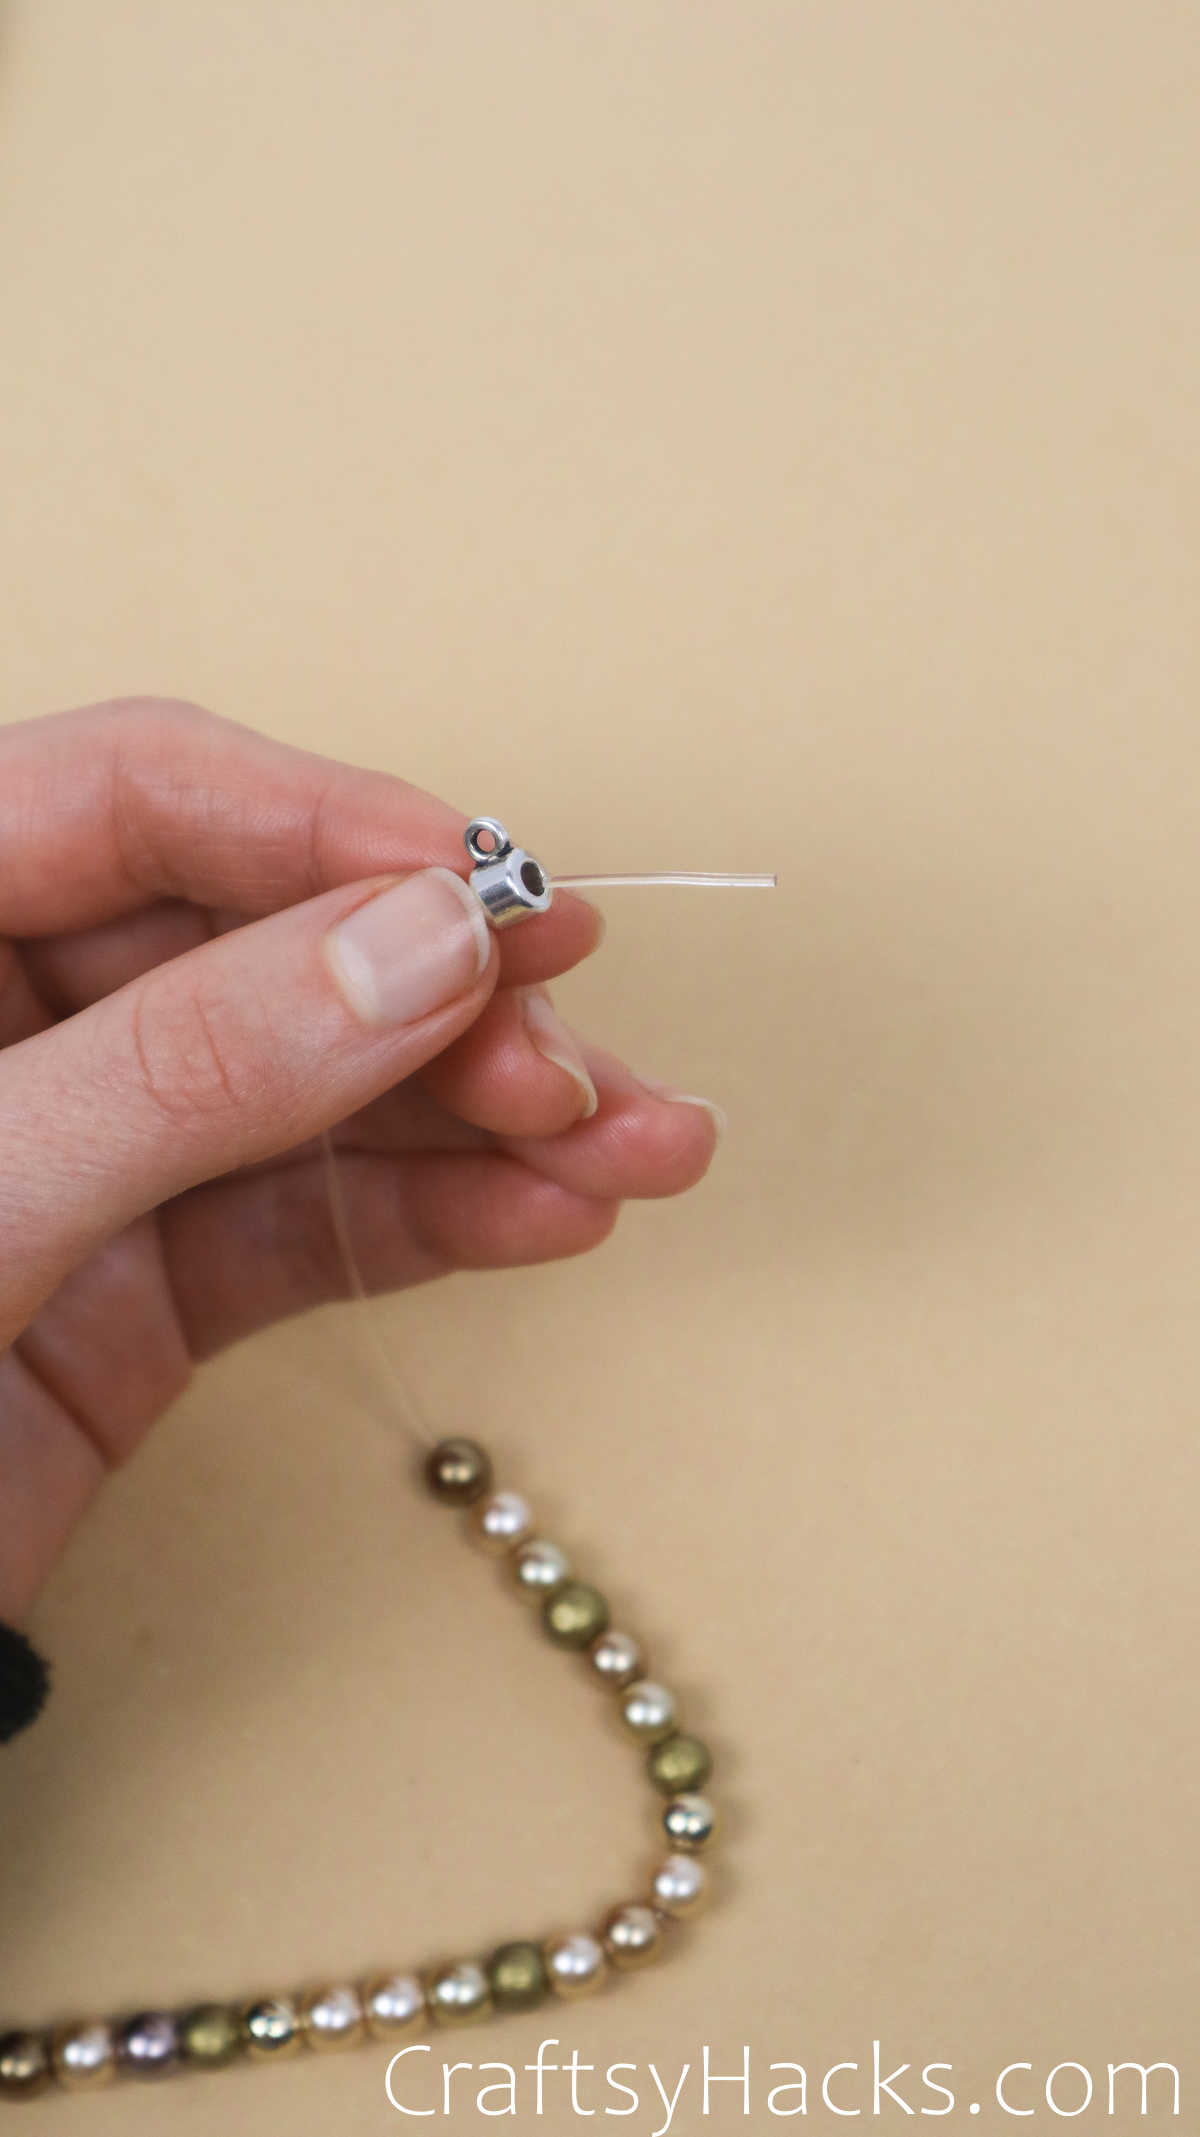
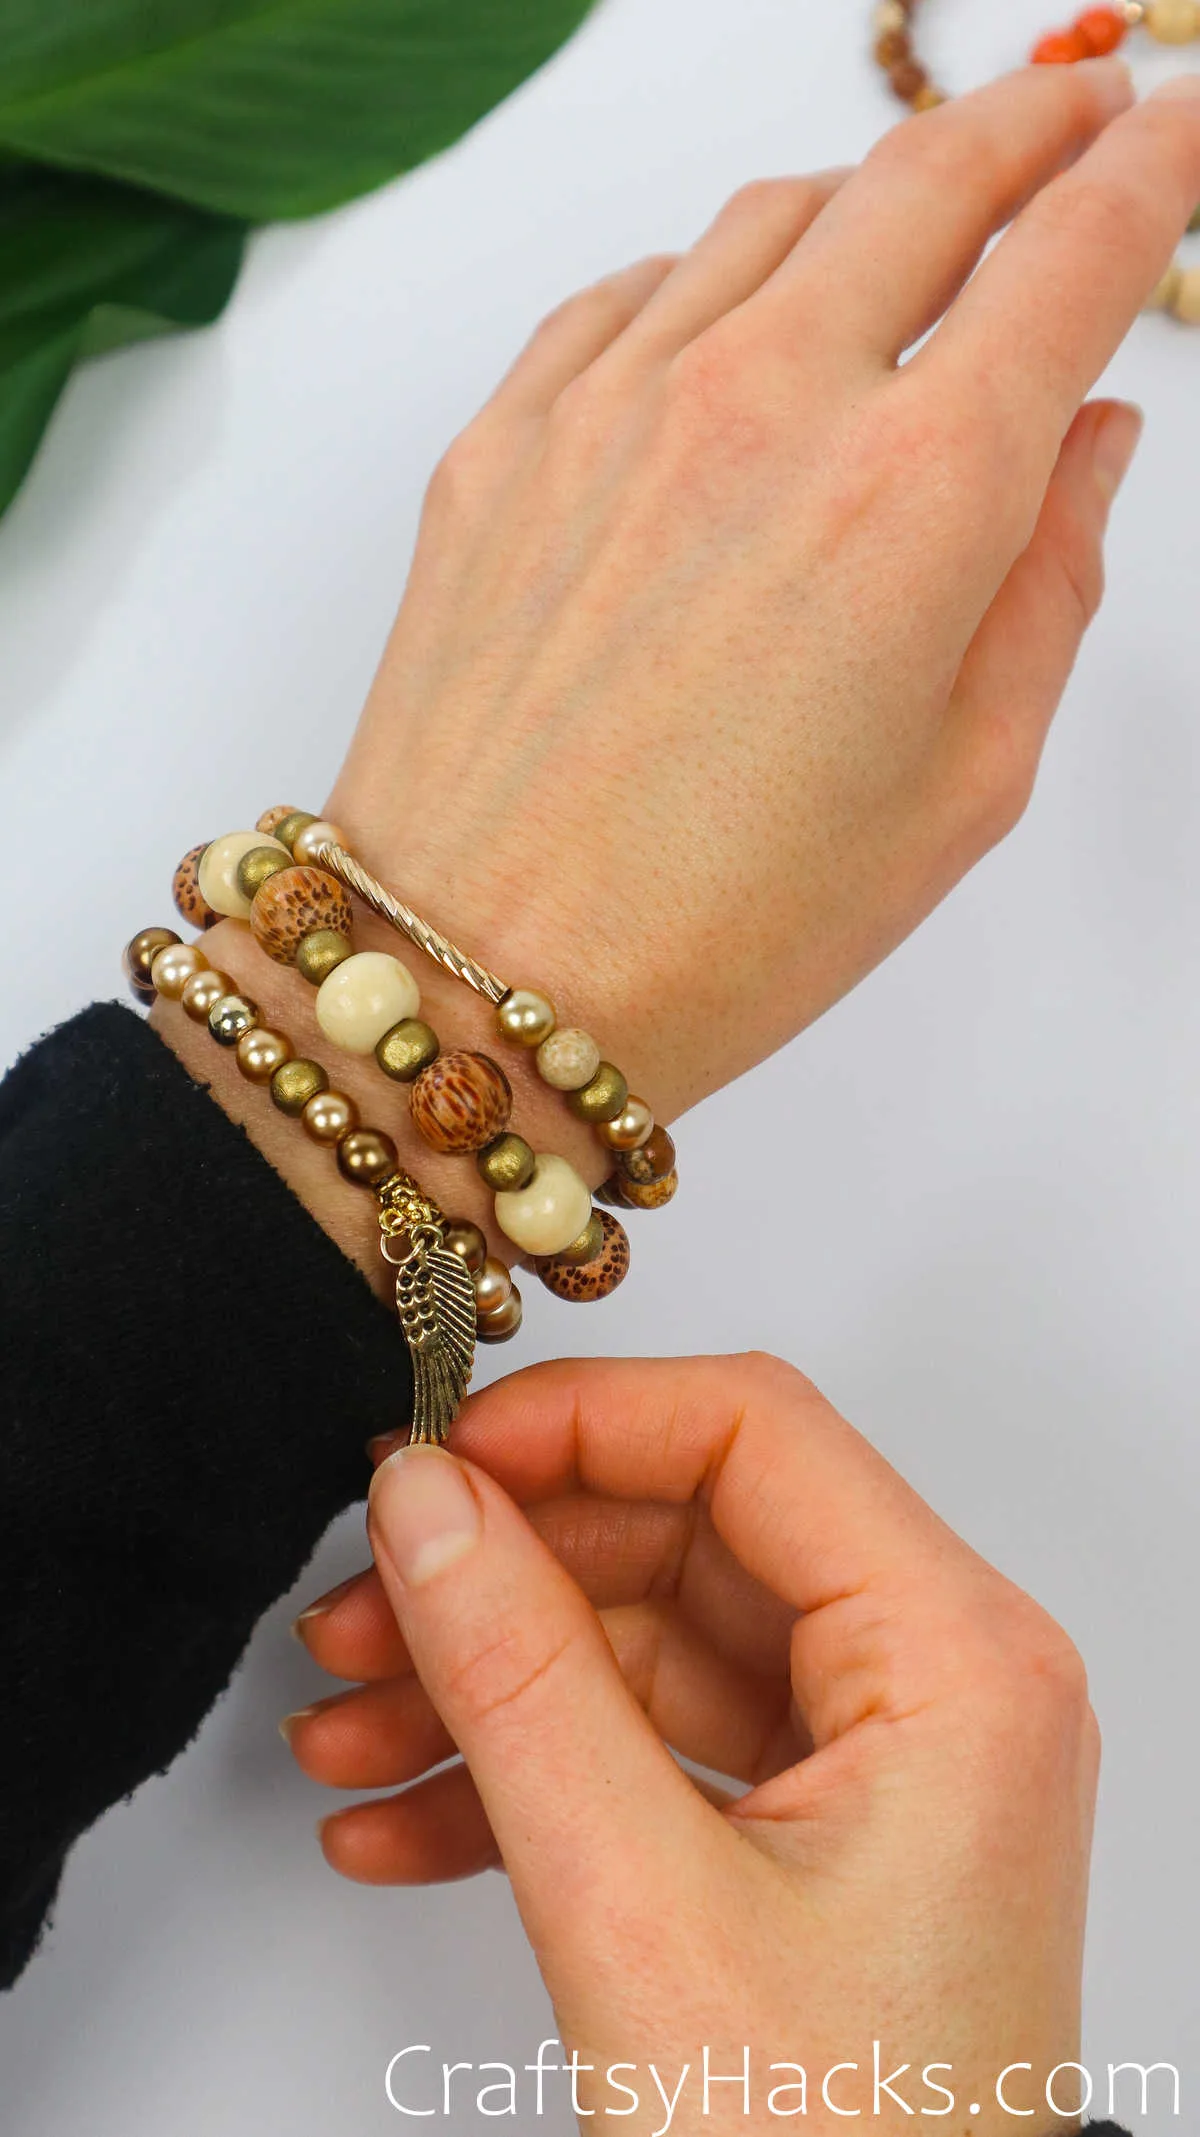
A bail bead is another fun option to try as the last bead to cover the knot. You can glue the knot inside of it or not, and the best you can add a charm to a bail.
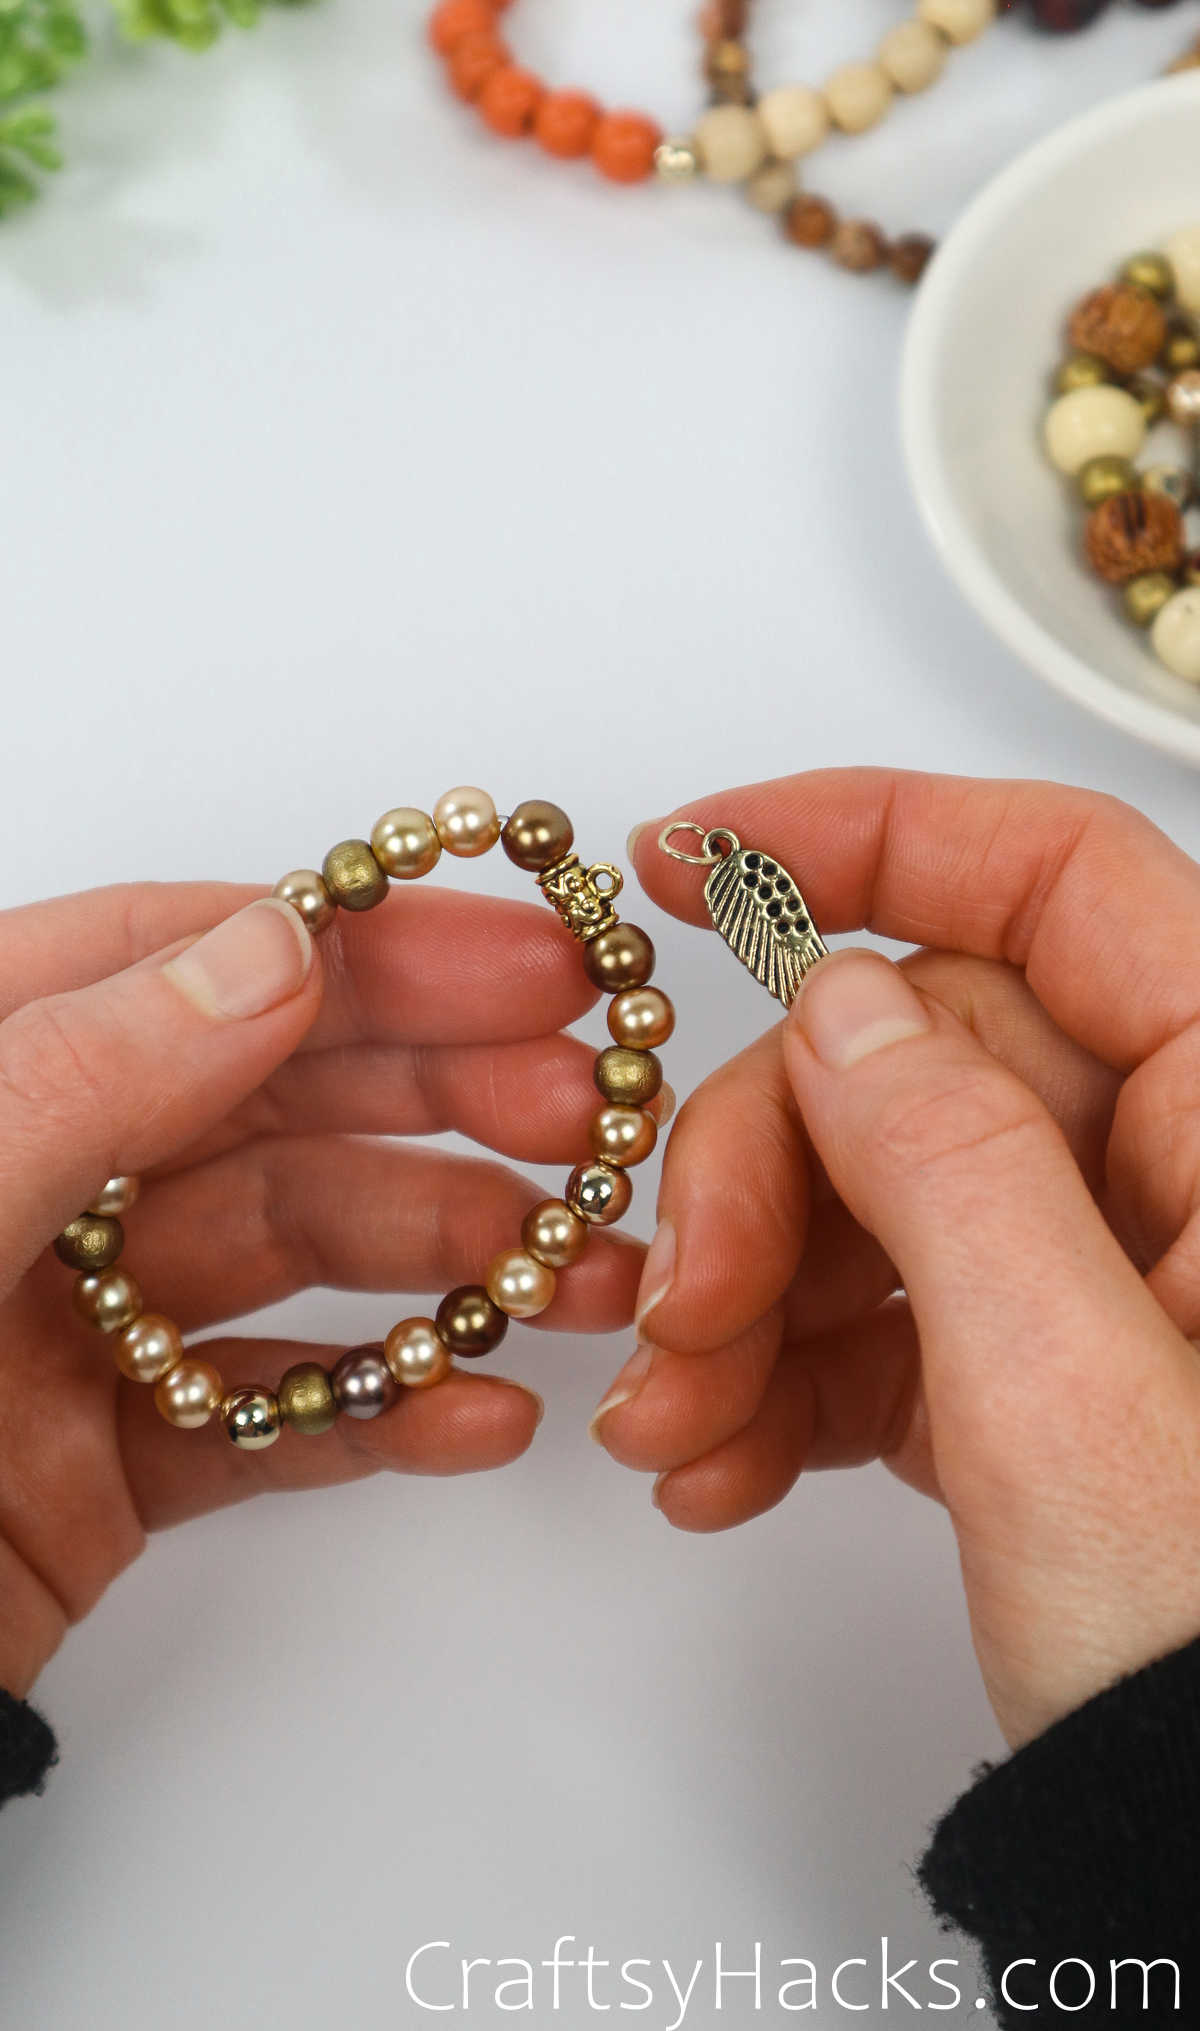

Charms are generally pretty easy to add to a project once completed. Follow the directions on the charm kit that you’ve purchased for the best results.

Some charms may be easier to apply, but take your time adding them. I’ve had a few break over the years.

There you have it–the basics of bracelet making! I hope you feel inspired to try your hand at a few and share them with your friends–happy bracelet making!